Page 112 of 516

Storage Areas................................................2-52
Glove Box...................................................2-52
Cupholder(s)................................................2-53
Compact Overhead Console...........................2-53
Overhead Console........................................2-54
Front Seat Storage Net.................................2-56
Luggage Carrier...........................................2-56
Rear Storage Area........................................2-58
Convenience Net..........................................2-58
Convenience Center......................................2-59Vehicle Personalization...................................2-62
Entering Programming Mode..........................2-62
Delayed Illumination and Exit Lighting..............2-63
Automatic Door Locks...................................2-64
Last Door Locking and Lockout Deterrent.........2-65
Remote Driver Unlock Control........................2-66
Remote Lock and Unlock Con�rmation.............2-67
Content Theft-Deterrent System......................2-68
Arming and Disarming the Content
Theft-Deterrent System...............................2-69
Exiting Programming Mode.............................2-71
Section 2 Features and Controls
2-2
Page 157 of 516

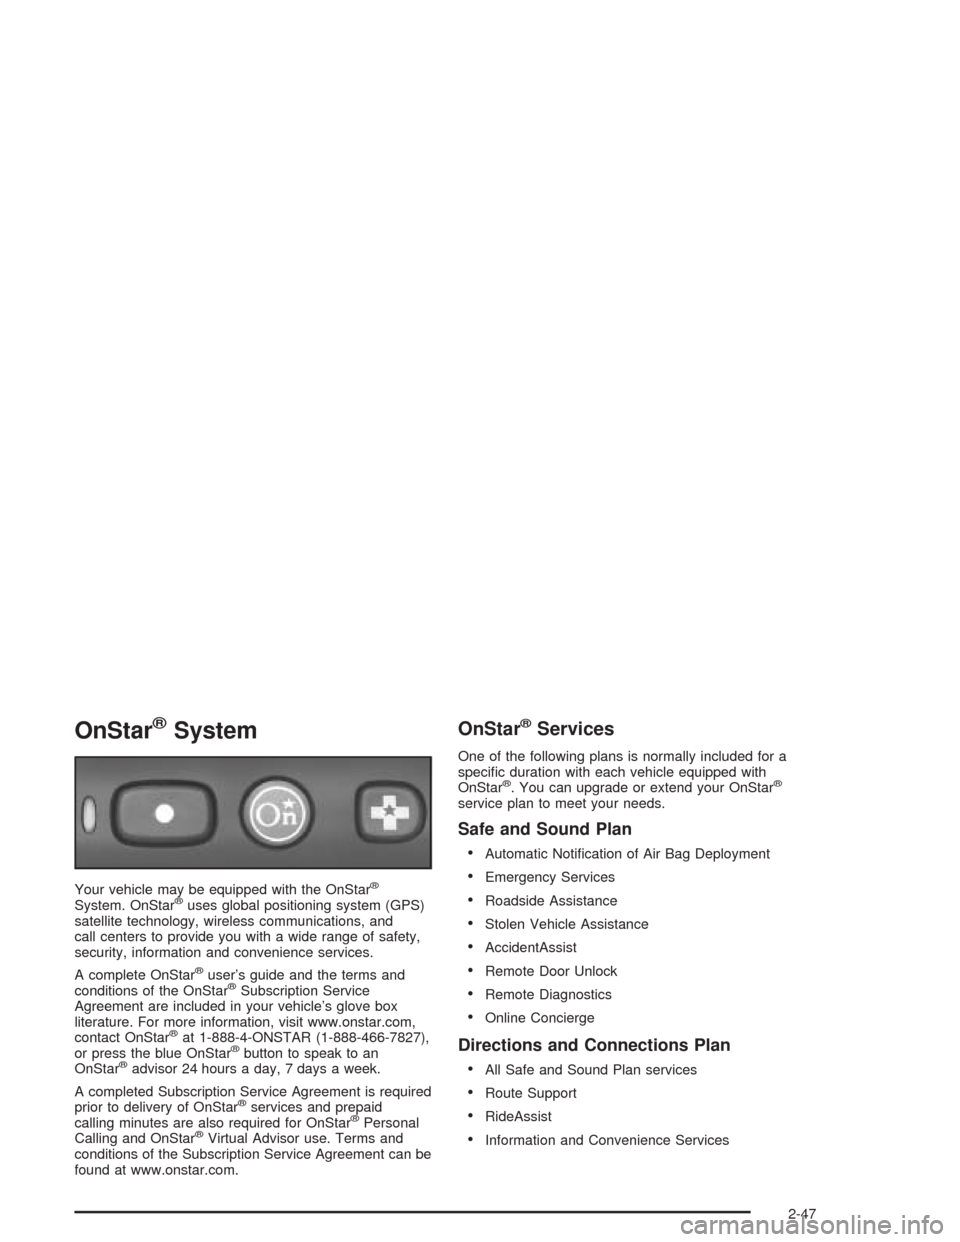
OnStar®System
Your vehicle may be equipped with the OnStar®
System. OnStar®uses global positioning system (GPS)
satellite technology, wireless communications, and
call centers to provide you with a wide range of safety,
security, information and convenience services.
A complete OnStar
®user’s guide and the terms and
conditions of the OnStar®Subscription Service
Agreement are included in your vehicle’s glove box
literature. For more information, visit www.onstar.com,
contact OnStar
®at 1-888-4-ONSTAR (1-888-466-7827),
or press the blue OnStar®button to speak to an
OnStar®advisor 24 hours a day, 7 days a week.
A completed Subscription Service Agreement is required
prior to delivery of OnStar
®services and prepaid
calling minutes are also required for OnStar®Personal
Calling and OnStar®Virtual Advisor use. Terms and
conditions of the Subscription Service Agreement can be
found at www.onstar.com.
OnStar®Services
One of the following plans is normally included for a
speci�c duration with each vehicle equipped with
OnStar
®. You can upgrade or extend your OnStar®
service plan to meet your needs.
Safe and Sound Plan
Automatic Noti�cation of Air Bag Deployment
Emergency Services
Roadside Assistance
Stolen Vehicle Assistance
AccidentAssist
Remote Door Unlock
Remote Diagnostics
Online Concierge
Directions and Connections Plan
All Safe and Sound Plan services
Route Support
RideAssist
Information and Convenience Services
2-47
Page 158 of 516

Luxury and Leisure Plan
All Directions and Connections Plan services
Personal Concierge
OnStar®Personal Calling
With OnStar®Personal Calling, you have a safer way to
stay connected while driving. It’s a hands-free wireless
phone that’s integrated into your vehicle. You can place
calls nationwide using voice-activated dialing with no
contracts and no additional roaming charges. To �nd out
more about OnStar
®Personal Calling, refer to the
OnStar®user’s guide in your vehicle’s glove box, or call
OnStar®at 1-888-4-ONSTAR (1-888-466-7827).
OnStar®Virtual Advisor
With OnStar®Virtual Advisor you can listen to the news,
entertainment and informative topics, such as traffic
and weather reports. You are able to listen and reply to
your e-mail through your vehicle’s speakers.
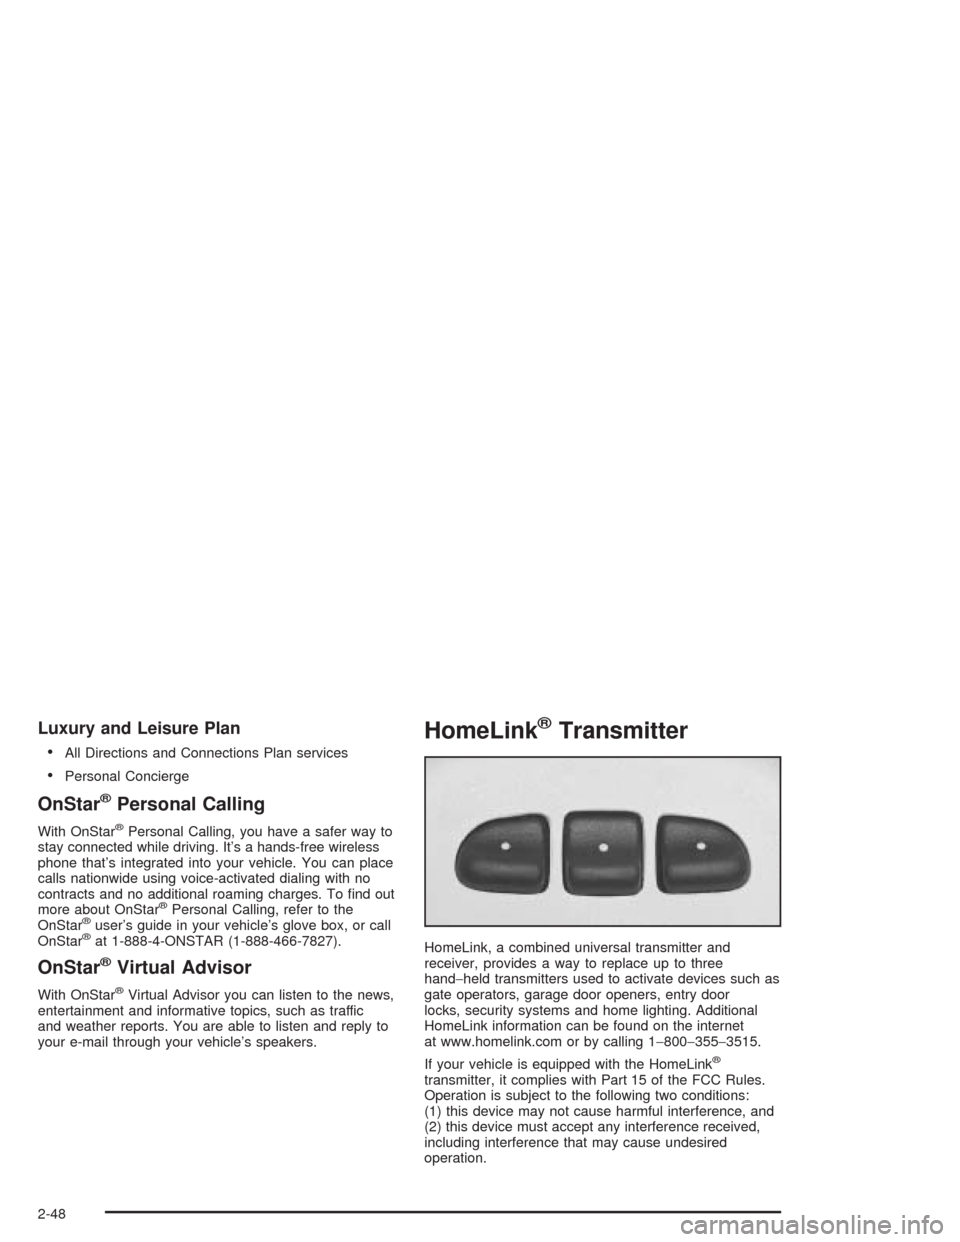
HomeLink®Transmitter
HomeLink, a combined universal transmitter and
receiver, provides a way to replace up to three
hand−held transmitters used to activate devices such as
gate operators, garage door openers, entry door
locks, security systems and home lighting. Additional
HomeLink information can be found on the internet
at www.homelink.com or by calling 1−800−355−3515.
If your vehicle is equipped with the HomeLink
®
transmitter, it complies with Part 15 of the FCC Rules.
Operation is subject to the following two conditions:
(1) this device may not cause harmful interference, and
(2) this device must accept any interference received,
including interference that may cause undesired
operation.
2-48
Page 162 of 516

Reprogramming a Single HomeLink®
Button
To program a device to HomeLink®using a HomeLink®
button previously trained, follow these steps:
1. Press and hold the desired HomeLink
®button.
Do not release the button.
2. The indicator light will begin to �ash after
20 seconds. While still holding the HomeLink
®
button, proceed with Step 2 under “Programming
HomeLink®.”
Resetting Defaults
To reset HomeLink®to default settings do the following:
1. Hold down the two outside buttons for about
20 seconds until the indicator light begins to �ash.
2. Continue to hold both buttons until the HomeLink
®
indicator light turns off.
3. Release both buttons.
For questions or comments, contact HomeLink
®
at 1-800-355-3515, or on the internet at
www.homelink.com.
Storage Areas
Your vehicle’s large carrying capacity can store many
items. If you have the extended wheelbase version, you
can carry even larger items. You can also use the
�oor pins that are used to attach the seats, to secure
larger loads.
Glove Box
Your vehicle has a glove box below the instrument
panel. To open the glove box, lift the latch release.
The glove box door has a detent to prevent the door
from lowering too far. Open the glove box until the door
is partway open, then pull the door down if you need
it fully open. To close the glove box, the door must
be pushed up past the detent.
2-52
Page 172 of 516

Vehicle Personalization
Your vehicle’s locks and lighting systems can be programmed with several different features. The features you can
program depend on the options that came with your vehicle. The following chart shows the features that can be
programmed. To determine which features your vehicle is equipped with, follow the steps listed for entering the
programming mode.
Feature
Number of
chimes
soundedDelayed
Illumination/
Exit
LightingAutomatic
Door LocksLast Door
Closed
Locking/
Lockout
DeterrentRemote
Driver’s
Door
Unlock
ControlRemote
Lock/Unlock
Con�rmationContent
TheftContent
Theft
Arming/
Disarming
2 X X X ————
3XXXXX——
4XXXXXXX
Entering Programming Mode
To program features, your vehicle must be in the
programming mode. Follow these steps:
1. The content theft-deterrent system must be
disarmed. SeeContent Theft-Deterrent on
page 2-27.
2. Remove the BCM PRGRM fuse from the instrument
panel fuse block, located to the right of the glove
box. SeeFuses and Circuit Breakers on page 5-96.3. Close the driver’s door.
4. Turn the ignition key to ACCESSORY.
5. Count the number of chimes you hear. You will
hear two to four chimes depending on the features
your vehicle is equipped with. Refer to the chart
shown previously.
You can now program your choices.
To exit the programming mode, follow the steps listed
underExiting Programming Mode on page 2-71.
2-62
Page 187 of 516

The main components of the instrument panel are the
following:
A. Side Outlets. SeeOutlet Adjustment on page 3-29.
B. Front Outlets. SeeOutlet Adjustment on page 3-29.
C. Turn Signal/Multifunction Lever. SeeTurn
Signal/Multifunction Lever on page 3-8.
D. Hazard Warning Flasher Switch. SeeHazard
Warning Flashers on page 3-6.
E. Instrument Panel Cluster. SeeInstrument Panel
Cluster on page 3-37.
F. Center Outlets. SeeOutlet Adjustment on page 3-29.
G. Audio System. SeeAudio System(s) on page 3-61.
H. Side Outlets. SeeOutlet Adjustment on page 3-29.
I. Exterior Lamps Control. SeeExterior Lamps on
page 3-16.
J. Hood Release. SeeHood Release on page 5-11.
K. Horn. SeeHorn on page 3-7.L. Ignition Switch. SeeIgnition Positions on page 2-32.
M. Climate Controls. SeeClimate Control System on
page 3-26.
N. Rear Fan Controls. SeeRear Climate Control
System (Without Entertainment System) on
page 3-29orRear Climate Control System (With
Entertainment System) on page 3-32.
O. Cupholder Tray. SeeCupholder(s) on page 2-53.
P. Accessory Power Outlet. SeeAccessory Power
Outlets on page 3-25.
Q. Instrument Panel Switchbank. SeeInstrument Panel
Switchbank on page 3-21.
R. Glove Box. SeeGlove Box on page 2-52.
S. Front Outlets. SeeOutlet Adjustment on page 3-29.
T. Instrument Panel Fuse Block. SeeFuses and
Circuit Breakers on page 5-106.
3-5
Page 216 of 516
Passenger Compartment Air Filter
Passenger compartment air, both outside and
recirculated air, is routed through a passenger
compartment �lter. The �lter removes certain
contaminants from the air, including pollen and dust
particles. Reductions in air�ow, which may occur more
quickly in dusty areas, indicate that the �lter needs to be
replaced early. For how often to change the air �lter, see
Scheduled Maintenance on page 6-4.The access panel for the passenger compartment air
�lter is located in the back of the glove box. To replace
the �lter, do the following:
1. Pull the tab located on the outer access panel up
and out.
3-34
Page 217 of 516
2. Then push the tab, located on the left of the inner
access panel, to the right.3. The �rst air �lter will pull straight out. To remove
the second, reach in and slide it toward the
opening. Pull the second �lter out.
4. Replace the �lters by reversing Step 3. Make sure
the �lters are inserted so that the sealing foam is
angled in the same direction on both �lters. For the
type of �lter to use, seeNormal Maintenance
Replacement Parts on page 6-12.
5. Close the inner access door, while squeezing the
tab. Be sure it is tightly closed.
6. Snap the outer access panel into the back of the
glove box.
3-35