2004 CHEVROLET TRAIL BLAZER park assist
[x] Cancel search: park assistPage 65 of 448
Keys...............................................................2-3
Remote Keyless Entry System.........................2-5
Remote Keyless Entry System Operation...........2-6
Doors and Locks.............................................2-8
Door Locks....................................................2-8
Power Door Locks..........................................2-9
Delayed Locking.............................................2-9
Programmable Automatic Door Locks..............2-10
Rear Door Security Locks..............................2-12
Lockout Protection........................................2-12
Leaving Your Vehicle....................................2-12
Liftgate/Liftglass............................................2-13
Windows........................................................2-14
Power Windows............................................2-15
Sun Visors...................................................2-15
Theft-Deterrent Systems..................................2-16
Content Theft-Deterrent.................................2-16
Passlock
®....................................................2-17
Starting and Operating Your Vehicle................2-18
New Vehicle Break-In....................................2-18
Ignition Positions..........................................2-18
Starting Your Engine.....................................2-20Adjustable Throttle and Brake Pedal................2-21
Engine Coolant Heater..................................2-21
Automatic Transmission Operation...................2-22
Four-Wheel Drive..........................................2-24
Parking Brake..............................................2-28
Shifting Into Park (P).....................................2-29
Shifting Out of Park (P).................................2-31
Parking Over Things That Burn.......................2-31
Engine Exhaust............................................2-32
Running Your Engine While You Are Parked. . . .2-32
Mirrors...........................................................2-34
Automatic Dimming Rearview Mirror with
OnStar
®and Compass...............................2-34
Outside Manual Mirrors..................................2-35
Outside Power Mirrors...................................2-36
Outside Curb View Assist Mirrors....................2-36
Outside Convex Mirror...................................2-37
Outside Heated Mirrors..................................2-37
OnStar
®System.............................................2-37
HomeLink®Transmitter...................................2-39
Programming the HomeLink®Transmitter.........2-39
Section 2 Features and Controls
2-1
Page 100 of 448
Outside Power Mirrors
Your vehicle may have this feature.
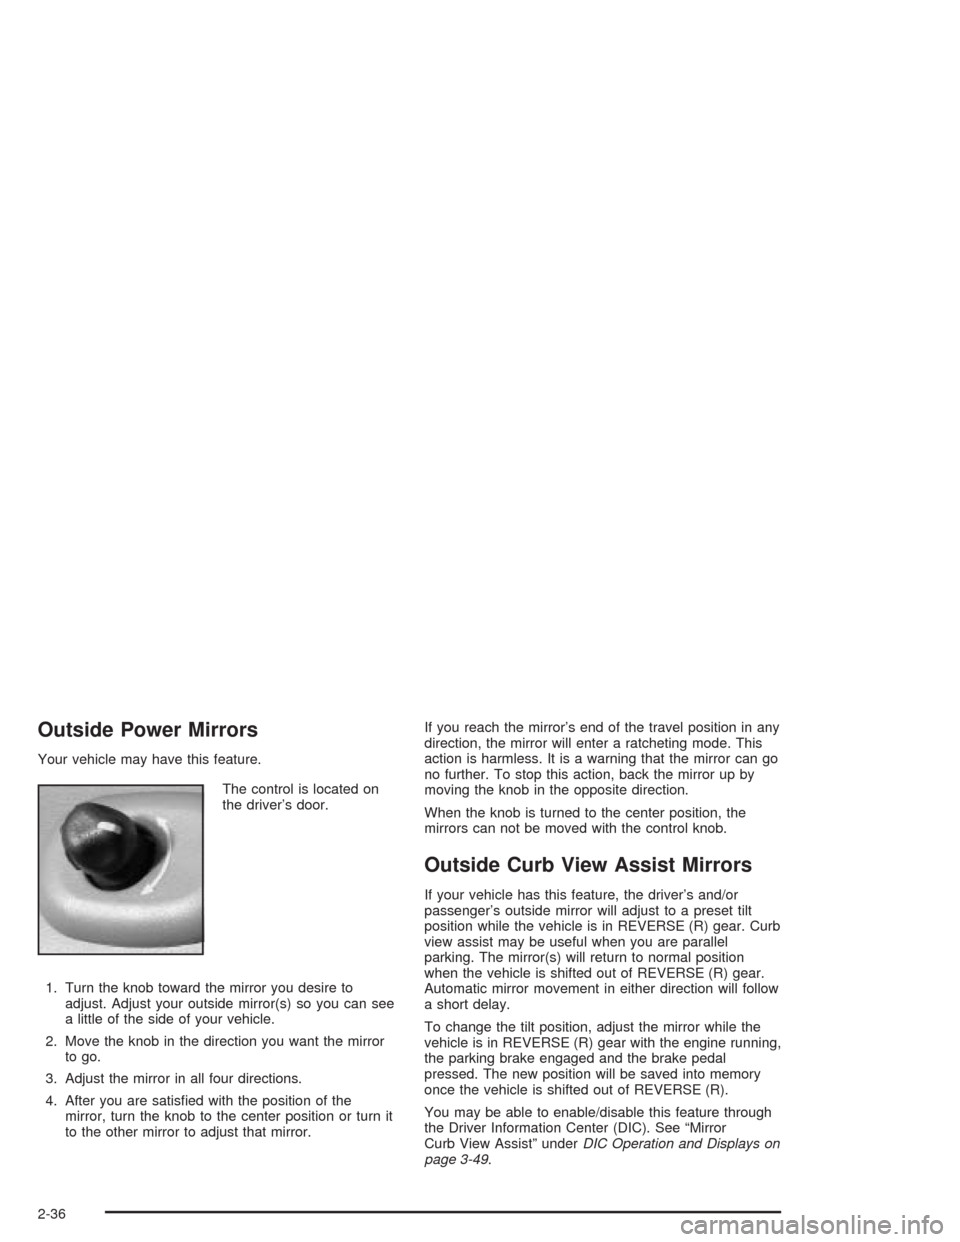
The control is located on
the driver’s door.
1. Turn the knob toward the mirror you desire to
adjust. Adjust your outside mirror(s) so you can see
a little of the side of your vehicle.
2. Move the knob in the direction you want the mirror
to go.
3. Adjust the mirror in all four directions.
4. After you are satis�ed with the position of the
mirror, turn the knob to the center position or turn it
to the other mirror to adjust that mirror.If you reach the mirror’s end of the travel position in any
direction, the mirror will enter a ratcheting mode. This
action is harmless. It is a warning that the mirror can go
no further. To stop this action, back the mirror up by
moving the knob in the opposite direction.
When the knob is turned to the center position, the
mirrors can not be moved with the control knob.
Outside Curb View Assist Mirrors
If your vehicle has this feature, the driver’s and/or
passenger’s outside mirror will adjust to a preset tilt
position while the vehicle is in REVERSE (R) gear. Curb
view assist may be useful when you are parallel
parking. The mirror(s) will return to normal position
when the vehicle is shifted out of REVERSE (R) gear.
Automatic mirror movement in either direction will follow
a short delay.
To change the tilt position, adjust the mirror while the
vehicle is in REVERSE (R) gear with the engine running,
the parking brake engaged and the brake pedal
pressed. The new position will be saved into memory
once the vehicle is shifted out of REVERSE (R).
You may be able to enable/disable this feature through
the Driver Information Center (DIC). See “Mirror
Curb View Assist” underDIC Operation and Displays on
page 3-49.
2-36
Page 104 of 448
Keep the original transmitter for use in other vehicles as
well as for future HomeLink®programming. It is also
recommended that upon the sale of the vehicle,
the programmed HomeLink
®buttons should be erased
for security purposes. Refer to “Erasing HomeLink®
Buttons” or, for assistance, contact HomeLink®on the
internet at: www.homelink.com or by calling
1-800-355-3515.
Be sure that people and objects are clear of the garage
door or gate operator you are programming. When
programming a garage door, it is advised to park outside
of the garage.
It is recommended that a new battery be installed in
your hand-held transmitter for quicker and more
accurate transmission of the radio frequency.
Your vehicle’s engine should be turned off while
programming the transmitter. Follow these steps to
program up to three channels:
1. Press and hold down the two outside buttons,
releasing only when the indicator light begins to
�ash, after 20 seconds. Do not hold down the
buttons for longer than 30 seconds and do not
repeat this step to program a second and/or third
transmitter to the remaining two HomeLink
®buttons.
2. Position the end of your hand-held transmitter about
1 to 3 inches (3 to 8 cm) away from the HomeLink
®
buttons while keeping the indicator light in view.3. Simultaneously press and hold both the desired
button on HomeLink
®and the hand-held transmitter
button. Do not release the buttons until Step 4
has been completed.
Some entry gates and garage door openers may
require you to substitute Step 3 with the procedure
noted in “Gate Operator and Canadian
Programming” later in this section.
4. The indicator light will �ash slowly at �rst and then
rapidly after HomeLink
®successfully receives the
frequency signal from the hand-held transmitter.
Release both buttons.
5. Press and hold the newly-trained HomeLink
®button
and observe the indicator light.
If the indicator light stays on constantly,
programming is complete and your device should
activate when the HomeLink
®button is pressed and
released.
To program the remaining two HomeLink
®buttons,
begin with Step 2 under “Programming HomeLink®.”
Do not repeat Step 1 as this will erase all of the
programmed channels.
If the indicator light blinks rapidly for two seconds
and then turns to a constant light, continue with
Steps 6 through 8 following to complete the
programming of a rolling-code equipped device
(most commonly, a garage door opener).
2-40
Page 171 of 448
Headlamps on at Exit
Press the personalization button until HEADLAMPS ON
AT EXIT appears in the display. To select your
personalization for how long the headlamps will stay on
when you turn off the vehicle, press the select button
while HEADLAMPS ON AT EXIT is displayed on
the DIC. Pressing the select button will scroll through
the following choices:
HEADLAMP DELAY: 10 SEC (default)
HEADLAMP DELAY: 20 SEC
HEADLAMP DELAY: 40 SEC
HEADLAMP DELAY: 60 SEC
HEADLAMP DELAY: 120 SEC
HEADLAMP DELAY: 180 SEC
HEADLAMP DELAY OFF
The amount of time you choose will be the amount of
time that the headlamps stay on after you turn off
the vehicle. If you choose off, the headlamps will turn
off as soon as you turn off the vehicle.
Choose one of the seven settings and press the
personalization button while it is displayed on the DIC to
select it and move on to the next feature.
Mirror Curb View Assist
Press the personalization button until MIRROR
CURBVIEW ASSIST appears in the display. To select
your personalization for curb view assist, press the
select button while MIRROR CURBVIEW ASSIST is
displayed on the DIC. With the engine running, engage
the parking brake, press the brake pedal and place
the vehicle in REVERSE (R) gear. Adjust the
passenger’s side and then the driver’s side outside
mirrors to the desired tilt positions. These positions will
be stored in memory once the vehicle is shifted out
of REVERSE (R). Press the select button to scroll
through the following choices:
CURB VIEW: OFF (default): If you choose off,
neither outside mirror will be tilted down when
the vehicle is shifted into REVERSE (R).
CURB VIEW: PASSENGER: If you choose
passenger, the passenger’s outside mirror will be
tilted down when the vehicle is shifted into
REVERSE (R).
CURB VIEW: DRIVER: If you choose driver, the
driver’s outside mirror will be tilted down when
the vehicle is shifted into REVERSE (R).
CURB VIEW: BOTH: If you choose both, the
driver’s and passenger’s outside mirror will be tilted
down when the vehicle is shifted into REVERSE (R).
3-55
Page 243 of 448

Suppose you are steering through a sharp curve.
Then you suddenly accelerate. Both control
systems — steering and acceleration — have to do their
work where the tires meet the road. Adding the
sudden acceleration can demand too much of those
places. You can lose control. SeeTraction Assist
System (TAS) on page 4-9.
What should you do if this ever happens? Ease up on
the accelerator pedal, steer the vehicle the way you
want it to go, and slow down.
Speed limit signs near curves warn that you should
adjust your speed. Of course, the posted speeds
are based on good weather and road conditions. Under
less favorable conditions you will want to go slower.
If you need to reduce your speed as you approach
a curve, do it before you enter the curve, while your front
wheels are straight ahead.
Try to adjust your speed so you can “drive” through the
curve. Maintain a reasonable, steady speed. Wait to
accelerate until you are out of the curve, and then
accelerate gently into the straightaway.Steering in Emergencies
There are times when steering can be more effective
than braking. For example, you come over a hill and �nd
a truck stopped in your lane, or a car suddenly pulls
out from nowhere, or a child darts out from between
parked cars and stops right in front of you. You
can avoid these problems by braking — if you can stop
in time. But sometimes you can not; there is not
room. That is the time for evasive action — steering
around the problem.
Your vehicle can perform very well in emergencies like
these. First apply your brakes.
SeeBraking on page 4-6. It is better to remove as much
speed as you can from a possible collision. Then
steer around the problem, to the left or right depending
on the space available.
4-11
Page 431 of 448
To contact NHTSA, you may either call the Auto Safety
Hotline toll-free at 1-800-424-9393 (or 366-0123 in
the Washington, D.C. area) or write to:
NHTSA, U.S. Department of Transportation
Washington, D.C. 20590
You can also obtain other information about motor
vehicle safety from the hotline.
Reporting Safety Defects to the
Canadian Government
If you live in Canada, and you believe that your vehicle
has a safety defect, you should immediately notify
Transport Canada, in addition to notifying General
Motors of Canada Limited. You may write to:
Transport Canada
330 Sparks Street
Tower C
Ottawa, Ontario K1A 0N5
Reporting Safety Defects to
General Motors
In addition to notifying NHTSA (or Transport Canada) in
a situation like this, we certainly hope you’ll notify us.
Please call us at 1-800-222-1020, or write:
Chevrolet Motor Division
Chevrolet Customer Assistance Center
P.O. Box 33170
Detroit, MI 48232-5170
In Canada, please call us at 1-800-263-3777 (English)
or 1-800-263-7854 (French). Or, write:
General Motors of Canada Limited
Customer Communication Centre, 163-005
1908 Colonel Sam Drive
Oshawa, Ontario L1H 8P7
Service Publications Ordering
Information
Service Manuals
Service Manuals have the diagnosis and repair
information on engines, transmission, axle, suspension,
brakes, electrical, steering, body, etc.
RETAIL SELL PRICE: $120.00
7-11
Page 434 of 448
Audio System(s) (cont.)
Understanding Radio Reception...................3-114
XM™ Satellite Radio Antenna System...........3-116
Automatic Headlamp System............................3-15
Automatic Transfer Case..................................2-25
Automatic Transmission
Fluid..........................................................5-21
Operation...................................................2-22
B
Backglass Wiper Blade Replacement.................5-51
Backing Up....................................................4-60
Battery..........................................................5-40
BATTERY NOT CHARGING.............................3-58
Battery Replacement......................................... 2-7
Battery Run-Down Protection............................3-19
Before Leaving on a Long Trip.........................4-34
Before You Drive...........................................3-100
Before You Go Off-Roading..............................4-16
Brake
Parking......................................................2-28
System Warning Light..................................3-38
Brake Adjustment............................................5-39
Brake Fluid....................................................5-37
Brake Pedal, Throttle.......................................2-21
Brake Pedal Travel.........................................5-39
Brake Wear...................................................5-39
Brakes..........................................................5-37Braking........................................................... 4-6
Braking in Emergencies..................................... 4-8
Break-In, New Vehicle.....................................2-18
Bulb Replacement...........................................5-48
Replacement Bulbs......................................5-49
Taillamps and Turn Signal Lamps..................5-48
Buying New Tires...........................................5-63
C
California Fuel.................................................. 5-5
Canada – Customer Assistance.......................... 7-4
Canadian Owners................................................ ii
Canadian Roadside Assistance........................... 7-7
Capacities and Speci�cations..........................5-104
Carbon Monoxide...................4-37, 4-53, 2-13, 2-32
Care of
Safety Belts................................................5-86
Your Cassette Tape Player..........................3-114
Your CD and DVD Player...........................3-115
Your CDs and DVDs..................................3-115
Cargo Cover..................................................2-48
Cargo Tie Downs............................................2-49
Cassette Tape Messages.................................3-82
CD Adapter Kits.............................................3-83
CD Messages................................3-72, 3-85, 3-98
Chains, Tires..................................................5-67
Charging System Light....................................3-36
2
Page 442 of 448
Oil (cont.)
Engine.......................................................5-15
Pressure Gage............................................3-43
OIL PRESSURE LOW/STOP ENGINE...............3-58
Older Children, Restraints................................1-27
Online Owner Center........................................ 7-3
OnStar
®Personal Calling.................................2-38
OnStar®Services............................................2-38
OnStar®System.............................................2-37
OnStar®Virtual Advisor....................................2-38
Operating Your All-Wheel-Drive Vehicle Off
Paved Roads..............................................4-15
Other Warning Devices...................................... 3-6
Outlet Adjustment...................................3-23, 3-27
Outside
Convex Mirror.............................................2-37
Curb View Assist Mirrors..............................2-36
Heated Mirrors............................................2-37
Manual Mirrors............................................2-35
Power Mirrors.............................................2-36
Overhead Console..........................................2-43
Overseas – Customer Assistance........................ 7-4
Owner Checks and Services.............................. 6-9
Owners, Canadian............................................... ii
Owner’s Information........................................7-12
P
Parental Control............................................3-100
Park (P)
Shifting Into................................................2-29
Shifting Out of............................................2-31
Parking
Brake........................................................2-28
Over Things That Burn.................................2-31
Parking on Hills..............................................4-61
PASSENGER DOOR AJAR..............................3-59
Passing.................................................4-13, 4-59
Passlock
®......................................................2-17
Personalization...............................................3-51
Personalization, Climate Controls......................3-31
Plan Ahead When Possible................................ 7-7
Playing a Cassette Tape..................................3-81
Playing a CD.................................3-70, 3-83, 3-94
Playing a Speci�c Loaded CD..........................3-95
Playing the Radio...........................3-63, 3-73, 3-87
Power
Accessory Outlets........................................3-20
Door Locks.................................................. 2-9
Electrical System.........................................5-92
Lumbar Controls........................................... 1-3
Reduced Engine Light..................................3-45
Seat............................................................ 1-2
Steering Fluid.............................................5-35
Windows....................................................2-15
10