2004 CHEVROLET TRAIL BLAZER automatic transmission
[x] Cancel search: automatic transmissionPage 241 of 448
Traction Assist System (TAS)
Your two-wheel drive vehicle may have a Traction
Assist System (TAS) that limits wheel spin. This
is especially useful in slippery road conditions. The
system operates only if it senses that one or both of the
rear wheels are spinning or beginning to lose traction.
When this happens, the system reduces engine
power to limit wheel spin.
The low traction symbol next to the button will come on
when the TAS is limiting wheel spin. You may feel or
hear the system working, but this is normal.
The Traction Assist System may operate on dry roads
under some conditions. When this happens, you
may notice a reduction in acceleration. This is normal
and doesn’t mean there’s a problem with your vehicle.
Examples of these conditions include a hard
acceleration in a turn, an abrupt upshift or downshift of
the transmission or driving on rough roads.
If your vehicle is in cruise control when the TAS begins
to limit wheel spin, the cruise control will automatically
disengage. When road conditions allow you to safely
use it again, you may re-engage the cruise control. See
“Cruise Control” underTurn Signal/Multifunction
Lever on page 3-7. When the traction control off symbol
on the button is on, the TAS is off and will not limit
wheel spin. Adjust your driving accordingly.The traction control off symbol on the button will come
on under the following conditions:The Traction Assist System is turned off, either by
pressing the TAS on/off button or by turning off
the automatic engagement feature of the TAS.
The transmission is in FIRST (1) gear; TAS will not
operate in this gear. This is normal.
The vehicle is driven on an extremely rough road.
When the vehicle leaves the rough surface, slows
down or stops, the light will go off and TAS will
be on again. This is normal.
A Traction Assist System, Anti-Lock Brake System
or engine-related problem has been detected and
the vehicle needs service.
The Traction Assist System, as delivered from the
factory, will automatically come on whenever you start
your vehicle. To limit wheel spin, especially in slippery
road conditions, you should always leave the system on.
But you can turn the TAS off if you ever need to. You
should turn the TAS off if your vehicle ever gets stuck in
sand, mud or snow and rocking the vehicle is required.
To turn the system on or off, press the TAS button
located near the shift lever. If you used the button to turn
the system off, the traction control off symbol on the
button will come on and stay on.
You can turn the system back on at any time by
pressing the button again. The traction control off symbol
on the button should go off.
4-9
Page 279 of 448
Four-Wheel-Drive Vehicles
Four-wheel-drive vehicles can be dolly towed with the
rear wheels on the ground.
Use the following procedure to tow your vehicle:
1. Drive the vehicle onto the tow dolly.
2. Shift the automatic transmission to PARK (P).
3. Turn the engine off, but leave the ignition on.
4. Firmly set the parking brake.
5. Securely attach the vehicle being towed to
the dolly.
{CAUTION:
Shifting a four-wheel-drive vehicle’s transfer
case into NEUTRAL can cause your vehicle to
roll even if the transmission is in Park (P). You
or others could be injured. Make sure the
parking brake is �rmly set before you shift the
transfer case to NEUTRAL.
6. Shift the transfer case to NEUTRAL. See
Four-Wheel Drive on page 2-24for the proper
procedure to select the NEUTRAL position for
your vehicle.7. Release the parking brake only after the vehicle
being towed is �rmly attached to the towing
vehicle.
8. Turn the ignition off and lock the steering column.
Loading Your Vehicle
It is very important to know how much weight your
vehicle can carry. This weight is called the vehicle
capacity weight and includes the weight of all occupants,
cargo and all nonfactory-installed options. Two labels
on your vehicle show how much weight it may properly
carry, the Tire and Loading Information label and the
Certi�cation/Tire label.
{CAUTION:
Do not load your vehicle any heavier than the
GVWR, or either the maximum front or rear
GAWR. If you do, parts on your vehicle can
break, and it can change the way your vehicle
handles. These could cause you to lose
control and crash. Also, overloading can
shorten the life of your vehicle.
4-47
Page 292 of 448
Backing Up
Hold the bottom of the steering wheel with one hand.
Then, to move the trailer to the left, just move that hand
to the left. To move the trailer to the right, move your
hand to the right. Always back up slowly and, if possible,
have someone guide you.
Making Turns
Notice:Making very sharp turns while trailering
could cause the trailer to come in contact with the
vehicle. Your vehicle could be damaged. Avoid
making very sharp turns while trailering.
When you’re turning with a trailer, make wider turns
than normal. Do this so your trailer won’t strike
soft shoulders, curbs, road signs, trees or other objects.
Avoid jerky or sudden maneuvers. Signal well in
advance.
Turn Signals When Towing a Trailer
The arrows on your instrument panel will �ash whenever
you signal a turn or lane change. Properly hooked up,
the trailer lamps will also �ash, telling other drivers
you’re about to turn, change lanes or stop.When towing a trailer, the arrows on your instrument
panel will �ash for turns even if the bulbs on the trailer
are burned out. Thus, you may think drivers behind
you are seeing your signal when they are not. It’s
important to check occasionally to be sure the trailer
bulbs are still working.
Driving On Grades
Reduce speed and shift to a lower gearbeforeyou start
down a long or steep downgrade. If you don’t shift
down, you might have to use your brakes so much that
they would get hot and no longer work well.
You can tow in DRIVE (D). You may want to shift the
transmission to THIRD (3) or a lower gear, under heavy
loads or hilly conditions.
When towing at high altitude on steep uphill grades,
consider the following: Engine coolant will boil at a lower
temperature than at normal altitudes. If you turn your
engine off immediately after towing at high altitude
on steep uphill grades, your vehicle may show signs
similar to engine overheating. To avoid this, let the
engine run while parked (preferably on level ground)
with the automatic transmission in PARK (P) for a
few minutes before turning the engine off. If you do get
the overheat warning, seeEngine Overheating on
page 5-26.
4-60
Page 294 of 448
When You Are Ready to Leave After
Parking on a Hill
1. Apply your regular brakes and hold the pedal down
while you:
start your engine,
shift into a gear, and
release the parking brake.
2. Let up on the brake pedal.
3. Drive slowly until the trailer is clear of the chocks.
4. Stop and have someone pick up and store the
chocks.
Maintenance When Trailer Towing
Your vehicle will need service more often when you’re
pulling a trailer. See the Maintenance Schedule for more
on this. Things that are especially important in trailer
operation are automatic transmission �uid (don’t over�ll),
engine oil, axle lubricant, belt(s), cooling system and
brake system. Each of these is covered in this manual,
and the Index will help you �nd them quickly. If
you’re trailering, it’s a good idea to review these sections
before you start your trip.
Check periodically to see that all hitch nuts and bolts
are tight.
4-62
Page 297 of 448
Service............................................................5-3
Doing Your Own Service Work.........................5-4
Adding Equipment to the Outside of
Your Vehicle..............................................5-4
Fuel................................................................5-4
Gasoline Octane............................................5-5
Gasoline Speci�cations....................................5-5
California Fuel...............................................5-5
Additives.......................................................5-6
Fuels in Foreign Countries...............................5-6
Filling Your Tank............................................5-7
Filling a Portable Fuel Container.......................5-9
Checking Things Under the Hood....................5-10
Hood Release..............................................5-10
Engine Compartment Overview.......................5-12
Engine Oil...................................................5-15
Engine Air Cleaner/Filter................................5-20
Automatic Transmission Fluid.........................5-21
Engine Coolant.............................................5-23
Radiator Pressure Cap..................................5-25
Engine Overheating.......................................5-26
Cooling System............................................5-28
Engine Fan Noise.........................................5-34
Power Steering Fluid.....................................5-35Windshield Washer Fluid................................5-36
Brakes........................................................5-37
Battery........................................................5-40
Jump Starting...............................................5-41
Rear Axle.......................................................5-46
Four-Wheel Drive............................................5-46
Front Axle......................................................5-47
Bulb Replacement..........................................5-48
Taillamps and Turn Signal Lamps...................5-48
Replacement Bulbs.......................................5-49
Windshield Wiper Blade Replacement..............5-49
Tires..............................................................5-52
In�ation - Tire Pressure.................................5-60
Tire Inspection and Rotation...........................5-61
When It Is Time for New Tires.......................5-62
Buying New Tires.........................................5-63
Uniform Tire Quality Grading..........................5-64
Wheel Alignment and Tire Balance..................5-65
Wheel Replacement......................................5-65
Tire Chains..................................................5-67
If a Tire Goes Flat........................................5-67
Changing a Flat Tire.....................................5-68
Spare Tire...................................................5-83
Section 5 Service and Appearance Care
5-1
Page 309 of 448
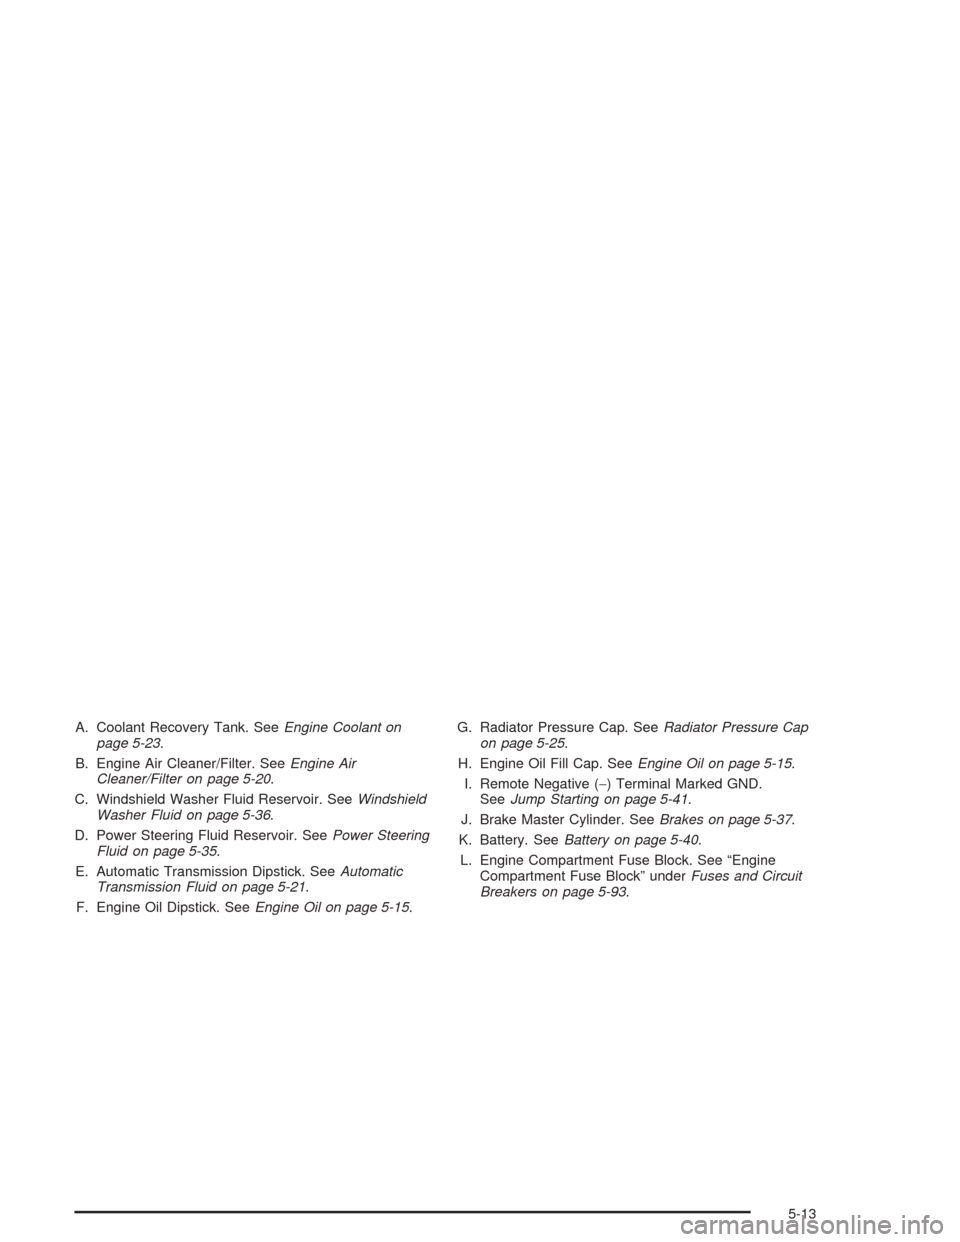
A. Coolant Recovery Tank. SeeEngine Coolant on
page 5-23.
B. Engine Air Cleaner/Filter. SeeEngine Air
Cleaner/Filter on page 5-20.
C. Windshield Washer Fluid Reservoir. SeeWindshield
Washer Fluid on page 5-36.
D. Power Steering Fluid Reservoir. SeePower Steering
Fluid on page 5-35.
E. Automatic Transmission Dipstick. SeeAutomatic
Transmission Fluid on page 5-21.
F. Engine Oil Dipstick. SeeEngine Oil on page 5-15.G. Radiator Pressure Cap. SeeRadiator Pressure Cap
on page 5-25.
H. Engine Oil Fill Cap. SeeEngine Oil on page 5-15.
I. Remote Negative (−) Terminal Marked GND.
SeeJump Starting on page 5-41.
J. Brake Master Cylinder. SeeBrakes on page 5-37.
K. Battery. SeeBattery on page 5-40.
L. Engine Compartment Fuse Block. See “Engine
Compartment Fuse Block” underFuses and Circuit
Breakers on page 5-93.
5-13
Page 311 of 448
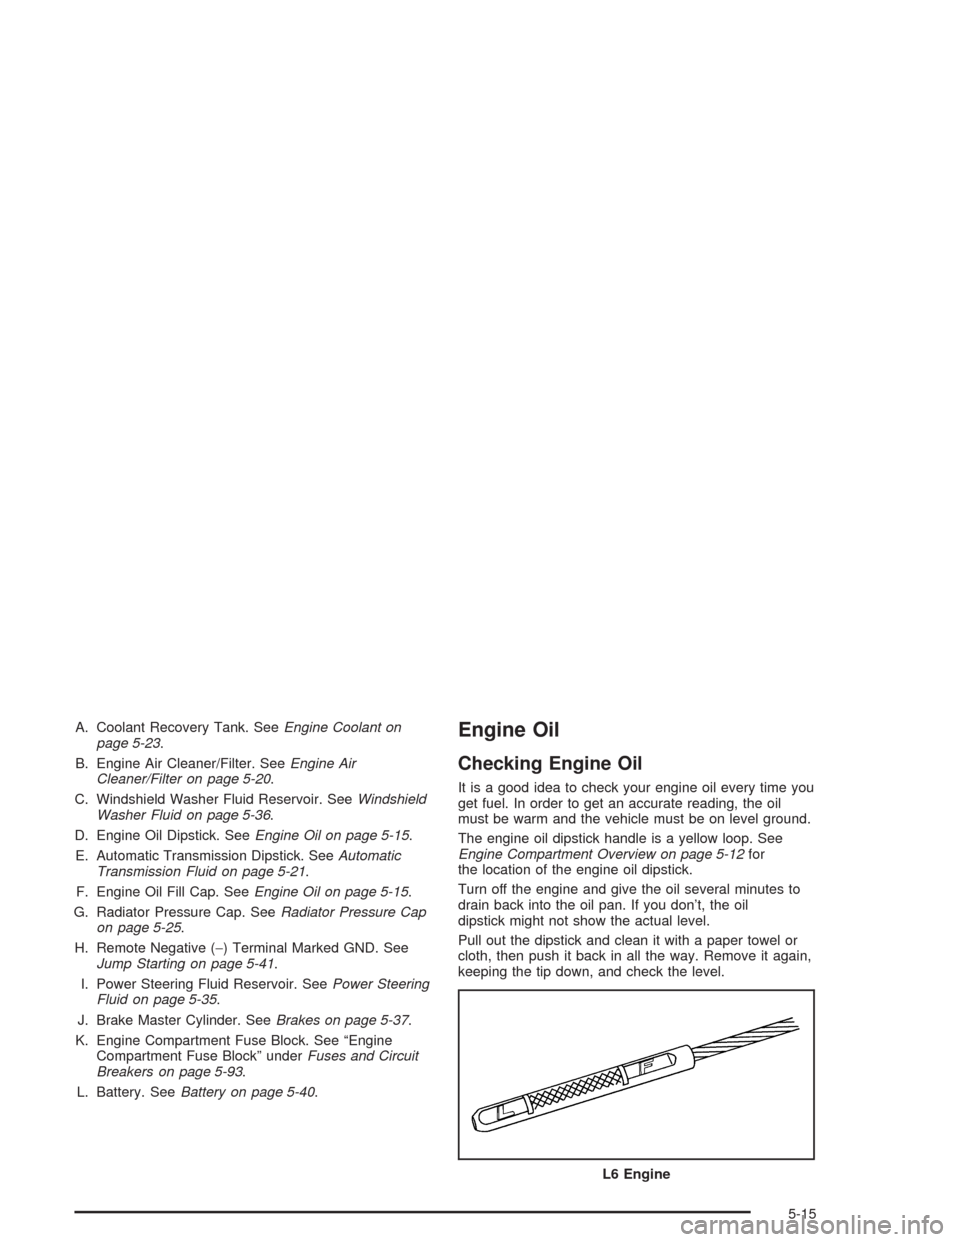
A. Coolant Recovery Tank. SeeEngine Coolant on
page 5-23.
B. Engine Air Cleaner/Filter. SeeEngine Air
Cleaner/Filter on page 5-20.
C. Windshield Washer Fluid Reservoir. SeeWindshield
Washer Fluid on page 5-36.
D. Engine Oil Dipstick. SeeEngine Oil on page 5-15.
E. Automatic Transmission Dipstick. SeeAutomatic
Transmission Fluid on page 5-21.
F. Engine Oil Fill Cap. SeeEngine Oil on page 5-15.
G. Radiator Pressure Cap. SeeRadiator Pressure Cap
on page 5-25.
H. Remote Negative (−) Terminal Marked GND. See
Jump Starting on page 5-41.
I. Power Steering Fluid Reservoir. SeePower Steering
Fluid on page 5-35.
J. Brake Master Cylinder. SeeBrakes on page 5-37.
K. Engine Compartment Fuse Block. See “Engine
Compartment Fuse Block” underFuses and Circuit
Breakers on page 5-93.
L. Battery. SeeBattery on page 5-40.Engine Oil
Checking Engine Oil
It is a good idea to check your engine oil every time you
get fuel. In order to get an accurate reading, the oil
must be warm and the vehicle must be on level ground.
The engine oil dipstick handle is a yellow loop. See
Engine Compartment Overview on page 5-12for
the location of the engine oil dipstick.
Turn off the engine and give the oil several minutes to
drain back into the oil pan. If you don’t, the oil
dipstick might not show the actual level.
Pull out the dipstick and clean it with a paper towel or
cloth, then push it back in all the way. Remove it again,
keeping the tip down, and check the level.
L6 Engine
5-15
Page 317 of 448

Automatic Transmission Fluid
When to Check and Change
A good time to check your automatic transmission �uid
level is when the engine oil is changed.
Change both the �uid and �lter every 50,000 miles
(83 000 km) if the vehicle is mainly driven under one or
more of these conditions:
In heavy city traffic where the outside temperature
regularly reaches 90°F (32°C) or higher.
In hilly or mountainous terrain.
When doing frequent trailer towing.
Uses such as found in taxi, police or delivery
service.
If you do not use your vehicle under any of these
conditions, change the �uid and �lter every
100,000 miles (166 000 km).
How to Check
Because this operation can be a little difficult, you may
choose to have this done at the dealership service
department.
If you do it yourself, be sure to follow all the instructions
here, or you could get a false reading on the dipstick.
Notice:Too much or too little �uid can damage
your transmission. Too much can mean that some
of the �uid could come out and fall on hot engine
part or exhaust system parts, starting a �re.
Too little �uid could cause the transmission to
overheat. Be sure to get an accurate reading if you
check your transmission �uid.
Wait at least 30 minutes before checking the
transmission �uid level if you have been driving:
When outside temperatures are above 90°F (32°C).
At high speed for quite a while.
In heavy traffic-especially in hot weather.
While pulling a trailer.
To get the right reading, the �uid should be at
normal operating temperature, which is 180°F to 200°F
(82°C to 93°C).
5-21