2004 CHEVROLET SUBURBAN brake light
[x] Cancel search: brake lightPage 124 of 556
DRIVE (D):This position is for normal driving. If you
need more power for passing, and you’re:
Going less than about 35 mph (56 km/h), push your
accelerator pedal about halfway down.
Going about 35 mph (56 km/h) or more, push the
accelerator all the way down.
You’ll shift down to the next gear and have more power.
DRIVE (D) can be used when towing a trailer, carrying
a heavy load, driving on steep hills or for off-road driving.
You may want to shift the transmission to THIRD (3)
or, if necessary, a lower gear selection if the
transmission shifts too often.
THIRD (3):This position is also used for normal driving,
however it offers more power and lower fuel economy
than DRIVE (D).
SECOND (2):This position gives you more power but
lower fuel economy. You can use SECOND (2) on
hills. It can help control your speed as you go down
steep mountain roads, but then you would also want to
use your brakes off and on.
If you manually select SECOND (2) in a light duty
automatic transmission, the transmission will drive in
second gear. You may use this feature for reducing the
speed of the rear wheels when you are trying to start
your vehicle from a stop on slippery road surfaces.FIRST (1):This position gives you even more power
(but lower fuel economy) than SECOND (2). You
can use it on very steep hills, or in deep snow or mud.
If the shift lever is put in FIRST (1) while the vehicle
is moving forward, the transmission won’t shift into �rst
gear until the vehicle is going slowly enough.
Notice:Spinning the tires or holding the vehicle in
one place on a hill using only the accelerator
pedal may damage the transmission. If you are
stuck, do not spin the tires. When stopping on a hill,
use the brakes to hold the vehicle in place.
On cold days, approximately 32°F (0°C) or colder, your
transmission is designed to shift differently until the
engine reaches normal operating temperature. This is
intended to improve heater performance.
2-28
Page 128 of 556
5(4LO):This setting also engages your front axle
and delivers extra torque. You may never need this
setting. It sends maximum power to all four wheels. You
might choose 4LO if you are driving off-road in deep
sand, deep mud, deep snow and climbing or descending
steep hills.
{CAUTION:
Shifting the transfer case to NEUTRAL can
cause your vehicle to roll even if the
transmission is in PARK (P). You or someone
else could be seriously injured. Be sure to set
the parking brake before placing the transfer
case in NEUTRAL. SeeParking Brake on
page 2-38.
NEUTRAL (N):Shift the vehicle’s transfer case to
NEUTRAL only when towing your vehicle. See
Recreational Vehicle Towing on page 4-55orTowing
Your Vehicle on page 4-55for more information.Indicator lights in the button show which setting you are
in. The indicator lights will come on brie�y when you
turn on the ignition and one will stay on. If the lights do
not come on, you should take your vehicle to your
dealer for service. An indicator light will �ash while
shifting the transfer case. It will remain illuminated when
the shift is complete. If for some reason the transfer
case cannot make a requested shift, it will return to the
last chosen setting.
If the SERVICE 4WD message stays on, you should
take your vehicle to your dealer for service. See″Service
4WD message″underDriver Information Center (DIC)
on page 3-56.
Shifting into 4HI or AUTO 4WD
Press and release the 4HI or AUTO 4WD button. This
can be done at any speed (except when shifting
from 4LO), and the indicator light will �ash while shifting.
It will remain illuminated when the shift is completed.
Shifting into 2HI
Press and release the 2HI button. This can be done at
any speed (except when shifting from 4LO).
2-32
Page 130 of 556
Shifting into NEUTRAL
To shift the transfer case to NEUTRAL do the following:
1. Make sure the vehicle is parked so that it will
not roll.
2. Set the parking brake.
3. Start the vehicle or turn the ignition to RUN.
4. Connect the vehicle to the towing vehicle.
5. Put the transmission in NEUTRAL (N).
6. Shift the transfer case to 2HI.
7. Simultaneously press and hold the 2HI and
4LO buttons for 10 seconds. The red NEUTRAL
light will come on when the transfer case shift
to NEUTRAL is complete.
8. Shift the transmission to REVERSE (R) for one
second, then shift the transmission to DRIVE (D)
for one second.
9. Turn the ignition to LOCK.
10. Place the transmission shift lever in PARK (P).
11. Release the parking brake prior to towing.
Shifting Out of NEUTRAL
To shift out of NEUTRAL:
1. Set the parking brake and apply the regular brake
pedal.
2. Shift the transmission to NEUTRAL (N) and turn the
ignition to RUN with the engine off.
3. Press the button for the desired transfer case shift
position (2HI, 4HI, AUTO 4WD OR 4LO).
4. After the transfer case has shifted out of NEUTRAL
the red light will go out.
5. Release the parking brake.
6. You may start the engine and shift the transmission
to the desired position.
Excessively shifting the transfer case into or out of the
different modes may cause the transfer case to enter the
shift protection mode. This will protect the transfer case
from possible damage and will only allow the transfer
case to respond to one shift per 10 seconds. The transfer
case may stay in this mode for up to three minutes.
2-34
Page 133 of 556
Shifting Out of 4LO
To shift from 4LO to All-Wheel Drive your vehicle must
be stopped or moving less than 3 mph (4.8 km/h)
with the transmission in NEUTRAL (N) and the ignition
in RUN. The preferred method for shifting out of
4LO is to have your vehicle moving 1 to 2 mph
(1.6 to 3.2 km/h). Press and release the All-Wheel Drive
button. You must wait for the AWD indicator light to
stop �ashing and remain illuminated before shifting your
transmission into gear.
If the All-Wheel Drive button is pressed when your
vehicle is in gear and/or moving, the All-Wheel Drive
indicator light will �ash for 30 seconds but will not
complete the shift unless your vehicle is moving less
than 3 mph (4.8 km/h) and the transmission is in
NEUTRAL (N).
Shifting into NEUTRAL
To shift the transfer case to NEUTRAL do the following:
1. Make sure the vehicle is parked so that it will
not roll
2. Set the parking brake.
3. Start the vehicle or turn the ignition to RUN.
4. Connect the vehicle to the towing vehicle.
5. Put the transmission in NEUTRAL (N).
6. Shift the transfer case to All-Wheel Drive.
7. Simultaneously press and hold the Stabilitrak
®and
4LO buttons for 10 seconds. The red NEUTRAL
light will come on when the transfer case shift
to NEUTRAL is complete.
8. Shift the transmission to REVERSE (R) for one
second, then shift the transmission to DRIVE (D)
for one second.
9. Turn the ignition to LOCK.
10. Place the transmission shift lever in PARK (P).
11. Release the parking brake prior to towing.
2-37
Page 134 of 556
Shifting Out of NEUTRAL
To shift out of NEUTRAL:
1. Set the parking brake and apply the regular brake
pedal.
2. Shift the transmission to NEUTRAL (N) and turn the
ignition to RUN with the engine off.
3. Press the button for the desired transfer case shift
position (All-Wheel Drive or 4LO).
4. After the transfer case has shifted out of NEUTRAL
the red light will go out.
5. Release the parking brake.
6. You may start the engine and shift the transmission
to the desired position.
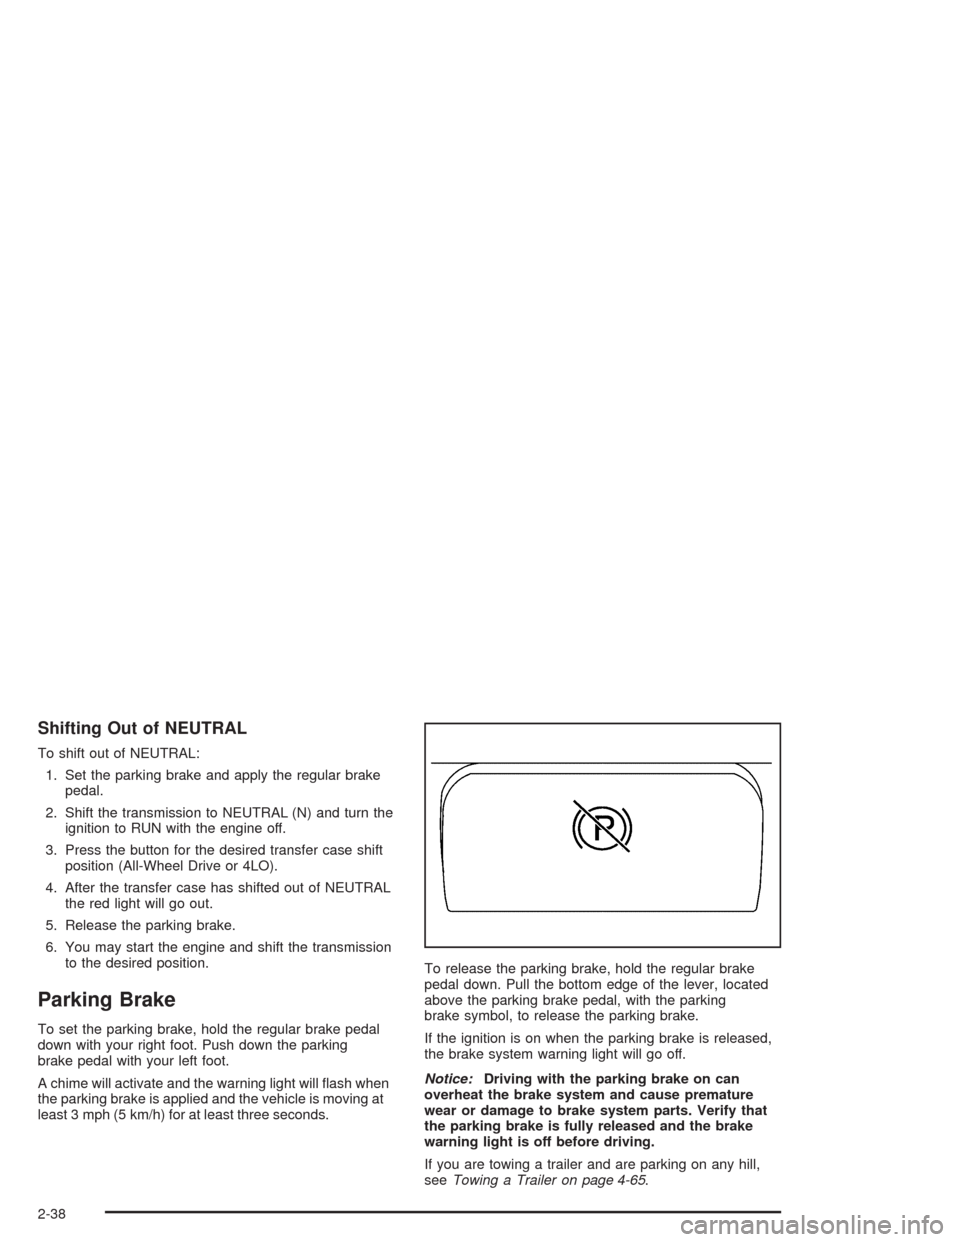
Parking Brake
To set the parking brake, hold the regular brake pedal
down with your right foot. Push down the parking
brake pedal with your left foot.
A chime will activate and the warning light will �ash when
the parking brake is applied and the vehicle is moving at
least 3 mph (5 km/h) for at least three seconds.To release the parking brake, hold the regular brake
pedal down. Pull the bottom edge of the lever, located
above the parking brake pedal, with the parking
brake symbol, to release the parking brake.
If the ignition is on when the parking brake is released,
the brake system warning light will go off.
Notice:Driving with the parking brake on can
overheat the brake system and cause premature
wear or damage to brake system parts. Verify that
the parking brake is fully released and the brake
warning light is off before driving.
If you are towing a trailer and are parking on any hill,
seeTowing a Trailer on page 4-65.
2-38
Page 141 of 556

{CAUTION:
Four-wheel drive vehicles with the transfer
case in NEUTRAL will allow the vehicle to roll,
even if your shift lever is in PARK (P). So, be
sure the transfer case is in a drive gear — not
in NEUTRAL. Always set your parking brake.
Follow the proper steps to be sure your vehicle will not
move. SeeShifting Into Park (P) on page 2-39.
If you are pulling a trailer, seeTowing a Trailer on
page 4-65.
Mirrors
Manual Rearview Mirror
Pull the tab under the mirror toward you to reduce glare
from headlamps behind you after dark. Push the tab
away from you for normal daytime operation.
Automatic Dimming Rearview Mirror
with OnStar
®, Compass and
Temperature Display
Your vehicle may have this feature. When on, an
automatic dimming mirror automatically dims to the
proper level to minimize glare from lights behind
you after dark.
The mirror also includes a dual display in the upper
right corner of the mirror face. The compass reading and
the outside temperature will both appear in the display
at the same time.
P(On/Off):This is the on/off button.
2-45
Page 165 of 556
Instrument Panel Overview...............................3-4
Hazard Warning Flashers................................3-6
Other Warning Devices...................................3-6
Horn.............................................................3-6
Tilt Wheel.....................................................3-7
Turn Signal/Multifunction Lever.........................3-7
Exterior Lamps.............................................3-14
Interior Lamps..............................................3-18
Accessory Power Outlets...............................3-21
Ashtrays and Cigarette Lighter........................3-21
Climate Controls............................................3-22
Climate Control System.................................3-22
Dual Climate Control System..........................3-23
Dual Automatic Climate Control System...........3-27
Rear Air Conditioning System.........................3-34
Rear Air Conditioning and Heating System.......3-35
Rear Air Conditioning and Heating System
and Electronic Climate Controls...................3-37
Warning Lights, Gages, and Indicators............3-39
Instrument Panel Cluster................................3-40
Speedometer and Odometer...........................3-41
Tachometer.................................................3-41Safety Belt Reminder Light.............................3-41
Air Bag Readiness Light................................3-42
Passenger Air Bag Status Indicator.................3-42
Battery Warning Light....................................3-44
Voltmeter Gage............................................3-44
Brake System Warning Light..........................3-45
Anti-Lock Brake System
Warning Light...........................................3-46
Traction Off Light..........................................3-46
Engine Coolant Temperature Gage..................3-47
Transmission Temperature Gage.....................3-48
Tire Pressure Light.......................................3-49
Malfunction Indicator Lamp.............................3-50
Oil Pressure Gage........................................3-53
Cruise Control Light......................................3-54
Four-Wheel-Drive Light..................................3-54
Tow/Haul Mode Light....................................3-54
Fuel Gage...................................................3-55
Low Fuel Warning Light.................................3-55
Driver Information Center (DIC).......................3-56
DIC Operation and Displays...........................3-56
DIC Warnings and Messages.........................3-68
Section 3 Instrument Panel
3-1
Page 169 of 556
A. Dome Lamp Override Button. See “Dome Lamps”
underInterior Lamps on page 3-18.
B. Exterior Lamp Controls. SeeExterior Lamps on
page 3-14.
C. Air Outlets. SeeDual Climate Control System on
page 3-23.
D. Automatic Transfer Case/Stabilitrak
®Mode Button
(AWD Vehicles)/Traction Assist System (TAS).
SeeFour-Wheel Drive on page 2-30.
E. Turn Signal/Multifunction Lever. SeeTurn
Signal/Multifunction Lever on page 3-7.
F. Instrument Panel Cluster. SeeInstrument Panel
Cluster on page 3-40.
G. Gearshift Lever. SeeAutomatic Transmission
Operation on page 2-26.
H. Tow/Haul Selector Button (If Equipped). See
Automatic Transmission Operation on page 2-26.
I. Audio System. SeeAudio System(s) on page 3-76.
J. Climate Control System. SeeClimate Control
System on page 3-22.K. Instrument Panel Fuse Block. SeeFuses and Circuit
Breakers on page 5-110.
L. Hood Release. SeeHood Release on page 5-12.
M. Steering Wheel Control Buttons (If Equipped).
SeeDriver Information Center (DIC) on page 3-56.
N. Center Instrument Panel Utility Block. SeeFuses and
Circuit Breakers on page 5-110.
O. Tilt Wheel Lever. SeeTilt Wheel on page 3-7.
P. Parking Brake Release. SeeParking Brake on
page 2-38.
Q. Lighter and Accessory Power Outlets. See
Accessory Power Outlets on page 3-21.
R. Storage Area (If Equipped). SeeFront Storage Area
on page 2-63.
S. Ashtray. SeeAshtrays and Cigarette Lighter on
page 3-21.
T. Glovebox. SeeGlove Box on page 2-63.
3-5