2004 CHEVROLET SILVERADO instrument cluster
[x] Cancel search: instrument clusterPage 169 of 584

The main components of your instrument panel are the following:
A. Dome Lamp Button. See “Dome Lamps” under
Interior Lamps on page 3-18.
B. Exterior Lamp Controls. SeeExterior Lamps on
page 3-13.
C. Air Outlets. See “Climate Controls” in Section 3.
D. Automatic Transfer Case/Electronic Transfer
Case/Traction Assist System (TAS). SeeFour-Wheel
Drive on page 2-36.
E. Multifunction Lever. SeeTurn Signal/Multifunction
Lever on page 3-7.
F. Instrument Panel Cluster. SeeInstrument Panel
Cluster on page 3-34.
G. Gearshift Lever (Automatic Transmission). See
Automatic Transmission Operation on page 2-27.
H. Tow/Haul Selector and Overdrive Disable (Allison
Transmission
®Only) Button (If Equipped). See
Automatic Transmission Operation on page 2-27.
I. Audio System. SeeAudio System(s) on page 3-72.
J. Comfort Control System. SeeClimate Control
System on page 3-20.
K. Instrument Panel Fuse Block.Fuses and Circuit
Breakers on page 5-123.L. Hood Release. SeeHood Release on page 5-12.
M. Steering Wheel Control Buttons (If Equipped).
SeeDriver Information Center (DIC) on page 3-53.
N. Center Instrument Panel Utility Block. SeeFuses and
Circuit Breakers on page 5-123.
O. Parking Brake Release. SeeParking Brake on
page 2-48.
P. Tilt Wheel Lever. SeeTilt Wheel on page 3-7.
Q. Lighter and Accessory Power Outlet. SeeAccessory
Power Outlets on page 3-19, andAshtrays and
Cigarette Lighter on page 3-20.
R. Storage Area. See “Storage Areas” in Section 2.
S. Ashtray. SeeAshtrays and Cigarette Lighter
on page 3-20.
T. Manual Selectable Ride Control (If Equipped). See
Manual Selectable Ride on page 4-11.
U. 4WS Switch (If Equipped). SeeQUADRASTEER™
on page 4-15.
V. Passenger Air Bag Off Switch. SeeAir Bag Off
Switch on page 1-73.
W. Glove Box. SeeGlove Box on page 2-67.
3-5
Page 172 of 584

Turn and Lane Change Signals
The turn signal has two upward (for right) and two
downward (for left) positions. These positions allow you
to signal a turn or a lane change.
To signal a turn, move the lever all the way up
or down. When the turn is �nished, the lever will
return automatically.
To signal a lane change, just raise or lower the lever
until the arrow starts to �ash. Hold it there until you
complete your lane change. The lever will return by itself
when you release it.
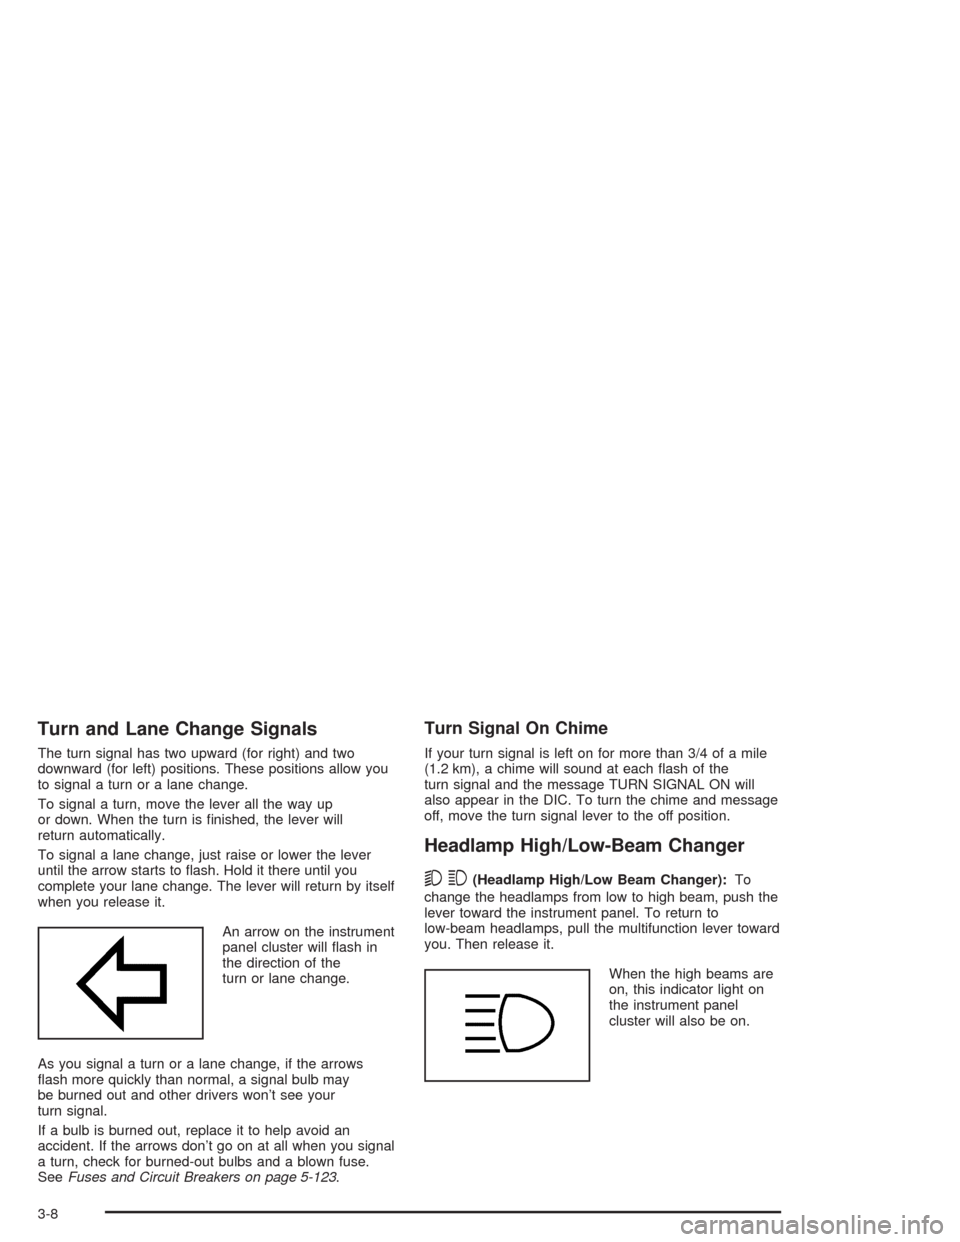
An arrow on the instrument
panel cluster will �ash in
the direction of the
turn or lane change.
As you signal a turn or a lane change, if the arrows
�ash more quickly than normal, a signal bulb may
be burned out and other drivers won’t see your
turn signal.
If a bulb is burned out, replace it to help avoid an
accident. If the arrows don’t go on at all when you signal
a turn, check for burned-out bulbs and a blown fuse.
SeeFuses and Circuit Breakers on page 5-123.
Turn Signal On Chime
If your turn signal is left on for more than 3/4 of a mile
(1.2 km), a chime will sound at each �ash of the
turn signal and the message TURN SIGNAL ON will
also appear in the DIC. To turn the chime and message
off, move the turn signal lever to the off position.
Headlamp High/Low-Beam Changer
53
(Headlamp High/Low Beam Changer):To
change the headlamps from low to high beam, push the
lever toward the instrument panel. To return to
low-beam headlamps, pull the multifunction lever toward
you. Then release it.
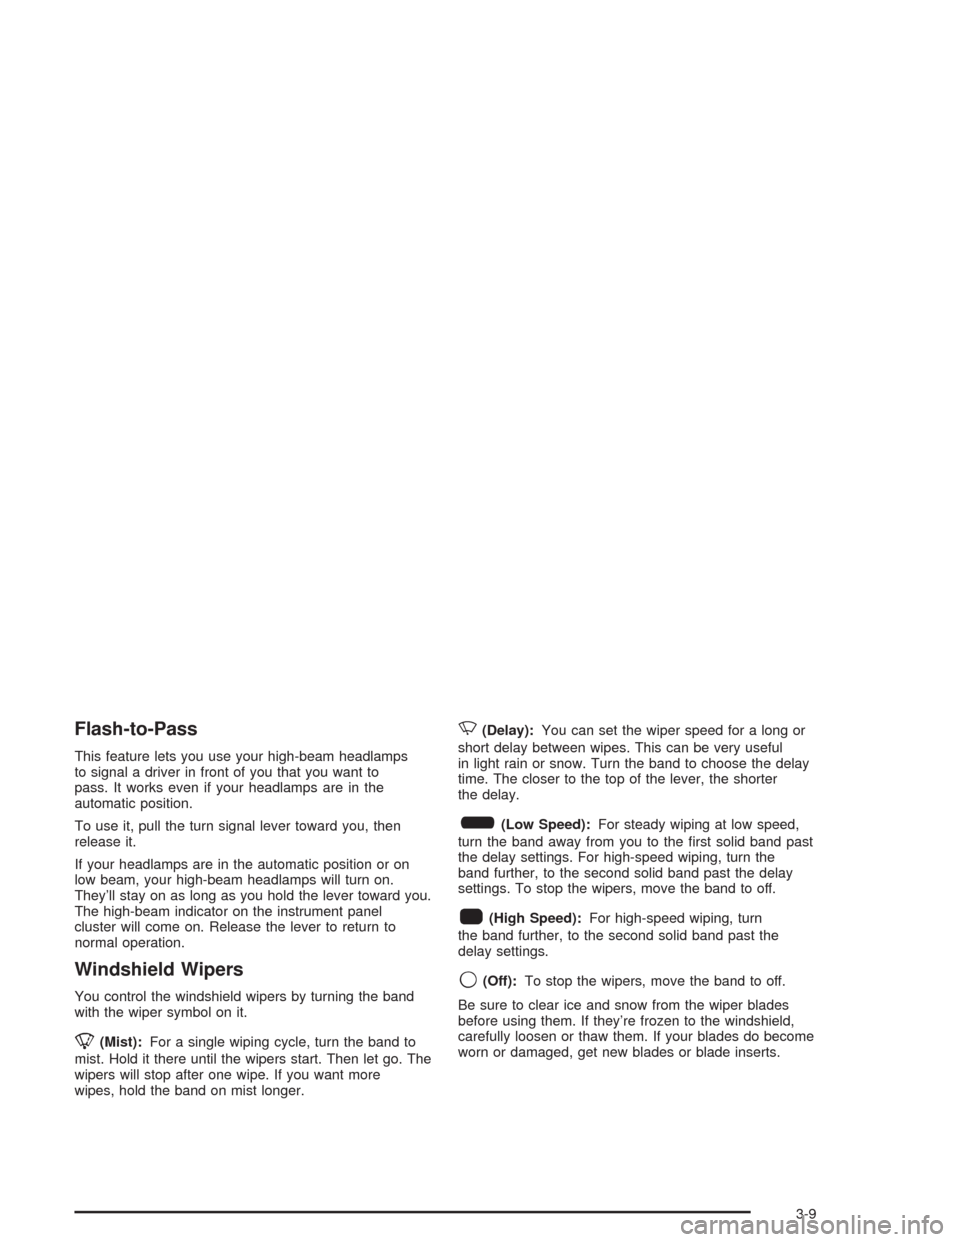
When the high beams are
on, this indicator light on
the instrument panel
cluster will also be on.
3-8
Page 173 of 584

Flash-to-Pass
This feature lets you use your high-beam headlamps
to signal a driver in front of you that you want to
pass. It works even if your headlamps are in the
automatic position.
To use it, pull the turn signal lever toward you, then
release it.
If your headlamps are in the automatic position or on
low beam, your high-beam headlamps will turn on.
They’ll stay on as long as you hold the lever toward you.
The high-beam indicator on the instrument panel
cluster will come on. Release the lever to return to
normal operation.
Windshield Wipers
You control the windshield wipers by turning the band
with the wiper symbol on it.
8(Mist):For a single wiping cycle, turn the band to
mist. Hold it there until the wipers start. Then let go. The
wipers will stop after one wipe. If you want more
wipes, hold the band on mist longer.
N(Delay):You can set the wiper speed for a long or
short delay between wipes. This can be very useful
in light rain or snow. Turn the band to choose the delay
time. The closer to the top of the lever, the shorter
the delay.
6(Low Speed):For steady wiping at low speed,
turn the band away from you to the �rst solid band past
the delay settings. For high-speed wiping, turn the
band further, to the second solid band past the delay
settings. To stop the wipers, move the band to off.
1(High Speed):For high-speed wiping, turn
the band further, to the second solid band past the
delay settings.
9(Off):To stop the wipers, move the band to off.
Be sure to clear ice and snow from the wiper blades
before using them. If they’re frozen to the windshield,
carefully loosen or thaw them. If your blades do become
worn or damaged, get new blades or blade inserts.
3-9
Page 179 of 584

If you start your vehicle in a dark garage, the automatic
headlamp system will come on immediately. Once
you leave the garage, it will take approximately
one minute for the automatic headlamp system to
change to DRL if it is bright enough outside. During that
delay, your instrument panel cluster may not be as
bright as usual. Make sure your instrument panel
brightness control is in the full bright position. See
“Instrument Panel Brightness Control” underInterior
Lamps on page 3-18.
To idle your vehicle with the automatic headlamp
system off, turn the control to the off position.
You may be able to turn off your Automatic Headlamp
System. See “Daytime Running Lamps (DRL)” later
in this section for more information.
As with any vehicle, you should turn on the regular
headlamp system when you need them.
Lamps On Reminder
A reminder chime will sound when your headlamps or
parking lamps are manually turned on and your
ignition is off, in LOCK, ACCESSORY, or your door is
open. To disable the chime, turn the light off then
back on.
Daytime Running Lamps
Daytime Running Lamps (DRL) can make it easier for
others to see the front of your vehicle during the
day. DRL can be helpful in many different driving
conditions, but they can be especially helpful in the short
periods after dawn and before sunset. Fully functional
daytime running lamps are required on all vehicles
�rst sold in Canada.
The DRL system will come on when the following
conditions are met:
The ignition is on
The exterior lamps control is in AUTO
The automatic transmission is not in PARK (P)
The light sensor determines it is daytime
When the DRL system is on, only your DRL lamps will
be on. The taillamps, sidemarker and other lamps
won’t be on. The instrument panel won’t be lit up either.
When it begins to get dark, the automatic headlamp
system will switch from DRL to the headlamps or the last
chosen headlamp setting that was used.
When you turn the headlamp switch off, the headlamps
will go off, and your DRL lamps will illuminate,
provided it is not dark outside.
3-15
Page 198 of 584

Instrument Panel Cluster
Your instrument cluster is designed to let you know at a glance how your vehicle is running. You’ll know how fast you’re
going, about how much fuel you have and many other things you’ll need to know to drive safely and economically.United States Heavy Duty Automatic Transmission version shown. Canada, Light Duty Automatic and Manual
Transmission Clusters similar.
3-34
Page 200 of 584

Safety Belt Reminder Light
When the key is turned to RUN or START, a chime will
come on for several seconds to remind people to
fasten their safety belts, unless the driver’s safety belt is
already buckled.
The safety belt light will
also come on and stay on
for several seconds,
then it will �ash for
several more.
If the driver’s belt is already buckled, neither the chime
nor the light will come on.
Air Bag Readiness Light
There is an air bag readiness light on the instrument
panel cluster, which shows the air bag symbol.
The system checks the air bag’s electrical system for
malfunctions. The light tells you if there is an electrical
problem. The system check includes the air bag
sensors, the air bag modules, the passenger sensing
system (if equipped), the wiring and the crash sensing
and diagnostic module. For more information on the
air bag system, seeAir Bag Systems on page 1-67.
This light will come on
when you start your
vehicle, and it will �ash for
a few seconds. Then
the light should go out.
This means the system
is ready.
If the air bag readiness light stays on after you start the
vehicle or comes on when you are driving, your air
bag system may not work properly. Have your vehicle
serviced right away.
3-36
Page 217 of 584

Here are some situations you may experience with your
fuel gage. None of these indicate a problem with the
fuel gage.
At the gas station, the fuel pump shuts off before
the gage reads full.
It takes a little more or less fuel to �ll up than the
fuel gage indicated. For example, the gage may
have indicated the tank was half full, but it actually
took a little more or less than half the tank’s
capacity to �ll the tank.
The gage goes back to empty when you turn off
the ignition.
If you have a diesel engine, see “Fuel Gage” in the
Diesel Engine Supplement.
Low Fuel Warning Light
The light next to the fuel gage will come on brie�y when
you are starting the engine.
This light comes on when the fuel tank is low on fuel.
To turn it off, add fuel to the fuel tank. SeeFuel on
page 5-5.
Driver Information Center (DIC)
The DIC display is located on the instrument panel
cluster above the steering wheel. The DIC can display
information such as the trip odometer, fuel economy and
personalization features.
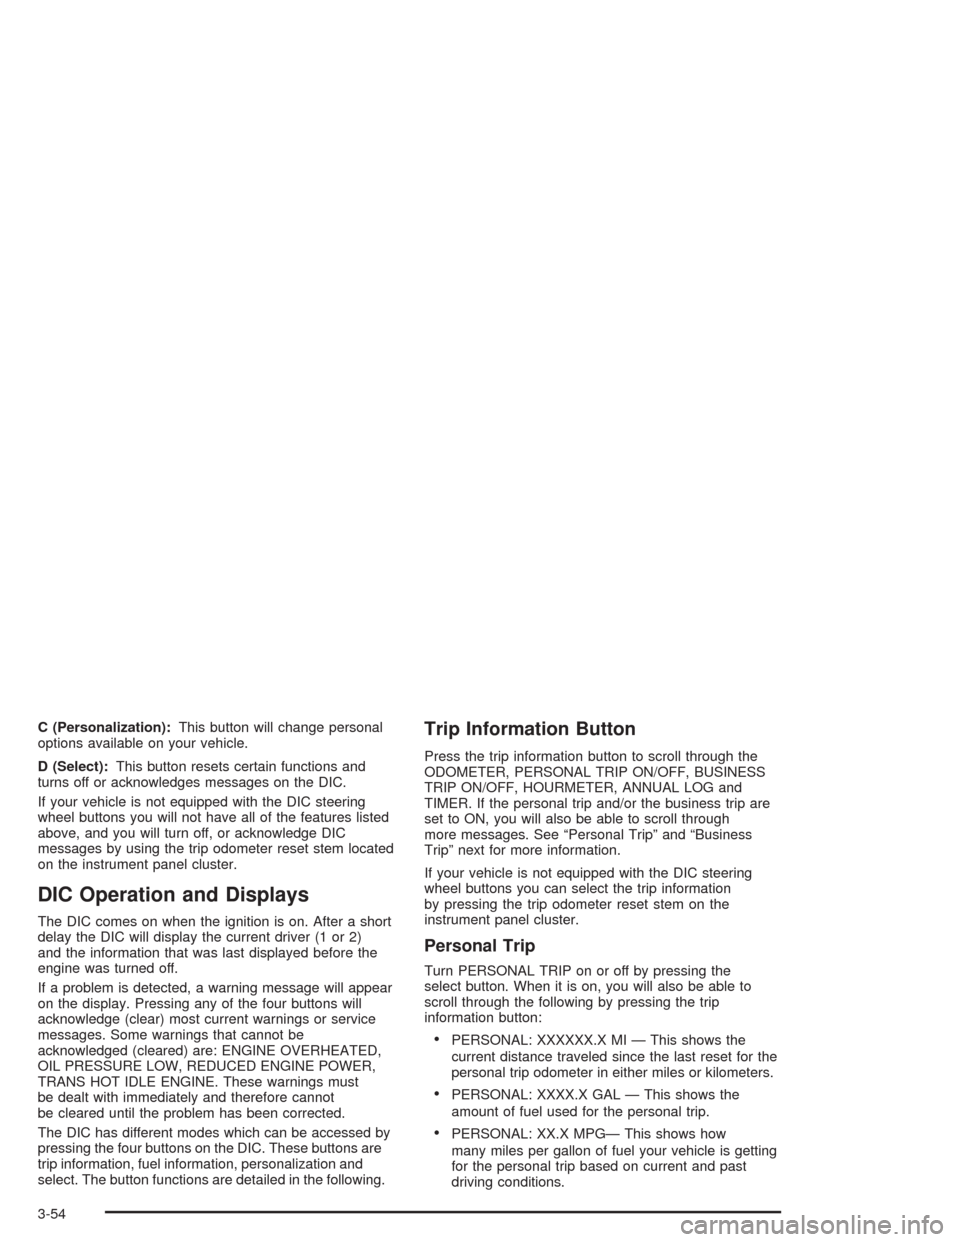
A (Trip Information):This button will display the
odometer, personal trip odometer, business trip
odometer, hourmeter, annual log and the timer.
B (Fuel Information):This button will display the
current range, average fuel economy, instant fuel
economy and engine oil life.
3-53
Page 218 of 584

C (Personalization):This button will change personal
options available on your vehicle.
D (Select):This button resets certain functions and
turns off or acknowledges messages on the DIC.
If your vehicle is not equipped with the DIC steering
wheel buttons you will not have all of the features listed
above, and you will turn off, or acknowledge DIC
messages by using the trip odometer reset stem located
on the instrument panel cluster.
DIC Operation and Displays
The DIC comes on when the ignition is on. After a short
delay the DIC will display the current driver (1 or 2)
and the information that was last displayed before the
engine was turned off.
If a problem is detected, a warning message will appear
on the display. Pressing any of the four buttons will
acknowledge (clear) most current warnings or service
messages. Some warnings that cannot be
acknowledged (cleared) are: ENGINE OVERHEATED,
OIL PRESSURE LOW, REDUCED ENGINE POWER,
TRANS HOT IDLE ENGINE. These warnings must
be dealt with immediately and therefore cannot
be cleared until the problem has been corrected.
The DIC has different modes which can be accessed by
pressing the four buttons on the DIC. These buttons are
trip information, fuel information, personalization and
select. The button functions are detailed in the following.
Trip Information Button
Press the trip information button to scroll through the
ODOMETER, PERSONAL TRIP ON/OFF, BUSINESS
TRIP ON/OFF, HOURMETER, ANNUAL LOG and
TIMER. If the personal trip and/or the business trip are
set to ON, you will also be able to scroll through
more messages. See “Personal Trip” and “Business
Trip” next for more information.
If your vehicle is not equipped with the DIC steering
wheel buttons you can select the trip information
by pressing the trip odometer reset stem on the
instrument panel cluster.
Personal Trip
Turn PERSONAL TRIP on or off by pressing the
select button. When it is on, you will also be able to
scroll through the following by pressing the trip
information button:
PERSONAL: XXXXXX.X MI — This shows the
current distance traveled since the last reset for the
personal trip odometer in either miles or kilometers.
PERSONAL: XXXX.X GAL — This shows the
amount of fuel used for the personal trip.
PERSONAL: XX.X MPG— This shows how
many miles per gallon of fuel your vehicle is getting
for the personal trip based on current and past
driving conditions.
3-54