2004 CHEVROLET SILVERADO radio controls
[x] Cancel search: radio controlsPage 162 of 584

4. To add cargo to the
box, remove all bows
and the back rail
and stow them safely.
To clean the tonneau cover, use mild soap and water.
If necessary, use a soft bristle brush to remove dirt
trapped in the grain of the material.Vehicle Personalization
Memory Seat
If your vehicle has this
feature, then the controls
for the memory function
are located on the
driver’s door.
These buttons are used to program and recall memory
settings for the driver’s seat, both the driver’s and
passenger’s outside mirror, and the radio station
presets. The settings for these features can be
personalized for both driver 1 and driver 2. Driver 1 or
driver 2 corresponds to the memory buttons labeled
1 and 2 on the driver’s door.
2-70
Page 163 of 584

To store your memory seat, mirrors and radio presets,
do the following:
1. Adjust the driver’s seat, including the seatback
recliner, lumbar, and side wing area, both of the
outside mirrors, and the radio station presets to your
preference.
2. Press and hold the 1 or 2 button of the memory
control for three seconds, to correspond to driver
1 or 2. A double chime will sound to let you
know that the position has been stored.
To repeat the procedure for a second driver, follow the
preceding steps, but press the other numbered
memory control button.
Each time button 1 or 2 is pressed and released while
the vehicle is in PARK (P), a single chime will sound and
the memory position will be recalled.If you use the unlock button on the remote keyless entry
transmitter to enter your vehicle, the preset driver’s
seat, mirror positions and the radio station presets will
be recalled if programmed to do so through the
Driver Information Center (DIC). SeeDriver Information
Center (DIC) on page 3-53. The numbers on the
back of the transmitters, 1 or 2, correspond to the
numbers on the memory controls.
The seat and mirror positions can also be recalled when
placing the key in the ignition if programmed to do so
through the Driver Information Center (DIC).
To stop recall movement of the memory seat feature at
any time, press one of the memory buttons or power
seat controls.
2-71
Page 165 of 584

Instrument Panel Overview...............................3-4
Hazard Warning Flashers................................3-6
Other Warning Devices...................................3-6
Horn.............................................................3-6
Tilt Wheel.....................................................3-7
Turn Signal/Multifunction Lever.........................3-7
Exterior Lamps.............................................3-13
Interior Lamps..............................................3-18
Accessory Power Outlets...............................3-19
Ashtrays and Cigarette Lighter........................3-20
Climate Controls............................................3-20
Climate Control System.................................3-20
Dual Climate Control System..........................3-22
Dual Automatic Climate Control System...........3-25
Warning Lights, Gages, and Indicators............3-33
Instrument Panel Cluster................................3-34
Speedometer and Odometer...........................3-35
Tachometer.................................................3-35
Safety Belt Reminder Light.............................3-36
Air Bag Readiness Light................................3-36
Air Bag Off Light..........................................3-37
Passenger Air Bag Status Indicator.................3-40
Battery Warning Light....................................3-42
Voltmeter Gage............................................3-42
Up-Shift Light...............................................3-43
Brake System Warning Light..........................3-43Anti-Lock Brake System Warning Light.............3-44
Traction Off Light..........................................3-45
Engine Coolant Temperature Gage..................3-46
Transmission Temperature Gage.....................3-46
Malfunction Indicator Lamp.............................3-48
Oil Pressure Gage........................................3-50
Cruise Control Light......................................3-51
Four-Wheel-Drive Light..................................3-51
Tow/Haul Mode Light....................................3-52
Overdrive Disable.........................................3-52
Fuel Gage...................................................3-52
Low Fuel Warning Light.................................3-53
Driver Information Center (DIC).......................3-53
DIC Operation and Displays...........................3-54
DIC Warnings and Messages.........................3-64
Audio System(s).............................................3-72
Setting the Time for Radios without
Radio Data Systems (RDS)........................3-72
Setting the Time for Radios with Radio
Data Systems (RDS)..................................3-73
AM-FM Radio...............................................3-73
Radio with CD..............................................3-76
Radio with Cassette and CD..........................3-86
Radio with Six-Disc CD................................3-100
Rear Seat Entertainment System...................3-114
Rear Seat Audio (RSA)................................3-125
Section 3 Instrument Panel
3-1
Page 166 of 584

Theft-Deterrent Feature................................3-127
Audio Steering Wheel Controls......................3-127
Radio Reception.........................................3-128
Care of Your Cassette Tape Player...............3-129
Care of Your CDs and DVDs........................3-130Care of Your CD and DVD Player.................3-130
Fixed Mast Antenna....................................3-130
XM™ Satellite Radio Antenna System............3-130
Chime Level Adjustment...............................3-130
Section 3 Instrument Panel
3-2
Page 182 of 584

Interior Lamps
Instrument Panel Brightness Control
D
:This feature controls the brightness of the
instrument panel lights.
The thumbwheel for this feature is located next to the
headlamp control.
Turn the thumbwheel up, or down, to adjust the
instrument panel lights. Turn the thumbwheel up to
return the radio display to full brightness when the
headlamps or parking lamps are on. To turn on the
dome lamps, turn the thumbwheel all the way up.
Exit Lighting
With exit lighting, the interior lamps will come on when
you remove the key from the ignition. The lights will
not come on if the dome override button is pressed in.
Entry Lighting
Your vehicle is equipped with an illuminated
entry feature.
When a door is opened, the dome lamps will come on if
the dome override button is in the out position. If the
dome override button is pressed in, the lamps will
not come on.
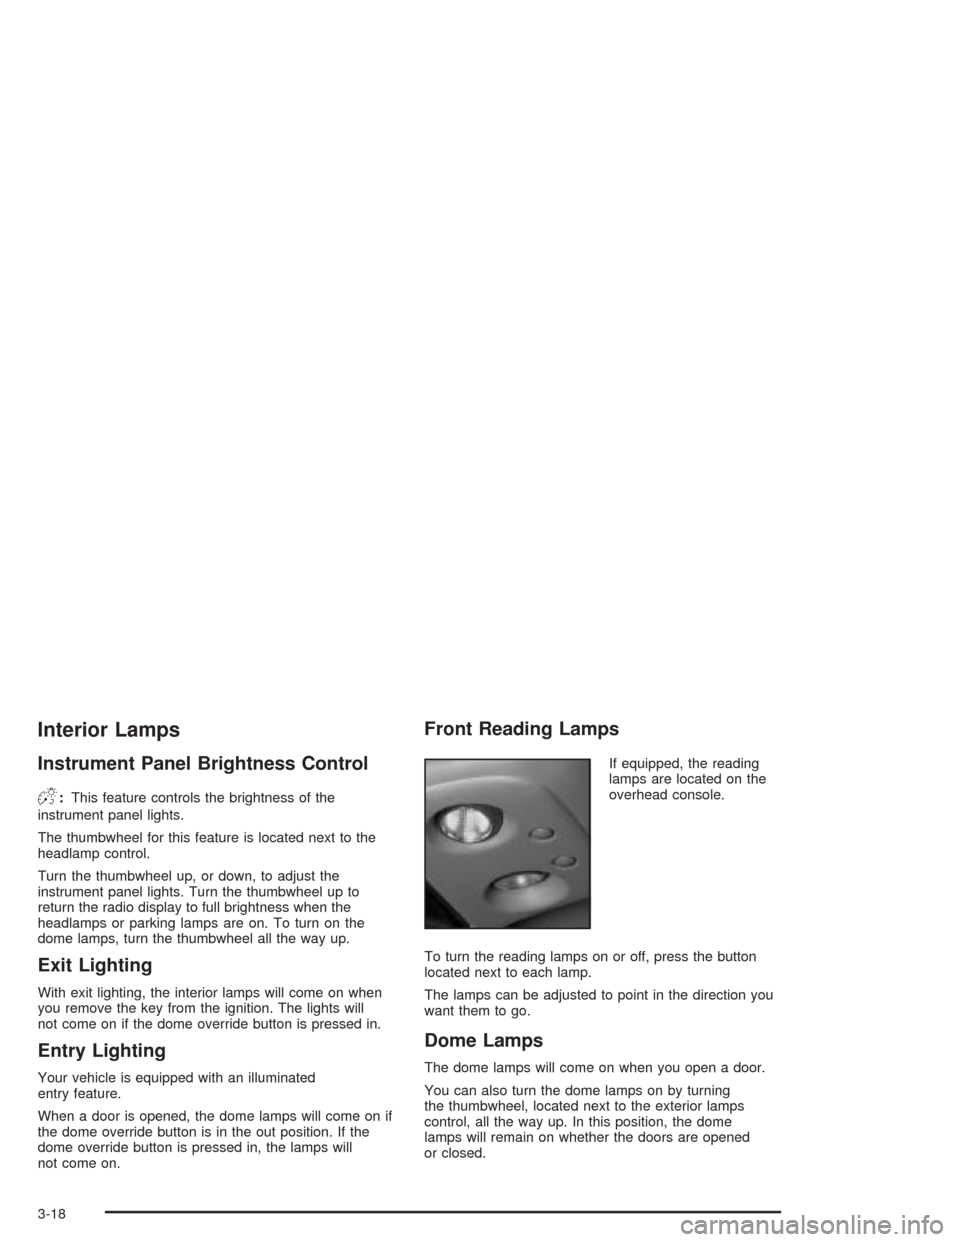
Front Reading Lamps
If equipped, the reading
lamps are located on the
overhead console.
To turn the reading lamps on or off, press the button
located next to each lamp.
The lamps can be adjusted to point in the direction you
want them to go.
Dome Lamps
The dome lamps will come on when you open a door.
You can also turn the dome lamps on by turning
the thumbwheel, located next to the exterior lamps
control, all the way up. In this position, the dome
lamps will remain on whether the doors are opened
or closed.
3-18
Page 236 of 584

TURN SIGNAL ON
If a turn signal is left on for 3/4 of a mile (1.2 km), this
message will appear on the display and you will
hear a chime. Move the turn signal/multifunction lever to
the off position. Press the select button to acknowledge
the message and clear it from the DIC display.
Audio System(s)
Notice:Before adding any sound equipment to
your vehicle, like a tape player, CB radio, mobile
telephone, or two-way radio, make sure that it can
be added by checking with your dealer. Also,
check federal rules covering mobile radio and
telephone units. If sound equipment can be added,
it is very important to do it properly. Added
sound equipment may interfere with the operation
of your vehicle’s engine, radio, or other systems,
and even damage them. Your vehicle’s systems may
interfere with the operation of sound equipment
that has been added improperly.Figure out which audio system is in your vehicle, �nd
out what your audio system can do, and how to operate
all of its controls.
Your vehicle may have a feature called Retained
Accessory Power (RAP). With RAP, the audio system
can be played even after the ignition is turned off.
See “Retained Accessory Power (RAP)” underIgnition
Positions on page 2-23.Setting the Time for Radios without
Radio Data Systems (RDS)
Press and hold HR until the correct hour appears on the
display. Press and hold MIN until the correct minute
appears on the display. There is an initial two-second
delay before the clock goes into time-set mode.
Display the time with the ignition off, by pressing RCL,
HR, or MIN.
3-72
Page 239 of 584

To adjust both tone controls and both speaker controls
to the middle position, �rst end out of audio mode
by pressing another button, causing the radio to perform
that function or by waiting �ve seconds for the display
to return to time of day. Then press and hold AUDIO for
more than two seconds until you hear a beep. CEN
will appear on the display.
Adjusting the Speakers (Balance/Fade)
AUDIO:To adjust the balance between the right
and the left speakers, press and release AUDIO until
BAL appears on the display. Then press and hold the up
or the down arrow to move the sound toward the right
or the left speakers.
To adjust the fade between the front and the rear
speakers, press and release AUDIO until FAD appears
on the display. Then press and hold the up or the
down arrow to move the sound toward the front or the
rear speakers.
To adjust balance or fade to the middle position, select
BAL or FAD. Then press and hold AUDIO for more
than two seconds until you hear a beep. L and a zero
or F and a zero will appear on the display.To adjust both tone controls and both speaker controls
to the middle position, �rst end out of audio mode
by pressing another button, causing the radio to perform
that function or by waiting �ve seconds for the display
to return to time of day. Then press and hold AUDIO for
more than two seconds until you hear a beep. CEN
will appear on the display.
Fade may not be available if the vehicle is a regular
cab model.Radio Messages
CAL (Calibrated):The audio system has been
calibrated for your vehicle from the factory. If CAL
appears on the display it means that the radio has not
been con�gured properly for your vehicle and must
be returned to the dealer for service.
LOC (Locked):This message is displayed when the
THEFTLOCK
®system has locked up. Take the vehicle
to the dealer for service.
If any error occurs repeatedly or if an error cannot be
corrected, contact your dealer.
3-75
Page 242 of 584

To scan preset stations, press and hold either arrow for
more than four seconds. PSCN will appear on the
display and you will hear two beeps. The radio will go to
the �rst preset station, play for a few seconds, then
go on to the next preset station. Press either arrow again
or one of the pushbuttons to stop scanning.
The radio will only scan stations with a strong signal
that are in the selected band.
Setting Preset Stations
Up to 30 stations (six FM1, six FM2, and six AM,
six XM1 and six XM2 (if equipped)), can be programmed
on the six numbered pushbuttons, by performing the
following steps:
1. Turn the radio on.
2. Press BAND to select FM1, FM2, AM, or XM1
or XM2.
3. Tune in the desired station.
4. Press AUTO EQ to select the equalization.
5. Press and hold one of the six numbered
pushbuttons until you hear a beep. Whenever that
numbered pushbutton is pressed, the station
that was set will return and the equalization that
was selected will be stored for that pushbutton.
6. Repeat the steps for each pushbutton.
Setting the Tone (Bass/Treble)
AUDIO:Push and release the AUDIO knob until BASS
or TREB appears on the display. Turn the knob to
increase or to decrease. The display will show the bass
or treble level. If a station is weak or noisy, decrease
the treble.
To adjust the bass and treble to the middle position,
push and hold the AUDIO knob. The radio will
produce one beep and adjust the display level to
the middle position.
To adjust all tone and speaker controls to the middle
position, push and hold the AUDIO knob when no tone
or speaker control is displayed. ALL will appear on
the display, you will hear a beep, and the display level
will be adjusted to the middle position.
AUTO EQ (Automatic Equalization):Press this button
to select customized equalization settings designed
for country/western, jazz, talk, pop, rock, and classical.
Selecting CUSTOM or changing bass or treble,
returns the EQ to the manual bass and treble settings.
The radio will save separate AUTO EQ settings for
each preset and source.
If the radio is equipped with the Bose audio system, the
equalization settings are either CUSTOM or TALK.
3-78