2004 CHEVROLET IMPALA CD player
[x] Cancel search: CD playerPage 215 of 420

The broken tape detection feature of the cassette tape
player may identify the cleaning cassette as a
damaged tape, in error. To prevent the cleaning cassette
from being ejected, use the following steps:
1. Turn the ignition on.
2. Turn the radio off.
3. Press and hold the TAPE AUX or the TAPE CD
button for �ve seconds. READY will appear on
the display and a cassette symbol will �ash for �ve
seconds.
4. Insert the scrubbing action cleaning cassette.
5. Eject the cleaning cassette after the manufacturer’s
recommended cleaning time.
After the cleaning cassette is ejected, the broken
tape detection feature will be active again.A non-scrubbing action, wet-type cleaner which uses a
cassette with a fabric belt to clean the tape head
can be used. This type of cleaning cassette will not
eject on its own. A non-scrubbing action cleaner may not
clean as thoroughly as the scrubbing type cleaner.
The use of a non-scrubbing action, dry-type cleaning
cassette is not recommended.
After the player is cleaned, press and hold the EJT
button for �ve seconds to reset the CLEAN indicator.
The radio will display CLEANED to show the indicator
was reset.
Cassettes are subject to wear and the sound quality
may degrade over time. Always make sure the cassette
tape is in good condition before the tape player is
serviced.
3-95
Page 216 of 420

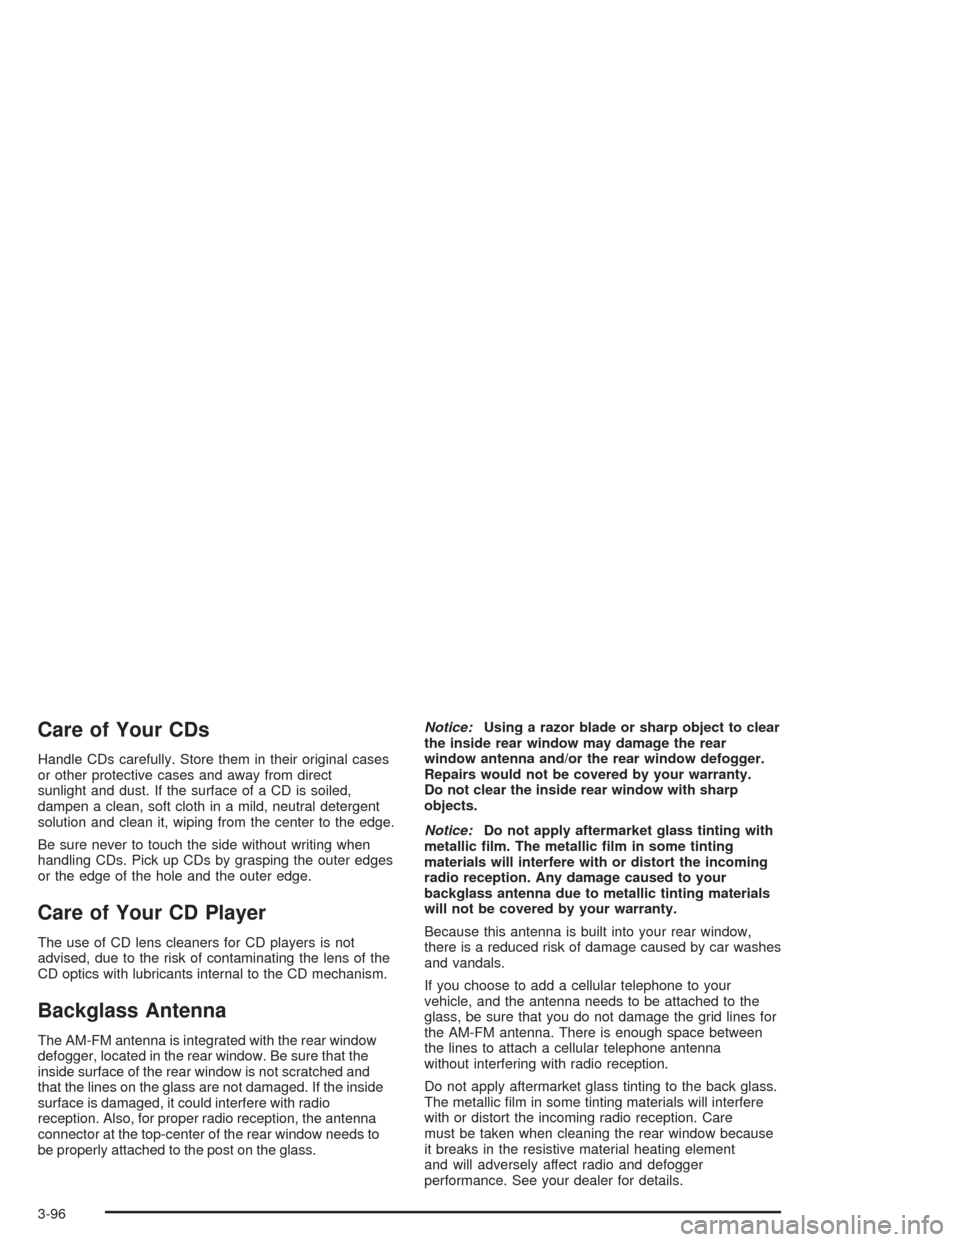
Care of Your CDs
Handle CDs carefully. Store them in their original cases
or other protective cases and away from direct
sunlight and dust. If the surface of a CD is soiled,
dampen a clean, soft cloth in a mild, neutral detergent
solution and clean it, wiping from the center to the edge.
Be sure never to touch the side without writing when
handling CDs. Pick up CDs by grasping the outer edges
or the edge of the hole and the outer edge.
Care of Your CD Player
The use of CD lens cleaners for CD players is not
advised, due to the risk of contaminating the lens of the
CD optics with lubricants internal to the CD mechanism.
Backglass Antenna
The AM-FM antenna is integrated with the rear window
defogger, located in the rear window. Be sure that the
inside surface of the rear window is not scratched and
that the lines on the glass are not damaged. If the inside
surface is damaged, it could interfere with radio
reception. Also, for proper radio reception, the antenna
connector at the top-center of the rear window needs to
be properly attached to the post on the glass.Notice:Using a razor blade or sharp object to clear
the inside rear window may damage the rear
window antenna and/or the rear window defogger.
Repairs would not be covered by your warranty.
Do not clear the inside rear window with sharp
objects.
Notice:Do not apply aftermarket glass tinting with
metallic �lm. The metallic �lm in some tinting
materials will interfere with or distort the incoming
radio reception. Any damage caused to your
backglass antenna due to metallic tinting materials
will not be covered by your warranty.
Because this antenna is built into your rear window,
there is a reduced risk of damage caused by car washes
and vandals.
If you choose to add a cellular telephone to your
vehicle, and the antenna needs to be attached to the
glass, be sure that you do not damage the grid lines for
the AM-FM antenna. There is enough space between
the lines to attach a cellular telephone antenna
without interfering with radio reception.
Do not apply aftermarket glass tinting to the back glass.
The metallic �lm in some tinting materials will interfere
with or distort the incoming radio reception. Care
must be taken when cleaning the rear window because
it breaks in the resistive material heating element
and will adversely affect radio and defogger
performance. See your dealer for details.
3-96
Page 383 of 420

Owner Checks and Services
These owner checks and services should be performed
at the intervals speci�ed to help ensure the safety,
dependability and emission control performance of your
vehicle. Your GM Goodwrench dealer can assist you
with these checks and services.
Be sure any necessary repairs are completed at once.
Whenever any �uids or lubricants are added to your
vehicle, make sure they are the proper ones, as shown
inRecommended Fluids and Lubricants on page 6-12.
At Each Fuel Fill
It is important to perform these underhood checks at
each fuel �ll.
Engine Oil Level Check
Check the engine oil level and add the proper oil if
necessary. SeeEngine Oil on page 5-18for further
details.
Notice:It is important to check your oil regularly
and keep it at the proper level. Failure to keep your
engine oil at the proper level can cause damage
to your engine not covered by your warranty.
Engine Coolant Level Check
Check the engine coolant level and add
DEX-COOL®coolant mixture if necessary.
SeeEngine Coolant on page 5-29for further details.
Windshield Washer Fluid Level Check
Check the windshield washer �uid level in the windshield
washer tank and add the proper �uid if necessary.
At Least Once a Month
Tire In�ation Check
Visually inspect your tires and make sure tires are
in�ated to the correct pressures. Do not forget to check
your spare tire. SeeTires on page 5-64for further
details.
Cassette Tape Player Service
Clean cassette tape player. Cleaning should be done
every 50 hours of tape play. SeeAudio System(s)
on page 3-56for further details.
6-9
Page 405 of 420

A
Accessory Power Outlets.................................3-19
Adding Washer Fluid.......................................5-46
Additional Program Information........................... 7-9
Additives, Fuel................................................. 5-6
Add-On Electrical Equipment...........................5-103
Adjusting the Speakers
(Balance/Fade)............................3-60, 3-71, 3-82
Air Bag
Readiness Light..........................................3-32
Air Bag Systems.............................................1-51
How Does an Air Bag Restrain?....................1-57
Servicing Your Air Bag-Equipped Vehicle.........1-60
What Makes an Air Bag In�ate?....................1-57
What Will You See After an Air Bag In�ates?......1-58
When Should an Air Bag In�ate?...................1-56
Where Are the Air Bags?..............................1-54
Air Cleaner/Filter, Engine.................................5-25
Airbag Sensing and Diagnostic Module (SDM)....7-10
ALARM (Content Theft Operation).....................2-49
AM ...............................................................3-94
Antenna, Backglass.........................................3-96
Antenna, XM™ Satellite Radio Antenna System.....3-97
Anti-lock Brake System (ABS)............................ 4-6
Anti-Lock Brake, System Warning Light..............3-35Appearance Care............................................5-94
Care of Safety Belts....................................5-97
Chemical Paint Spotting..............................5-100
Cleaning the Inside of Your Vehicle................5-94
Cleaning the Outside of Your Vehicle..............5-97
Finish Damage..........................................5-100
Sheet Metal Damage...................................5-99
Underbody Maintenance.............................5-100
Vehicle Care/Appearance Materials...............5-101
Weatherstrips..............................................5-97
Arming with the Power Lock Switch...................2-15
Arming with the Remote Keyless Entry
Transmitter.................................................2-16
Ashtrays........................................................3-20
Audio System(s).............................................3-56
Audio Steering Wheel Controls......................3-93
Backglass Antenna......................................3-96
Care of Your Cassette Tape Player................3-94
Care of Your CD Player...............................3-96
Care of Your CDs........................................3-96
Chime Level Adjustment...............................3-97
Radio with Cassette.....................................3-57
Radio with Cassette and CD.........................3-78
Radio with CD............................................3-68
Setting the Time..........................................3-56
1
Page 406 of 420

Audio System(s) (cont.)
Theft-Deterrent Feature................................3-92
Understanding Radio Reception.....................3-94
Vehicle Customization Settings......................3-97
XM™ Satellite Radio Antenna System............3-97
AUTOLOCK (Automatic Door Lock and Unlock) . . . 2-46
Automatic Transaxle
Fluid..........................................................5-26
Operation...................................................2-22
B
Backglass Antenna..........................................3-96
Backing Up....................................................4-41
Battery..........................................................5-50
Battery Replacement......................................... 2-7
Battery Rundown Protection.............................3-18
Battery Warning Message................................3-45
Before Leaving on a Long Trip.........................4-22
Brake
Low Fluid Warning Message.........................3-51
Parking......................................................2-26
System Warning Light..................................3-33
Brake Fluid....................................................5-47
Brake Wear...................................................5-49
Brakes..........................................................5-47
Braking........................................................... 4-6Braking in Emergencies..................................... 4-8
Break-In, New Vehicle.....................................2-17
Bulb Replacement...........................................5-58
Back-Up Lamps...........................................5-62
Halogen Bulbs............................................5-58
Headlamp Aiming........................................5-58
Headlamps, Front Turn Signal,
and Parking Lamps..................................5-59
Replacement Bulbs......................................5-62
Taillamps, Turn Signal, Stoplamps and
Sidemarker Lamps...................................5-61
Buying New Tires...........................................5-76
C
California Fuel.................................................. 5-6
Canada – Customer Assistance.......................... 7-4
Canadian Owners................................................ ii
Canadian Roadside Assistance........................... 7-7
Capacities and Speci�cations..........................5-110
Carbon Monoxide...................4-25, 4-37, 2-11, 2-31
Care of
Safety Belts................................................5-97
Your Cassette Tape Player............................3-94
Your CD Player...........................................3-96
Your CDs ...................................................3-96
2
Page 407 of 420

Cassette Tape Messages.........................3-67, 3-89
Cassette Tape Player Service............................. 6-9
CD Adapter Kits.....................................3-67, 3-89
CD Messages........................................3-78, 3-92
Center Console Storage Area...........................2-42
Center Front Passenger Position, Safety Belts....1-23
Chains, Tires..................................................5-80
Change Engine Oil Message............................3-47
Check
Engine Light...............................................3-37
Check Engine Light.........................................3-37
Checking Coolant............................................5-30
Checking Engine Oil........................................5-18
Checking Things Under the Hood......................5-10
Chemical Paint Spotting.................................5-100
Child Restraints
Child Restraint Systems...............................1-37
Infants and Young Children...........................1-33
Lower Anchorages and Top Tethers for
Children (LATCH System)..........................1-44
Older Children.............................................1-31
Securing a Child Restraint Designed for the
LATCH System........................................1-46
Securing a Child Restraint in a Rear Seat
Position..................................................1-46
Securing a Child Restraint in the Right Front
Seat Position...........................................1-49Child Restraints (cont.)
Top Strap...................................................1-42
Top Strap Anchor Location............................1-43
Where to Put the Restraint...........................1-40
Chime Level Adjustment..................................3-97
CHIRP (Horn Chirp Timer)...............................2-51
Cigarette Lighter.............................................3-20
Cleaning
Inside of Your Vehicle..................................5-94
Outside of Your Vehicle................................5-97
Underbody Maintenance.............................5-100
Weatherstrips..............................................5-97
Cleaning Aluminum Wheels..............................5-99
Cleaning Exterior Lamps/Lenses.......................5-98
Cleaning Fabric/Carpet....................................5-94
Cleaning Glass Surfaces..................................5-96
Cleaning Interior Plastic Components.................5-96
Cleaning Leather............................................5-96
Cleaning the Top of the Instrument Panel...........5-96
Cleaning Tires................................................5-99
Cleaning Vinyl................................................5-96
Cleaning Windshield and Wiper Blades..............5-98
Climate Control System
Air Filter, Passenger Compartment.................3-25
Dual..........................................................3-20
Outlet Adjustment........................................3-24
3
Page 415 of 420

P
Parade Dimming.............................................3-18
Park (P)
Shifting Into................................................2-27
Shifting Out of............................................2-30
Parking
Brake........................................................2-26
Over Things That Burn.................................2-30
Parking on Hills..............................................4-42
Passenger Compartment Air Filter.....................3-25
Passenger’s Side Instrument Panel Fuse Block....5-106
Passing.................................................4-13, 4-41
Passlock
®......................................................2-16
Plan Ahead When Possible................................ 7-8
Playing a Cassette Tape..........................3-65, 3-87
Playing a CD.........................................3-76, 3-90
Playing the Radio...........................3-58, 3-69, 3-79
Power
Accessory Outlets........................................3-19
Door Locks.................................................. 2-9
Electrical System.......................................5-103
Six-Way Seats.............................................. 1-3
Steering Fluid.............................................5-45
Windows....................................................2-14
Power Steering...............................................4-10
Programmable Automatic Door Locks.................2-10
Programmable Modes..............................2-10, 2-44
Programming the HomeLink
®Transmitter...........2-38
Q
Questions and Answers About Safety Belts.........1-13
R
Radiator Pressure Cap....................................5-32
Radio Data System (RDS)...............3-57, 3-68, 3-78
Radio Messages.............................3-62, 3-73, 3-84
Radios..........................................................3-56
Care of Your Cassette Tape Player................3-94
Care of Your CD Player...............................3-96
Care of Your CDs........................................3-96
Radio with Cassette.....................................3-57
Radio with Cassette and CD.........................3-78
Radio with CD............................................3-68
Setting the Time..........................................3-56
Theft-Deterrent............................................3-92
Understanding Reception..............................3-94
RDS Messages..............................3-61, 3-72, 3-83
Reading Lamps..............................................3-18
Rear Safety Belt Comfort Guides......................1-28
Rear Seat Passenger Positions.........................1-24
Rear Seat Passengers, Safety Belts..................1-24
Rear Storage Area..........................................2-42
Rear Window Defogger....................................3-23
Rearview Mirror, Automatic Dimming..................2-34
11