2004 CHEVROLET IMPALA change time
[x] Cancel search: change timePage 119 of 420

CHIRP (Horn Chirp Timer)
This feature allows you to choose between short or long
horn chirp sounds when the remote keyless entry
transmitter is used.
Programmable Modes
Mode 1:SHORT
Mode 2:LONG
Your vehicle was originally programmed to Mode 1. The
mode may have been changed since then. To determine
the current mode, or to change the mode, do the
following:
1. Scroll, using the SEEK/PSCAN up or down arrows,
until CHIRP appears on the display.
2. Press the PREV or NEXT button to enter the
submenu. The current selection will have an
asterisk (*) next to it. If you do not wish to change
the current mode, you can either exit the
programming mode by following the directions later
in this section or program the next feature
available on your vehicle.
3. Scroll, using the PREV or NEXT buttons, through
the modes to change the current mode.4. With your preference displayed, press the
TUNE/DISP button to select. A chime will be heard
to verify the new setting. The new selection will
be displayed with an asterisk (*) for one second.
The mode you selected is now set. You can either exit
the programming mode by following the instructions
later in this section or program the next feature available
on your vehicle.
ORIG. SET (Return to the Original
Settings)
This feature allows you to return all feature
customization settings back to their original factory
settings. To reset do the following:
1. Scroll, using the SEEK/PSCAN up or down arrows,
until ORIG. SET appears on the display.
2. Press the PREV or NEXT button to enter the
submenu. SET ALL will appear.
3. With your preference displayed, press the
TUNE/DISP button to select. A chime will be heard
to verify the new setting. The new selection will
be displayed with an asterisk (*) for one second.
The original factory settings are now reset. You can
either exit the programming mode by following the
instructions later in this section or program the next
feature available on your vehicle.
2-51
Page 136 of 420
Delayed Headlamps
The delayed headlamps feature provides a period of
exterior lighting as you leave the area around your
vehicle. The feature is activated when the headlamps
are on due to the automatic headlamps control
feature described previously in this section, and when
the ignition is turned off. Your headlamps will then
remain on until the exterior lamps control is moved to
the parking lamps position or until either a 30 second or
60 second lighting period has ended.
If you turn off the ignition with the headlamps switch in
the parking lamps or headlamps position, the delayed
headlamps cycle will not occur.
To disable the delayed headlamps feature or change
the time of delay, seeVehicle Customization Settings on
page 3-97.
Fog Lamps
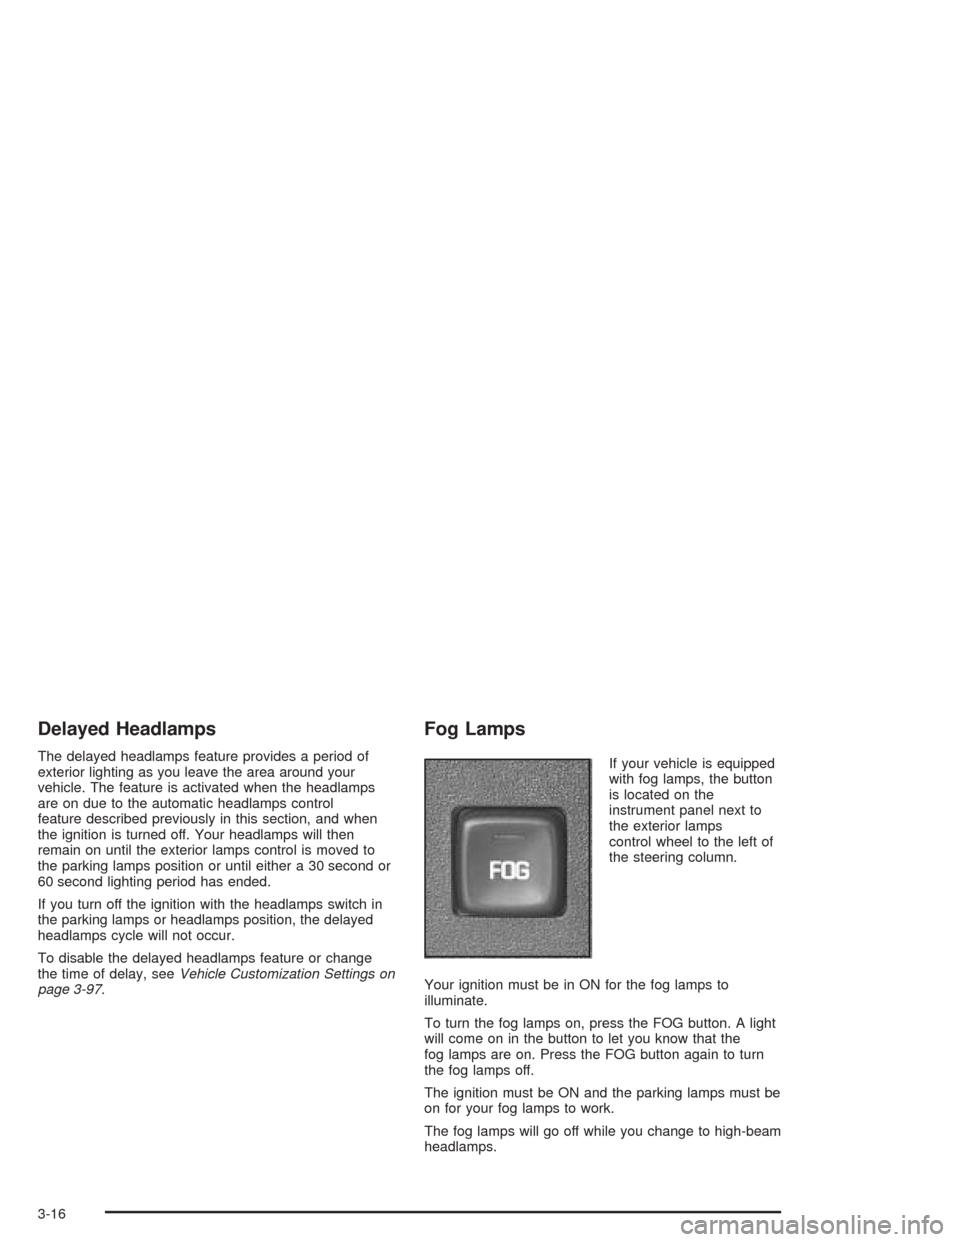
If your vehicle is equipped
with fog lamps, the button
is located on the
instrument panel next to
the exterior lamps
control wheel to the left of
the steering column.
Your ignition must be in ON for the fog lamps to
illuminate.
To turn the fog lamps on, press the FOG button. A light
will come on in the button to let you know that the
fog lamps are on. Press the FOG button again to turn
the fog lamps off.
The ignition must be ON and the parking lamps must be
on for your fog lamps to work.
The fog lamps will go off while you change to high-beam
headlamps.
3-16
Page 167 of 420

Low Engine Oil Level Message
Your vehicle may be equipped with a low engine oil
level message.
This message is displayed for 60 seconds at the start of
each ignition cycle when the engine oil level is low.
Four chimes will also sound.
When the ignition is turned off, this message will be
displayed again for three seconds to remind you
that your engine oil level is low. Be sure to have your
vehicle serviced right away.
SeeEngine Oil on page 5-18on how to check the oil
level and for what type of oil to add.
Change Engine Oil Message
When this message comes on, it means that service is
required for your vehicle. It will appear for 60 seconds.
SeeScheduled Maintenance on page 6-4and
Engine Oil on page 5-18for more information.
Once the engine oil has been changed, the CHANGE
ENGINE OIL message must be reset. Until it is
reset, this message will be displayed for 60 seconds
each time you start the engine. For more information on
resetting the system, see “How to Reset the Change
Engine Oil Message” underEngine Oil on page 5-18. United States
CanadaUnited StatesCanada
3-47
Page 173 of 420
RESET:You can reset the AVG ECON, FUEL USED
or AVG SPEED trip computer modes by pressing
and holding this button for three seconds while you are
in the mode you wish to reset. A chime will sound to
con�rm that your requested change has been made and
all the segments of the display will brie�y light up.
To change the display to a metric or English reading,
press the RESET and MODE buttons at the same time.
Hold them down for three seconds, and the display
will change. A chime will be heard to con�rm the new
selection.
The reset button can also be used to manually calibrate
the compass. See “Manual Compass Calibration”
later in this section.
The reset button can be used to set the compass zone
variation. See “Compass Variance” later in this section.MODE:Press this button to cycle through three modes
of operation: Off, Compass/Temperature and Trip
Computer mode.
Off:No driver information is displayed in this mode
of operation.
Compass/Temperature Mode:One of eight
compass readings and the outside temperature are
displayed. If the temperature is below 38°F
(3°C), the word ICE is displayed for two minutes.
Trip Computer:Pressing the MODE button cycles
through the �ve displays. Press the MODE button
after the last Trip Computer display to return
the DIC to the OFF mode.
Compass Variance
Compass variance is the difference between magnetic
north and geographic north. In some areas of the
country, the difference is great enough to cause the
compass to give false readings. If this occurs, the
compass variance must be set.
3-53
Page 178 of 420
Playing the Radio
PWR (Power):Press this knob to turn the system on
and off.
VOL (Volume):Turn this knob to increase or to
decrease the volume.
DISPL (Display):Press this knob to switch the display
between the radio station frequency and the time.
When the ignition is off, press this knob to display the
time.
For RDS, press the DISPL knob to change what
appears on the display while using RDS. The display
options are station name, RDS station frequency, PTY,
and the name of the program (if available).
For XM™ (if equipped), press the DISPL knob while in
XM mode to retrieve four different categories of
information related to the current song or channel:
Artist, Song Title, Category or PTY, Channel
Number/Channel Name.
To change the default on the display, press the DISPL
knob until you see the display you want, then hold
the knob for two seconds. The radio will produce one
beep and the selected display will now be the default.AUTO VOL (Automatic Volume):With automatic
volume, the audio system adjusts automatically to make
up for road and wind noise as you drive.
Set the volume at the desired level. Press this button to
select LOW, MEDIUM, or HIGH. AVOL will appear
on the display. Each higher setting will allow for more
volume compensation at faster vehicle speeds. Then as
you drive, automatic volume increases the volume,
as necessary, to overcome noise at any speed.
The volume level should always sound the same to you
as you drive. NONE will appear on the display if the
radio cannot determine the vehicle speed. To turn
automatic volume off, press this button until OFF
appears on the display.
Finding a Station
BAND:Press this button to switch between FM1, FM2,
AM, or XM1 or XM2 (if equipped). The display will
show the selection.
TUNE:Turn this knob to select radio stations.
qSEEKr:Press the right or the left arrow to go to
the next or to the previous station and stay there.
The radio will only seek stations with a strong signal
that are in the selected band.
3-58
Page 197 of 420
3 REV (Reverse):Press and hold this pushbutton to
reverse quickly within a track. Press and hold this
pushbutton for less than two seconds to reverse at six
times the normal playing speed. Press and hold it
for more than two seconds to reverse at 17 times the
normal playing speed. Release it to play the passage.
The display will show ET and the elapsed time of
the track.
4 FWD (Forward):Press and hold this pushbutton to
advance quickly within a track. Press and hold this
pushbutton for less than two seconds to advance at six
times the normal playing speed. Press and hold it for
more than two seconds to advance at 17 times the
normal playing speed. Release it to play the passage.
The display will show ET and the elapsed time of
the track.
6 RDM (Random):Press this pushbutton to hear the
tracks in random, rather than sequential, order. RDM ON
will appear on the display. RDM T and the track
number will appear on the display when each track
starts to play. Press RDM again to turn off random play.
RDM OFF will appear on the display.qSEEKr:Press the left arrow to go to the start of
the current or of the previous track. Press the right
arrow to go to the start of the next track. If you
hold either arrow or press it more than once, the player
will continue moving backward or forward through
the CD.
DISPL (Display):Press this knob to see how long the
current track has been playing. ET and the elapsed
time of the track will appear on the display. To change
the default on the display (track or elapsed time),
press the knob until you see the display you want, then
hold the knob for two seconds. The radio will produce
one beep and the selected display will now be the
default.
BAND:Press this button to listen to the radio when a
CD is playing. The inactive CD will remain safely
inside the radio for future listening.
CD AUX (Auxiliary):Press this button to play a CD
when listening to the radio. The CD symbol will appear
on the display when a CD is loaded.
ZEJT (Eject):Press this button to eject a CD. Eject
may be activated with either the ignition or radio off.
CDs may be loaded with the radio and ignition off if this
button is pressed �rst.
3-77
Page 211 of 420
4 FWD (Forward):Press and hold this pushbutton to
advance quickly within a track. Press and hold this
pushbutton for less than two seconds to advance at six
times the normal playing speed. Press and hold it for
more than two seconds to advance at 17 times the
normal playing speed. Release it to play the passage.
The display will show ET and the elapsed time of
the track.
6 RDM (Random):Press this pushbutton to hear the
tracks in random, rather than sequential, order. RDM ON
will appear on the display. RDM T and the track
number will appear on the display when each track
starts to play. Press RDM again to turn off random play.
RDM OFF will appear on the display.
qSEEKr:Press the left arrow to go to the start of
the current or of the previous track. Press the right
arrow to go to the start of the next track. If you
hold either arrow or press it more than once, the player
will continue moving backward or forward through
the CD.DISPL (Display):Press this knob to see how long the
current track has been playing. ET and the elapsed
time of the track will appear on the display. To change
the default on the display (track or elapsed time),
press the knob until you see the display you want, then
hold the knob for two seconds. The radio will produce
one beep and the selected display will now be the
default.
BAND:Press this button to listen to the radio when a
cassette tape or a CD is playing. The inactive cassette
or CD will remain safely inside the radio for future
listening.
TAPE CD:Press this button to play a cassette tape or
a CD when listening to the radio. The inactive
cassette or CD will remain safely inside the radio for
future listening.
ZEJT (Eject):Press this button to eject a CD. Eject
may be activated with either the ignition or radio off.
CDs may be loaded with the radio and ignition off if this
button is pressed �rst.
3-91
Page 217 of 420
XM™ Satellite Radio Antenna
System
The XM™ Satellite Radio antenna is located on the roof
of your vehicle. Keep this antenna clear of snow and
ice build up for clear radio reception.
The performance of the XM system may be affected if
the sunroof is open.
Vehicle Customization Settings
The audio system can be used to control vehicle
customization settings using the DISPL knob when the
radio is off. SeeVehicle Personalization on page 2-44
for more information.
Chime Level Adjustment
The radio is the vehicle chime producer. To change the
volume level, press and hold pushbutton 6 with the
ignition on and the radio power off. The chime volume
level will change from the normal level to loud, and
LOUD will appear on the radio display. To change back
to the default or normal setting, press and hold
pushbutton 6 again. The chime level will change from
the loud level to normal, and NORMAL will appear
on the radio display. Each time the chime volume is
changed, three chimes will sound as an example of the
new volume selected. Removing the radio and not
replacing it with a factory radio or chime module will
disable vehicle chimes.
3-97