2004 CHEVROLET IMPALA buttons
[x] Cancel search: buttonsPage 115 of 420
Mode 3:DRVR UNL — Automatic door lock
on/automatic door unlock on (driver’s door only).
Automatic door lock on/automatic door unlock on
(driver’s door only).
Mode 4:ALL UNL — Automatic door lock on/automatic
door unlock on.
Your vehicle was originally programmed to Mode 4. The
mode may have been changed since then. To determine
the current mode, or to change the mode, do the
following:
1. Scroll, using the SEEK/PSCAN up or down arrows,
until AUTOLOCK appears on the display.
2. Press the PREV or NEXT button to enter the
submenu. The current selection will have an
asterisk (*) next to it. If you do not wish to change
the current mode, you can either exit the
programming mode by following the directions later
in this section or program the next feature
available on your vehicle.
3. Scroll, using the PREV or NEXT buttons, through
the modes to change the current mode.4. With your preference displayed, press the
TUNE/DISP button to select. A chime will be heard
to verify the new setting. The new selection will
be displayed with an asterisk (*) for one second.
The mode you selected is now set. You can either exit
the programming mode by following the instructions
later in this section or program the next feature available
on your vehicle.
FOB LIGHT (Remote Visual
Veri�cation)
This feature allows the exterior lights to �ash when the
remote keyless entry transmitter is used to lock or
unlock the vehicle or to program no veri�cation.
Programmable Modes
Mode 1:OFF
Mode 2:ON — One �ash for each remote lock/two
�ashes for each remote unlock.
2-47
Page 116 of 420
Your vehicle was originally programmed to Mode 2. The
mode may have been changed since then. To determine
the current mode, or to change the mode, do the
following:
1. Scroll, using the SEEK/PSCAN up or down arrows,
until FOB LIGHT appears on the display.
2. Press the PREV or NEXT button to enter the
submenu. The current selection will have an
asterisk (*) next to it. If you do not wish to change
the current mode, you can either exit the
programming mode by following the directions later
in this section or program the next feature
available on your vehicle.
3. Scroll, using the PREV or NEXT buttons, through
the modes to change the current mode.
4. With your preference displayed, press the
TUNE/DISP button to select. A chime will be heard
to verify the new setting. A new selection will be
displayed with an asterisk (*) for one second.
If your vehicle has the optional content theft-deterrent
system, the �rst time a remote UNLOCK command
is received, three �ashes will be seen and three horn
chirps heard to indicate an alarm condition has occurred
since last arming. SeeTheft-Deterrent Systems on
page 2-15.The mode you selected is now set. You can either exit
the programming mode by following the instructions
later in this section or program the next feature available
on your vehicle.
FOB HORN (Remote Audible
Veri�cation)
This feature allows the horn to chirp when the remote
keyless entry transmitter is used to lock or unlock
the vehicle or to program no veri�cation.
Programmable Modes
Mode 1:OFF
Mode 2:PARTIAL — One chirp for each remote LOCK
command/no chirp for remote UNLOCK command.
Mode 3:FULL — One chirp for each remote LOCK
command/two chirps for the �rst remote UNLOCK
command.
2-48
Page 117 of 420
Your vehicle was originally programmed to Mode 2. The
mode may have been changed since then. To determine
the current mode, or to change the mode, do the
following:
1. Scroll, using the SEEK/PSCAN up or down arrows,
until FOB HORN appears on the display.
2. Press the PREV or NEXT button to enter the
submenu. The current selection will have an
asterisk (*) next to it. If you do not wish to change
the current mode, you can either exit the
programming mode by following the directions later
in this section or program the next feature
available on your vehicle.
3. Scroll, using the PREV or NEXT buttons, through
the modes to change the current mode.
4. With your preference displayed, press the TUNE/
DISP button to select. A chime will be heard to
verify the new setting. The new selection will
be displayed with an asterisk (*) for one second.
If your vehicle has the optional content theft-deterrent
system, the �rst time the remote UNLOCK command is
received three �ashes will be seen and three chirps
will be heard to indicate an alarm condition has occurred
since last arming. SeeTheft-Deterrent Systems on
page 2-15.The mode you selected is now set. You can either exit
the programming mode by following the instructions
later in this section or program the next feature available
on your vehicle.
ALARM (Content Theft Operation)
This feature allows the content theft-deterrent system to
be turned on or off.
Programmable Modes
Mode 1:ALRM OFF
Mode 2:ALRM ON
Your vehicle was originally programmed to Mode 2. The
mode may have been changed since then. To determine
the current mode, or to change the mode, do the
following:
1. Scroll, using the SEEK/PSCAN up or down arrows,
until ALARM appears on the display.
2. Press the PREV or NEXT button to enter the
submenu. The current selection will have an
asterisk (*) next to it. If you do not wish to change
the current mode, you can either exit the
programming mode by following the directions later
in this section or program the next feature
available on your vehicle.
2-49
Page 118 of 420

3. Scroll, using the PREV or NEXT buttons, through
the modes to change the current mode.
4. With your preference displayed, press the
TUNE/DISP button to select. A chime will be heard
to verify the new setting. The new selection will
be displayed with an asterisk (*) for one second.
The mode you selected is now set. You can either exit
the programming mode by following the instructions
later in this section or program the next feature available
on your vehicle.
TRNKJAMB (Trunk Jamb)
This feature allows the content theft system trunk lock
sensor to be disabled or enabled.
Programmable Modes
Mode 1:TRNK OFF
Mode 2:TRNK ONYour vehicle was originally programmed to Mode 2. The
mode may have been changed since then. To determine
the current mode, or to change the mode, do the
following:
1. Scroll, using the SEEK /PSCAN up or down arrows,
until TRNKJAMB appears on the display.
2. Press the PREV or NEXT button to enter the
submenu. The current selection will have an
asterisk (*) next to it. If you do not wish to change
the current mode, you can either exit the
programming mode by following the directions later
in this section or program the next feature
available on your vehicle.
3. Scroll, using the PREV or NEXT buttons, through
the modes to change the current mode.
4. With your preference displayed, press the
TUNE/DISP button to select. A chime will be heard
to verify the new setting. The new selection will
be displayed with an asterisk (*) for one second.
The mode you selected is now set. You can either exit
the programming mode by following the instructions
later in this section or program the next feature available
on your vehicle.
2-50
Page 119 of 420

CHIRP (Horn Chirp Timer)
This feature allows you to choose between short or long
horn chirp sounds when the remote keyless entry
transmitter is used.
Programmable Modes
Mode 1:SHORT
Mode 2:LONG
Your vehicle was originally programmed to Mode 1. The
mode may have been changed since then. To determine
the current mode, or to change the mode, do the
following:
1. Scroll, using the SEEK/PSCAN up or down arrows,
until CHIRP appears on the display.
2. Press the PREV or NEXT button to enter the
submenu. The current selection will have an
asterisk (*) next to it. If you do not wish to change
the current mode, you can either exit the
programming mode by following the directions later
in this section or program the next feature
available on your vehicle.
3. Scroll, using the PREV or NEXT buttons, through
the modes to change the current mode.4. With your preference displayed, press the
TUNE/DISP button to select. A chime will be heard
to verify the new setting. The new selection will
be displayed with an asterisk (*) for one second.
The mode you selected is now set. You can either exit
the programming mode by following the instructions
later in this section or program the next feature available
on your vehicle.
ORIG. SET (Return to the Original
Settings)
This feature allows you to return all feature
customization settings back to their original factory
settings. To reset do the following:
1. Scroll, using the SEEK/PSCAN up or down arrows,
until ORIG. SET appears on the display.
2. Press the PREV or NEXT button to enter the
submenu. SET ALL will appear.
3. With your preference displayed, press the
TUNE/DISP button to select. A chime will be heard
to verify the new setting. The new selection will
be displayed with an asterisk (*) for one second.
The original factory settings are now reset. You can
either exit the programming mode by following the
instructions later in this section or program the next
feature available on your vehicle.
2-51
Page 120 of 420

FOB PROG (Remote Keyless Entry
Transmitter Programming)
This feature allows you to match the remote keyless
entry transmitter to your vehicle. To match the
transmitter do the following:
1. Scroll, using the SEEK/PSCAN up or down arrows,
until FOB PROG appears on the display.
2. Press the PREV or NEXT button to enter the
submenu. BEGIN will be displayed.
3. Press the TUNE/DISP button to start programming.
When the message PUSH FOB �ashes, press and
hold the LOCK and UNLOCK buttons on the �rst
transmitter at the same time for 15 seconds. A chime
will be heard to verify the transmitter is learned.
4. Repeat Step 3 for each additional transmitter.
The transmitter is programmed now. You can either exit
the programming mode by following the instructions
later in this section or program the next feature available
on your vehicle.
EXIT (Exit Feature Customization Mode)
This feature allows you to exit the vehicle customization
programming. To exit do the following:
Scroll until EXIT appears on the display.
Press the TUNE/DISP button to exit programming.
A chime will be heard to verify the exit.
2-52
Page 134 of 420
Using Cruise Control on Hills
How well your cruise control will work on hills depends
upon your speed, load and the steepness of the
hills. When going up steep hills, you may have to step
on the accelerator pedal to maintain your speed.
When going downhill, you may have to brake or shift to
a lower gear to keep your speed down. Of course,
applying the brake takes you out of cruise control. Many
drivers �nd this to be too much trouble and don’t use
cruise control on steep hills.
Ending Cruise Control
There are three ways to cancel the cruise control:
Step lightly on the brake pedal.
Slide the lever on the multifunction lever to the
OFF position.
Press the COAST and ACCEL buttons at the
same time.
Erasing Speed Memory
When you turn off the cruise control or the ignition, your
cruise control set speed memory is erased.
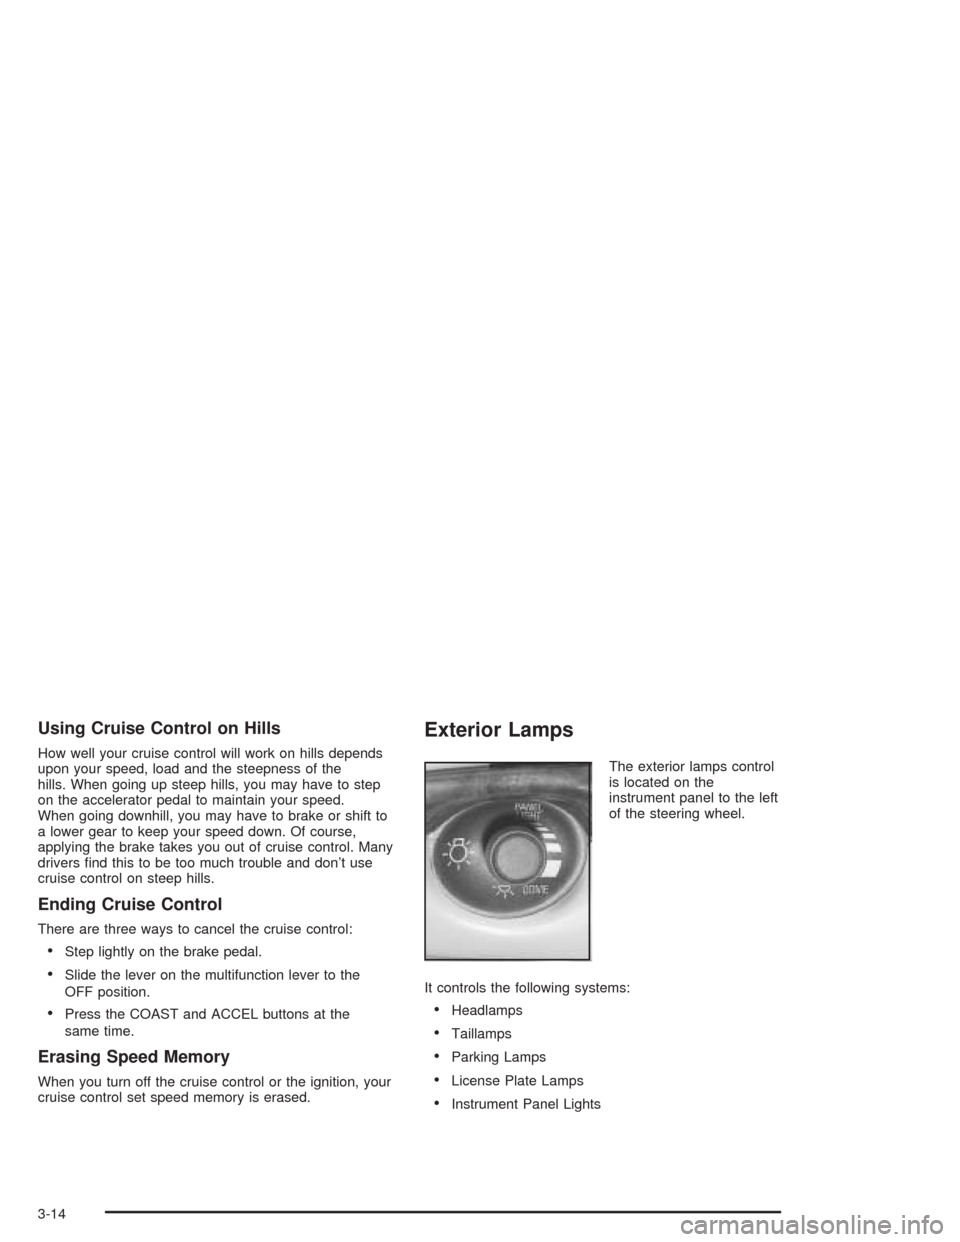
Exterior Lamps
The exterior lamps control
is located on the
instrument panel to the left
of the steering wheel.
It controls the following systems:
Headlamps
Taillamps
Parking Lamps
License Plate Lamps
Instrument Panel Lights
3-14
Page 173 of 420
RESET:You can reset the AVG ECON, FUEL USED
or AVG SPEED trip computer modes by pressing
and holding this button for three seconds while you are
in the mode you wish to reset. A chime will sound to
con�rm that your requested change has been made and
all the segments of the display will brie�y light up.
To change the display to a metric or English reading,
press the RESET and MODE buttons at the same time.
Hold them down for three seconds, and the display
will change. A chime will be heard to con�rm the new
selection.
The reset button can also be used to manually calibrate
the compass. See “Manual Compass Calibration”
later in this section.
The reset button can be used to set the compass zone
variation. See “Compass Variance” later in this section.MODE:Press this button to cycle through three modes
of operation: Off, Compass/Temperature and Trip
Computer mode.
Off:No driver information is displayed in this mode
of operation.
Compass/Temperature Mode:One of eight
compass readings and the outside temperature are
displayed. If the temperature is below 38°F
(3°C), the word ICE is displayed for two minutes.
Trip Computer:Pressing the MODE button cycles
through the �ve displays. Press the MODE button
after the last Trip Computer display to return
the DIC to the OFF mode.
Compass Variance
Compass variance is the difference between magnetic
north and geographic north. In some areas of the
country, the difference is great enough to cause the
compass to give false readings. If this occurs, the
compass variance must be set.
3-53