2004 CHEVROLET CLASSIC oil level
[x] Cancel search: oil levelPage 103 of 348
Instrument Panel Overview...............................3-2
Hazard Warning Flashers................................3-4
Other Warning Devices...................................3-5
Horn.............................................................3-5
Tilt Wheel.....................................................3-5
Turn Signal/Multifunction Lever.........................3-6
Windshield Wiper Lever...................................3-8
Cruise Control..............................................3-10
Exterior Lamps.............................................3-13
Interior Lamps..............................................3-15
Accessory Power Outlets...............................3-16
Ashtrays and Cigarette Lighter........................3-17
Climate Controls............................................3-18
Climate Control System.................................3-18
Outlet Adjustment.........................................3-21
Warning Lights, Gages and Indicators.............3-22
Instrument Panel Cluster................................3-23
Speedometer and Odometer...........................3-24
Tachometer.................................................3-25
Safety Belt Reminder Light.............................3-25
Air Bag Readiness Light................................3-26
Charging System Light..................................3-27
Brake System Warning Light..........................3-27
Anti-Lock Brake System Warning Light.............3-28Engine Coolant Temperature Gage..................3-29
Low Coolant Warning Light............................3-29
Malfunction Indicator Lamp.............................3-30
Oil Pressure Light.........................................3-33
Passlock
®Warning Light................................3-34
Low Washer Fluid Warning Light.....................3-34
Door Ajar Light.............................................3-34
Service Vehicle Soon Light............................3-35
Fuel Gage...................................................3-35
Audio System(s).............................................3-36
Setting the Time for Radios without Radio
Data Systems (RDS)..................................3-37
Setting the Time for Radios with Radio Data
Systems (RDS).........................................3-37
Radio with CD..............................................3-38
Radio with Cassette and CD..........................3-43
Theft-Deterrent Feature (Non-RDS Radios).......3-54
Theft-Deterrent Feature (RDS Radios).............3-54
Understanding Radio Reception......................3-54
Care of Your Cassette Tape Player.................3-55
Care of Your CDs.........................................3-56
Care of Your CD Player................................3-56
Fixed Mast Antenna......................................3-56
Chime Level Adjustment................................3-56
Section 3 Instrument Panel
3-1
Page 158 of 348
After you clean the player, press and hold the cassette
eject button for two seconds to reset the clean tape
timer. The radio will display TP DECK CLEANED
to show the indicator was reset.
Cassettes are subject to wear and the sound quality
may degrade over time. Always make sure the cassette
tape is in good condition before you have your tape
player serviced.
Care of Your CDs
Handle CDs carefully. Store them in their original cases
or other protective cases and away from direct
sunlight and dust. If the surface of a CD is soiled,
dampen a clean, soft cloth in a mild, neutral detergent
solution and clean it, wiping from the center to the edge.
Be sure never to touch the side without writing when
handling CDs. Pick up CDs by grasping the outer edges
or the edge of the hole and the outer edge.
Care of Your CD Player
The use of CD lens cleaners for CDs is not advised,
due to the risk of contaminating the lens of the CD optics
with lubricants internal to the CD mechanism.
Fixed Mast Antenna
The fixed mast antenna can withstand most car washes
without being damaged. If the mast should ever
become slightly bent, you can straighten it out by hand.
If the mast is badly bent, you should replace it.
Check occasionally to be sure the mast is still tightened
to the fender. If tightening is required, tighten by
hand, then with a wrench one quarter turn.
Chime Level Adjustment
Chime level adjustment is only available on RDS radios.
The radio is the vehicle chime producer. The chime is
produced from the driver’s side front door speakers.
To change the volume level, press and hold
pushbutton 6 with the ignition on and the radio power
off. The chime volume level will change from the normal
level to loud, and LOUD will be displayed on the
radio. To change back to the default or normal setting,
press and hold pushbutton 6 again. The chime level
will change from the loud level to normal, and NORMAL
will be displayed. Each time the chime volume is
changed, three chimes will sound as an example of the
new volume selected. Removing the radio and not
replacing it with a factory radio or chime module will
disable vehicle chimes.
3-56
Page 179 of 348
Here are some things you can check before a trip:
•Windshield Washer Fluid:Is the reservoir full? Are
all windows clean inside and outside?
•Wiper Blades:Are they in good shape?
•Fuel, Engine Oil, Other Fluids:Have you checked
all levels?
•Lamps:Are they all working? Are the lenses clean?
•Tires:They are vitally important to a safe,
trouble-free trip. Is the tread good enough for
long-distance driving? Are the tires all inflated to the
recommended pressure?
•Weather Forecasts:What is the weather outlook
along your route? Should you delay your trip a
short time to avoid a major storm system?
•Maps:Do you have up-to-date maps?
Highway Hypnosis
Is there actually such a condition as “highway hypnosis”?
Or is it just plain falling asleep at the wheel? Call it
highway hypnosis, lack of awareness, or whatever.
There is something about an easy stretch of road with
the same scenery, along with the hum of the tires on the
road, the drone of the engine, and the rush of the
wind against the vehicle that can make you sleepy. Do
not let it happen to you! If it does, your vehicle can
leave the road inless than a second,and you could
crash and be injured.
What can you do about highway hypnosis? First, be
aware that it can happen.
Then here are some tips:
•Make sure your vehicle is well ventilated, with a
comfortably cool interior.
•Keep your eyes moving. Scan the road ahead and
to the sides. Check your rearview mirrors and your
instruments frequently.
•If you get sleepy, pull off the road into a rest,
service or parking area and take a nap, get some
exercise, or both. For safety, treat drowsiness
on the highway as an emergency.
4-21
Page 215 of 348
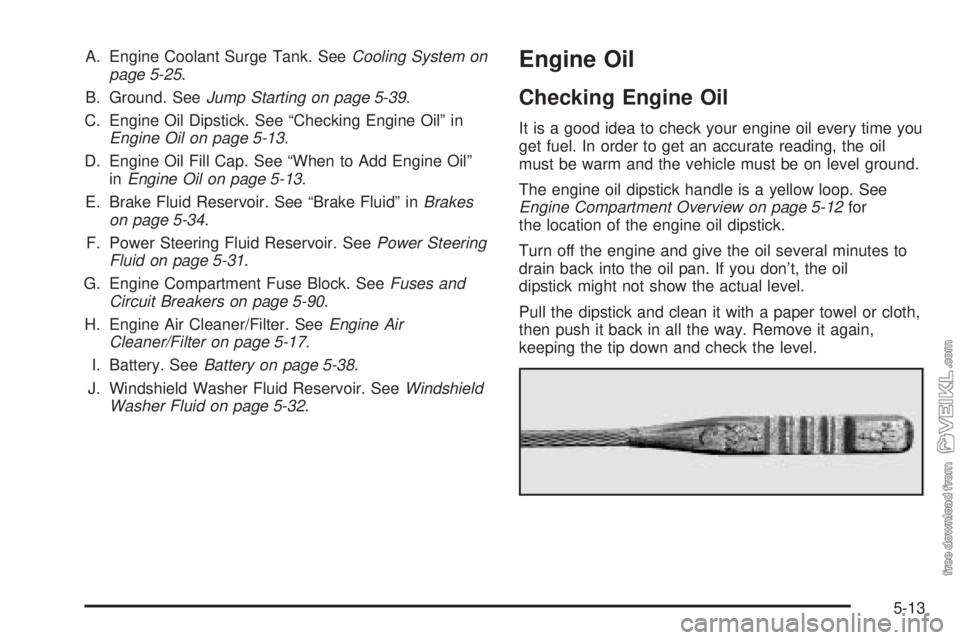
A. Engine Coolant Surge Tank. SeeCooling System on
page 5-25.
B. Ground. SeeJump Starting on page 5-39.
C. Engine Oil Dipstick. See “Checking Engine Oil” in
Engine Oil on page 5-13.
D. Engine Oil Fill Cap. See “When to Add Engine Oil”
inEngine Oil on page 5-13.
E. Brake Fluid Reservoir. See “Brake Fluid” inBrakes
on page 5-34.
F. Power Steering Fluid Reservoir. SeePower Steering
Fluid on page 5-31.
G. Engine Compartment Fuse Block. SeeFuses and
Circuit Breakers on page 5-90.
H. Engine Air Cleaner/Filter. SeeEngine Air
Cleaner/Filter on page 5-17.
I. Battery. SeeBattery on page 5-38.
J. Windshield Washer Fluid Reservoir. SeeWindshield
Washer Fluid on page 5-32.Engine Oil
Checking Engine Oil
It is a good idea to check your engine oil every time you
get fuel. In order to get an accurate reading, the oil
must be warm and the vehicle must be on level ground.
The engine oil dipstick handle is a yellow loop. See
Engine Compartment Overview on page 5-12for
the location of the engine oil dipstick.
Turn off the engine and give the oil several minutes to
drain back into the oil pan. If you don’t, the oil
dipstick might not show the actual level.
Pull the dipstick and clean it with a paper towel or cloth,
then push it back in all the way. Remove it again,
keeping the tip down and check the level.
5-13
Page 216 of 348
When to Add Engine Oil
If the oil is at or below the MIN mark, then you will need
to add at least one quart of oil. But you must use the
right kind. This section explains what kind of oil to use.
For engine oil crankcase capacity, seeCapacities
and Speci�cations on page 5-95.
Notice:Do not add too much oil. If your engine has
so much oil that the oil level gets above the upper
mark that shows the proper operating range,
your engine could be damaged.
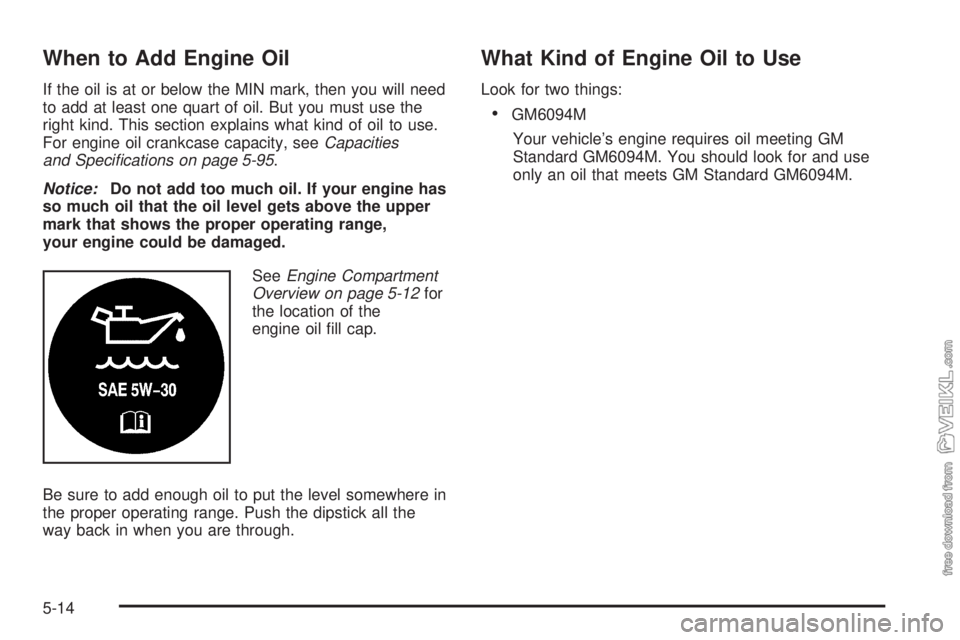
SeeEngine Compartment
Overview on page 5-12for
the location of the
engine oil fill cap.
Be sure to add enough oil to put the level somewhere in
the proper operating range. Push the dipstick all the
way back in when you are through.
What Kind of Engine Oil to Use
Look for two things:
•GM6094M
Your vehicle’s engine requires oil meeting GM
Standard GM6094M. You should look for and use
only an oil that meets GM Standard GM6094M.
5-14
Page 221 of 348
Automatic Transaxle Fluid
It is not necessary to check the transaxle fluid level. A
transaxle fluid leak is the only reason for fluid loss. If a
leak occurs, take the vehicle to the dealership service
department and have it repaired as soon as possible. You
may also have your fluid level checked by your dealer or
service center when you have your oil changed.
Change both the fluid and filter every 50,000 miles
(83 000 km) if the vehicle is mainly driven under one or
more of these conditions:
•In heavy city traffic where the outside temperature
regularly reaches 90°F (32°C) or higher.
•In hilly or mountainous terrain.
•When doing frequent trailer towing.
•Uses such as found in taxi, police or delivery
service.
If you do not use your vehicle under any of these
conditions, the fluid and filter do not require changing.
Notice:Use of automatic transaxle �uid labeled
other than DEXRON
®-III may damage your vehicle,
and the damages may not be covered by your
warranty. Always use DEXRON
®-III labeled automatic
transaxle �uid.
Engine Coolant
The cooling system in your vehicle is filled with
DEX-COOL®engine coolant. This coolant is designed
to remain in your vehicle for 5 years or 150,000 miles
(240 000 km), whichever occurs first, if you add
only DEX-COOL
®extended life coolant.
The following explains your cooling system and how to
add coolant when it is low. If you have a problem with
engine overheating, seeEngine Overheating on
page 5-22.
A 50/50 mixture of clean, drinkable water and
DEX-COOL
®coolant will:
•Give freezing protection down to−34°F (−37°C).
•Give boiling protection up to 265°F (129°C).
•Protect against rust and corrosion.
•Help keep the proper engine temperature.
•Let the warning lights and gages work as they
should.
Notice:Using coolant other than DEX-COOL
®may
cause premature engine, heater core or radiator
corrosion. In addition, the engine coolant may
require changing sooner, at 30,000 miles (50 000 km)
or 24 months, whichever occurs �rst. Any repairs
would not be covered by your warranty. Always use
DEX-COOL
®(silicate-free) coolant in your vehicle.
5-19
Page 227 of 348
Cooling System
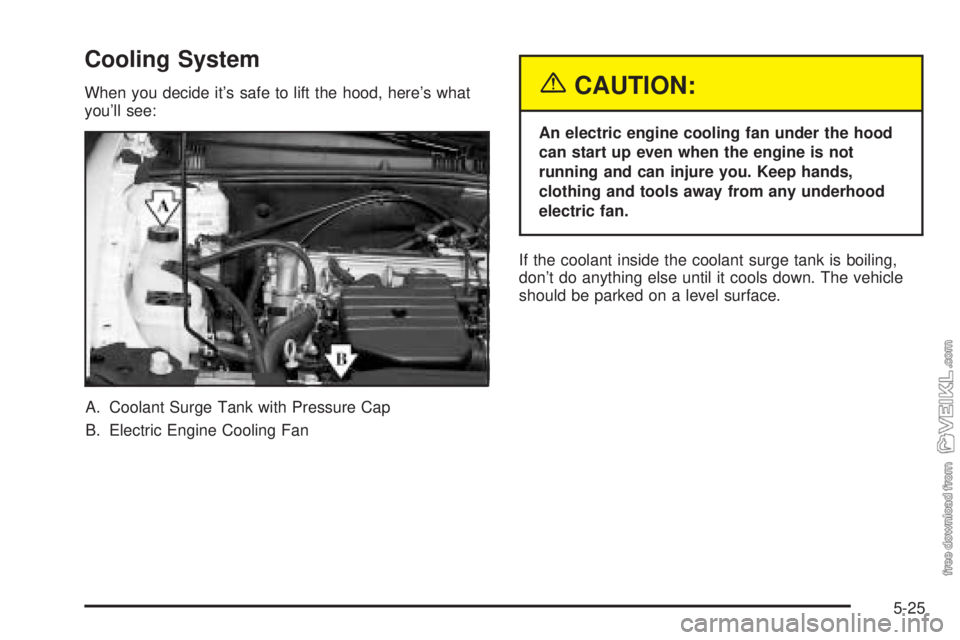
When you decide it’s safe to lift the hood, here’s what
you’ll see:
A. Coolant Surge Tank with Pressure Cap
B. Electric Engine Cooling Fan{CAUTION:
An electric engine cooling fan under the hood
can start up even when the engine is not
running and can injure you. Keep hands,
clothing and tools away from any underhood
electric fan.
If the coolant inside the coolant surge tank is boiling,
don’t do anything else until it cools down. The vehicle
should be parked on a level surface.
5-25
Page 237 of 348
When your brake fluid falls
to a low level, your brake
warning light will come
on. SeeBrake System
Warning Light on
page 3-27.
What to Add
When you do need brake fluid, use only DOT-3 brake
fluid. Use new brake fluid from a sealed container
only. SeePart D: Recommended Fluids and Lubricants
on page 6-22.
Always clean the brake fluid reservoir cap and the area
around the cap before removing it. This will help
keep dirt from entering the reservoir.
{CAUTION:
With the wrong kind of �uid in your brake
system, your brakes may not work well, or they
may not even work at all. This could cause a
crash. Always use the proper brake �uid.
Notice:
Using the wrong �uid can badly damage brake
system parts. For example, just a few drops of
mineral-based oil, such as engine oil, in your
brake system can damage brake system parts so
badly that they will have to be replaced. Do not
let someone put in the wrong kind of �uid.
If you spill brake �uid on your vehicle’s painted
surfaces, the paint �nish can be damaged. Be
careful not to spill brake �uid on your vehicle. If
you do, wash it off immediately. SeeAppearance
Care on page 5-80.
5-35