2004 CHEVROLET CAVALIER mirror
[x] Cancel search: mirrorPage 1 of 354

Seats and Restraint Systems........................... 1-1
Front Seats
............................................... 1-2
Rear Seats
............................................... 1-7
Safety Belts
.............................................. 1-8
Child Restraints
.......................................1-29
Air Bag Systems
......................................1-47
Restraint System Check
............................1-56
Features and Controls..................................... 2-1
Keys
........................................................ 2-2
Doors and Locks
....................................... 2-7
Windows
.................................................2-12
Theft-Deterrent Systems
............................2-14
Starting and Operating Your Vehicle
...........2-16
Mirrors
....................................................2-30
OnStar
®System
......................................2-32
Storage Areas
.........................................2-33
Sunroof
..................................................2-34
Instrument Panel............................................. 3-1
Instrument Panel Overview
.......................... 3-2
Climate Controls
......................................3-16
Warning Lights, Gages, and Indicators
........3-20
Audio System(s)
.......................................3-35Driving Your Vehicle....................................... 4-1
Your Driving, the Road, and Your Vehicle
..... 4-2
Towing
...................................................4-29
Service and Appearance Care.......................... 5-1
Service
..................................................... 5-3
Fuel
......................................................... 5-4
Checking Things Under the Hood
...............5-10
Bulb Replacement
....................................5-41
Windshield Wiper Blade Replacement
.........5-45
Tires
......................................................5-46
Appearance Care
.....................................5-72
Vehicle Identi�cation
.................................5-79
Electrical System
......................................5-80
Capacities and Speci�cations
.....................5-85
Normal Maintenance Replacement Parts
......5-86
Maintenance Schedule..................................... 6-1
Maintenance Schedule
................................ 6-2
Customer Assistance and Information.............. 7-1
Customer Assistance and Information
........... 7-2
Reporting Safety Defects
...........................7-10
Index.................................................................1
2004 Chevrolet Cavalier Owner ManualM
Page 65 of 354

Keys...............................................................2-2
Remote Keyless Entry System.........................2-3
Remote Keyless Entry System Operation...........2-4
Doors and Locks.............................................2-7
Door Locks....................................................2-7
Power Door Locks..........................................2-8
Rear Door Security Locks................................2-9
Lockout Protection........................................2-10
Leaving Your Vehicle....................................2-10
Trunk..........................................................2-10
Windows........................................................2-12
Manual Windows..........................................2-12
Power Windows............................................2-13
Sun Visors...................................................2-13
Theft-Deterrent Systems..................................2-14
Content Theft-Deterrent.................................2-14
Passlock
®....................................................2-15
Starting and Operating Your Vehicle................2-16
New Vehicle Break-In....................................2-16
Ignition Positions..........................................2-16
Starting Your Engine.....................................2-18
Engine Coolant Heater..................................2-19Automatic Transaxle Operation.......................2-20
Manual Transaxle Operation...........................2-23
Parking Brake..............................................2-25
Shifting Into Park (P) (Automatic Transaxle)......2-26
Shifting Out of Park (P)
(Automatic Transaxle)................................2-27
Parking Your Vehicle (Manual Transaxle).........2-27
Parking Over Things That Burn.......................2-28
Engine Exhaust............................................2-28
Running Your Engine While You Are Parked. . . .2-29
Mirrors...........................................................2-30
Manual Rearview Mirror.................................2-30
Outside Remote Control Mirror.......................2-30
Outside Power Mirrors...................................2-30
Outside Convex Mirror...................................2-31
Outside Breakaway Mirror..............................2-31
OnStar®System.............................................2-32
Storage Areas................................................2-33
Cupholder(s)................................................2-33
Center Console Storage Area.........................2-34
Convenience Net..........................................2-34
Sunroof.........................................................2-34
Section 2 Features and Controls
2-1
Page 94 of 354

Mirrors
Manual Rearview Mirror
To reduce glare from lamps behind you, move the lever
toward you to the night position.
Outside Remote Control Mirror
The outside rearview mirror should be adjusted so you
can see a little of the side of your vehicle when you
are sitting in a comfortable driving position.
Adjust the driver’s outside
mirror with the control
lever located on the
driver’s door.
To adjust your passenger’s outside mirror, sit in the driver’s
seat and have a passenger adjust the mirror for you.
The mirror is a spring-loaded breakaway design.
Outside Power Mirrors
If your vehicle has this
feature, the power mirror
control is located on
the driver’s door.
Turn the control clockwise or counterclockwise to
choose the mirror you want to adjust. Then move the
control in the direction you want the mirror to move.
Adjust each mirror so you can see a little of the side of
your vehicle when you are sitting in a comfortable
driving position.
The mirror has a spring-loaded breakaway design.
2-30
Page 95 of 354
Outside Convex Mirror
Your passenger’s side mirror is convex. A convex
mirror’s surface is curved so you can see more from the
driver’s seat.
{CAUTION:
A convex mirror can make things (like other
vehicles) look farther away than they really are.
If you cut too sharply into the right lane, you
could hit a vehicle on your right. Check your
inside mirror or glance over your shoulder
before changing lanes.
Outside Breakaway Mirror
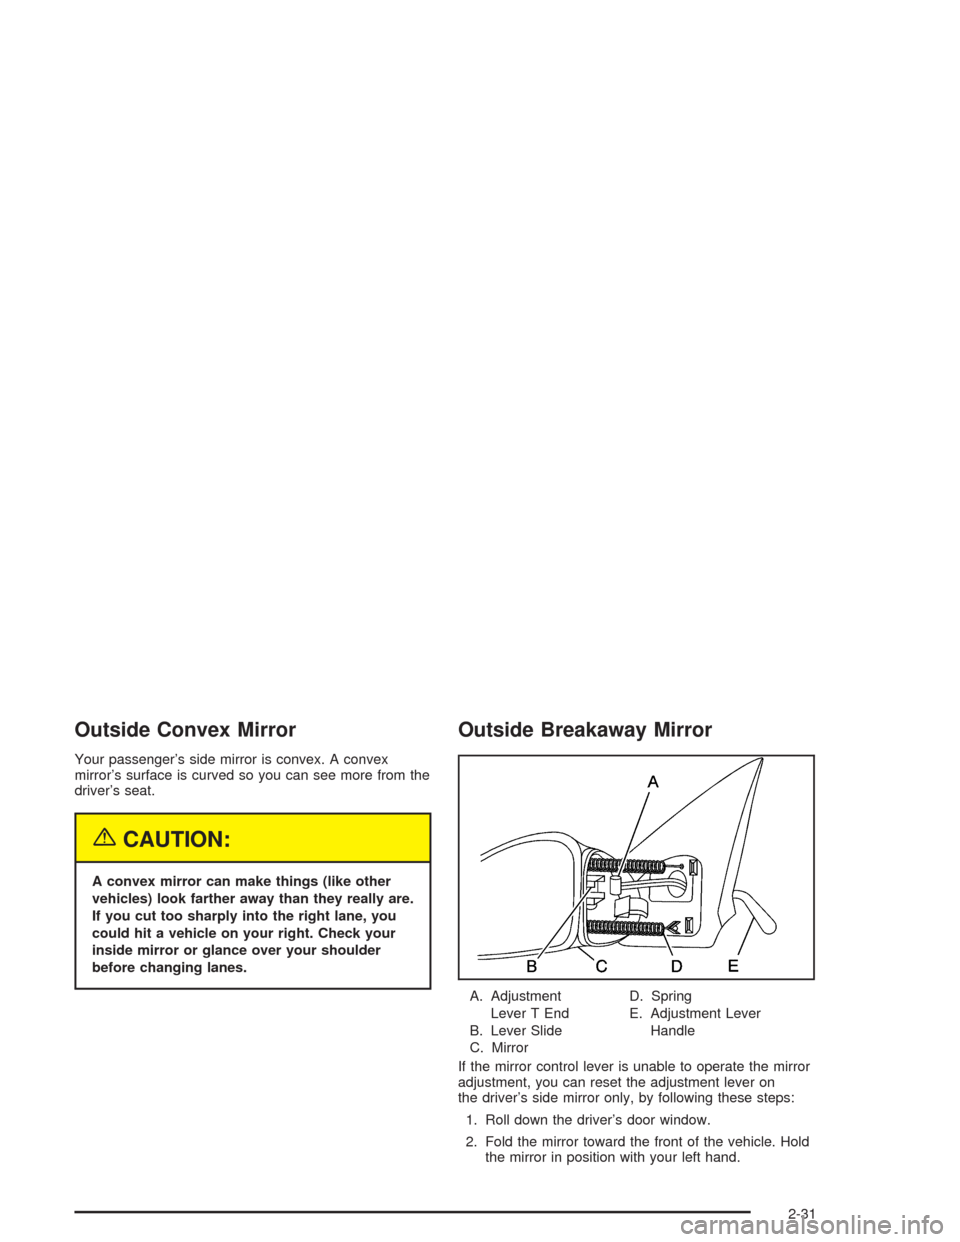
A. Adjustment
Lever T End
B. Lever Slide
C. MirrorD. Spring
E. Adjustment Lever
Handle
If the mirror control lever is unable to operate the mirror
adjustment, you can reset the adjustment lever on
the driver’s side mirror only, by following these steps:
1. Roll down the driver’s door window.
2. Fold the mirror toward the front of the vehicle. Hold
the mirror in position with your left hand.
2-31
Page 96 of 354
3. With your right hand move the adjustment lever
handle, located inside the vehicle, in order to
align the T end of the lever with the lever slide.
4. Fold the mirror back to the original position in order
to engage the T end of the lever with the lever slide.
5. Make sure the mirror housing is fully seated to
its base.
OnStar®System
Your vehicle may have this feature. OnStar®uses
global positioning system (GPS) satellite technology,
wireless communications, and state of the art call
centers to provide you with a wide range of safety,
security, information and convenience services.
A complete OnStar
®user’s guide and the terms and
conditions of the OnStar®Subscription Service
Agreement are included in your OnStar®-equipped
vehicle’s glove box literature. For more information, visit
www.onstar.com, contact OnStar
®at 1-888-4-ONSTAR(1-888-466-7827), or press the blue OnStar
®button to
speak to an OnStar®advisor 24 hours a day, 7 days
a week.
A completed Subscription Service Agreement is required
prior to delivery of OnStar
®services and prepaid
calling minutes are also required for OnStar®Personal
Calling and OnStar®Virtual Advisor use. Terms and
conditions of the Subscription Service Agreement can be
found at www.onstar.com.
OnStar®Services
One of the following plans is normally included for a
speci�c duration with each vehicle equipped with
OnStar
®. You can upgrade or extend your OnStar®
service plan to meet your needs.
Safe and Sound Plan
Automatic Noti�cation of Air Bag Deployment
Emergency Services
Roadside Assistance
Stolen Vehicle Assistance
AccidentAssist
Remote Door Unlock
Remote Diagnostics
Online Concierge
2-32
Page 112 of 354
Interior Lamps
Instrument Panel Brightness
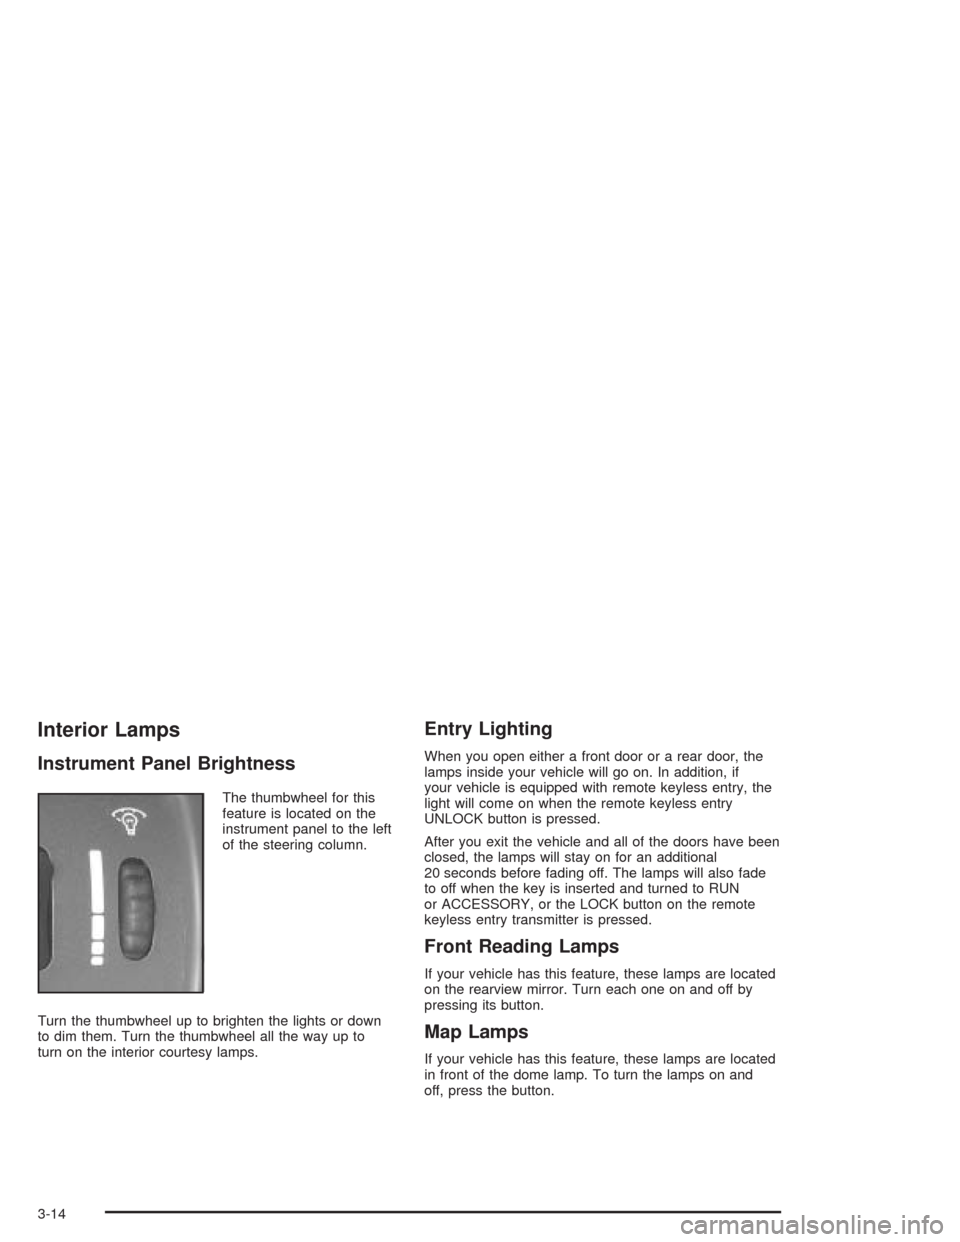
The thumbwheel for this
feature is located on the
instrument panel to the left
of the steering column.
Turn the thumbwheel up to brighten the lights or down
to dim them. Turn the thumbwheel all the way up to
turn on the interior courtesy lamps.
Entry Lighting
When you open either a front door or a rear door, the
lamps inside your vehicle will go on. In addition, if
your vehicle is equipped with remote keyless entry, the
light will come on when the remote keyless entry
UNLOCK button is pressed.
After you exit the vehicle and all of the doors have been
closed, the lamps will stay on for an additional
20 seconds before fading off. The lamps will also fade
to off when the key is inserted and turned to RUN
or ACCESSORY, or the LOCK button on the remote
keyless entry transmitter is pressed.
Front Reading Lamps
If your vehicle has this feature, these lamps are located
on the rearview mirror. Turn each one on and off by
pressing its button.
Map Lamps
If your vehicle has this feature, these lamps are located
in front of the dome lamp. To turn the lamps on and
off, press the button.
3-14
Page 179 of 354
Check your mirrors, glance over your shoulder, and
start your left lane change signal before moving out
of the right lane to pass. When you are far
enough ahead of the passed vehicle to see its front
in your inside mirror, activate your right lane
change signal and move back into the right lane.
(Remember that your right outside mirror is convex.
The vehicle you just passed may seem to be
farther away from you than it really is.)
Try not to pass more than one vehicle at a time on
two-lane roads. Reconsider before passing the
next vehicle.
Do not overtake a slowly moving vehicle too rapidly.
Even though the brake lamps are not �ashing, it
may be slowing down or starting to turn.
If you are being passed, make it easy for the
following driver to get ahead of you. Perhaps
you can ease a little to the right.
Loss of Control
Let us review what driving experts say about what
happens when the three control systems (brakes,
steering and acceleration) do not have enough friction
where the tires meet the road to do what the driver
has asked.
In any emergency, do not give up. Keep trying to steer
and constantly seek an escape route or area of less
danger.
Skidding
In a skid, a driver can lose control of the vehicle.
Defensive drivers avoid most skids by taking reasonable
care suited to existing conditions, and by not
“overdriving” those conditions. But skids are always
possible.
The three types of skids correspond to your vehicle’s
three control systems. In the braking skid, your wheels
are not rolling. In the steering or cornering skid, too much
speed or steering in a curve causes tires to slip and lose
cornering force. And in the acceleration skid, too much
throttle causes the driving wheels to spin.
A cornering skid is best handled by easing your foot off
the accelerator pedal.
If you have the Enhanced Traction System, remember:
It helps avoid only the acceleration skid. If you do
not have the Enhanced Traction System, or if the
transaxle is not in AUTOMATIC OVERDRIVE (D), then
an acceleration skid is also best handled by easing
your foot off the accelerator pedal.
If your vehicle starts to slide, ease your foot off the
accelerator pedal and quickly steer the way you want
the vehicle to go. If you start steering quickly enough,
your vehicle may straighten out. Always be ready
for a second skid if it occurs.
4-13
Page 180 of 354
Of course, traction is reduced when water, snow, ice,
gravel or other material is on the road. For safety,
you will want to slow down and adjust your driving to
these conditions. It is important to slow down on slippery
surfaces because stopping distance will be longer and
vehicle control more limited.
While driving on a surface with reduced traction, try
your best to avoid sudden steering, acceleration
or braking (including engine braking by shifting to a
lower gear). Any sudden changes could cause the tires
to slide. You may not realize the surface is slippery
until your vehicle is skidding. Learn to recognize warning
clues — such as enough water, ice or packed snow
on the road to make a “mirrored surface” — and slow
down when you have any doubt.
If you have the anti-lock braking system, remember: It
helps avoid only the braking skid. If you do not have
anti-lock, then in a braking skid (where the wheels are
no longer rolling), release enough pressure on the
brakes to get the wheels rolling again. This restores
steering control. Push the brake pedal down steadily
when you have to stop suddenly. As long as the wheels
are rolling, you will have steering control.Driving at Night
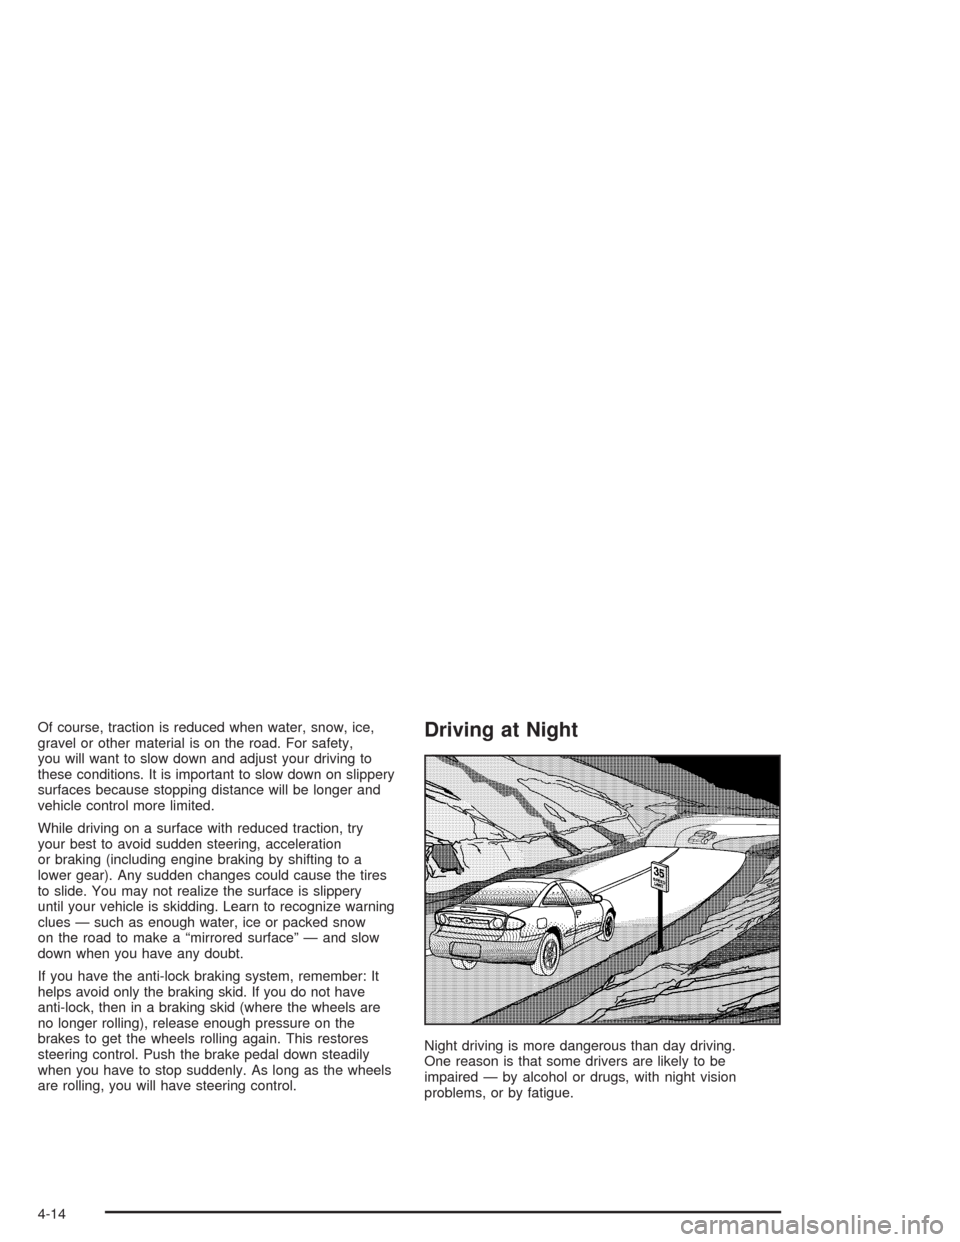
Night driving is more dangerous than day driving.
One reason is that some drivers are likely to be
impaired — by alcohol or drugs, with night vision
problems, or by fatigue.
4-14