Page 218 of 354
While refueling, hang the tethered fuel cap from the
hook on the fuel door.
To remove the fuel cap, turn it slowly to the left
(counterclockwise). The fuel cap has a spring in it; if
you let go of the cap too soon, it will spring back to
the right.
{CAUTION:
If you spill fuel and then something ignites it,
you could be badly burned. Fuel can spray out
on you if you open the fuel cap too quickly.
This spray can happen if your tank is nearly
full, and is more likely in hot weather. Open
the fuel cap slowly and wait for any “hiss”
noise to stop. Then unscrew the cap all
the way.
Be careful not to spill fuel. Don’t top off or over�ll your
tank and wait a few seconds after you’ve �nished
pumping before you remove the nozzle. Clean fuel from
painted surfaces as soon as possible. SeeCleaning
the Outside of Your Vehicle on page 5-75.
5-8
Page 219 of 354

When you put the fuel cap back on, turn it to the right
(clockwise) until you hear a clicking sound. Make
sure you fully install the cap. The diagnostic system can
determine if the fuel cap has been left off or improperly
installed. This would allow fuel to evaporate into the
atmosphere. SeeMalfunction Indicator Lamp on
page 3-29.
{CAUTION:
If a �re starts while you are refueling, do not
remove the nozzle. Shut off the �ow of fuel by
shutting off the pump or by notifying the
station attendant. Leave the area immediately.
Notice:If you need a new fuel cap, be sure to get
the right type. Your dealer can get one for you.
If you get the wrong type, it may not �t properly.
This may cause your malfunction indicator lamp to
light and may damage your fuel tank and emissions
system. SeeMalfunction Indicator Lamp on
page 3-29.
Filling a Portable Fuel Container
{CAUTION:
Never �ll a portable fuel container while it is in
your vehicle. Static electricity discharge from
the container can ignite the gasoline vapor.
You can be badly burned and your vehicle
damaged if this occurs. To help avoid injury to
you and others:
Dispense gasoline only into approved
containers.
Do not �ll a container while it is inside a
vehicle, in a vehicle’s trunk, pickup bed or
on any surface other than the ground.
Bring the �ll nozzle in contact with the
inside of the �ll opening before operating
the nozzle. Contact should be maintained
until the �lling is complete.
Do not smoke while pumping gasoline.
5-9
Page 223 of 354

A. Coolant Surge Tank. SeeCooling System on
page 5-25.
B. Engine Oil Dipstick. See “Checking Engine Oil”
underEngine Oil on page 5-13.
C. Engine Oil Fill Cap. See “When to Add Engine Oil”
underEngine Oil on page 5-13.
D. Brake Fluid Reservoir. See “Brake Fluid” under
Brakes on page 5-32.
E. Power Steering Fluid Reservoir. SeePower Steering
Fluid on page 5-30.
F. Clutch Master Cylinder Reservoir (If Equipped) (Not
Shown). SeeHydraulic Clutch on page 5-19.
G. Battery. SeeBattery on page 5-36.
H. Engine Air Cleaner/Filter. SeeEngine Air
Cleaner/Filter on page 5-17.
I. Windshield Washer Fluid Reservoir. SeeWindshield
Washer Fluid on page 5-31.
J. Engine Compartment Fuse Block. See “Engine
Compartment Fuse Block” underFuses and Circuit
Breakers on page 5-81.Engine Oil
If the oil pressure light
appears on the instrument
cluster, it means you
need to check your engine
oil level right away.
For more information, seeOil Pressure Light on
page 3-32.
You should check your engine oil level regularly; this is
an added reminder.
Checking Engine Oil
It is a good idea to check your engine oil every time you
get fuel. In order to get an accurate reading, the oil
must be warm and the vehicle must be on level ground.
The engine oil dipstick handle is a yellow loop. See
Engine Compartment Overview on page 5-12for
the location of the engine oil dipstick.
Turn off the engine and give the oil several minutes to
drain back into the oil pan. If you don’t, the oil
dipstick might not show the actual level.
5-13
Page 238 of 354

{CAUTION:
Adding only plain water to your cooling
system can be dangerous. Plain water, or
some other liquid such as alcohol, can boil
before the proper coolant mixture will. Your
vehicle’s coolant warning system is set for the
proper coolant mixture. With plain water or the
wrong mixture, your engine could get too hot
but you would not get the overheat warning.
Your engine could catch �re and you or others
could be burned. Use a 50/50 mixture of clean,
drinkable water and DEX-COOL
®coolant.
Notice:In cold weather, water can freeze and crack
the engine, radiator, heater core and other parts.
Use the recommended coolant and the proper
coolant mixture.
{CAUTION:
You can be burned if you spill coolant on hot
engine parts. Coolant contains ethylene glycol
and it will burn if the engine parts are hot
enough. Do not spill coolant on a hot engine.
1. Park the vehicle on a level surface. You can
remove the coolant surge tank pressure cap
when the cooling system, including the coolant
surge tank pressure cap and upper radiator hose, is
no longer hot. Turn the pressure cap slowly
counterclockwise (left) about two or two and
one-half turns. If you hear a hiss, wait for that to
stop. This will allow any pressure still left to
be vented out the discharge hose.
5-28
Page 252 of 354
2. Remove the two bolts from the headlamp assembly.
Pull the headlamp assembly up and toward the
front of the vehicle to access the bulb assembly.3. Remove the cover by
turning it
counterclockwise.
4. Disconnect the bulb
base from the socket
by lifting the plastic
locking tab.
5. Remove the black collar by turning it clockwise.
5-42
Page 253 of 354
6. Remove the bulb by
pulling it straight out.
7. Snap a new bulb into the socket.
8. Reinstall the bulb assembly by reversing Steps 1
through 5.Front Turn Signal and Parking
Lamps
1. Follow Steps 1 and 2 underHeadlamps on
page 5-41.
2. Hold down the tab at
the top of the bulb
retainer. Twist
the retainer one-eighth
of a turn
counterclockwise and
pull the assembly out.
3. Remove the bulb by pulling the bulb straight out.
4. Snap in a new bulb.
5. Reinstall the bulb assembly by reversing
Steps 1 and 2.
5-43
Page 254 of 354

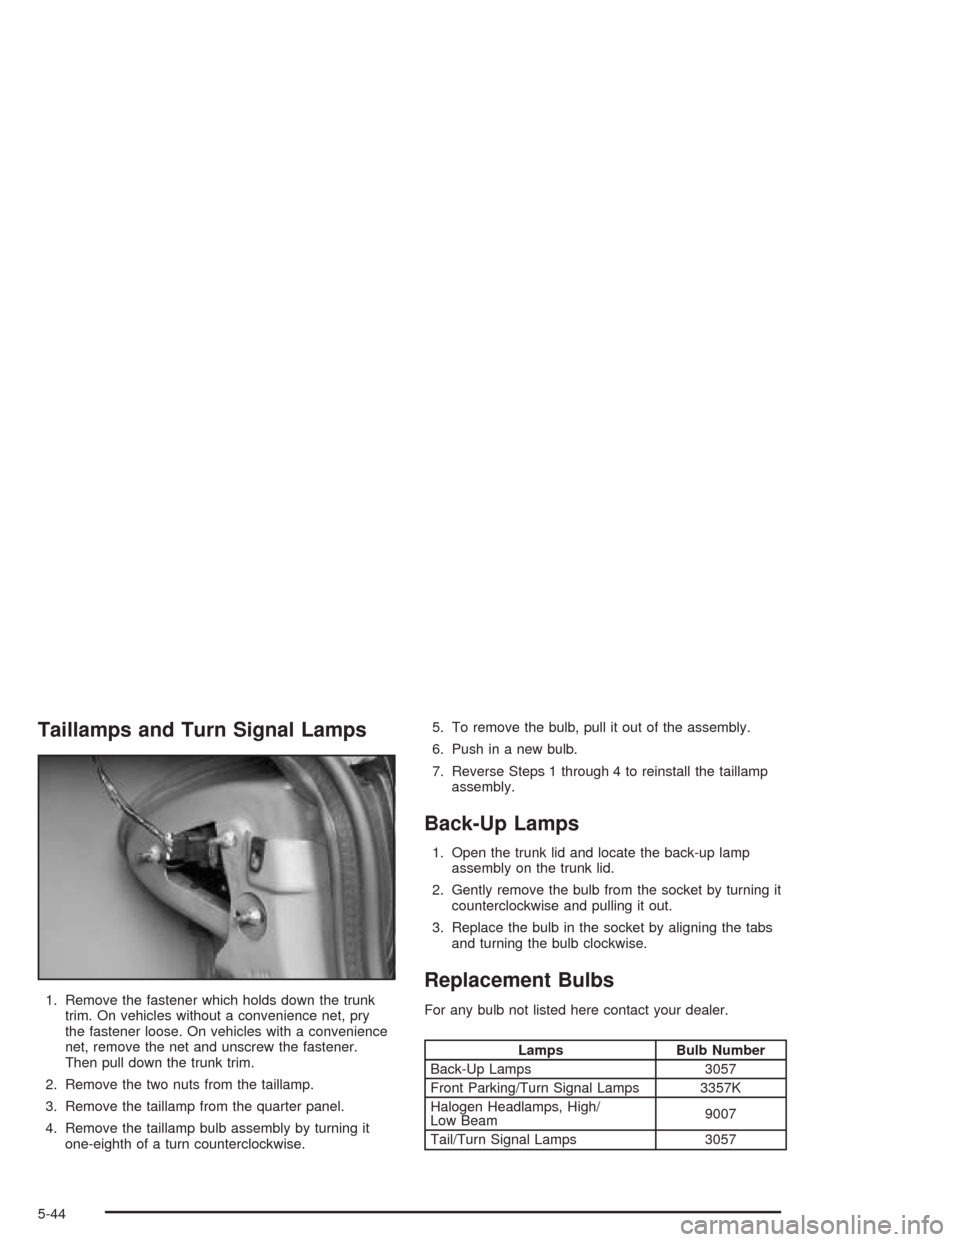
Taillamps and Turn Signal Lamps
1. Remove the fastener which holds down the trunk
trim. On vehicles without a convenience net, pry
the fastener loose. On vehicles with a convenience
net, remove the net and unscrew the fastener.
Then pull down the trunk trim.
2. Remove the two nuts from the taillamp.
3. Remove the taillamp from the quarter panel.
4. Remove the taillamp bulb assembly by turning it
one-eighth of a turn counterclockwise.5. To remove the bulb, pull it out of the assembly.
6. Push in a new bulb.
7. Reverse Steps 1 through 4 to reinstall the taillamp
assembly.
Back-Up Lamps
1. Open the trunk lid and locate the back-up lamp
assembly on the trunk lid.
2. Gently remove the bulb from the socket by turning it
counterclockwise and pulling it out.
3. Replace the bulb in the socket by aligning the tabs
and turning the bulb clockwise.
Replacement Bulbs
For any bulb not listed here contact your dealer.
Lamps Bulb Number
Back-Up Lamps 3057
Front Parking/Turn Signal Lamps 3357K
Halogen Headlamps, High/
Low Beam9007
Tail/Turn Signal Lamps 3057
5-44
Page 272 of 354

Changing a Flat Tire
If a tire goes �at, avoid further tire and wheel damage
by driving slowly to a level place. Turn on your
hazard warning �ashers.
{CAUTION:
Changing a tire can be dangerous. The vehicle
can slip off the jack and roll over or fall on you
or other people. You and they could be badly
injured or even killed. Find a level place to
change your tire. To help prevent the vehicle
from moving:
1. Set the parking brake �rmly.
2. Put an automatic transaxle shift lever in
PARK (P), or shift a manual transaxle to
FIRST (1) or REVERSE (R).
3. Turn off the engine and do not restart
while the vehicle is raised.
4. Do not allow passengers to remain in the
vehicle.
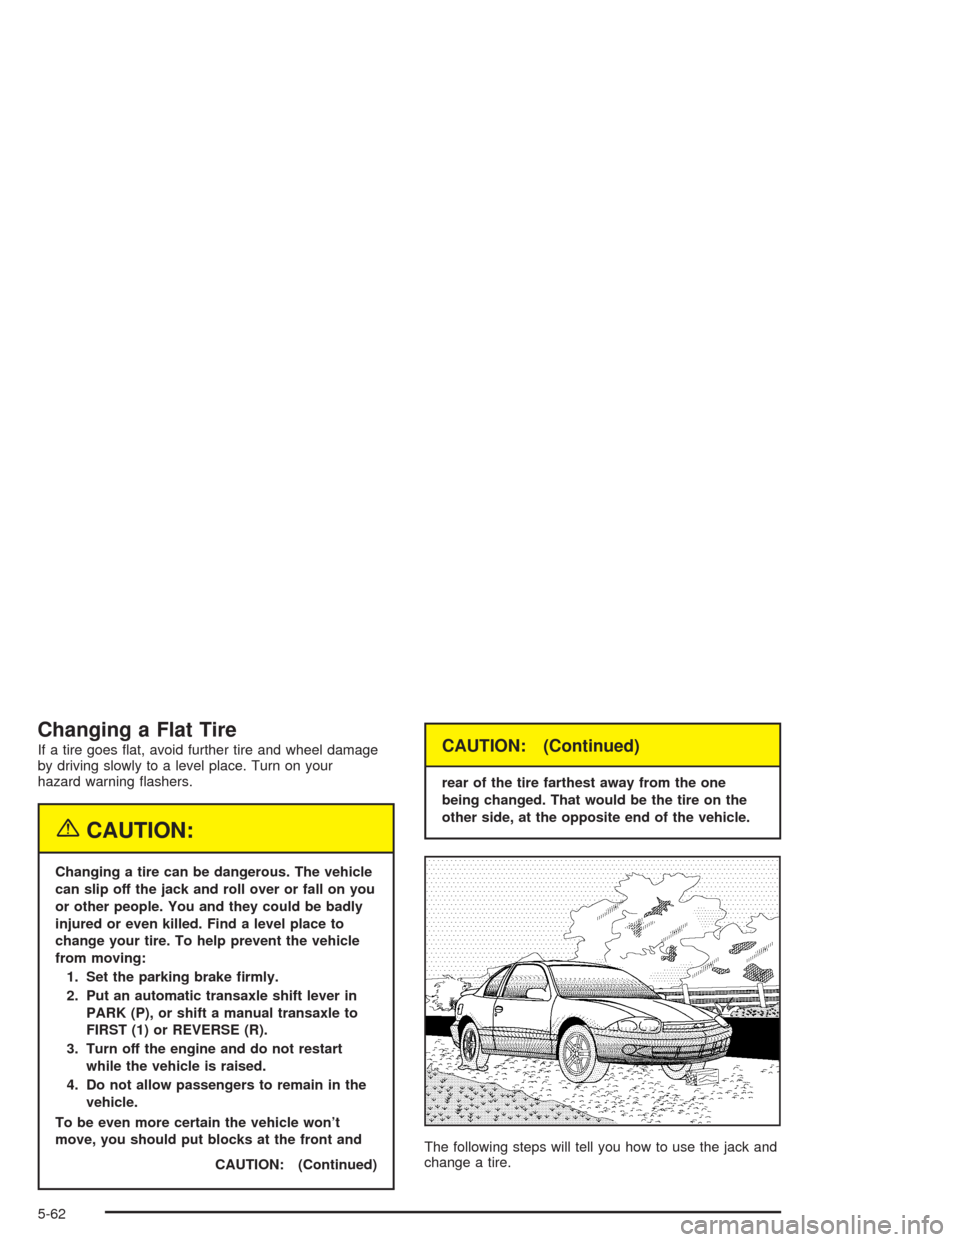
To be even more certain the vehicle won’t
move, you should put blocks at the front and
CAUTION: (Continued)
CAUTION: (Continued)
rear of the tire farthest away from the one
being changed. That would be the tire on the
other side, at the opposite end of the vehicle.
The following steps will tell you how to use the jack and
change a tire.
5-62