2004 CHEVROLET AVEO turn signal
[x] Cancel search: turn signalPage 140 of 334

Radio with CD
Playing the Radio
ON/OFF:Press this knob to turn the system on and off.
VOL (Volume):Turn this knob to increase or to
decrease volume.
Finding a Station
AM/FM:Press this button to switch between FM1, FM2,
or AM. The display will show your selection.
TUN (Tune):Turn this knob to select radio stations.
SCAN:Push and release this knob to scan radio
stations. The radio will go to a station, play for a few
seconds, then go on to the next station. Push this knob
again to stop scanning.The radio will scan only to stations that are in the
selected band and only to those with a strong signal.
Setting Preset Stations
The six numbered pushbuttons let you return to your
favorite stations. You can set up to 18 stations (six FM1,
six FM2, and six AM), by performing the following steps:
1. Turn the radio on.
2. Press AM/FM to select FM1, FM2, or AM.
3. Tune in the desired station.
4. Press and hold one of the six numbered pushbuttons
for longer than two seconds. The pushbutton number
will flash on the display when the station has been
set. Whenever you press that numbered pushbutton,
the station you set will return.
5. Repeat the steps for each pushbutton.
Automatic Store
You can also automatically store six FM1 preset stations
with the strongest reception in the region. Press the AST
button for longer than one second. Once the stations are
stored, the radio will switch to FM1 and the first preset
station will begin to play. FM-A will appear on the display
when listening to the automatic stored stations. Press the
AM-FM button to cancel automatic store.
3-36
Page 147 of 334

Theft-Deterrent Feature
The theft-deterrent system is designed to discourage
theft of your radio. When the radio and vehicle are
turned off, your radio has a blinking red light to indicate
that the theft-deterrent system is activated.
The theft-deterrent system also activates when the
audio system has been disconnected from the battery.
When this occurs, the AF code and security code
will have to be entered in order to operate your radio.
An identification card stamped with the AF code
and security code will be provided with the vehicle.
Keep it in a safe place, not in the vehicle.
To enter the security code do the following:
1. Turn the ignition to ACC or ON.
2. Turn the radio on. AF or COdE will flash on the
display. If AF flashes on the display, go to Step 2.
If COdE flashes on the display, go to Step 4.
3. Enter the AF code by using the preset pushbuttons.
COdE will flash on the display.
4. Enter the security code by using the preset
pushbuttons. When the complete security code is
entered, the code will flash three times.If the security code is not entered correctly, Err will
appear on the display for a few seconds. When
COdE appears back on the display, repeat Step 4.
If the incorrect AF code is entered, an incorrect
frequency level may be chosen and the radio
reception may be affected. If this occurs, reset the
audio system by removing and re-installing the
AUDIO fuse. See “Instrument Panel Fuse Block”
underFuses and Circuit Breakers on page 5-85for
more information. Then repeat Steps 1 through 4.
Radio Reception
AM
The range for most AM stations is greater than for FM,
especially at night. The longer range, however, can
cause stations to interfere with each other. AM can pick
up noise from things like storms and power lines.
Try reducing the treble to reduce this noise.
FM
FM stereo will give you the best sound, but FM signals
will reach only about 10 to 40 miles (16 to 65 km).
Tall buildings or hills can interfere with FM signals,
causing the sound to come and go.
3-43
Page 161 of 334

•Do not get too close to the vehicle you want to
pass while you are awaiting an opportunity. For one
thing, following too closely reduces your area of
vision, especially if you are following a larger
vehicle. Also, you will not have adequate space if
the vehicle ahead suddenly slows or stops.
Keep back a reasonable distance.
•When it looks like a chance to pass is coming up,
start to accelerate but stay in the right lane and
do not get too close. Time your move so you will be
increasing speed as the time comes to move into
the other lane. If the way is clear to pass, you
will have a “running start” that more than makes up
for the distance you would lose by dropping
back. And if something happens to cause you to
cancel your pass, you need only slow down
and drop back again and wait for another
opportunity.
•If other vehicles are lined up to pass a slow vehicle,
wait your turn. But take care that someone is not
trying to pass you as you pull out to pass the slow
vehicle. Remember to glance over your shoulder
and check the blind spot.
•Check your mirrors, glance over your shoulder,
and start your left lane change signal before moving
out of the right lane to pass. When you are far
enough ahead of the passed vehicle to see its front
in your inside mirror, activate your right lane
change signal and move back into the right lane.
(Remember that your right outside mirror is convex.
The vehicle you just passed may seem to be
farther away from you than it really is.)
•Try not to pass more than one vehicle at a time on
two-lane roads. Reconsider before passing the
next vehicle.
•Do not overtake a slowly moving vehicle too rapidly.
Even though the brake lamps are not flashing, it
may be slowing down or starting to turn.
•If you are being passed, make it easy for the
following driver to get ahead of you. Perhaps
you can ease a little to the right.
4-13
Page 167 of 334

City Driving
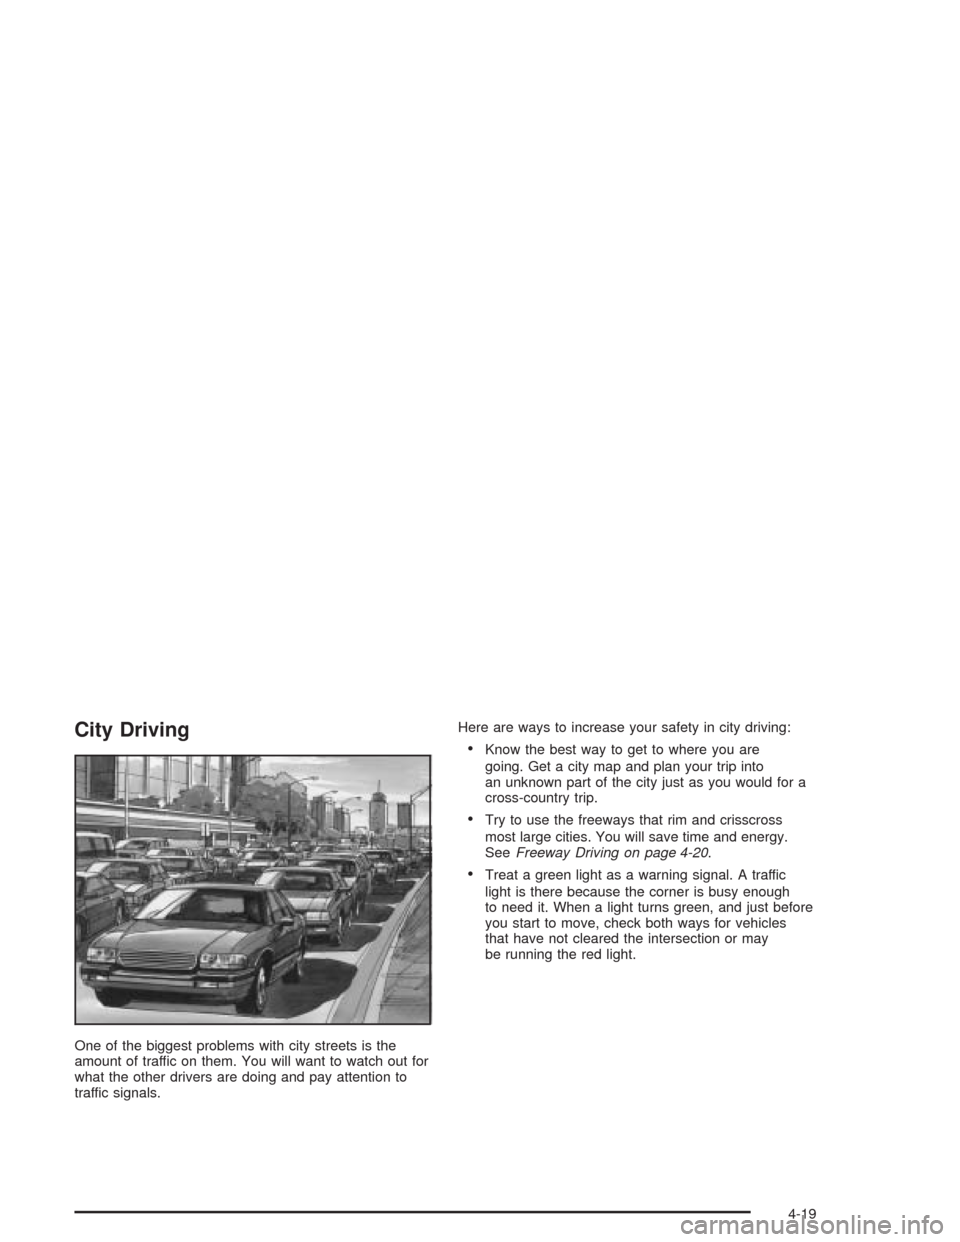
One of the biggest problems with city streets is the
amount of traffic on them. You will want to watch out for
what the other drivers are doing and pay attention to
traffic signals.Here are ways to increase your safety in city driving:
•Know the best way to get to where you are
going. Get a city map and plan your trip into
an unknown part of the city just as you would for a
cross-country trip.
•Try to use the freeways that rim and crisscross
most large cities. You will save time and energy.
SeeFreeway Driving on page 4-20.
•Treat a green light as a warning signal. A traffic
light is there because the corner is busy enough
to need it. When a light turns green, and just before
you start to move, check both ways for vehicles
that have not cleared the intersection or may
be running the red light.
4-19
Page 168 of 334

Freeway Driving
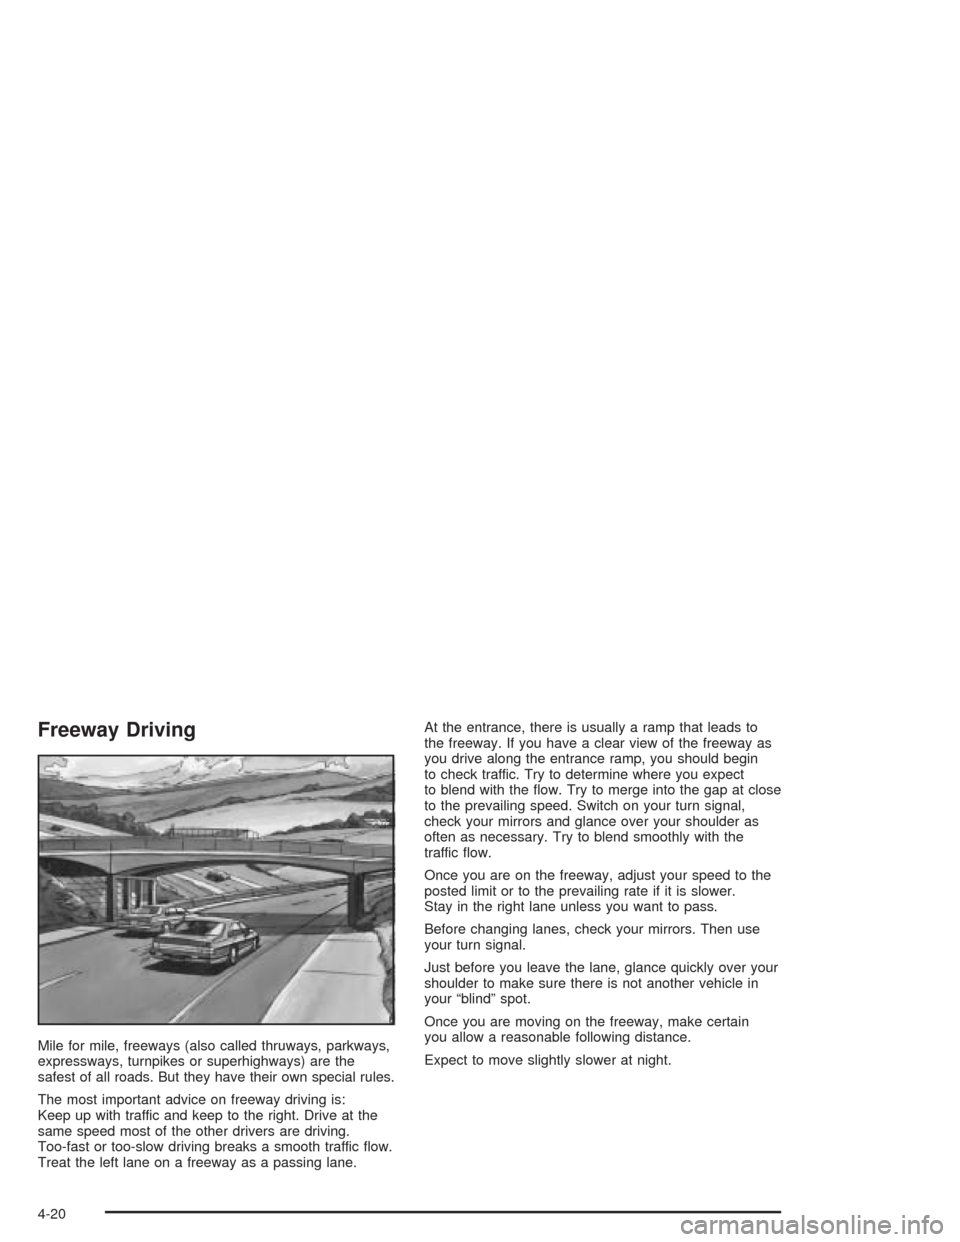
Mile for mile, freeways (also called thruways, parkways,
expressways, turnpikes or superhighways) are the
safest of all roads. But they have their own special rules.
The most important advice on freeway driving is:
Keep up with traffic and keep to the right. Drive at the
same speed most of the other drivers are driving.
Too-fast or too-slow driving breaks a smooth traffic flow.
Treat the left lane on a freeway as a passing lane.At the entrance, there is usually a ramp that leads to
the freeway. If you have a clear view of the freeway as
you drive along the entrance ramp, you should begin
to check traffic. Try to determine where you expect
to blend with the flow. Try to merge into the gap at close
to the prevailing speed. Switch on your turn signal,
check your mirrors and glance over your shoulder as
often as necessary. Try to blend smoothly with the
traffic flow.
Once you are on the freeway, adjust your speed to the
posted limit or to the prevailing rate if it is slower.
Stay in the right lane unless you want to pass.
Before changing lanes, check your mirrors. Then use
your turn signal.
Just before you leave the lane, glance quickly over your
shoulder to make sure there is not another vehicle in
your “blind” spot.
Once you are moving on the freeway, make certain
you allow a reasonable following distance.
Expect to move slightly slower at night.
4-20
Page 187 of 334

Service............................................................5-3
Doing Your Own Service Work.........................5-4
Adding Equipment to the Outside of Your
Vehicle......................................................5-4
Fuel................................................................5-5
Gasoline Octane............................................5-5
Gasoline Specifications....................................5-5
California Fuel...............................................5-6
Additives.......................................................5-6
Fuels in Foreign Countries...............................5-7
Filling Your Tank............................................5-8
Filling a Portable Fuel Container.....................5-10
Checking Things Under the Hood....................5-11
Hood Release..............................................5-11
Engine Compartment Overview.......................5-14
Engine Oil...................................................5-15
Engine Air Cleaner/Filter................................5-20
Automatic Transaxle Fluid..............................5-21
Manual Transaxle Fluid..................................5-21
Hydraulic Clutch...........................................5-22
Engine Coolant.............................................5-23Coolant Surge Tank Pressure Cap..................5-25
Engine Overheating.......................................5-25
Cooling System............................................5-28
Power Steering Fluid.....................................5-34
Windshield Washer Fluid................................5-35
Brakes........................................................5-36
Battery........................................................5-39
Jump Starting...............................................5-40
Headlamp Aiming...........................................5-45
Bulb Replacement..........................................5-45
Halogen Bulbs..............................................5-45
Headlamps..................................................5-46
Front Turn Signal and Parking Lamps................5-46
Turn Signal Lamps (Side)..............................5-47
Fog Lamps..................................................5-48
Sidemarker Lamps (Front)..............................5-48
Sidemarker Lamps (Rear)..............................5-49
Taillamps, Turn Signal, Stoplamps and
Back-up Lamps.........................................5-49
Windshield Wiper Blade Replacement..............5-50
Section 5 Service and Appearance Care
5-1
Page 232 of 334

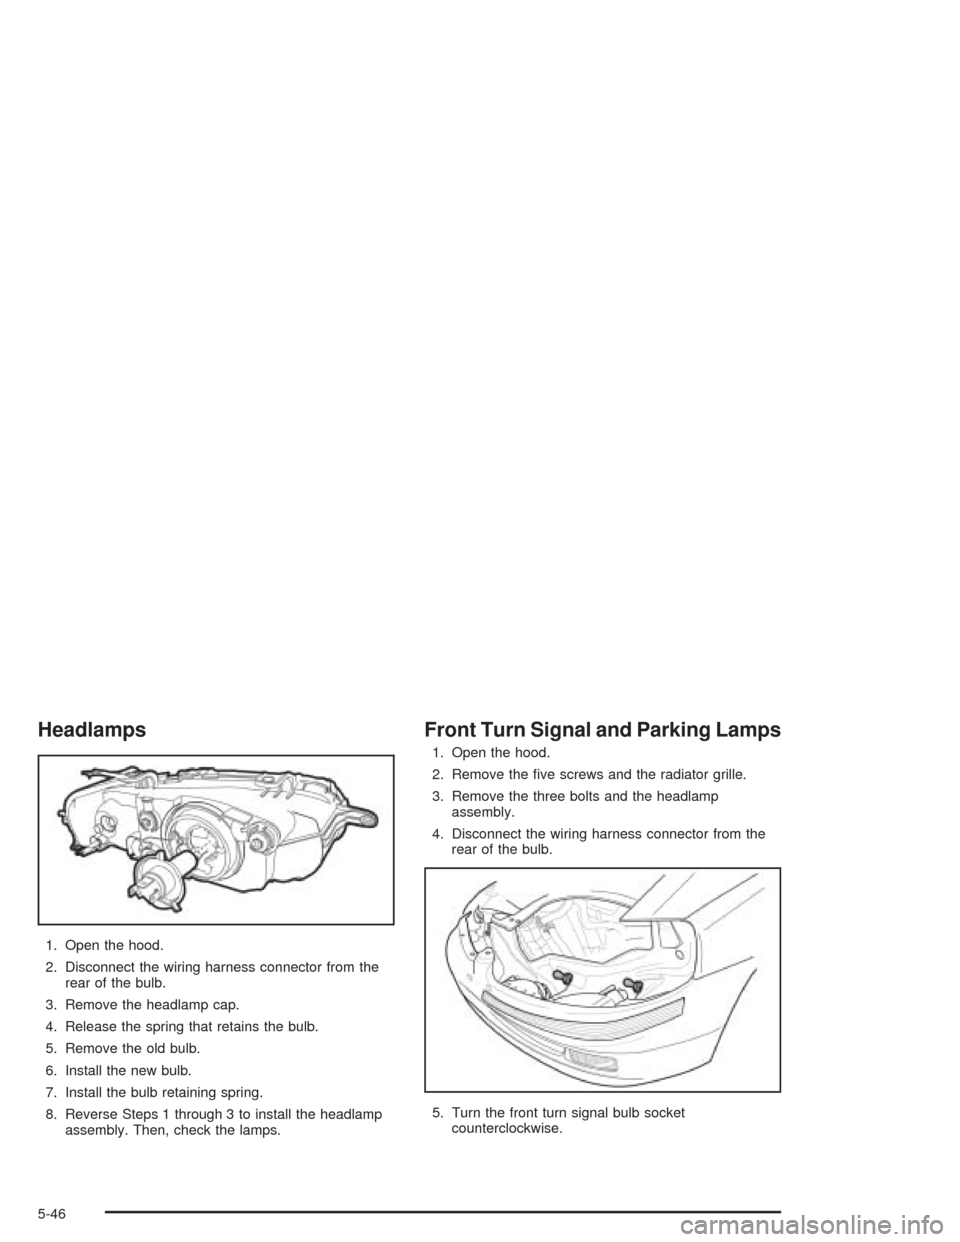
Headlamps
1. Open the hood.
2. Disconnect the wiring harness connector from the
rear of the bulb.
3. Remove the headlamp cap.
4. Release the spring that retains the bulb.
5. Remove the old bulb.
6. Install the new bulb.
7. Install the bulb retaining spring.
8. Reverse Steps 1 through 3 to install the headlamp
assembly. Then, check the lamps.
Front Turn Signal and Parking Lamps
1. Open the hood.
2. Remove the five screws and the radiator grille.
3. Remove the three bolts and the headlamp
assembly.
4. Disconnect the wiring harness connector from the
rear of the bulb.
5. Turn the front turn signal bulb socket
counterclockwise.
5-46
Page 233 of 334

6. Pull the front turn signal bulb socket out of the lamp
housing.
7. Press the bulb inward and turn it counterclockwise
to remove it from the bulb socket.
8. Install the new bulb into the socket by pressing it in
and turning it clockwise.
9. Install the socket into the lamp housing by turning it
clockwise.
10. Reverse Steps 1 through 4 to install the assembly.
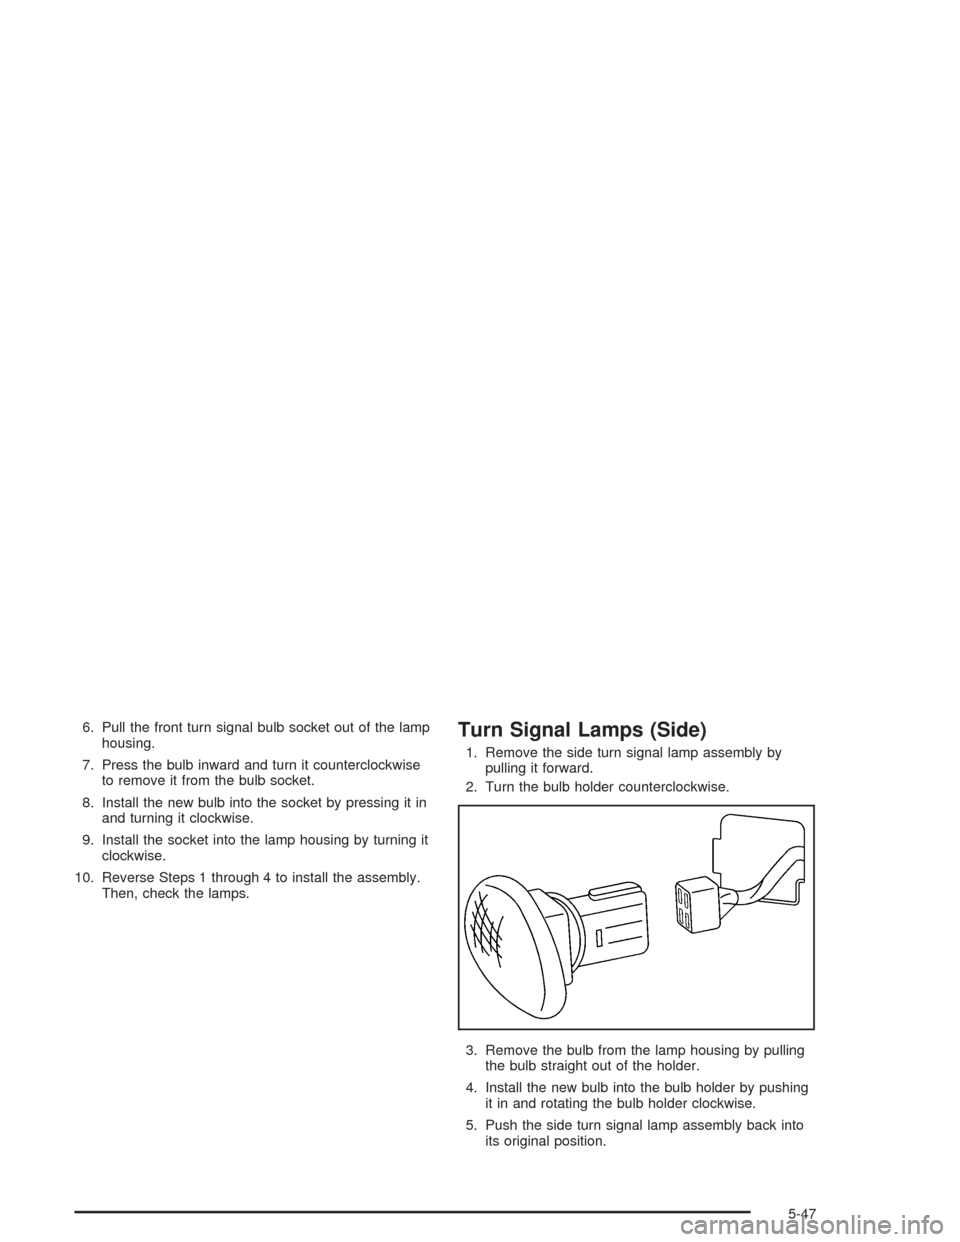
Then, check the lamps.Turn Signal Lamps (Side)
1. Remove the side turn signal lamp assembly by
pulling it forward.
2. Turn the bulb holder counterclockwise.
3. Remove the bulb from the lamp housing by pulling
the bulb straight out of the holder.
4. Install the new bulb into the bulb holder by pushing
it in and rotating the bulb holder clockwise.
5. Push the side turn signal lamp assembly back into
its original position.
5-47