2004 CHEVROLET AVALANCHE lock
[x] Cancel search: lockPage 187 of 548
Reading Lamps
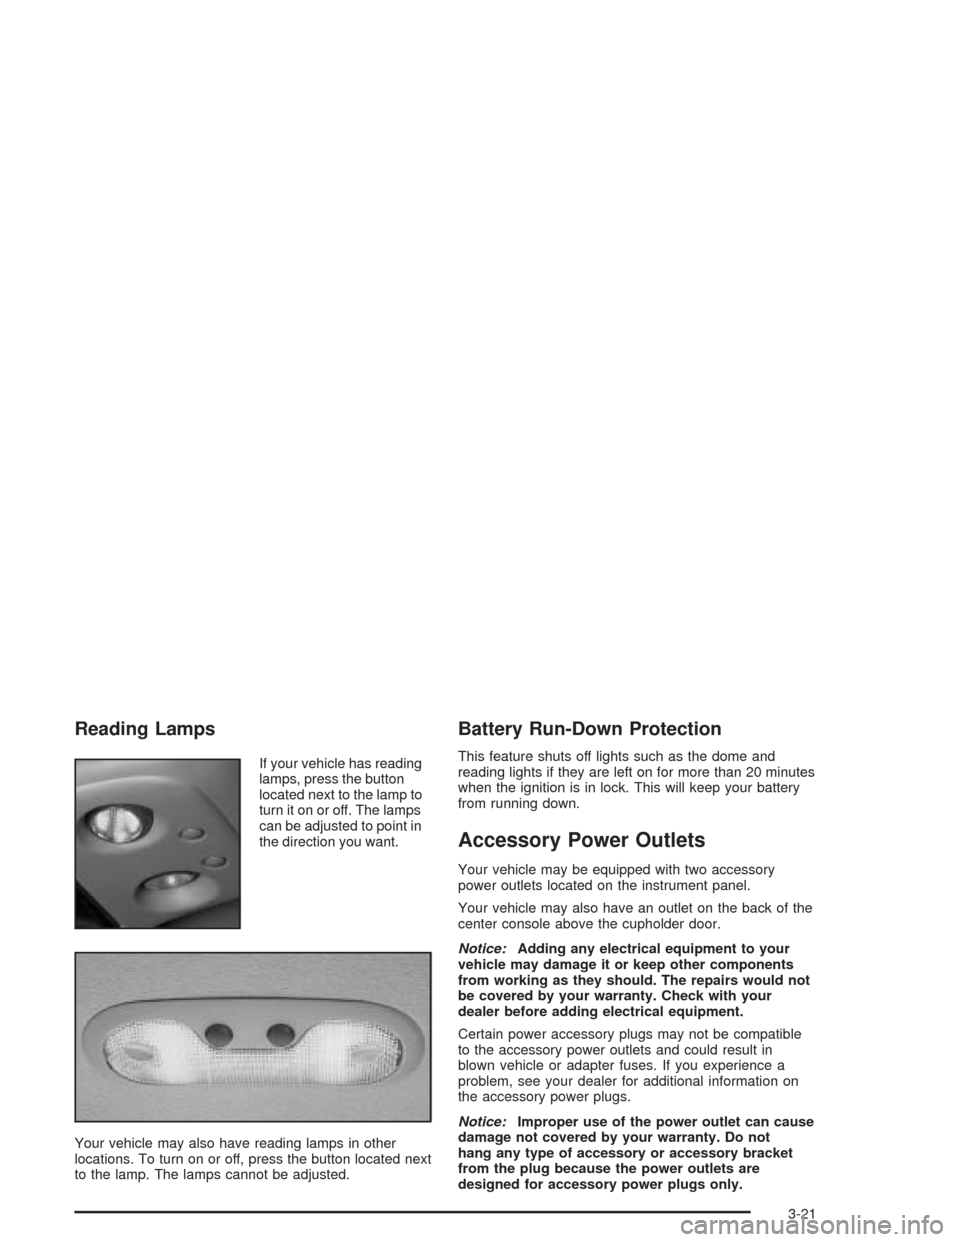
If your vehicle has reading
lamps, press the button
located next to the lamp to
turn it on or off. The lamps
can be adjusted to point in
the direction you want.
Your vehicle may also have reading lamps in other
locations. To turn on or off, press the button located next
to the lamp. The lamps cannot be adjusted.
Battery Run-Down Protection
This feature shuts off lights such as the dome and
reading lights if they are left on for more than 20 minutes
when the ignition is in lock. This will keep your battery
from running down.
Accessory Power Outlets
Your vehicle may be equipped with two accessory
power outlets located on the instrument panel.
Your vehicle may also have an outlet on the back of the
center console above the cupholder door.
Notice:Adding any electrical equipment to your
vehicle may damage it or keep other components
from working as they should. The repairs would not
be covered by your warranty. Check with your
dealer before adding electrical equipment.
Certain power accessory plugs may not be compatible
to the accessory power outlets and could result in
blown vehicle or adapter fuses. If you experience a
problem, see your dealer for additional information on
the accessory power plugs.
Notice:Improper use of the power outlet can cause
damage not covered by your warranty. Do not
hang any type of accessory or accessory bracket
from the plug because the power outlets are
designed for accessory power plugs only.
3-21
Page 189 of 548
Driver’s Side Temperature Knob
The driver’s side knob is used to adjust the temperature
of the air coming through the system on the driver’s
side. The temperature can be adjusted even if the
system is turned off. This is possible since outside air
will always �ow through the system as the vehicle
is moving forward unless it is set to recirculation mode.
See “Recirculation” later in this section.
Turn the knob counterclockwise or clockwise to lower or
increase the cabin temperature. The display will show
the temperature setting decreasing or increasing and an
arrow pointing to the driver will be displayed under
and to the left of the temperature setting.
Passenger’s Side Temperature Knob
The passenger’s side knob can be used to change the
temperature of the air coming through the system on the
passenger’s side of the vehicle. The temperature can be
adjusted even if the system is turned off. This is possible
since outside air will always �ow through the system as
the vehicle is moving forward unless it is set to
recirculation mode. See “Recirculation” later in this
section.Turn the knob counterclockwise or clockwise to lower or
increase the cabin temperature. The display will show
the temperature setting decreasing or increasing and an
arrow pointing to the passenger will be displayed
under and to the right of the temperature setting.
The passenger’s temperature setting can be set to
match the driver’s temperature setting by pressing and
holding the AUTO button for four seconds. Both the
driver and passenger arrows will be displayed.
Automatic Operation
AUTO (Automatic):When automatic operation is
active the system will control the inside temperature, the
air delivery, and the fan speed.
Use the steps below to place the entire system in
automatic mode:
1. Press the AUTO button.
When AUTO is selected, the display will change to
show the current driver’s set temperature, delivery
mode and fan speed. Press the AUTO button again
within �ve seconds to display the passenger’s set
temperature.
3-23
Page 195 of 548
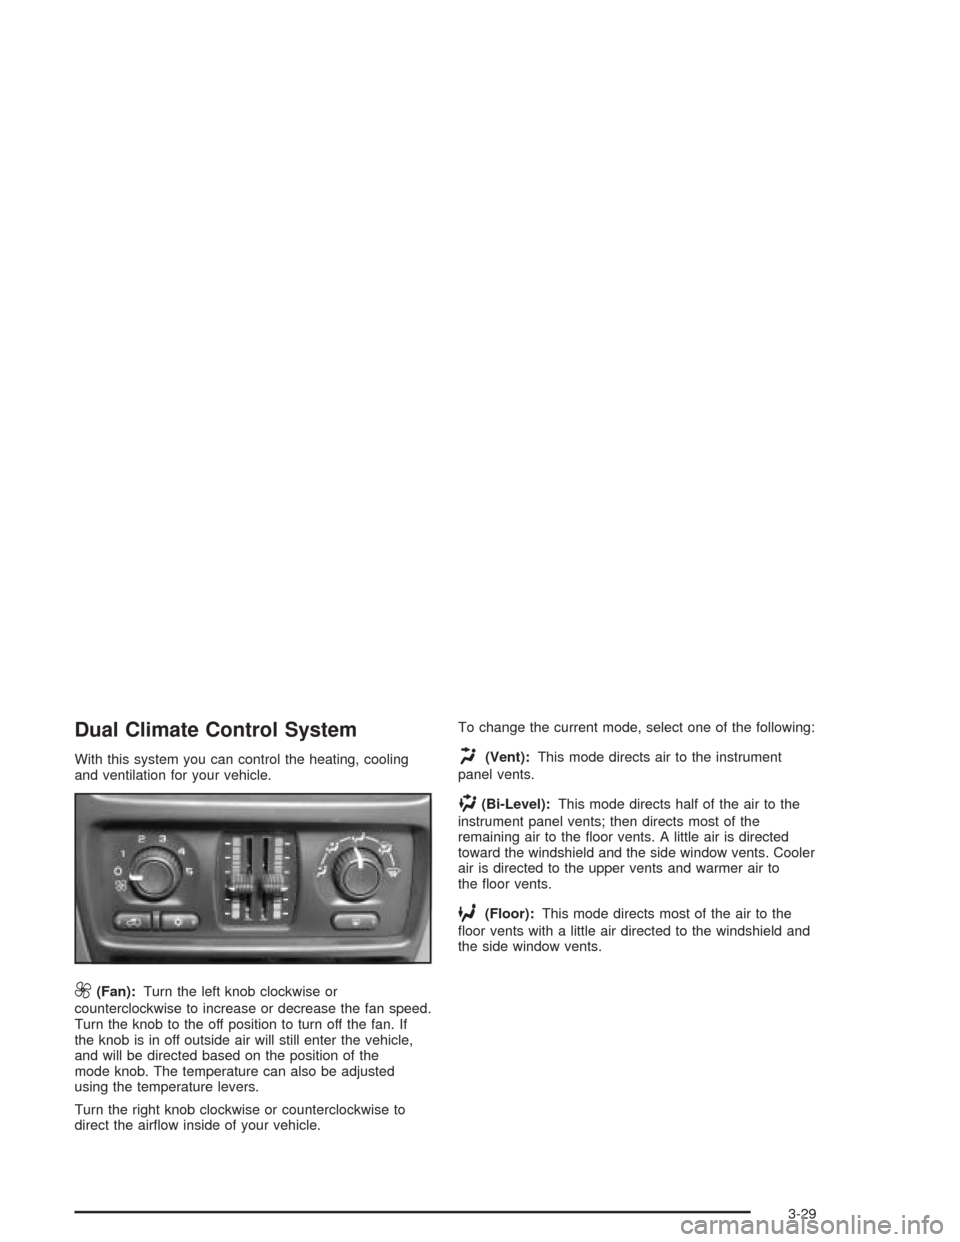
Dual Climate Control System
With this system you can control the heating, cooling
and ventilation for your vehicle.
9(Fan):Turn the left knob clockwise or
counterclockwise to increase or decrease the fan speed.
Turn the knob to the off position to turn off the fan. If
the knob is in off outside air will still enter the vehicle,
and will be directed based on the position of the
mode knob. The temperature can also be adjusted
using the temperature levers.
Turn the right knob clockwise or counterclockwise to
direct the air�ow inside of your vehicle.To change the current mode, select one of the following:
H(Vent):This mode directs air to the instrument
panel vents.
)(Bi-Level):This mode directs half of the air to the
instrument panel vents; then directs most of the
remaining air to the �oor vents. A little air is directed
toward the windshield and the side window vents. Cooler
air is directed to the upper vents and warmer air to
the �oor vents.
6(Floor):This mode directs most of the air to the
�oor vents with a little air directed to the windshield and
the side window vents.
3-29
Page 197 of 548
Defogging and Defrosting
There are two modes to choose from to clear fog or
frost from your windshield. Use the defog mode to clear
the windows of fog or moisture and warm the
passengers. Use the defrost mode to remove fog or
frost from the windshield more quickly.
Turn the right knob clockwise or counterclockwise to
select one of the following modes:
-(Defog):This mode directs the air to the �oor
outlets, windshield and the side window vents. The air
conditioning compressor will run automatically to
dehumidify the air to prevent window fogging. The
recirculation mode cannot be selected while in the
defog mode.
1(Defrost):This mode directs most of the air to the
windshield and the side window vents, with only a
little air directed to the �oor vents. The air conditioning
compressor will run automatically to dehumidify the
air to prevent window fogging. The recirculation mode
cannot be selected while in defrost mode.
Rear Window Defogger
If your vehicle has a rear defogger, the lines you see on
the rear window warm the glass. The rear window
defogger uses a warming grid to remove fog from the
rear window.
<(Rear):Press this button to turn the rear window
defogger on or off. An indicator light in the button
will come on to let you know that the rear window
defogger is activated.
The rear window defogger will automatically turn off
several minutes after the button is pressed. Pressing the
button while the defogger is running can also turn off
the defogger.
If your vehicle is equipped with heated mirrors this
button will activate them.
Notice:Don’t use anything sharp on the inside of
the rear window. If you do, you could cut or damage
the warming grid, and the repairs wouldn’t be
covered by your warranty. Do not attach a temporary
vehicle license, tape, a decal or anything similar
to the defogger grid.
3-31
Page 198 of 548
Outlet Adjustment
Your vehicle has air outlets located in the center and on
the side of your instrument panel that allow you to adjust
the direction and amount of air�ow inside the vehicle.
Move the louvers up or down. Use the thumbwheel next
to or underneath the outlet to close the louvers. For the
most efficient air�ow and temperature control, keep the
outlet in the fully opened position.
Operation Tips
Keep the hood and front air inlets free of ice, snow,
or any other obstruction (such as leaves). The
heater and defroster will work far better, reducing
the chance of fogging the inside of your windows.
Keep the air path under the front seats clear
of objects. This helps air to circulate throughout your
vehicle.
Adding outside equipment to the front of your
vehicle, such as hood-air de�ectors, etc., may affect
the performance of the heating and air conditioning
system. Check with your dealer before adding
equipment to the outside of your vehicle.
Climate Controls Personalization
If your vehicle is equipped with the electronic climate
control system, you can store and recall the climate
control settings for temperature, air delivery mode and
fan speed for two different drivers. The personal
choice settings recalled are determined by the
transmitter used to enter the vehicle.
After the button with the unlock symbol on a remote
keyless entry transmitter is pressed, the climate control
will adjust to the last settings of the identi�ed driver.
The settings can also be changed by pressing one of the
memory buttons (1 or 2) located on the driver’s door.
When adjustments are made, the new settings are
automatically saved for that driver.
3-32
Page 209 of 548

Anti-Lock Brake System Warning
Light
With the anti-lock brake
system, this light will come
on when you start your
engine and may stay on for
several seconds.
That’s normal. If the light doesn’t come on then, have it
�xed so it will be ready to warn you if there is a problem.
If the light stays on, or comes on when you’re driving,
your vehicle needs service. You will also hear a chime
sound when the light is on steady. If the regular brake
system warning light isn’t on, you still have brakes, but
you don’t have anti-lock brakes. If the regular brake
system warning light is also on you don’t have anti-lock
brakes and there’s a problem with your regular brakes. In
addition to both lights, you will also hear a chime sound
on the �rst occurrence of a problem and each time the
vehicle is shut off and then restarted. SeeBrake System
Warning Light on page 3-42.
Low Tire Pressure Warning Light
This light and a chime will
come on along with the
CHECK TIRE PRESSURE
message in the DIC
when one or more of your
tires is signi�cantly
under-in�ated.
This light will also come on brie�y when you turn the
ignition to RUN.
See “CHECK TIRE PRESSURE” underDIC Warnings
and Messages on page 3-65for more information.
Stop and check your tires as soon as possible,
and in�ate them to the proper pressure as indicated on
the vehicle’s certi�cation/tire label. SeeTires on
page 5-68for more information on your vehicle’s tires.
3-43
Page 210 of 548
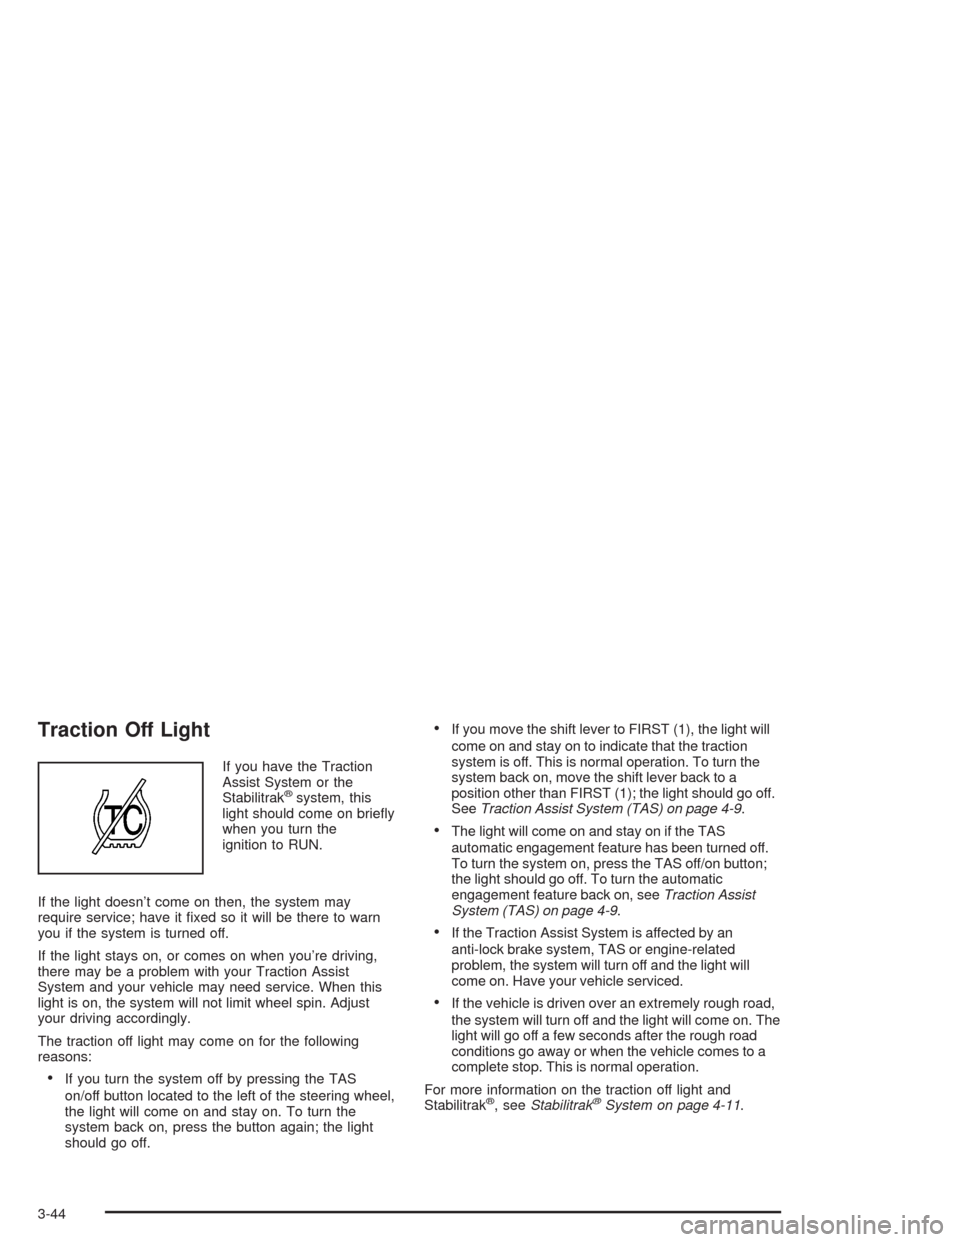
Traction Off Light
If you have the Traction
Assist System or the
Stabilitrak
®system, this
light should come on brie�y
when you turn the
ignition to RUN.
If the light doesn’t come on then, the system may
require service; have it �xed so it will be there to warn
you if the system is turned off.
If the light stays on, or comes on when you’re driving,
there may be a problem with your Traction Assist
System and your vehicle may need service. When this
light is on, the system will not limit wheel spin. Adjust
your driving accordingly.
The traction off light may come on for the following
reasons:
If you turn the system off by pressing the TAS
on/off button located to the left of the steering wheel,
the light will come on and stay on. To turn the
system back on, press the button again; the light
should go off.
If you move the shift lever to FIRST (1), the light will
come on and stay on to indicate that the traction
system is off. This is normal operation. To turn the
system back on, move the shift lever back to a
position other than FIRST (1); the light should go off.
SeeTraction Assist System (TAS) on page 4-9.
The light will come on and stay on if the TAS
automatic engagement feature has been turned off.
To turn the system on, press the TAS off/on button;
the light should go off. To turn the automatic
engagement feature back on, seeTraction Assist
System (TAS) on page 4-9.
If the Traction Assist System is affected by an
anti-lock brake system, TAS or engine-related
problem, the system will turn off and the light will
come on. Have your vehicle serviced.
If the vehicle is driven over an extremely rough road,
the system will turn off and the light will come on. The
light will go off a few seconds after the rough road
conditions go away or when the vehicle comes to a
complete stop. This is normal operation.
For more information on the traction off light and
Stabilitrak
®, seeStabilitrak®System on page 4-11.
3-44
Page 217 of 548
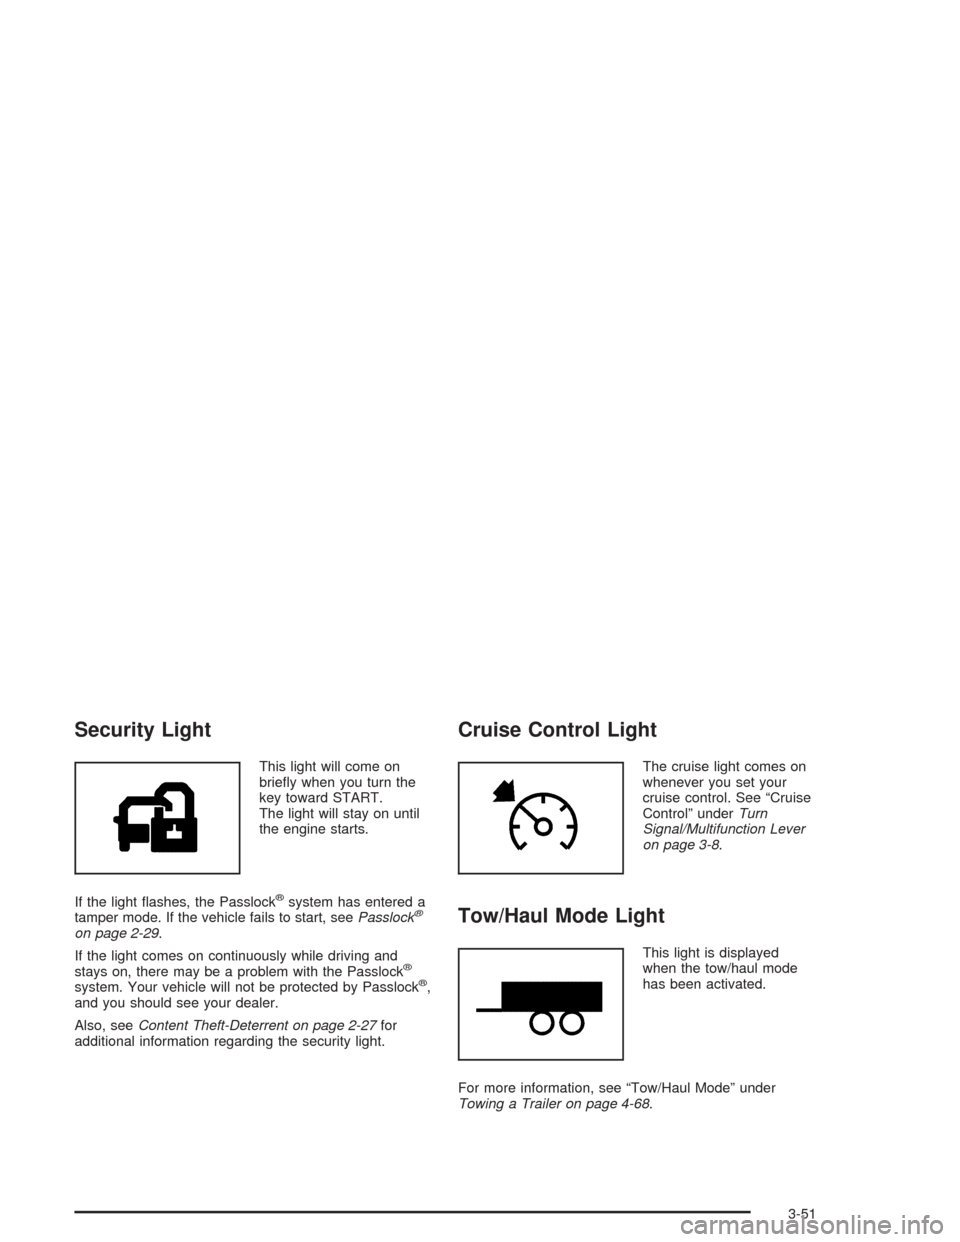
Security Light
This light will come on
brie�y when you turn the
key toward START.
The light will stay on until
the engine starts.
If the light �ashes, the Passlock
®system has entered a
tamper mode. If the vehicle fails to start, seePasslock®
on page 2-29.
If the light comes on continuously while driving and
stays on, there may be a problem with the Passlock
®
system. Your vehicle will not be protected by Passlock®,
and you should see your dealer.
Also, seeContent Theft-Deterrent on page 2-27for
additional information regarding the security light.
Cruise Control Light
The cruise light comes on
whenever you set your
cruise control. See “Cruise
Control” underTurn
Signal/Multifunction Lever
on page 3-8.
Tow/Haul Mode Light
This light is displayed
when the tow/haul mode
has been activated.
For more information, see “Tow/Haul Mode” under
Towing a Trailer on page 4-68.
3-51