2004 CHEVROLET ASTRO CARGO VAN buttons
[x] Cancel search: buttonsPage 109 of 386

If your vehicle is equipped with the HomeLink®
Transmitter, it complies with Part 15 of the FCC Rules.
Operation is subject to the following two conditions:
(1) this device may not cause harmful interference,
and (2) this device must accept any interference
received, including interference that may cause
undesired operation.
This device complies with RSS-210 of Industry
Canada. Operation is subject to the following
two conditions: (1) this device may not cause
interference, and (2) this device must accept any
interference, including interference that may
cause undesired operation of the device.
Changes and modi�cations to this system by
other than an authorized service facility could void
authorization to use this equipment.Programming the HomeLink®
Transmitter
Do not use the HomeLink®Transmitter with any garage
door opener that does not have the “stop and reverse”
feature. This includes any garage door opener model
manufactured before April 1, 1982. If you have a newer
garage door opener with rolling codes, please be
sure to follow steps 6 through 8 to complete the
programming of your HomeLink
®Transmitter.
Read the instructions completely before attempting to
program the HomeLink
®Transmitter. Because of the
steps involved, it may be helpful to have another person
available to assist you in programming the transmitter.
Keep the original transmitter for use in other vehicles as
well as for future HomeLink
®programming. It is also
recommended that upon the sale of the vehicle, the
programmed HomeLink
®buttons should be erased for
security purposes. Refer to “Erasing HomeLink®Buttons”
or, for assistance, contact HomeLink®on the internet at:
www.homelink.com or by calling 1-800-355-3515.
2-33
Page 110 of 386

Be sure that people and objects are clear of the garage
door or gate operator you are programming. When
programming a garage door, it is advised to park outside
of the garage.
It is recommended that a new battery be installed in
your hand-held transmitter for quicker and more
accurate transmission of the radio frequency.
Your vehicle’s engine should be turned off while
programming the transmitter. Follow these steps to
program up to three channels:
1. Press and hold down the two outside buttons,
releasing only when the indicator light begins to
�ash, after 20 seconds. Do not hold down the
buttons for longer than 30 seconds and do not
repeat this step to program a second and/or third
transmitter to the remaining two HomeLink
®buttons.
2. Position the end of your hand-held transmitter about
1 to 3 inches (3 to 8 cm) away from the HomeLink
®
buttons while keeping the indicator light in view.
3. Simultaneously press and hold both the desired
button on HomeLink
®and the hand-held transmitter
button. Do not release the buttons until Step 4
has been completed.
Some entry gates and garage door openers may
require you to substitute Step 3 with the procedure
noted in “Gate Operator and Canadian
Programming” later in this section.4. The indicator light will �ash slowly at �rst and then
rapidly after HomeLink
®successfully receives the
frequency signal from the hand-held transmitter.
Release both buttons.
5. Press and hold the newly-trained HomeLink
®button
and observe the indicator light.
If the indicator light stays on constantly,
programming is complete and your device should
activate when the HomeLink
®button is pressed
and released.
To program the remaining two HomeLink
®buttons,
begin with Step 2 under “Programming HomeLink®.”
Do not repeat Step 1 as this will erase all of the
programmed channels.
If the indicator light blinks rapidly for two seconds
and then turns to a constant light, continue with
Steps 6 through 8 following to complete the
programming of a rolling-code equipped device
(most commonly, a garage door opener).
6. Locate in the garage, the garage door opener
receiver (motor-head unit). Locate the “Learn”
or “Smart” button. This can usually be found
where the hanging antenna wire is attached to the
motor-head unit.
7. Firmly press and release the “Learn” or “Smart”
button. The name and color of the button may
vary by manufacturer.
You will have 30 seconds to start Step 8.
2-34
Page 111 of 386

8. Return to the vehicle. Firmly press and hold the
programmed HomeLink®button for two seconds,
then release. Repeat the press/hold/release
sequence a second time, and depending on the
brand of the garage door opener (or other rolling
code device), repeat this sequence a third time
to complete the programming.
HomeLink
®should now activate your rolling-code
equipped device.
To program the remaining two HomeLink
®buttons,
begin with Step 2 of “Programming HomeLink®.”
Do not repeat Step 1.
Gate Operator and Canadian
Programming
Canadian radio-frequency laws require transmitter
signals to “time out” or quit after several seconds of
transmission. This may not be long enough for
HomeLink
®to pick up the signal during programming.
Similarly, some U.S. gate operators are manufactured
to “time out” in the same manner.
If you live in Canada, or you are having difficulty
programming a gate operator by using the
“Programming HomeLink
®” procedures (regardless of
where you live), replace Step 3 under “Programming
HomeLink
®” with the following:Continue to press and hold the HomeLink
®button
while you press and release every two seconds (cycle)
your hand-held transmitter until the frequency signal
has been successfully accepted by HomeLink
®.
The indicator light will �ash slowly at �rst and then
rapidly. Proceed with Step 4 under “Programming
HomeLink
®” to complete.
Using HomeLink®
Press and hold the appropriate HomeLink®button
for at least half of a second. The indicator light will
come on while the signal is being transmitted.
Erasing HomeLink®Buttons
To erase programming from the three buttons do the
following:
1. Press and hold down the two outside buttons until
the indicator light begins to �ash, after 20 seconds.
2. Release both buttons. Do not hold for longer than
30 seconds.
HomeLink
®is now in the train (learning) mode and
can be programmed at any time beginning with Step 2
under “Programming HomeLink
®.”
Individual buttons can not be erased, but they can
be reprogrammed. See “Reprogramming a Single
HomeLink
®Button” next.
2-35
Page 112 of 386

Reprogramming a Single HomeLink®
Button
To program a device to HomeLink®using a HomeLink®
button previously trained, follow these steps:
1. Press and hold the desired HomeLink
®button.
Do not release the button.
2. The indicator light will begin to �ash after
20 seconds. While still holding the HomeLink
®
button, proceed with Step 2 under “Programming
HomeLink®.”
Resetting Defaults
To reset HomeLink®to default settings do the following:
1. Hold down the two outside buttons for about
20 seconds until the indicator light begins to �ash.
2. Continue to hold both buttons until the HomeLink
®
indicator light turns off.
3. Release both buttons.
For questions or comments, contact HomeLink
®
at 1-800-355-3515, or on the internet at
www.homelink.com.
Storage Areas
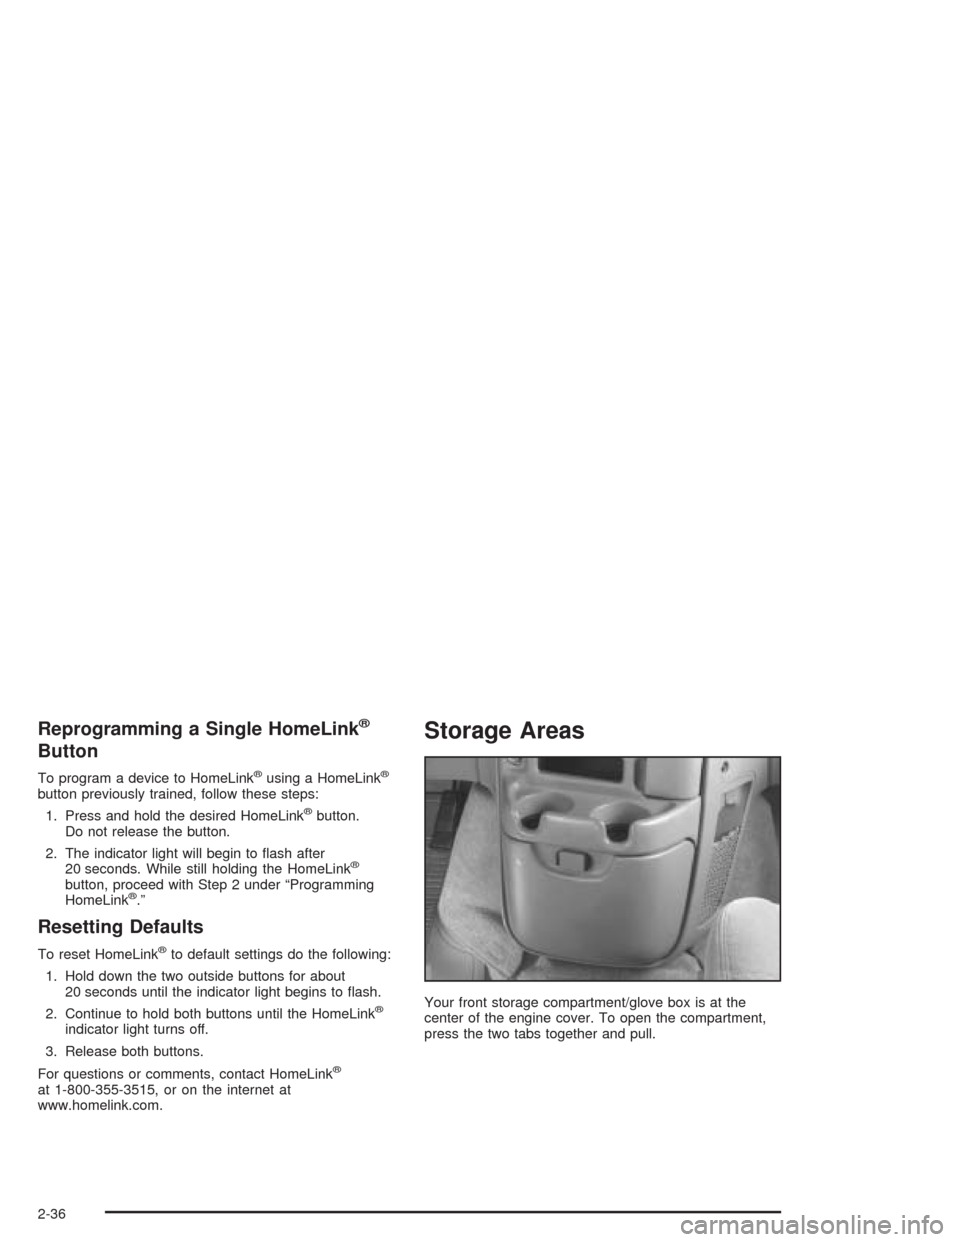
Your front storage compartment/glove box is at the
center of the engine cover. To open the compartment,
press the two tabs together and pull.
2-36
Page 117 of 386

COMP/TEMP (Compass/Temperature):This display
provides the outside temperature and one of eight
compass readings to indicate the direction the vehicle
is facing.
Before you turn on the ignition and move the vehicle,
the temperature indicated will be the last outside
temperature recorded with the ignition on. If the
outside temperature is 37°F (3°C) or lower, the display
will toggle between the word ICE and the current
temperature every eight seconds. This is a warning
to the driver that road conditions may be icy, and that
appropriate precautions should be taken.
The compass is self-calibrating, so it does not need
to be manually set. However, if C (Calibration) is
displayed, the compass will need to be calibrated.
You may also place the compass in a noncalibrated
mode by pressing and holding the US/MET and
MODE buttons simultaneously while in the COMP/TEMP
mode. After about 10 seconds, the compass will
display C and you can release the buttons. Drive the
vehicle in a complete 360° circle three times at a
speed of less than 5 mph (8 km/h), and the compass
will function normally. Once the calibration is complete,
the display will return to a compass reading.Variance is the difference between magnetic north
and geographic north. In some areas, the difference
between the two can be great enough to cause
false compass readings. If this happens, follow these
instructions to set the variance for your particular
location:
1. Find your location on the zone map. Record your
zone number.
2. Press and hold both the US/MET and the MODE
buttons while in the COMP/TEMP mode.
2-41
Page 118 of 386

3. After �ve seconds, the compass will acknowledge
the variation mode by displaying the current zone
number. When it does, release both buttons.
4. Press US/MET until your zone number appears
on the display.
5. Press MODE to enter your zone number.
Your variance is now set and the display will
return to the COMP/TEMP mode.
TRIP:Once in the TRIP mode, pressing the MODE
button will take you through the following TRIP functions:
AVG ECON (Average Economy):The average
fuel economy since the last reset is displayed.
INST ECON (Instantaneous Economy):
Instantaneous fuel economy for the last second
of driving is displayed.
RANGE:The display indicates the estimated
distance that can be travelled with the remaining
fuel in the tank, based on the fuel economy for
the last few hours of driving.
FUEL USED:The fuel used since the last reset
is displayed.
AVG SPEED (Average Speed):The average
speed since the last reset is displayed.To reset the trip computer, press the MODE and
US/MET buttons simultaneously for at least two
seconds. All functions will be displayed brie�y once the
system is reset. Reset can only be performed in the
AVG ECON, FUEL USED and AVG SPEED modes.
All three modes are reset simultaneously.
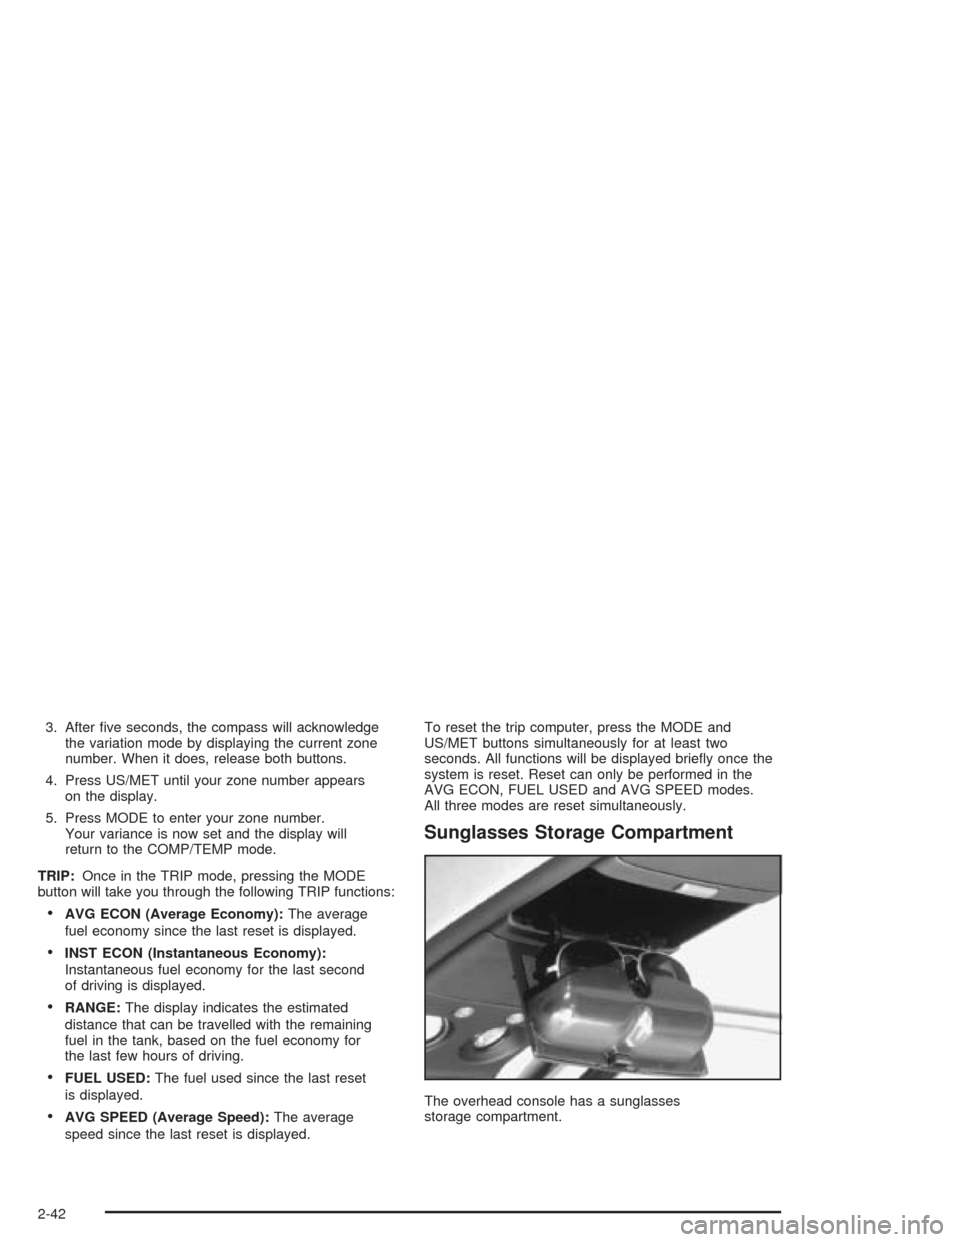
Sunglasses Storage Compartment
The overhead console has a sunglasses
storage compartment.
2-42
Page 121 of 386

Instrument Panel Overview...............................3-2
Hazard Warning Flashers................................3-4
Other Warning Devices...................................3-5
Horn.............................................................3-5
Tilt Wheel.....................................................3-5
Turn Signal/Multifunction Lever.........................3-6
Exterior Lamps.............................................3-12
Interior Lamps..............................................3-14
Accessory Power Outlets...............................3-15
Ashtrays and Cigarette Lighter........................3-16
Climate Controls............................................3-17
Climate Control System.................................3-17
Outlet Adjustment.........................................3-19
Rear Heating System....................................3-20
Rear Air Conditioning System.........................3-20
Warning Lights, Gages, and Indicators............3-22
Instrument Panel Cluster................................3-23
Speedometer and Odometer...........................3-24
Safety Belt Reminder Light.............................3-24
Air Bag Readiness Light................................3-25
Charging System Light..................................3-26
Voltmeter Gage............................................3-26
Brake System Warning Light..........................3-27Anti-Lock Brake System Warning Light.............3-28
Engine Coolant Temperature Gage..................3-28
Malfunction Indicator Lamp.............................3-29
Oil Pressure Gage........................................3-32
Security Light...............................................3-33
Service All-Wheel Drive Light.........................3-33
Tow/Haul Mode Light....................................3-34
Check Gages Warning Light...........................3-34
Fuel Gage...................................................3-34
Low Fuel Warning Light.................................3-35
Audio System(s).............................................3-35
Setting the Time for Radios with
the Set Button..........................................3-36
Setting the Time for Radios with
HR and MN Buttons..................................3-36
AM-FM Radio...............................................3-36
Radio with CD..............................................3-38
Rear Seat Audio (RSA).................................3-43
Theft-Deterrent Feature..................................3-44
Radio Reception...........................................3-47
Care of Your CDs.........................................3-47
Care of Your CD Player................................3-47
Fixed Mast Antenna......................................3-47
Section 3 Instrument Panel
3-1
Page 156 of 386

Setting the Time for Radios
with the Set Button
Press and release the SET button. Within �ve seconds,
press and hold the left SEEK arrow until the correct
hour appears on the display. Press and hold the right
SEEK arrow until the correct minute appears on
the display.
Setting the Time for Radios
with HR and MN Buttons
Press and hold HR until the correct hour appears on
the display. Press and hold MN until the correct minute
appears on the display. To display the time with the
ignition off, press RECALL, HR, or MN and the time will
appear on the display for a few seconds. There is an
initial two-second delay before the clock goes into
the time-set mode.
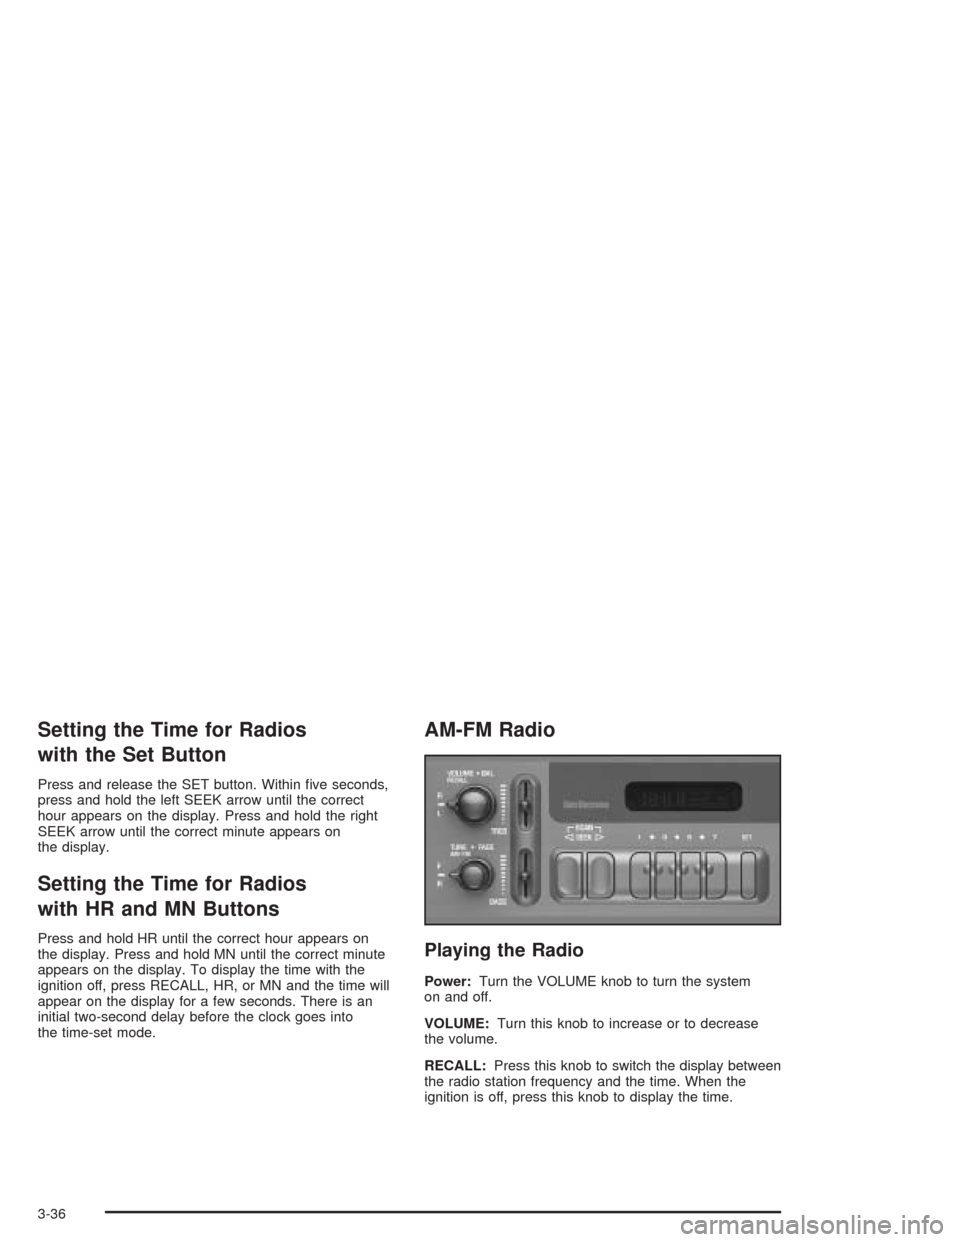
AM-FM Radio
Playing the Radio
Power:Turn the VOLUME knob to turn the system
on and off.
VOLUME:Turn this knob to increase or to decrease
the volume.
RECALL:Press this knob to switch the display between
the radio station frequency and the time. When the
ignition is off, press this knob to display the time.
3-36