2004 BUICK PARK AVENUE headlamp
[x] Cancel search: headlampPage 1 of 410

Seats and Restraint Systems........................... 1-1
Front Seats
............................................... 1-2
Safety Belts
.............................................. 1-6
Child Restraints
.......................................1-27
Air Bag Systems
......................................1-49
Restraint System Check
............................1-58
Features and Controls..................................... 2-1
Keys
........................................................ 2-3
Doors and Locks
......................................2-10
Windows
.................................................2-17
Theft-Deterrent Systems
............................2-19
Starting and Operating Your Vehicle
...........2-23
Mirrors
....................................................2-36
OnStar
®System
......................................2-41
HomeLink®Transmitter
.............................2-43
Storage Areas
.........................................2-47
Sunroof
..................................................2-50
Vehicle Personalization
.............................2-51
Instrument Panel............................................. 3-1
Instrument Panel Overview
.......................... 3-2
Climate Controls
......................................3-24
Warning Lights, Gages and Indicators
.........3-32
Driver Information Center (DIC)
..................3-47
Audio System(s)
.......................................3-57Driving Your Vehicle....................................... 4-1
Your Driving, the Road, and Your Vehicle
..... 4-2
Towing
...................................................4-31
Service and Appearance Care.......................... 5-1
Service
..................................................... 5-3
Fuel
......................................................... 5-4
Checking Things Under the Hood
...............5-10
Headlamp Aiming
.....................................5-49
Bulb Replacement
....................................5-51
Windshield Wiper Blade Replacement
.........5-61
Tires
......................................................5-62
Appearance Care
.....................................5-90
Vehicle Identi�cation
.................................5-98
Electrical System
......................................5-98
Capacities and Speci�cations
...................5-108
Normal Maintenance Replacement Parts
......5-109
Maintenance Schedule..................................... 6-1
Maintenance Schedule
................................ 6-2
Customer Assistance Information.................... 7-1
Customer Assistance Information
.................. 7-2
Reporting Safety Defects
...........................7-10
Index.................................................................1
2004 Buick Park Avenue Owner ManualM
Page 92 of 410

Engine Coolant Heater
If your vehicle has this feature, in very cold weather,
0°F (−18°C) or colder, the engine coolant heater can
help. You’ll get easier starting and better fuel economy
during engine warm-up. Usually, the coolant heater
should be plugged in a minimum of four hours prior to
starting your vehicle. At temperatures above 32°F (0°C),
use of the coolant heater is not required.
To Use the Engine Coolant Heater
1. Turn off the engine.
2. Open the hood and unwrap the electrical cord.
The engine coolant heater cord is located on the
passenger’s side of the vehicle, above the headlamp
assembly.
3. Plug it into a normal, grounded 110-volt AC outlet.
{CAUTION:
Plugging the cord into an ungrounded outlet
could cause an electrical shock. Also, the
wrong kind of extension cord could overheat
and cause a �re. You could be seriously
injured. Plug the cord into a properly grounded
three-prong 110-volt AC outlet. If the cord will
not reach, use a heavy-duty three-prong
extension cord rated for at least 15 amps.
4. Before starting the engine, be sure to unplug and
store the cord as it was before to keep it away
from moving engine parts. If you don’t, it could be
damaged.
How long should you keep the coolant heater plugged
in? The answer depends on the outside temperature,
the kind of oil you have, and some other things. Instead
of trying to list everything here, we ask that you
contact your dealer in the area where you’ll be parking
your vehicle. The dealer can give you the best advice
for that particular area.
2-26
Page 107 of 410

Outside Automatic Dimming
Heated Mirror
If you have this feature, the driver’s side outside
rearview mirror will adjust for the glare of headlamps
behind you. This feature is controlled using the on and
off settings on the automatic dimming rearview mirror.
See “Automatic Dimming Rearview Mirror” or “Automatic
Dimming Rearview Mirror with Compass” earlier in
this section.
If you have this feature, the left and right outside mirrors
are also heated when you activate the rear window
defogger. See “Rear Window Defogger” under
Dual Automatic Climate Control System on page 3-24.
Both outside mirrors can be folded forward or rearward.
In the rearward position, they will fold �ush with the
vehicle. This feature is particularly useful in automatic
car washes.
OnStar®System
Your vehicle may have this feature. OnStar®uses
global positioning system (GPS) satellite technology,
wireless communications, and state of the art call
centers to provide you with a wide range of safety,
security, information and convenience services.
A complete OnStar
®user’s guide and the terms and
conditions of the OnStar®Subscription Service
Agreement are included in your OnStar®-equipped
vehicle’s glove box literature. For more information, visit
www.onstar.com, contact OnStar
®at 1-888-4-ONSTAR
(1-888-466-7827), or press the blue OnStar®button to
speak to an OnStar®advisor 24 hours a day, 7 days
a week.
A completed Subscription Service Agreement is required
prior to delivery of OnStar
®services and prepaid
calling minutes are also required for OnStar®Personal
Calling and OnStar®Virtual Advisor use. Terms and
conditions of the Subscription Service Agreement can be
found at www.onstar.com.
2-41
Page 123 of 410

Horn
Press on the center area of the steering wheel to sound
the horn.
Tilt Wheel
A tilt wheel allows you to adjust the steering wheel
before you drive. You can also raise it to the highest
level to give your legs more room when you exit
and enter the vehicle.
The lever that allows you to tilt the steering wheel is
located on the left side of the steering column.
To tilt the wheel, hold the
wheel and pull the lever
toward you. Then move
the steering wheel to
a comfortable position and
release the lever to lock
the wheel in place.
Turn Signal/Multifunction Lever
The lever on the left side of the steering column
includes the following:
Turn and Lane-Change Signals
Headlamp High/Low-Beam Changer
Flash-to-Pass
Windshield Wipers
Windshield Washer
Cruise Control
For information on the exterior lamps, seeExterior
Lamps on page 3-12.
3-5
Page 125 of 410

Headlamp High/Low-Beam Changer
To change the headlamps from low beam to high or
high to low, pull the turn signal lever toward you,
then release it.
When the high beams are
on, a light on the instrument
panel cluster will also
be on. If your vehicle is
equipped with HUD, this
light will also appear in
the display area.
Flash-To-Pass
This feature lets you use your high-beam headlamps to
signal a driver in front of you that you want to pass.
It works even if your headlamps are off.
To use it, pull the turn signal lever toward you, but not
so far that you hear a click.
If your headlamps are off or on low beam, your
high-beam headlamps will turn on. They will stay on as
long as you hold the lever toward you and the high-beam
indicator on the instrument panel cluster will come on.
Release the lever to turn the high-beam headlamps off.
Windshield Wipers
The windshield wipers are controlled by turning the
band marked WIPER.
OFF:Turn the band to OFF to turn the wipers off.
MIST:For a single wiping cycle, turn the band to MIST.
Hold it there until the wipers start, then let go.
The wipers will stop after one cycle. If you want more
cycles, hold the band on MIST longer.
LO (Low Speed):Turn the band to LO for steady
wiping at a slow speed.
HI (High Speed):Turn the band to HI for steady wiping
at a high speed.
The wiper speed may be set for a long or short delay
between wipes. Turn the band to choose the delay time.
The closer to LO, the shorter the delay.
Heavy snow or ice can overload your wiper motor.
A circuit breaker will stop the motor until it cools.
Clear away snow or ice to prevent an overload.
Keep in mind that damaged wiper blades may prevent
you from seeing well enough to drive safely. To avoid
damage, be sure to clear ice and snow from the
wiper blades before using them. If your blades do
become damaged, get new blades or blade inserts.
3-7
Page 130 of 410

Using Cruise Control on Hills
How well your cruise control will work on hills depends
upon your speed, load and the steepness of the
hills. When going up steep hills, you may have to step
on the accelerator pedal to maintain your speed.
When going downhill, you may have to brake or shift to
a lower gear to keep your speed down. Of course,
applying the brake takes you out of cruise control.
Many drivers �nd this to be too much trouble and do not
use cruise control on steep hills.
Ending Cruise Control
There are two ways to turn off the cruise control:
Step lightly on the brake pedal.
Move the cruise switch to OFF. The CRUISE light
will also go out.
Erasing Speed Memory
When you turn off the cruise control or the ignition, your
cruise control set speed memory is erased.
Exterior Lamps
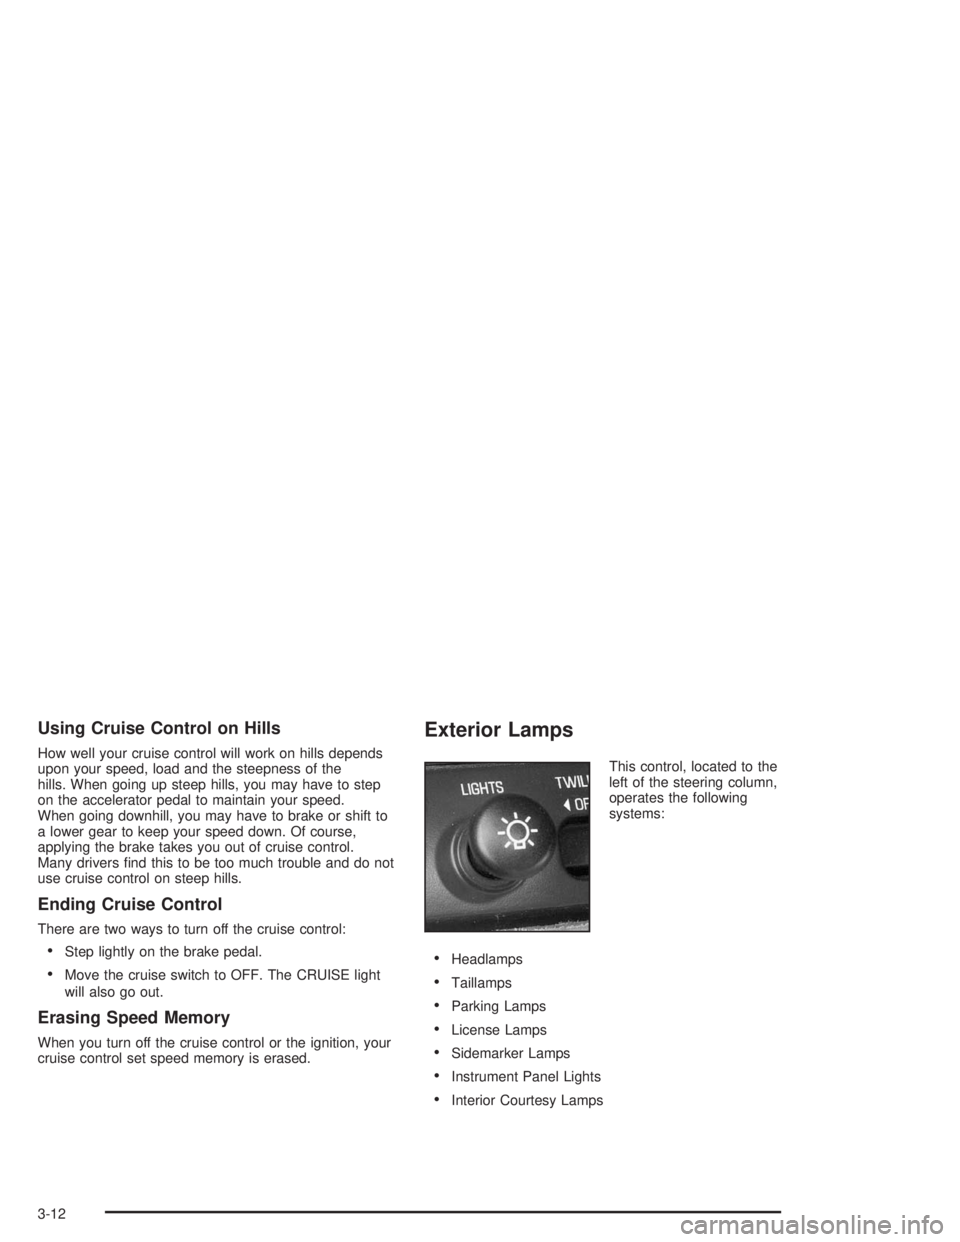
This control, located to the
left of the steering column,
operates the following
systems:
Headlamps
Taillamps
Parking Lamps
License Lamps
Sidemarker Lamps
Instrument Panel Lights
Interior Courtesy Lamps
3-12
Page 131 of 410

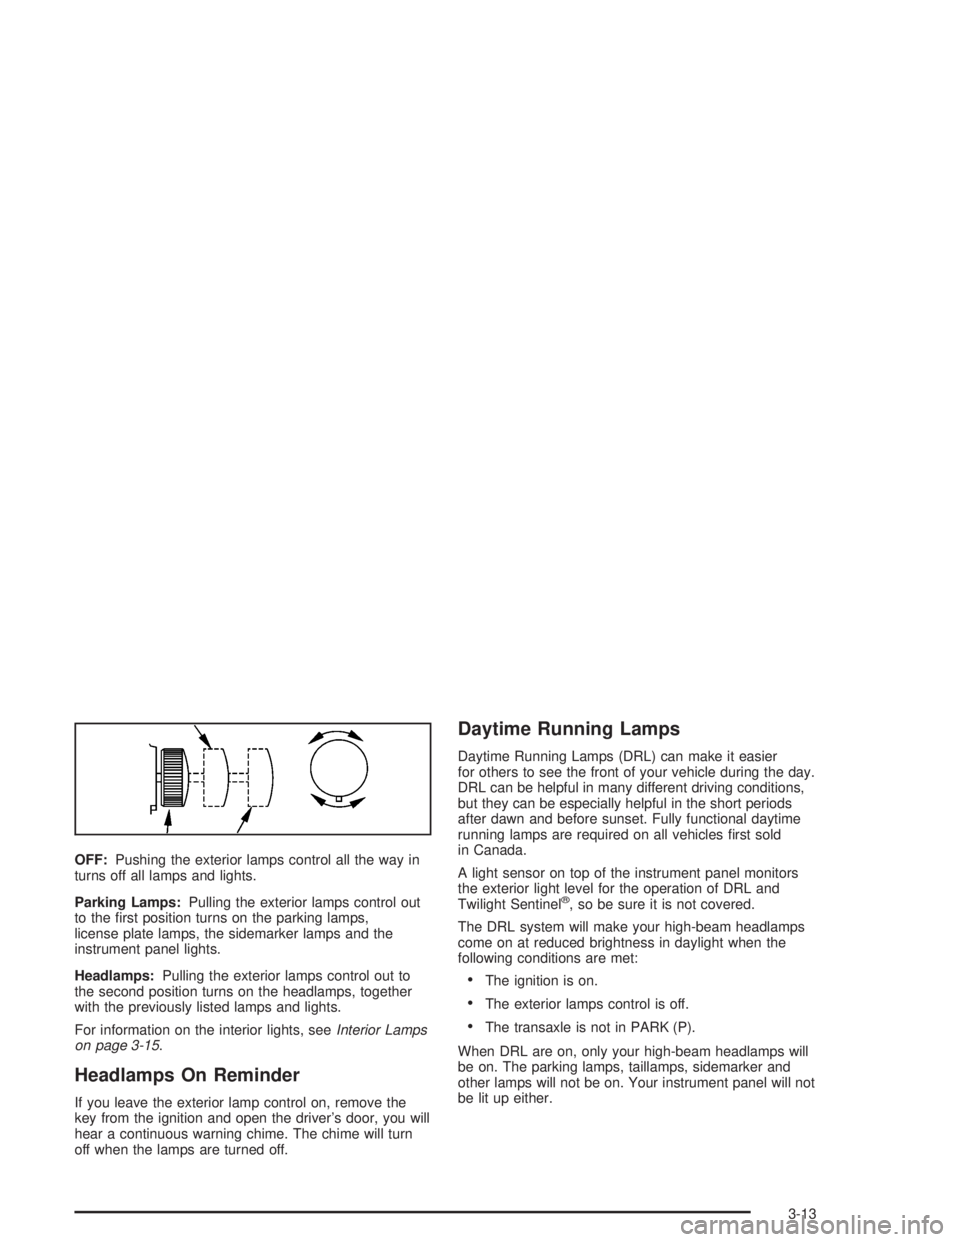
OFF:Pushing the exterior lamps control all the way in
turns off all lamps and lights.
Parking Lamps:Pulling the exterior lamps control out
to the �rst position turns on the parking lamps,
license plate lamps, the sidemarker lamps and the
instrument panel lights.
Headlamps:Pulling the exterior lamps control out to
the second position turns on the headlamps, together
with the previously listed lamps and lights.
For information on the interior lights, seeInterior Lamps
on page 3-15.
Headlamps On Reminder
If you leave the exterior lamp control on, remove the
key from the ignition and open the driver’s door, you will
hear a continuous warning chime. The chime will turn
off when the lamps are turned off.
Daytime Running Lamps
Daytime Running Lamps (DRL) can make it easier
for others to see the front of your vehicle during the day.
DRL can be helpful in many different driving conditions,
but they can be especially helpful in the short periods
after dawn and before sunset. Fully functional daytime
running lamps are required on all vehicles �rst sold
in Canada.
A light sensor on top of the instrument panel monitors
the exterior light level for the operation of DRL and
Twilight Sentinel
®, so be sure it is not covered.
The DRL system will make your high-beam headlamps
come on at reduced brightness in daylight when the
following conditions are met:
The ignition is on.
The exterior lamps control is off.
The transaxle is not in PARK (P).
When DRL are on, only your high-beam headlamps will
be on. The parking lamps, taillamps, sidemarker and
other lamps will not be on. Your instrument panel will not
be lit up either.
3-13
Page 132 of 410

When it is dark enough outside, your high-beam
headlamps will change to low-beam headlamps at full
brightness. The other lamps that turn on with your
headlamps will also turn on. When it is bright enough
outside, the regular lamps will turn off, and your
high-beam headlamps change to the reduced brightness
of DRL.
To idle your vehicle with the DRL off, shift the transaxle
into PARK (P). The DRL will stay off until you shift
out of PARK (P).
To turn off all exterior lighting at night when you are
parked, turn off the exterior lamp control and slide the
Twilight Sentinel
®control all the way to the left.
When released, the control will return to the Twilight
Sentinel
®minimum delay position and the lights will
turn off.
As with any vehicle, you should turn on the regular
headlamp system when you need it.
Cornering Lamps
The cornering lamps come on when the headlamps or
parking lamps are on and you signal a turn with the
multifunction lever. They provide more light for
cornering.
Twilight Sentinel®
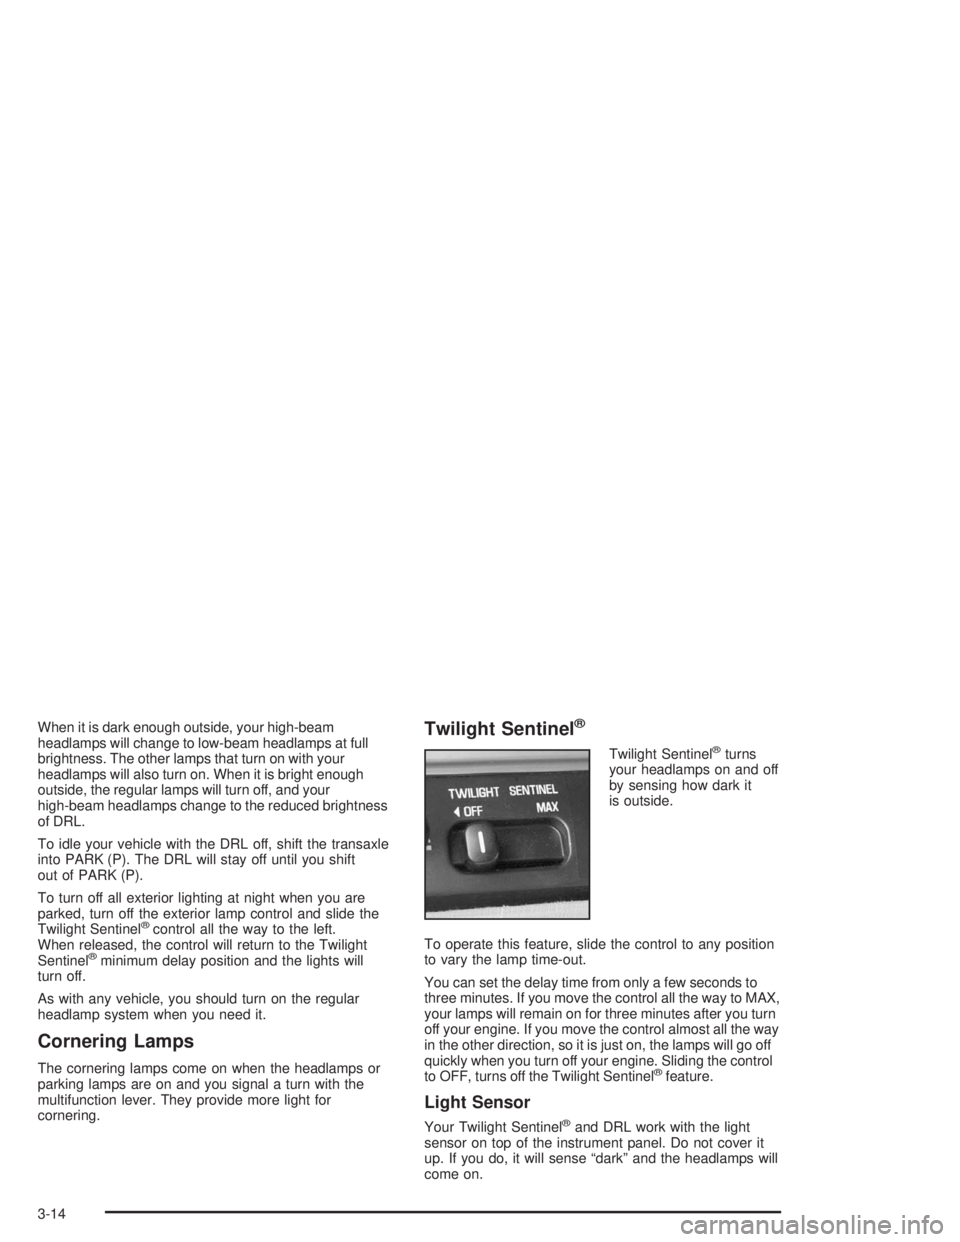
Twilight Sentinel®turns
your headlamps on and off
by sensing how dark it
is outside.
To operate this feature, slide the control to any position
to vary the lamp time-out.
You can set the delay time from only a few seconds to
three minutes. If you move the control all the way to MAX,
your lamps will remain on for three minutes after you turn
off your engine. If you move the control almost all the way
in the other direction, so it is just on, the lamps will go off
quickly when you turn off your engine. Sliding the control
to OFF, turns off the Twilight Sentinel
®feature.
Light Sensor
Your Twilight Sentinel®and DRL work with the light
sensor on top of the instrument panel. Do not cover it
up. If you do, it will sense “dark” and the headlamps will
come on.
3-14