Page 133 of 410

Interior Lamps
Instrument Panel Brightness
Adjust the instrument panel light brightness by turning
the exterior lamps control.
Courtesy Lamps
When any door is opened, several lamps go on.
They make it easy for you to enter and leave your vehicle.
You can also turn these lamps on by turning the exterior
lamps control clockwise all the way past the normal stop.
Entry Lighting
When you open either front door or press the unlock
button on the remote keyless entry transmitter, the lamps
inside your vehicle will turn on. These lamps will turn off
after about 40 seconds. These lamps will also turn off if
you start the engine or activate the power door locks.
Delayed Entry Lighting
When you open the door, the interior lamps will come on.
When you close the door with the ignition off, the interior
lamps will stay on for 25 seconds or until the ignition is
turned to an on position. Locking the doors with thepower door lock switch will override the delayed entry
lighting feature and the lamps will turn off right away.
Using the remote keyless entry transmitter to lock the
door will not cancel delayed lighting.
Theater Dimming
This feature allows for a three to �ve-second fade out of
the courtesy lamps instead of immediate turn off.
Delayed Exit Lighting
With this feature, the interior lamps will come on for
25 seconds after you remove the key from the ignition.
This will give you time to �nd the door handle or
lock switches.
Parade Dimming
This feature prohibits the dimming of your instrument
panel displays during daylight while your headlamps are
on. This feature operates with the light sensor for the
Twilight Sentinel
®and is fully automatic. When the light
sensor reads darkness outside, you will be able to
dim your instrument panel displays once again.
3-15
Page 137 of 410

Be sure to continue scanning your displays, controls
and driving environment just as you would in a vehicle
without HUD. If you never look at your instrument
panel, you may not see something important, such as a
warning light.
Notice:If you try to use the HUD image as a
parking aid, you may misjudge the distance and
damage your vehicle. Do not use the HUD image as
a parking aid.
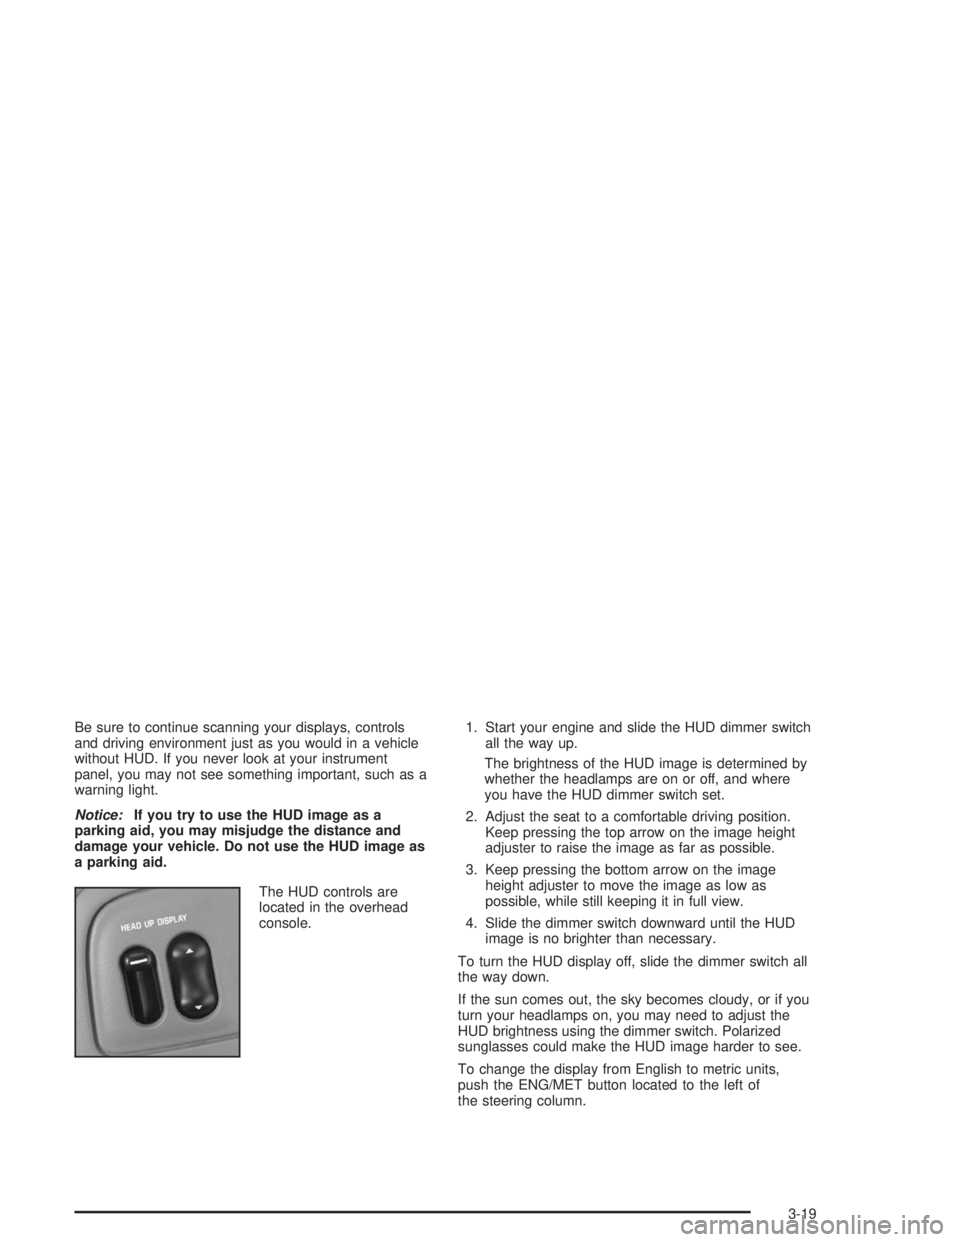
The HUD controls are
located in the overhead
console.1. Start your engine and slide the HUD dimmer switch
all the way up.
The brightness of the HUD image is determined by
whether the headlamps are on or off, and where
you have the HUD dimmer switch set.
2. Adjust the seat to a comfortable driving position.
Keep pressing the top arrow on the image height
adjuster to raise the image as far as possible.
3. Keep pressing the bottom arrow on the image
height adjuster to move the image as low as
possible, while still keeping it in full view.
4. Slide the dimmer switch downward until the HUD
image is no brighter than necessary.
To turn the HUD display off, slide the dimmer switch all
the way down.
If the sun comes out, the sky becomes cloudy, or if you
turn your headlamps on, you may need to adjust the
HUD brightness using the dimmer switch. Polarized
sunglasses could make the HUD image harder to see.
To change the display from English to metric units,
push the ENG/MET button located to the left of
the steering column.
3-19
Page 344 of 410
Main Instrument Panel Fuse Block
Fuses Usage
SBM Interior Lamps
PDM PDM Module
A/C HVAC Motor, HVAC Mix Motors
Fuses Usage
IGN SENAuto Dimming Mirror, Driver HTS
Seat, Rear Defog Relay, MEM
Module, Cool LVL Sensor,
Pass Heated Seat
ELCHVAC Flat Pk Mtrs, Electronic Level
Control Sensor, Electronic Level
Control Sensor (R Bec)
ABS Anti-Lock Brake System Module
HVACHVAC Main Con Head, HVAC
Programmer, Instrument Panel
Cluster
CR CONT Stepper Motor Cruise, Cruise Switch
HUDHead-Up Display Switch, Head-Up
Display
CSTR/SBMHVAC Programmer, Instrument
Panel Cluster, SBM (275 to LCM)
(1135 to BTSI SL)
LP PK LUnderhood Lamp, Left Park/
Sidemarker, Left Park/Turn Lamp,
SBM, Left Tail Signal Lamp, Left
Tail/Stoplamp, Left Rear Sidemarker
5-100