Page 154 of 410

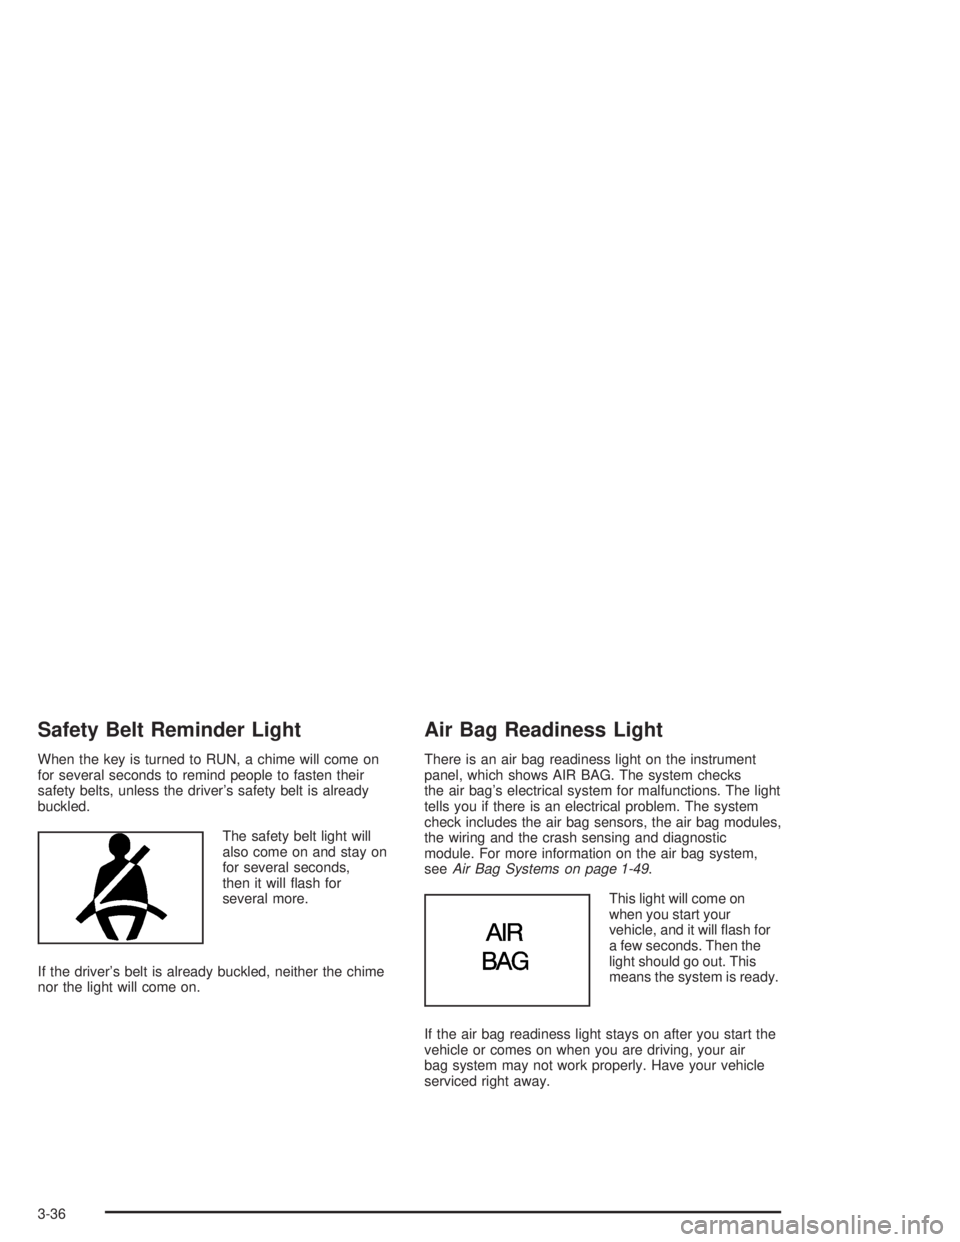
Safety Belt Reminder Light
When the key is turned to RUN, a chime will come on
for several seconds to remind people to fasten their
safety belts, unless the driver’s safety belt is already
buckled.
The safety belt light will
also come on and stay on
for several seconds,
then it will �ash for
several more.
If the driver’s belt is already buckled, neither the chime
nor the light will come on.
Air Bag Readiness Light
There is an air bag readiness light on the instrument
panel, which shows AIR BAG. The system checks
the air bag’s electrical system for malfunctions. The light
tells you if there is an electrical problem. The system
check includes the air bag sensors, the air bag modules,
the wiring and the crash sensing and diagnostic
module. For more information on the air bag system,
seeAir Bag Systems on page 1-49.
This light will come on
when you start your
vehicle, and it will �ash for
a few seconds. Then the
light should go out. This
means the system is ready.
If the air bag readiness light stays on after you start the
vehicle or comes on when you are driving, your air
bag system may not work properly. Have your vehicle
serviced right away.
3-36
Page 343 of 410

Fuses and Circuit Breakers
The wiring circuits in your vehicle are protected from
short circuits by a combination of fuses and circuit
breakers. This greatly reduces the chance of damage
caused by electrical problems.
Look at the silver-colored band inside the fuse. If the
band is broken or melted, replace the fuse. Be sure you
replace a bad fuse with a new one of the identical
size and rating.
There are four fuse blocks in your vehicle: the main and
auxiliary instrument panel fuse blocks, the underhood
fuse block and the rear fuse block.
Main and Auxiliary Instrument Panel
Fuse Blocks
The main and auxiliary instrument panel fuse blocks are
located under the instrument panel, on the passenger’s
side of the vehicle. Lamps, connectors and the
HVAC duct temperature sensors may need to be
disconnected and removed to allow access to these
fuse blocks.
Remove the hush panel on the passenger’s side to
reveal the fuses by performing the following steps:
1. Remove the two screws located along the front
edge of the panel.
2. Lower the hush panel.
3. Remove the fuse block cover.
4. Place the wide end of the fuse puller over the
plastic end of the fuse.
5. Squeeze the ends over the fuse and pull it out.
When �nished, reinstall the fuse block cover and
the hush panel. Reinstall lamps, connectors and HVAC
duct temperature sensors if they were removed.
5-99
Page 344 of 410
Main Instrument Panel Fuse Block
Fuses Usage
SBM Interior Lamps
PDM PDM Module
A/C HVAC Motor, HVAC Mix Motors
Fuses Usage
IGN SENAuto Dimming Mirror, Driver HTS
Seat, Rear Defog Relay, MEM
Module, Cool LVL Sensor,
Pass Heated Seat
ELCHVAC Flat Pk Mtrs, Electronic Level
Control Sensor, Electronic Level
Control Sensor (R Bec)
ABS Anti-Lock Brake System Module
HVACHVAC Main Con Head, HVAC
Programmer, Instrument Panel
Cluster
CR CONT Stepper Motor Cruise, Cruise Switch
HUDHead-Up Display Switch, Head-Up
Display
CSTR/SBMHVAC Programmer, Instrument
Panel Cluster, SBM (275 to LCM)
(1135 to BTSI SL)
LP PK LUnderhood Lamp, Left Park/
Sidemarker, Left Park/Turn Lamp,
SBM, Left Tail Signal Lamp, Left
Tail/Stoplamp, Left Rear Sidemarker
5-100
Page 346 of 410
Underhood Fuse Block
There are additional fuses located in the engine
compartment on the passenger’s side of the vehicle.
SeeEngine Compartment Overview on page 5-12
for more information on location.
To check the fuses in this underhood fuse block, turn
the knob counterclockwise and remove the cover.
There is a chart inside the cover that explains the
features and controls governed by each fuse and relay.
Fuses Usage
1 Not Used
2 SBM, LCM
3 Turn Signal
4Pre-Oxygen Sensor,
Post-Oxygen Sensor
5 Air Bag (SIR)
6 Powertrain Control Module
7 Air Conditioning Clutch
8 Ignition Feed
9 Horn Relay
5-102
Page 350 of 410
Rear Compartment Fuse Block
Additional fuses are located in the fuse center under the
rear seat.
Relays Usage
1 Heated Backlite
2 Retained Accessory Power (RAP)
3 Trunk Release
4 Electronic Level Control
Circuit
BreakersUsage
5 Power Seat
6Electronic Level Control Sensor,
Electronic Level Control Compressor
Solenoid
Fuses Usage
7 Crank
8 Accessory Outlet
9Powertrain Control Module for
Cruise
10 SBM Module
11 Radio/Phone
12 Sunroof
13 Spare
14 CD Changer, Phone
15 Driver Door Module
16 Spare
5-106
Page 407 of 410

Sensors.........................................................3-26
Service........................................................... 5-3
Adding Equipment to the Outside of
Your Vehicle.............................................. 5-4
Doing Your Own Work................................... 5-3
Engine Soon Light.......................................3-41
Publications Ordering Information...................7-11
Vehicle Soon Light.......................................3-45
Service Bulletins.............................................7-11
Service Engine Soon Light...............................3-41
Service Manuals.............................................7-11
Setting Preset Stations............................3-60, 3-65
Setting the Time.............................................3-58
Setting the Tone (Bass/Treble)..................3-60, 3-65
Sheet Metal Damage.......................................5-95
Shifting Into Park (P).......................................2-30
Shifting Out of Park (P)...................................2-33
Short Trip/City De�nition.................................... 6-5
Short Trip/City Intervals..................................... 6-5
Short Trip/City Scheduled Maintenance................ 6-7
Skidding........................................................4-15
Some Other Rainy Weather Tips.......................4-20
Special Fabric Cleaning Problems.....................5-91
Speci�cations, Capacities...............................5-108
Speedometer..................................................3-35
Starter Switch Check.......................................6-21
Starting Your Engine.......................................2-25
Steering........................................................4-11Steering in Emergencies..................................4-12
Steering, Suspension and Front Drive
Axle Boot and Seal Inspection.......................6-23
Steering Tips..................................................4-11
Steering Wheel Comfort Controls......................3-30
Steering Wheel Controls, Audio.........................3-78
Storage Areas
Center Console Storage Area........................2-48
Convenience Net.........................................2-49
Garage Door Opener Compartment................2-47
Glove Box..................................................2-47
Rear Seat Armrest.......................................2-49
Rear Storage Area.......................................2-49
Storing the Flat Tire and Tools..........................5-87
Storing the Spare Tire and Tools.......................5-88
Stuck in Sand, Mud, Ice or Snow......................4-30
Sun Visors.....................................................2-19
Sunroof.........................................................2-50
T
Tachometer....................................................3-35
TCS Warning Light..........................................3-39
Testing the Alarm............................................2-21
Theater Dimming............................................3-15
Theft-Deterrent, Radio.....................................3-75
Theft-Deterrent System...................................... 2-8
13