2004 BMW Z4 ROADSTER 2.5I key
[x] Cancel search: keyPage 6 of 120
Notes
4
Notes
About this Owner's Manual
We have made every effort to ensure that
you are able to find what you need in this
Owner's Manual as quickly as possible.
The fastest way to find certain topics is by
using the detailed index at the end. If you
wish to gain an initial overview of your vehi-
cle, you will find what you are looking for in
the first chapter.
Should you wish to sell your BMW at some
time in the future, please remember to pass
the Owner's Manual on to the new owner.
The manual represents an important com-
ponent of the vehicle.
Additional sources of information
If you have additional questions, your BMW
center will be glad to advise you.
You can find more information about BMW,
for example on its technology, on the Inter-
net under www.bmw.com.
Symbols used
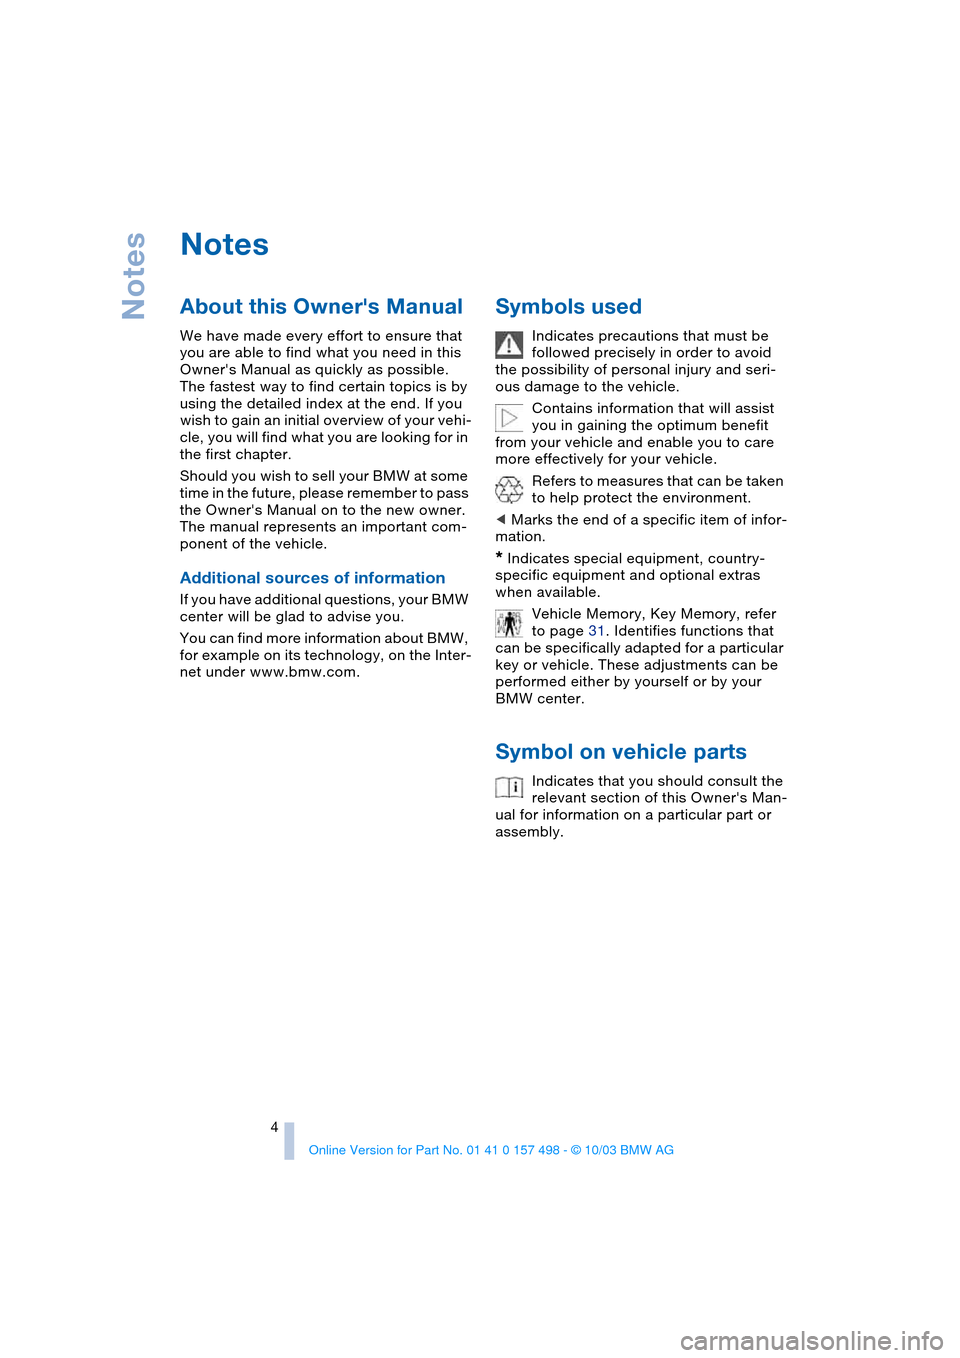
Indicates precautions that must be
followed precisely in order to avoid
the possibility of personal injury and seri-
ous damage to the vehicle.
Contains information that will assist
you in gaining the optimum benefit
from your vehicle and enable you to care
more effectively for your vehicle.
Refers to measures that can be taken
to help protect the environment.
<
Marks the end of a specific item of infor-
mation.
*
Indicates special equipment, country-
specific equipment and optional extras
when available.
Vehicle Memory, Key Memory, refer
to page 31. Identifies functions that
can be specifically adapted for a particular
key or vehicle. These adjustments can be
performed either by yourself or by your
BMW center.
Symbol on vehicle parts
Indicates that you should consult the
relevant section of this Owner's Man-
ual for information on a particular part or
assembly.
Page 8 of 120
Notes
6
Parts and accessories
For your own safety, use parts and
accessories approved by BMW.
When you purchase accessories tested
and approved by BMW and Original BMW
Parts, you simultaneously acquire the
assurance that they have been thoroughly
tested by BMW to ensure optimum perfor-
mance when installed on your vehicle.
BMW warrants these parts to be free from
defects in material and workmanship.
BMW will not accept any liability for dam-
age resulting from installation of parts and
accessories not approved by BMW.
BMW cannot test every product made by
other manufacturers to verify if it can be
used on a BMW safely and without risk to
either the vehicle, its operation, or its occu-
pants.
Original BMW Parts, BMW Accessories
and other products approved by BMW,
together with professional advice on using
these items, are available from all BMW
retailers.
Installation and operation of non-BMW
approved accessories such as alarms,
radios, amplifiers, radar detectors, wheels,
suspension components, brake dust
shields, telephones, including operation of
any portable cellular phone from within the
vehicle without using an externally
mounted antenna, or transceiver equip-
ment, e. g. C.B., walkie-talkie, ham radio or
similar, may cause extensive damage to
the vehicle, compromise its safety, inter-
fere with the vehicle's electrical system or
affect the validity of the BMW Limited War-
ranty. See your BMW center for additional
information.
Do not use key or remote control to lock
doors or trunk with anyone inside the vehi-
cle. Refer to the Owner's Manual for more
details.
<
Maintenance, replacement or repair
of the emission control devices and
systems may be performed by any automo-
tive repair establishment or individual using
any certified automotive part.
<
Service and warranty
This manual is supplemented by a Service
and Warranty Information Booklet for US
models, Warranty and Service Guide Book-
let for Canadian models.
We recommend that you read this publica-
tion thoroughly.
Your BMW is covered by the following war-
ranties:
>
New Vehicle Limited Warranty
>
Rust Perforation Limited Warranty
>
Federal Emissions System Defect War-
ranty
>
Federal Emissions Performance War-
ranty
>
California Emission Control System
Limited Warranty.
Detailed information about these warran-
ties is listed in the Service and Warranty
Information Booklet for US models, War-
ranty and Service Guide Booklet for Cana-
dian models.
Page 14 of 120
Cockpit
12
Instrument cluster
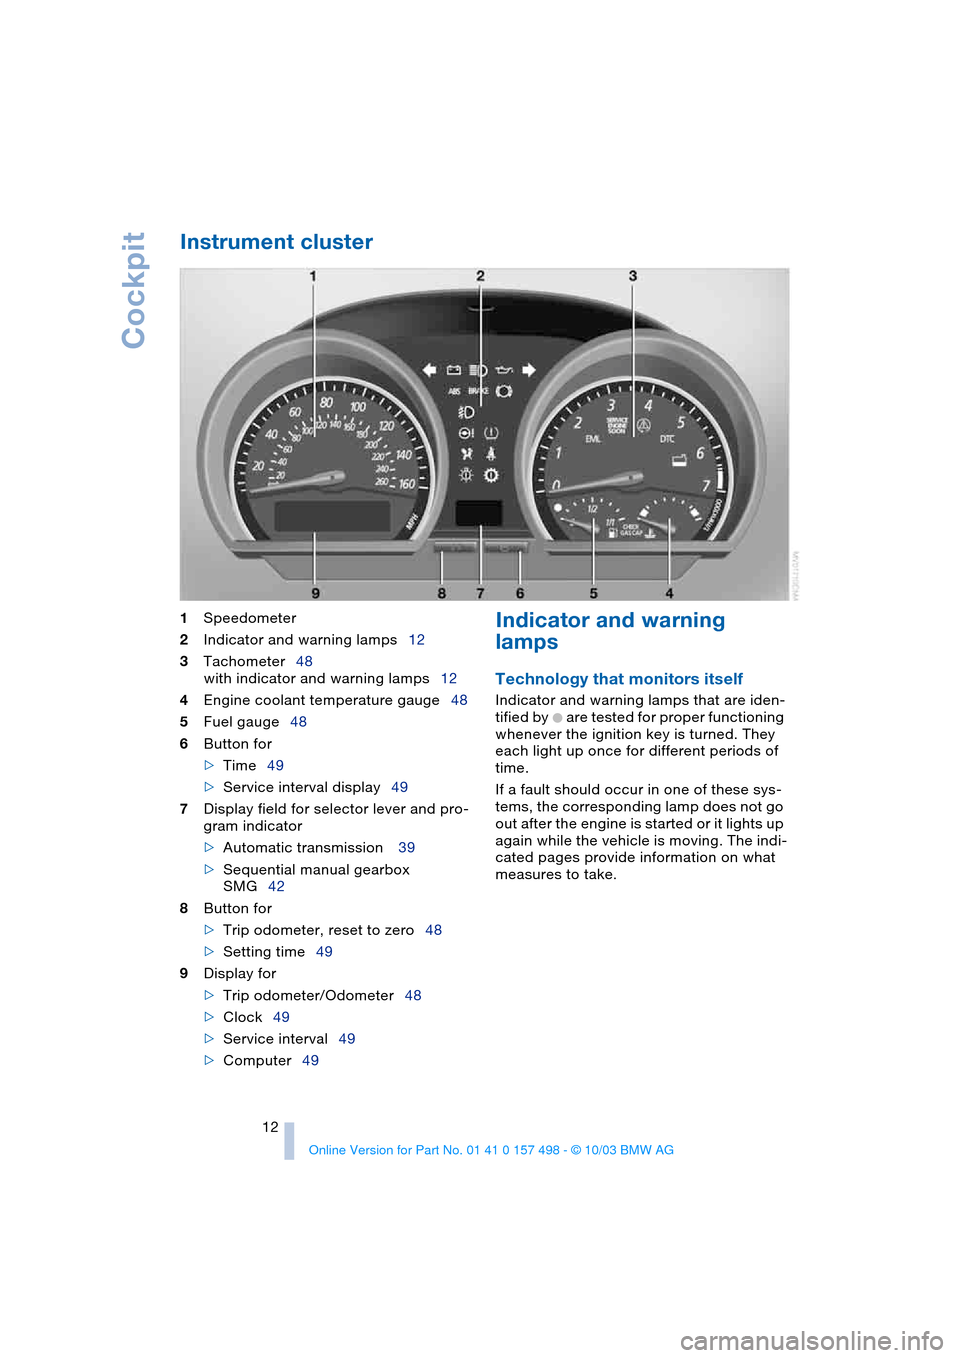
1
Speedometer
2
Indicator and warning lamps12
3
Tachometer48
with indicator and warning lamps12
4
Engine coolant temperature gauge48
5
Fuel gauge48
6
Button for
>
Time49
>Service interval display49
7Display field for selector lever and pro-
gram indicator
>Automatic transmission 39
>Sequential manual gearbox
SMG42
8Button for
>Trip odometer, reset to zero48
>Setting time49
9Display for
>Trip odometer/Odometer48
>Clock49
>Service interval49
>Computer49
Indicator and warning
lamps
Technology that monitors itself
Indicator and warning lamps that are iden-
tified by
+ are tested for proper functioning
whenever the ignition key is turned. They
each light up once for different periods of
time.
If a fault should occur in one of these sys-
tems, the corresponding lamp does not go
out after the engine is started or it lights up
again while the vehicle is moving. The indi-
cated pages provide information on what
measures to take.
Page 18 of 120
Opening and closing
16
Opening and closing
Keys
The key set
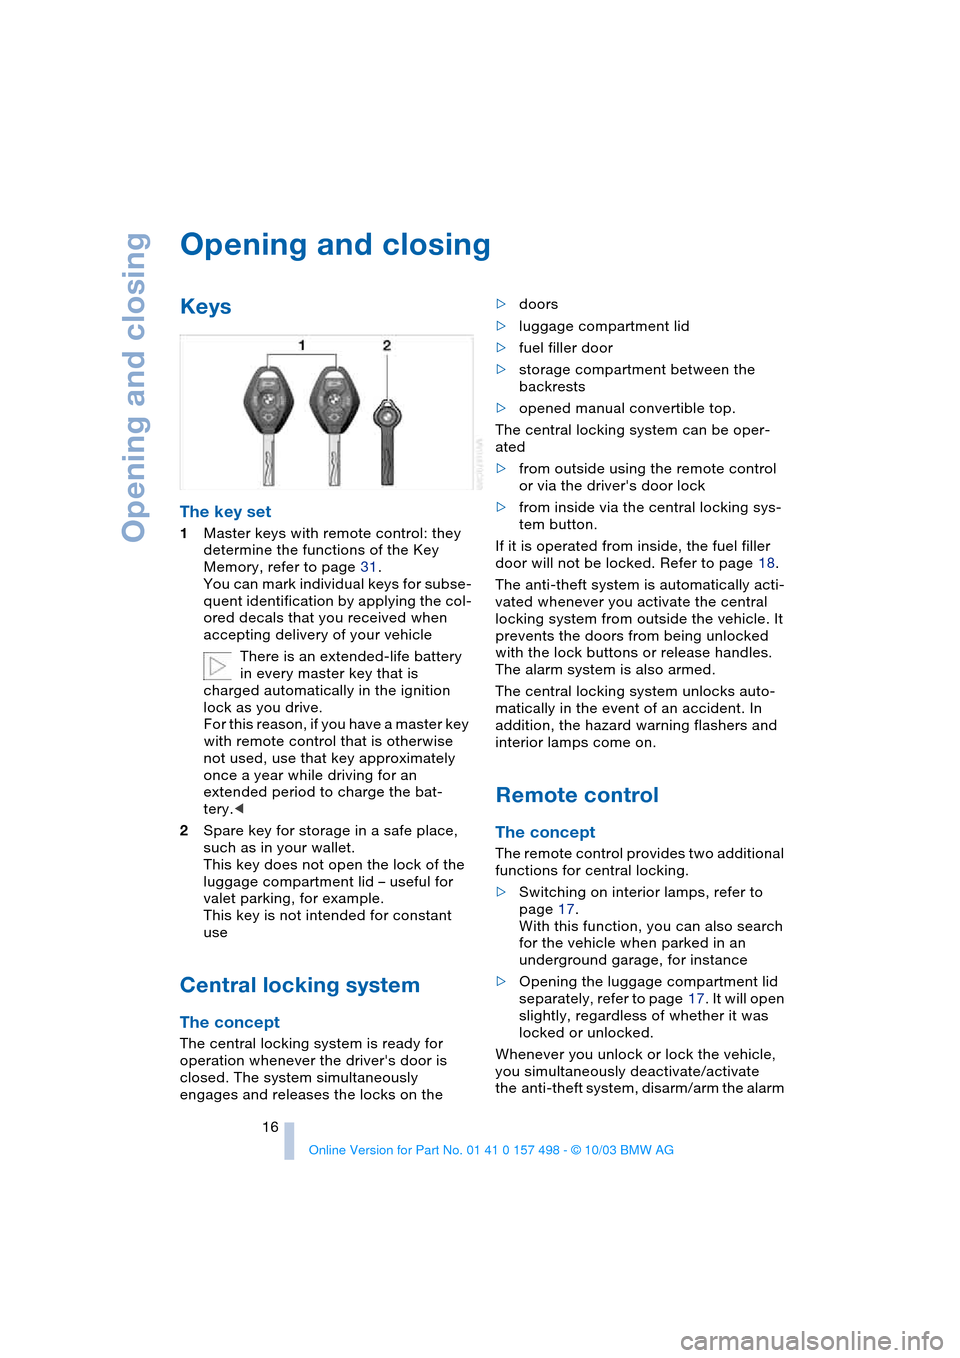
1Master keys with remote control: they
determine the functions of the Key
Memory, refer to page 31.
You can mark individual keys for subse-
quent identification by applying the col-
ored decals that you received when
accepting delivery of your vehicle
There is an extended-life battery
in every master key that is
charged automatically in the ignition
lock as you drive.
For this reason, if you have a master key
with remote control that is otherwise
not used, use that key approximately
once a year while driving for an
extended period to charge the bat-
tery.<
2Spare key for storage in a safe place,
such as in your wallet.
This key does not open the lock of the
luggage compartment lid – useful for
valet parking, for example.
This key is not intended for constant
use
Central locking system
The concept
The central locking system is ready for
operation whenever the driver's door is
closed. The system simultaneously
engages and releases the locks on the>doors
>luggage compartment lid
>fuel filler door
>storage compartment between the
backrests
>opened manual convertible top.
The central locking system can be oper-
ated
>from outside using the remote control
or via the driver's door lock
>from inside via the central locking sys-
tem button.
If it is operated from inside, the fuel filler
door will not be locked. Refer to page 18.
The anti-theft system is automatically acti-
vated whenever you activate the central
locking system from outside the vehicle. It
prevents the doors from being unlocked
with the lock buttons or release handles.
The alarm system is also armed.
The central locking system unlocks auto-
matically in the event of an accident. In
addition, the hazard warning flashers and
interior lamps come on.
Remote control
The concept
The remote control provides two additional
functions for central locking.
>Switching on interior lamps, refer to
page 17.
With this function, you can also search
for the vehicle when parked in an
underground garage, for instance
>Opening the luggage compartment lid
separately, refer to page 17. It will open
slightly, regardless of whether it was
locked or unlocked.
Whenever you unlock or lock the vehicle,
you simultaneously deactivate/activate
the anti-theft system, disarm/arm the alarm
Page 19 of 120

Reference
At a glance
Controls
Driving tips
Mobility
17
system and switch the interior lamps on/
off.
You can have a signal set to confirm
that the vehicle's locks have engaged
securely.<
Since persons or animals in the vehi-
cle could lock the doors from the
inside, always take the vehicle keys with
you so that the vehicle can be opened
again from the outside at any time.<
If it is no longer possible to lock the
vehicle via the remote control, the
battery is discharged. Use this key while
driving for an extended period in order to
recharge the battery.
In the event of a system malfunction,
please contact your BMW center. You can
also obtain replacement keys there.<
1To unlock
2To lock and secure, activate interior
lamps, disarm tilt alarm sensor and inte-
rior motion sensor
3To open the luggage compartment
To unlock
1.Press the button to unlock the driver's
door and the fuel filler door
2.Press the button a second time to dis-
engage all vehicle locks.
To lock and secure
Press the button.
To switch on the interior lamps
With the vehicle locked:
Press the button.
To deactivate the tilt alarm* and
interior motion sensors*
Press the button a second time immedi-
ately after locking.
For additional information, refer to
page 26.
To open the luggage compartment
Press the button.
The luggage compartment lid will open
slightly, regardless of whether it was
locked or unlocked.
Before and after a trip, be sure that
the luggage compartment lid has not
been opened unintentionally.<
Panic mode*: triggering alarm
By pressing the button for 2 to 5 seconds,
the alarm can be sounded in the event of
danger. The alarm is turned off by pressing
the unlocking button 1 again.
Malfunctions
External systems or devices may cause
local interference in the functions of the
remote control.
Should this occur, you can still open and
close the vehicle using the master key in
either the door or luggage compartment
locks.
For US owners only
The transmitter and receiver units comply
with part 15 of the FCC, Federal Communi-
cations Commission, regulations. Opera-
tion is governed by the following:
Page 20 of 120
Opening and closing
18 FCC ID: LX8EWS
LX8FZVS
LX8FZVE
Compliance statement:
This device complies with part 15 of the
FCC Rules. Operation is subject to the fol-
lowing two conditions:
>This device may not cause harmful
interference, and
>this device must accept any interfer-
ence received, including interference
that may cause undesired operation.
Any unauthorized modifications to
these devices could void the user's
authority to operate the equipment.<
Door lock
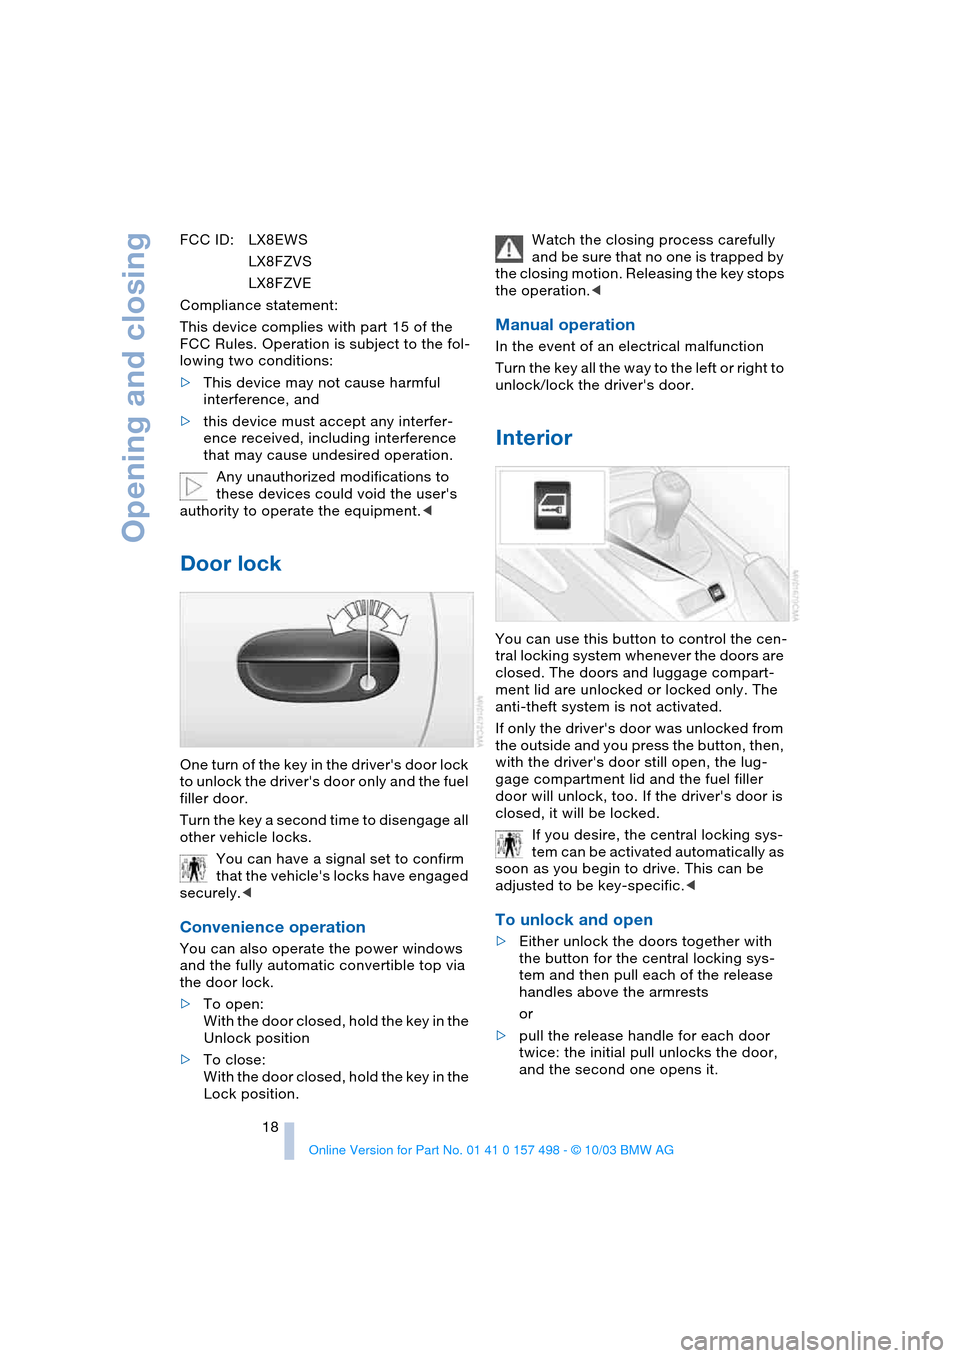
One turn of the key in the driver's door lock
to unlock the driver's door only and the fuel
filler door.
Turn the key a second time to disengage all
other vehicle locks.
You can have a signal set to confirm
that the vehicle's locks have engaged
securely.<
Convenience operation
You can also operate the power windows
and the fully automatic convertible top via
the door lock.
>To open:
With the door closed, hold the key in the
Unlock position
>To close:
With the door closed, hold the key in the
Lock position.Watch the closing process carefully
and be sure that no one is trapped by
the closing motion. Releasing the key stops
the operation.<
Manual operation
In the event of an electrical malfunction
Turn the key all the way to the left or right to
unlock/lock the driver's door.
Interior
You can use this button to control the cen-
tral locking system whenever the doors are
closed. The doors and luggage compart-
ment lid are unlocked or locked only. The
anti-theft system is not activated.
If only the driver's door was unlocked from
the outside and you press the button, then,
with the driver's door still open, the lug-
gage compartment lid and the fuel filler
door will unlock, too. If the driver's door is
closed, it will be locked.
If you desire, the central locking sys-
tem can be activated automatically as
soon as you begin to drive. This can be
adjusted to be key-specific.<
To unlock and open
>Either unlock the doors together with
the button for the central locking sys-
tem and then pull each of the release
handles above the armrests
or
>pull the release handle for each door
twice: the initial pull unlocks the door,
and the second one opens it.
Page 21 of 120
Reference
At a glance
Controls
Driving tips
Mobility
19
To lock
>Either use the central locking button to
lock both doors at once or
>press the individual door lock buttons
down.
To prevent the driver from being
inadvertently locked out of the
vehicle, the driver's door lock button
will not engage as long as the door is
open.<
Since persons or animals in the vehi-
cle could lock the doors from the
inside, always take the vehicle keys with
you so that the vehicle can be opened
again from the outside at any time.<
Luggage compartment lid
To open from the outside
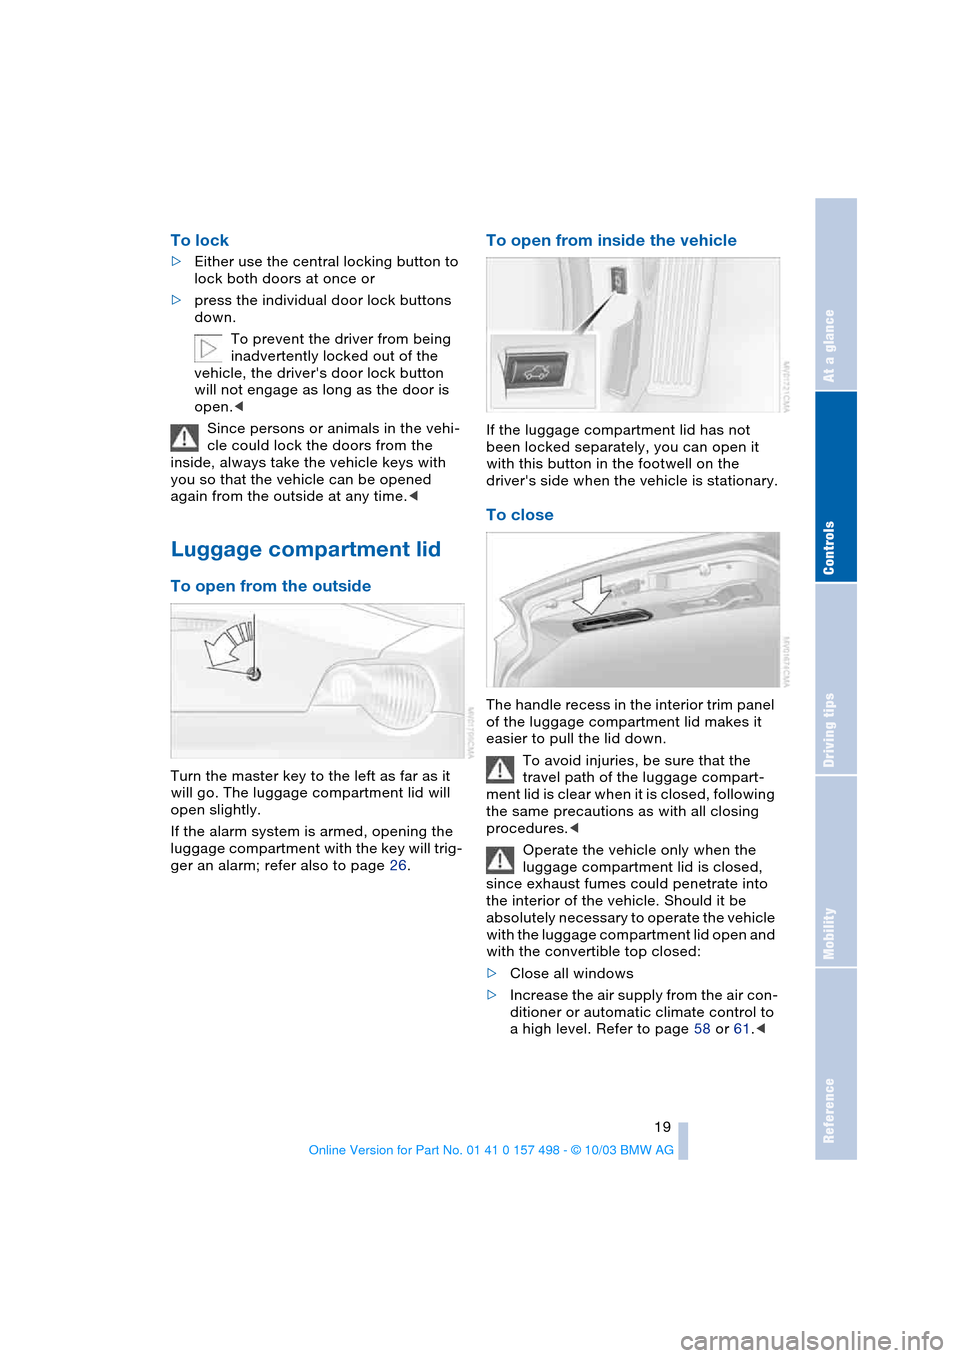
Turn the master key to the left as far as it
will go. The luggage compartment lid will
open slightly.
If the alarm system is armed, opening the
luggage compartment with the key will trig-
ger an alarm; refer also to page 26.
To open from inside the vehicle
If the luggage compartment lid has not
been locked separately, you can open it
with this button in the footwell on the
driver's side when the vehicle is stationary.
To close
The handle recess in the interior trim panel
of the luggage compartment lid makes it
easier to pull the lid down.
To avoid injuries, be sure that the
travel path of the luggage compart-
ment lid is clear when it is closed, following
the same precautions as with all closing
procedures.<
Operate the vehicle only when the
luggage compartment lid is closed,
since exhaust fumes could penetrate into
the interior of the vehicle. Should it be
absolutely necessary to operate the vehicle
with the luggage compartment lid open and
with the convertible top closed:
>Close all windows
>Increase the air supply from the air con-
ditioner or automatic climate control to
a high level. Refer to page 58 or 61.<
Page 22 of 120
Opening and closing
20
Luggage compartment
Emergency release
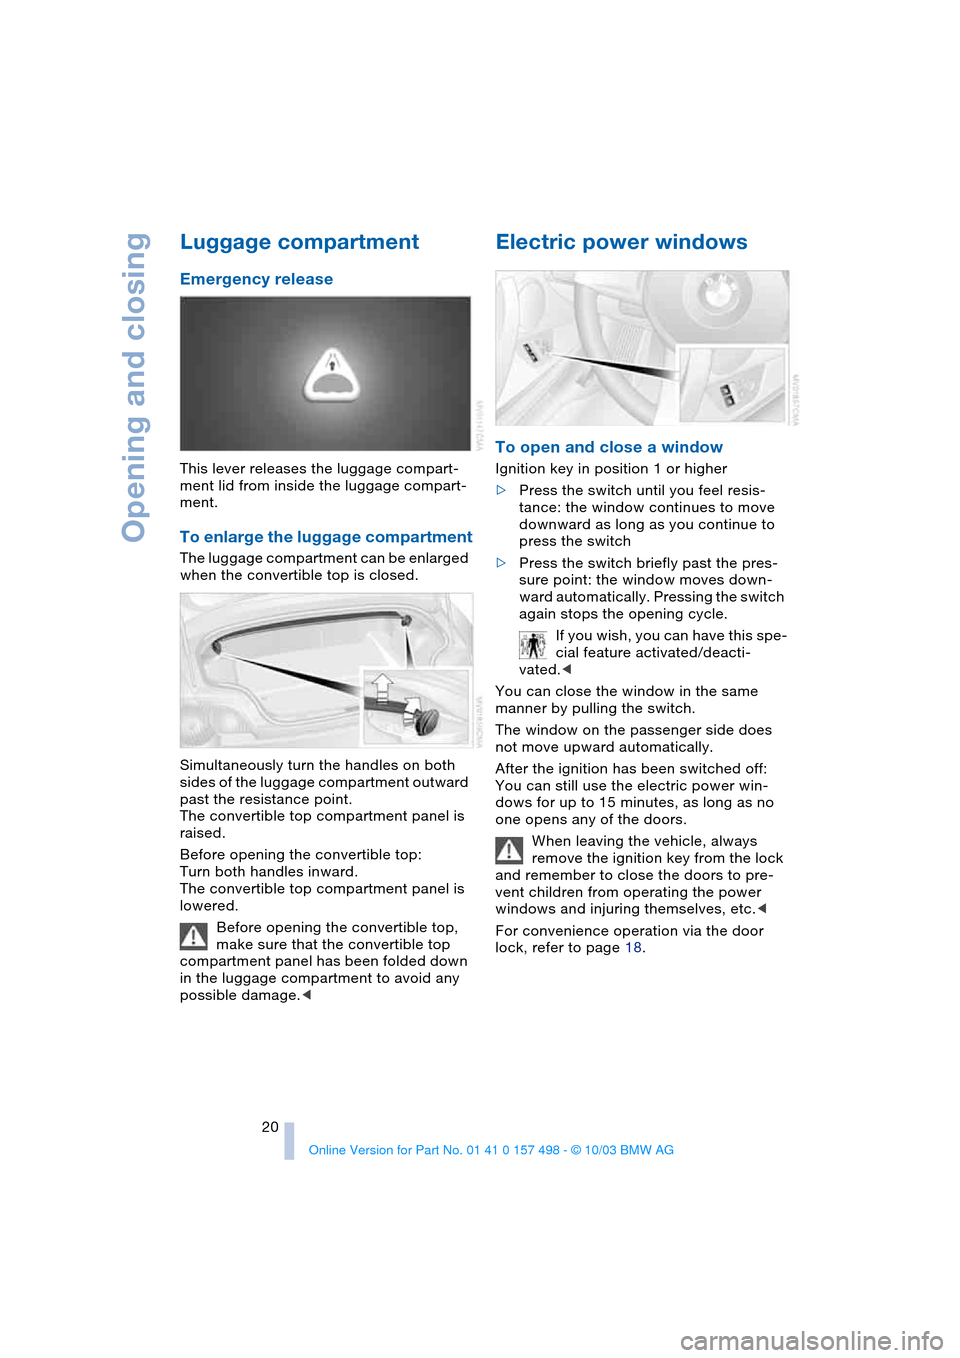
This lever releases the luggage compart-
ment lid from inside the luggage compart-
ment.
To enlarge the luggage compartment
The luggage compartment can be enlarged
when the convertible top is closed.
Simultaneously turn the handles on both
sides of the luggage compartment outward
past the resistance point.
The convertible top compartment panel is
raised.
Before opening the convertible top:
Turn both handles inward.
The convertible top compartment panel is
lowered.
Before opening the convertible top,
make sure that the convertible top
compartment panel has been folded down
in the luggage compartment to avoid any
possible damage.<
Electric power windows
To open and close a window
Ignition key in position 1 or higher
>Press the switch until you feel resis-
tance: the window continues to move
downward as long as you continue to
press the switch
>Press the switch briefly past the pres-
sure point: the window moves down-
ward automatically. Pressing the switch
again stops the opening cycle.
If you wish, you can have this spe-
cial feature activated/deacti-
vated.<
You can close the window in the same
manner by pulling the switch.
The window on the passenger side does
not move upward automatically.
After the ignition has been switched off:
You can still use the electric power win-
dows for up to 15 minutes, as long as no
one opens any of the doors.
When leaving the vehicle, always
remove the ignition key from the lock
and remember to close the doors to pre-
vent children from operating the power
windows and injuring themselves, etc.<
For convenience operation via the door
lock, refer to page 18.