2004 BMW Z4 ROADSTER 2.5I display
[x] Cancel search: displayPage 51 of 120
Reference
At a glance
Controls
Driving tips
Mobility
49
Between the blue and red zones
Normal operating range. The needle may
rise as far as the edge of the red sector dur-
ing normal operation.
Red
When you switch on the ignition, warning
lamp 1 comes on briefly to indicate an
operational check.
Comes on while driving:
The engine has overheated. Stop and
switch the engine off immediately and
allow it to cool down.
For checking the coolant level, refer to
page 84.
Service interval display
Remaining distance to next service
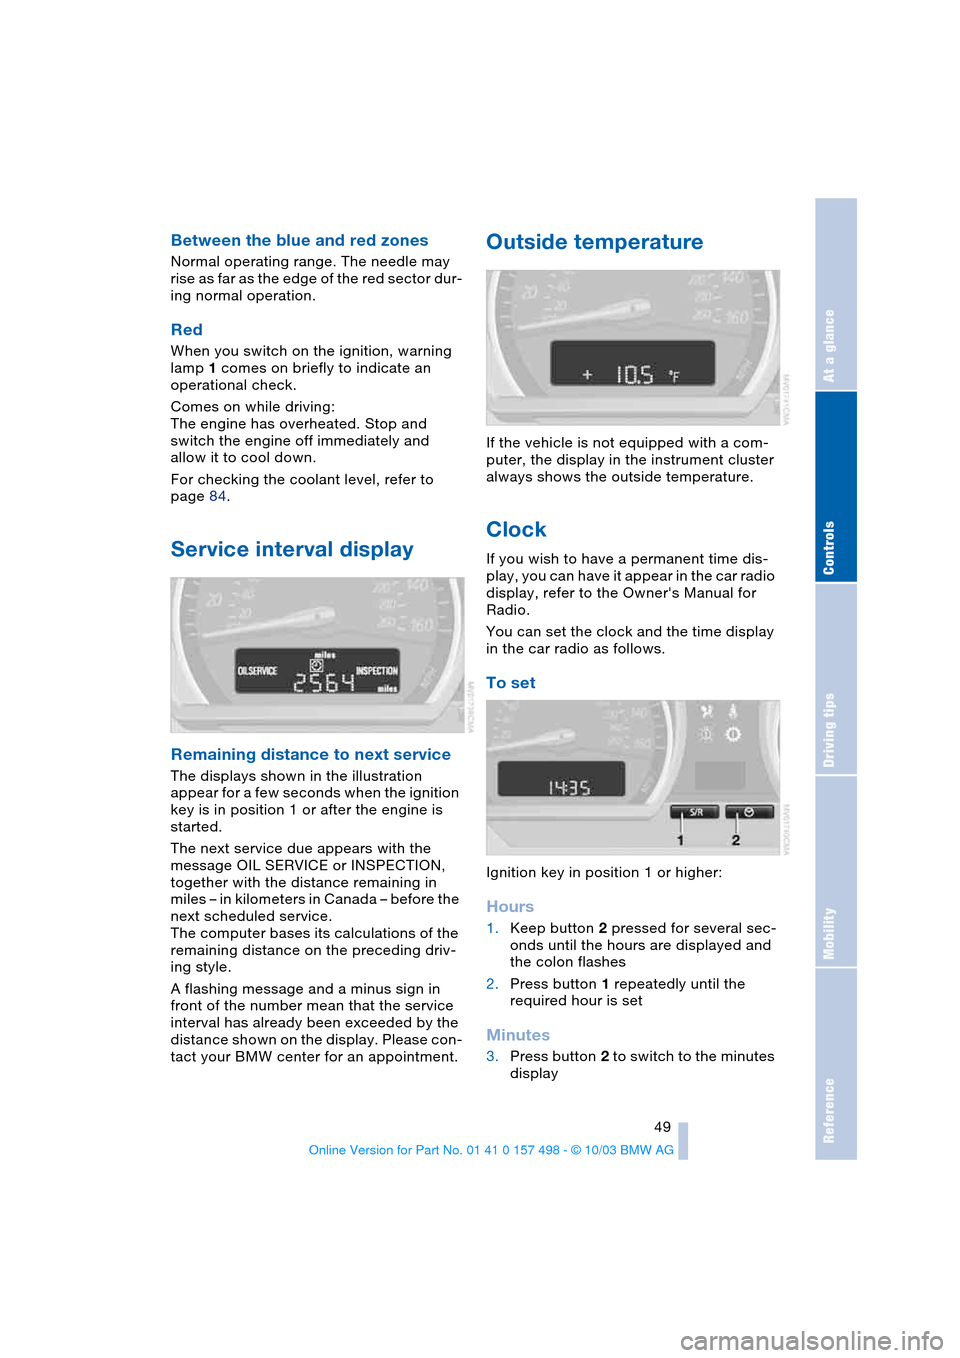
The displays shown in the illustration
appear for a few seconds when the ignition
key is in position 1 or after the engine is
started.
The next service due appears with the
message OIL SERVICE or INSPECTION,
together with the distance remaining in
miles – in kilometers in Canada – before the
next scheduled service.
The computer bases its calculations of the
remaining distance on the preceding driv-
ing style.
A flashing message and a minus sign in
front of the number mean that the service
interval has already been exceeded by the
distance shown on the display. Please con-
tact your BMW center for an appointment.
Outside temperature
If the vehicle is not equipped with a com-
puter, the display in the instrument cluster
always shows the outside temperature.
Clock
If you wish to have a permanent time dis-
play, you can have it appear in the car radio
display, refer to the Owner's Manual for
Radio.
You can set the clock and the time display
in the car radio as follows.
To set
Ignition key in position 1 or higher:
Hours
1.Keep button 2 pressed for several sec-
onds until the hours are displayed and
the colon flashes
2.Press button 1 repeatedly until the
required hour is set
Minutes
3.Press button 2 to switch to the minutes
display
Page 52 of 120
Everything under control
50 4.Press button 1 repeatedly until the
required minutes are set
5.Press button 2 to confirm the settings.
The set time of day is transferred to the car
radio display or appears in the instrument
cluster display.
Display mode
In ignition key position 0:
Press button 1.
The time of day is displayed for several
seconds.
Computer*
Mode selection
With the ignition key in position 1 or higher,
you can use the button in the turn signal
lever to retrieve information from the com-
puter for display in the instrument cluster.
Every time you press the button briefly in
the direction of the steering column, a new
function is called up for display.
The displays appear in the following order:
time of day, outside temperature, average
fuel consumption, cruising range, average
vehicle speed.
With the ignition key in position 1 or higher,
the last active setting is displayed.
If you wish, you can have all the dis-
plays of the following functions
shown in another unit of measure.<
Outside temperature
To change the units of measure,
°F/°C
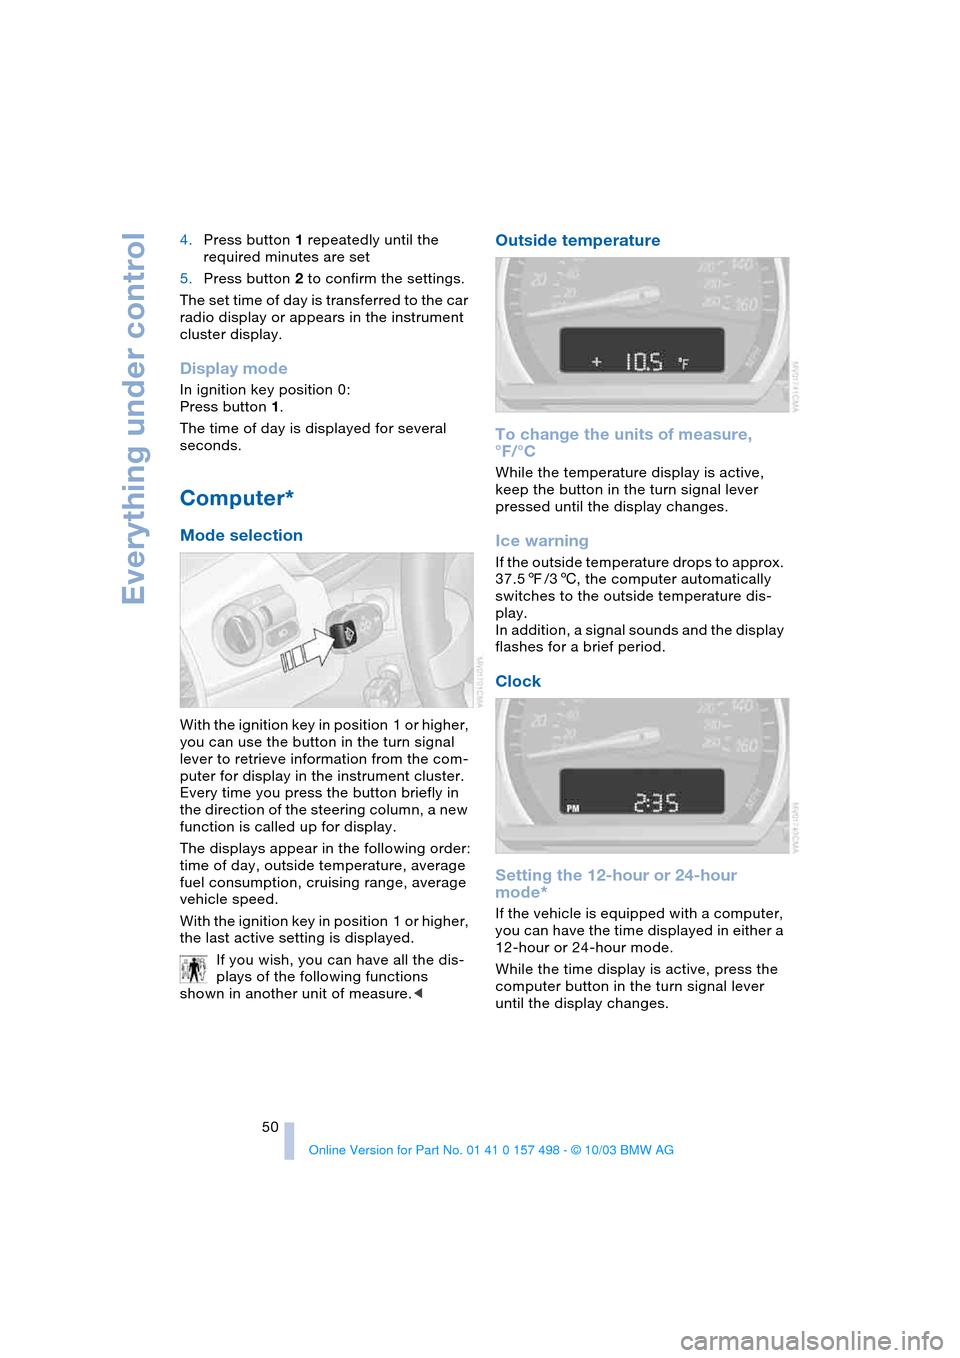
While the temperature display is active,
keep the button in the turn signal lever
pressed until the display changes.
Ice warning
If the outside temperature drops to approx.
37.57/36, the computer automatically
switches to the outside temperature dis-
play.
In addition, a signal sounds and the display
flashes for a brief period.
Clock
Setting the 12-hour or 24-hour
mode*
If the vehicle is equipped with a computer,
you can have the time displayed in either a
12-hour or 24-hour mode.
While the time display is active, press the
computer button in the turn signal lever
until the display changes.
Page 53 of 120
Reference
At a glance
Controls
Driving tips
Mobility
51
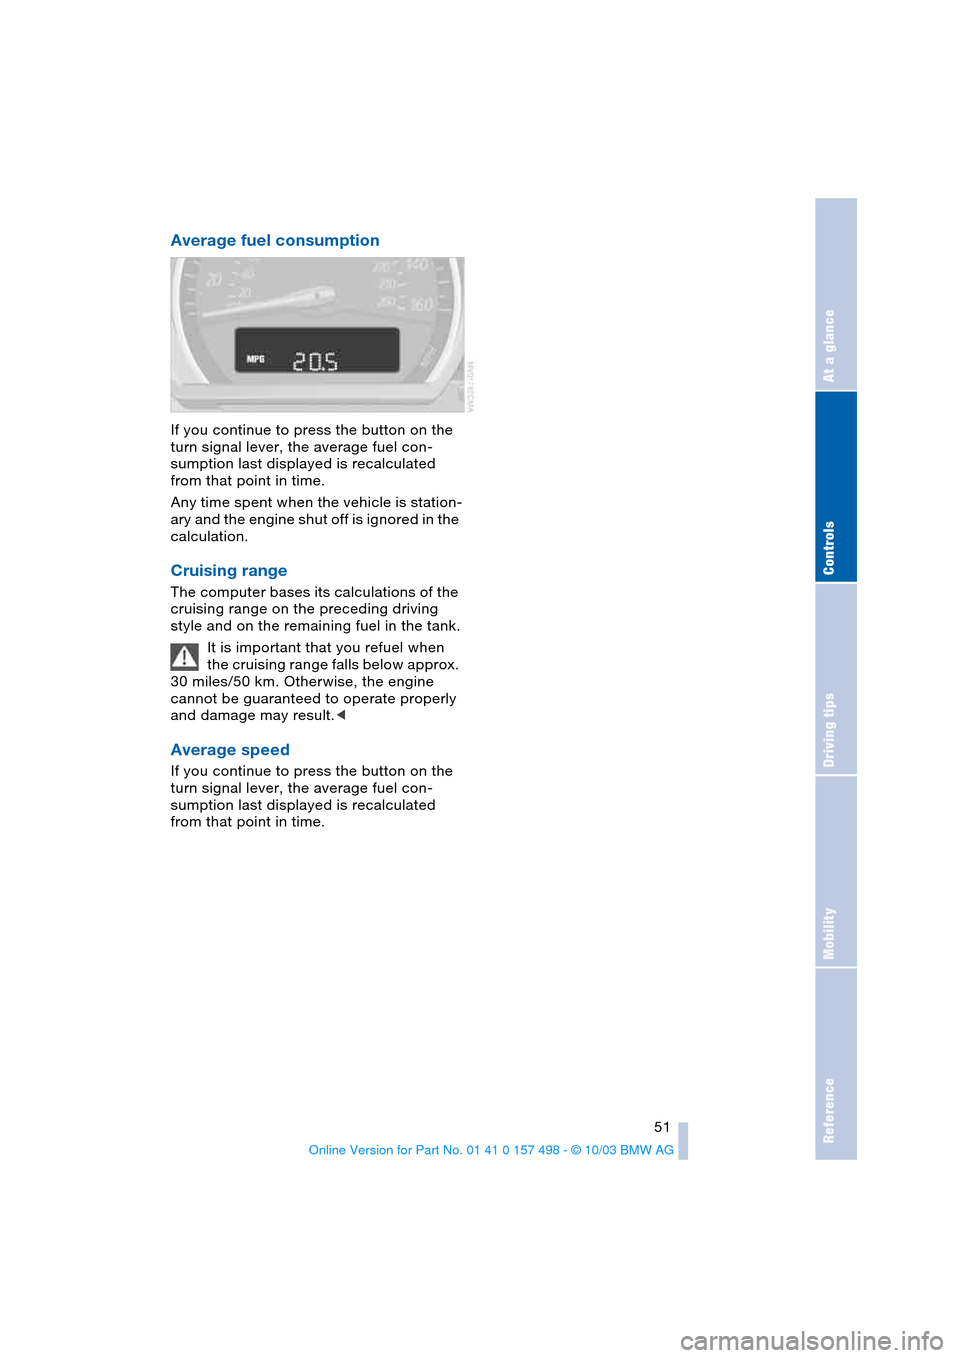
Average fuel consumption
If you continue to press the button on the
turn signal lever, the average fuel con-
sumption last displayed is recalculated
from that point in time.
Any time spent when the vehicle is station-
ary and the engine shut off is ignored in the
calculation.
Cruising range
The computer bases its calculations of the
cruising range on the preceding driving
style and on the remaining fuel in the tank.
It is important that you refuel when
the cruising range falls below approx.
30 miles/50 km. Otherwise, the engine
cannot be guaranteed to operate properly
and damage may result.<
Average speed
If you continue to press the button on the
turn signal lever, the average fuel con-
sumption last displayed is recalculated
from that point in time.
Page 55 of 120
Reference
At a glance
Controls
Driving tips
Mobility
53
If the brake warning lamp comes on
together with the yellow indicator
lamps for the Antilock Brake Sys-
tem ABS and the Dynamic Stability
Control DSC:
The entire ABS and DSC control
system has failed. Continue driving
cautiously and defensively. Avoid
hard brake applications. Please have the
system checked by your BMW center as
soon as possible.
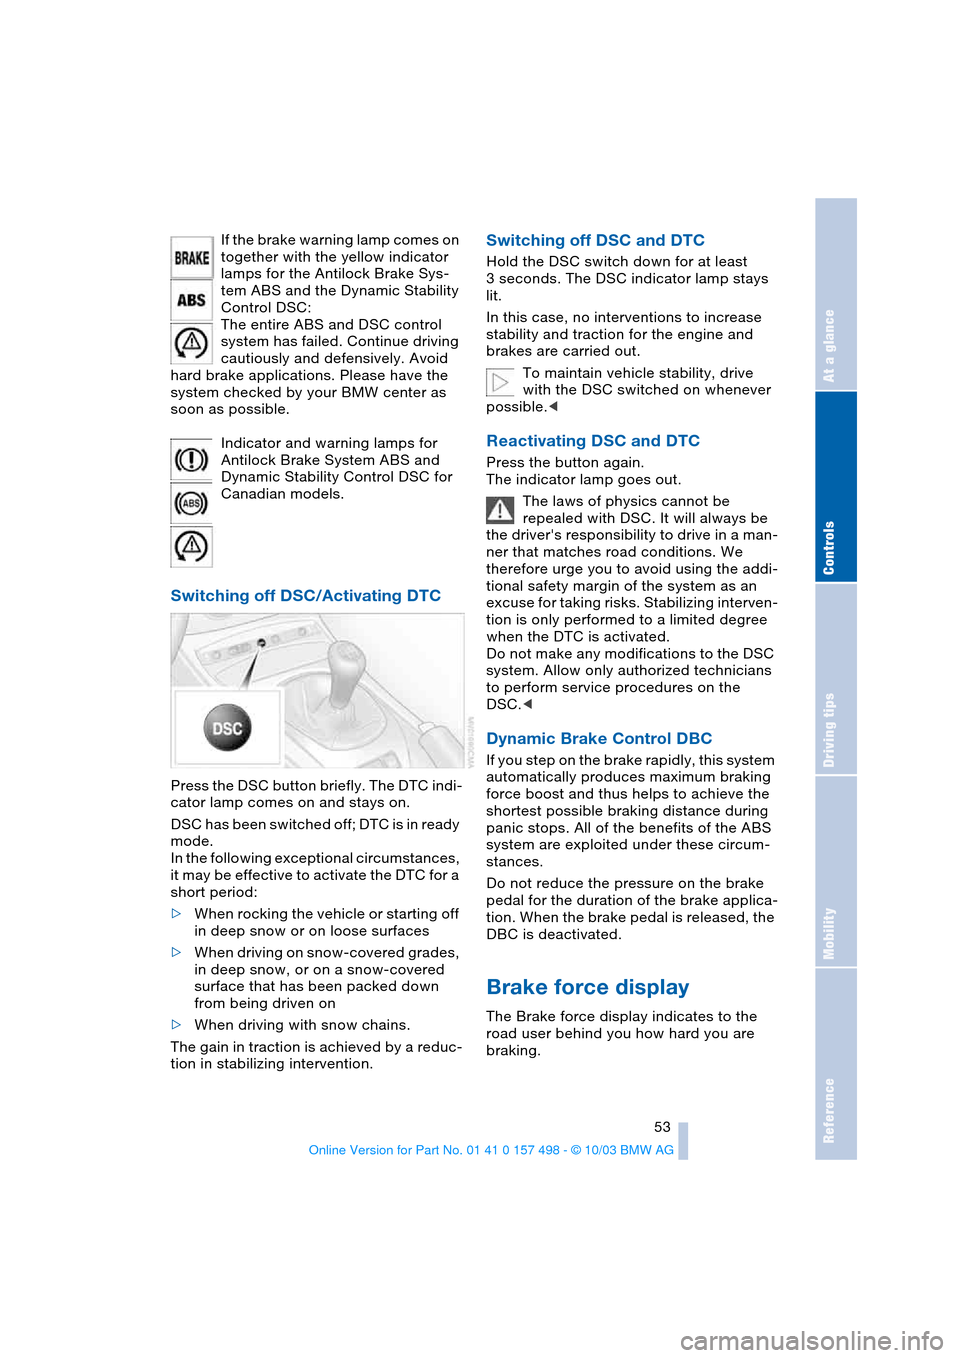
Indicator and warning lamps for
Antilock Brake System ABS and
Dynamic Stability Control DSC for
Canadian models.
Switching off DSC/Activating DTC
Press the DSC button briefly. The DTC indi-
cator lamp comes on and stays on.
DSC has been switched off; DTC is in ready
mode.
In the following exceptional circumstances,
it may be effective to activate the DTC for a
short period:
>When rocking the vehicle or starting off
in deep snow or on loose surfaces
>When driving on snow-covered grades,
in deep snow, or on a snow-covered
surface that has been packed down
from being driven on
>When driving with snow chains.
The gain in traction is achieved by a reduc-
tion in stabilizing intervention.
Switching off DSC and DTC
Hold the DSC switch down for at least
3 seconds. The DSC indicator lamp stays
lit.
In this case, no interventions to increase
stability and traction for the engine and
brakes are carried out.
To maintain vehicle stability, drive
with the DSC switched on whenever
possible.<
Reactivating DSC and DTC
Press the button again.
The indicator lamp goes out.
The laws of physics cannot be
repealed with DSC. It will always be
the driver's responsibility to drive in a man-
ner that matches road conditions. We
therefore urge you to avoid using the addi-
tional safety margin of the system as an
excuse for taking risks. Stabilizing interven-
tion is only performed to a limited degree
when the DTC is activated.
Do not make any modifications to the DSC
system. Allow only authorized technicians
to perform service procedures on the
DSC.<
Dynamic Brake Control DBC
If you step on the brake rapidly, this system
automatically produces maximum braking
force boost and thus helps to achieve the
shortest possible braking distance during
panic stops. All of the benefits of the ABS
system are exploited under these circum-
stances.
Do not reduce the pressure on the brake
pedal for the duration of the brake applica-
tion. When the brake pedal is released, the
DBC is deactivated.
Brake force display
The Brake force display indicates to the
road user behind you how hard you are
braking.
Page 56 of 120
Technology for safety and driving convenience
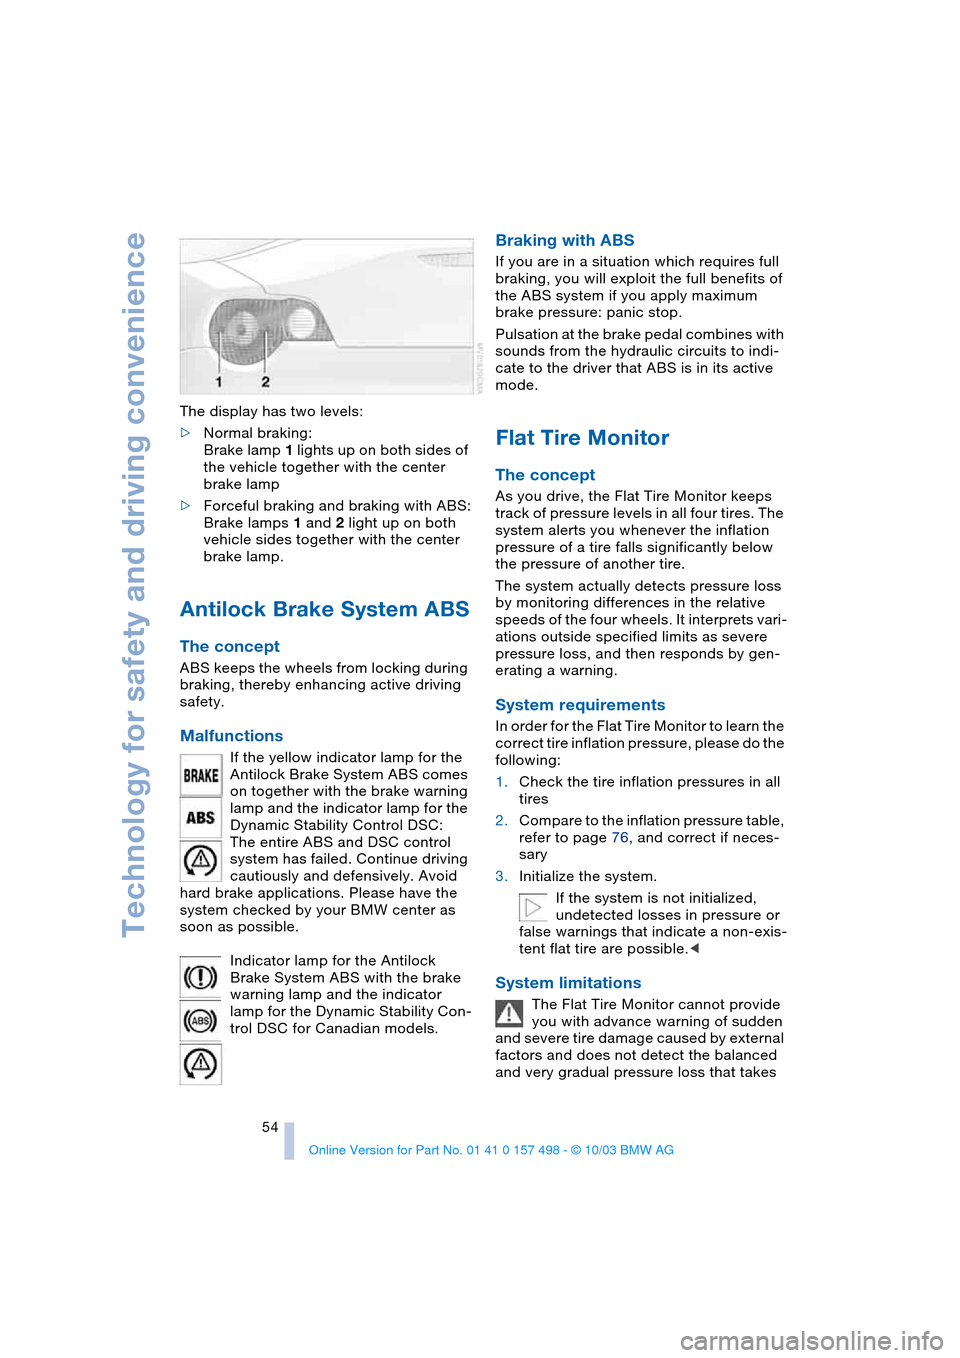
54 The display has two levels:
>Normal braking:
Brake lamp 1 lights up on both sides of
the vehicle together with the center
brake lamp
>Forceful braking and braking with ABS:
Brake lamps 1 and 2 light up on both
vehicle sides together with the center
brake lamp.
Antilock Brake System ABS
The concept
ABS keeps the wheels from locking during
braking, thereby enhancing active driving
safety.
Malfunctions
If the yellow indicator lamp for the
Antilock Brake System ABS comes
on together with the brake warning
lamp and the indicator lamp for the
Dynamic Stability Control DSC:
The entire ABS and DSC control
system has failed. Continue driving
cautiously and defensively. Avoid
hard brake applications. Please have the
system checked by your BMW center as
soon as possible.
Indicator lamp for the Antilock
Brake System ABS with the brake
warning lamp and the indicator
lamp for the Dynamic Stability Con-
trol DSC for Canadian models.
Braking with ABS
If you are in a situation which requires full
braking, you will exploit the full benefits of
the ABS system if you apply maximum
brake pressure: panic stop.
Pulsation at the brake pedal combines with
sounds from the hydraulic circuits to indi-
cate to the driver that ABS is in its active
mode.
Flat Tire Monitor
The concept
As you drive, the Flat Tire Monitor keeps
track of pressure levels in all four tires. The
system alerts you whenever the inflation
pressure of a tire falls significantly below
the pressure of another tire.
The system actually detects pressure loss
by monitoring differences in the relative
speeds of the four wheels. It interprets vari-
ations outside specified limits as severe
pressure loss, and then responds by gen-
erating a warning.
System requirements
In order for the Flat Tire Monitor to learn the
correct tire inflation pressure, please do the
following:
1.Check the tire inflation pressures in all
tires
2.Compare to the inflation pressure table,
refer to page 76, and correct if neces-
sary
3.Initialize the system.
If the system is not initialized,
undetected losses in pressure or
false warnings that indicate a non-exis-
tent flat tire are possible.<
System limitations
The Flat Tire Monitor cannot provide
you with advance warning of sudden
and severe tire damage caused by external
factors and does not detect the balanced
and very gradual pressure loss that takes
Page 64 of 120
Controlling the climate for pleasant driving
62
Tips for pleasant driving
Use the automatic system – switch on with
AUTO button 6. Select the desired interior
temperature.
Detailed setting options are described for
you below.
Automatic air distribution and supply
The AUTO program assumes the
adjustment of the air distribution
and air supply for you and in addi-
tion adapts the temperature to
external influences, summer or winter, to
meet preferences you can specify.
In the AUTO program, the air conditioning
mode is also turned on at the same time.
The AUTO program functions only to
a limited extent when the convertible
top is open.<
Individual air distribution
You yourself can direct airflow
onto the windows , toward the
upper body and into the foot-
well . The arrow lights up. The
automatic air supply remains unchanged.
All intermediate settings are possible. By
pressing the AUTO button, you can reacti-
vate the air distribution.
Temperature
The interior temperature that
appears on the display panel is a
general figure intended for refer-
ence purposes. When you start
the vehicle, the system ensures that the
selected temperature is reached as quickly
as possible, regardless of the season. It
then maintains this temperature.
Air supply/blower
You can set the blower through
an infinitely variable range of
speeds. This shuts off the auto-
matic air supply. The arrow lights
up. The automatic air distribution remains
unchanged. You can reactivate the auto-
matic air supply by pressing the AUTO but-
ton.When you turn the rotary control toward
zero: the blower, heating and air condi-
tioner are switched off, and the air supply is
stopped. You can reactivate the system by
turning the control toward the right again.
To defrost windows and remove
condensation
This program quickly removes ice
and condensation from the wind-
shield and the side windows.
Maximum cooling
Above an outside temperature of
417/+56 and with the engine
running, you achieve a maximum
cooling effect as quickly as possi-
ble. At the same time, the air conditioning is
turned on.
The temperature is set to the lowest possi-
ble value. The system switches into the
recirculated air mode and air flows at max-
imum blower speed from the air outlets
only. Therefore, the air outlets must always
be open when you select this program.
Air conditioning
The air is cooled and dehumidi-
fied and, depending on the tem-
perature setting, rewarmed.
Depending on the weather, the
windshield may fog over briefly when the
engine is started.
The air conditioning system is automati-
cally switched on when you use the AUTO
program.
Condensation forms during operation
of the air conditioning system, which
then exits under the vehicle. Traces of con-
densed water on the ground underneath
the vehicle are thus normal.<
Page 80 of 120
Wheels and tires
78
Temperature
The temperature grades are A, the highest,
B and C, representing the tire’s resistance
to the generation of heat and its ability to
dissipate heat when tested under con-
trolled conditions on a specified indoor lab-
oratory test wheel.
Sustained high temperature can cause the
material of the tire to degenerate and
reduce tire life, and excessive temperature
can lead to sudden tire failure. The grade C
corresponds to a level of performance
which all passenger car tires must meet
under the Federal Motor Vehicle Safety
Standard No. 109. Grades B and A repre-
sent higher levels of performance on the
laboratory test wheel than the minimum
required by law.
The temperature grade for this tire is
established for a tire that is properly
inflated and not overloaded. Excessive
speed, under-inflation, or excessive load-
ing, either separately or in combination,
can cause heat buildup and possible tire
failure.<
RSC: Run Flat tires
Run Flat tires are labeled on the sidewall
with a circular symbol containing the letters
RSC. Refer to page 80.
M+S
Winter and all-season tires.
These have better winter performance
properties than summer tires.
Tire condition
Inspect your tires frequently for tread wear,
signs of damage and for foreign objects
lodged in the tread. Check the tread depth.
Tire tread
Tread depth should not be allowed to go
below 1/8 in/3 mm even though in Europe,
for example, the legally specified minimum
tread depth is only 1/16 in/1.6 mm. Below
1/8 in/3 mm tread depth, there is a very
high risk of hydroplaning, even at relatively moderate speeds and with only small
amounts of water on the road.
At tread depths below approx. 1/6 in/
4 mm, winter tires display a perceptible
decrease in their ability to cope with winter
driving conditions, and should be replaced
in the interest of safety.
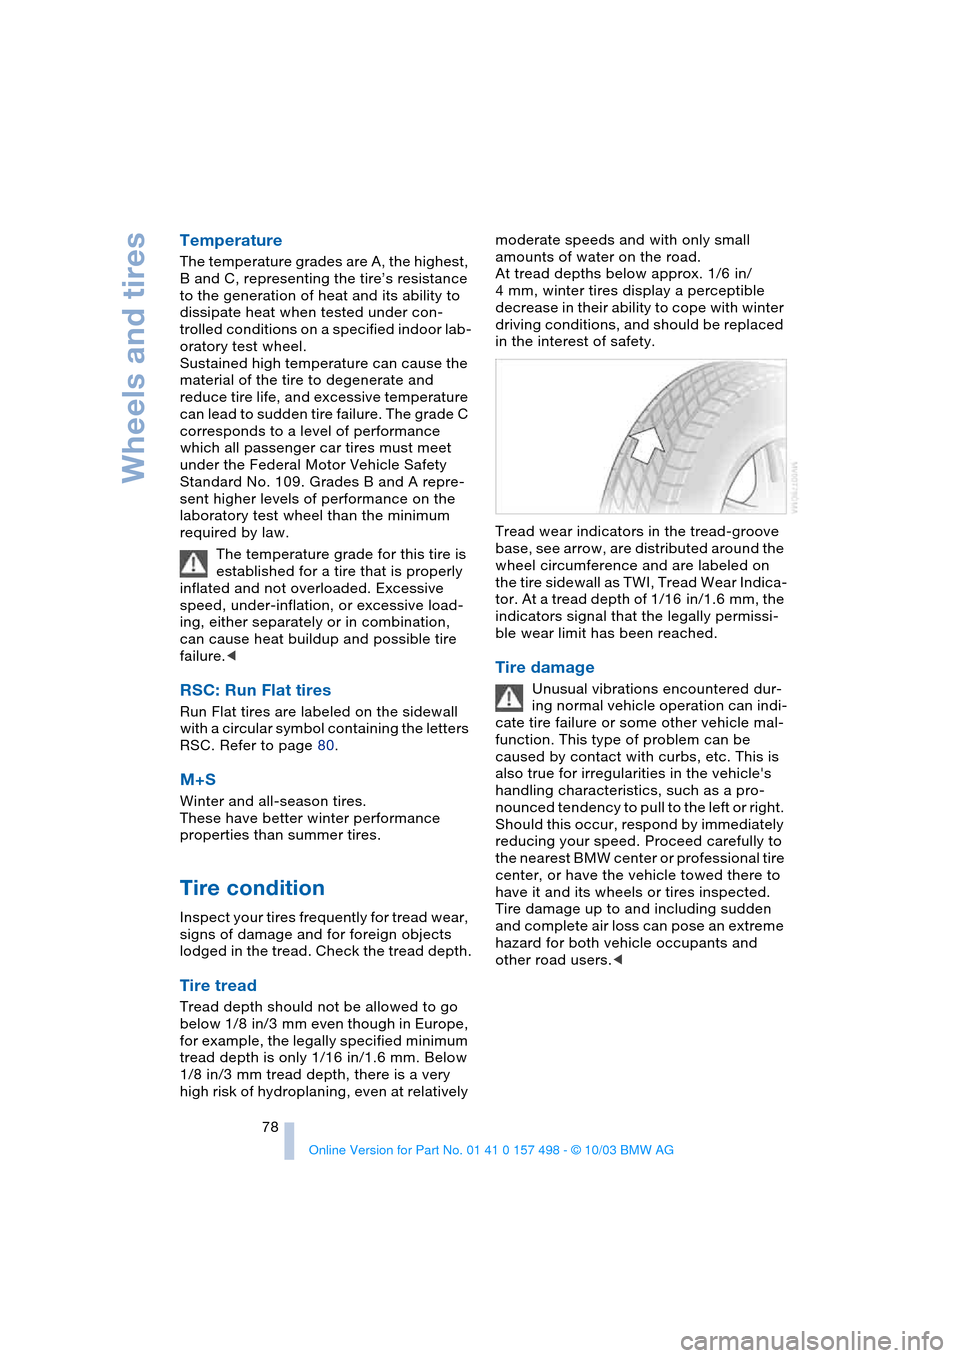
Tread wear indicators in the tread-groove
base, see arrow, are distributed around the
wheel circumference and are labeled on
the tire sidewall as TWI, Tread Wear Indica-
tor. At a tread depth of 1/16 in/1.6 mm, the
indicators signal that the legally permissi-
ble wear limit has been reached.
Tire damage
Unusual vibrations encountered dur-
ing normal vehicle operation can indi-
cate tire failure or some other vehicle mal-
function. This type of problem can be
caused by contact with curbs, etc. This is
also true for irregularities in the vehicle's
handling characteristics, such as a pro-
nounced tendency to pull to the left or right.
Should this occur, respond by immediately
reducing your speed. Proceed carefully to
the nearest BMW center or professional tire
center, or have the vehicle towed there to
have it and its wheels or tires inspected.
Tire damage up to and including sudden
and complete air loss can pose an extreme
hazard for both vehicle occupants and
other road users.<
Page 88 of 120
Maintenance
86
Maintenance
The BMW Maintenance
System
The BMW Maintenance System has been
designed as a reliable means of providing
maximum driving and operating safety, and
as cost-effectively for you as possible.
Please keep in mind that regular mainte-
nance is not only necessary for the safety
of your vehicle, but also plays a significant
role in maintaining the resale value of your
vehicle.
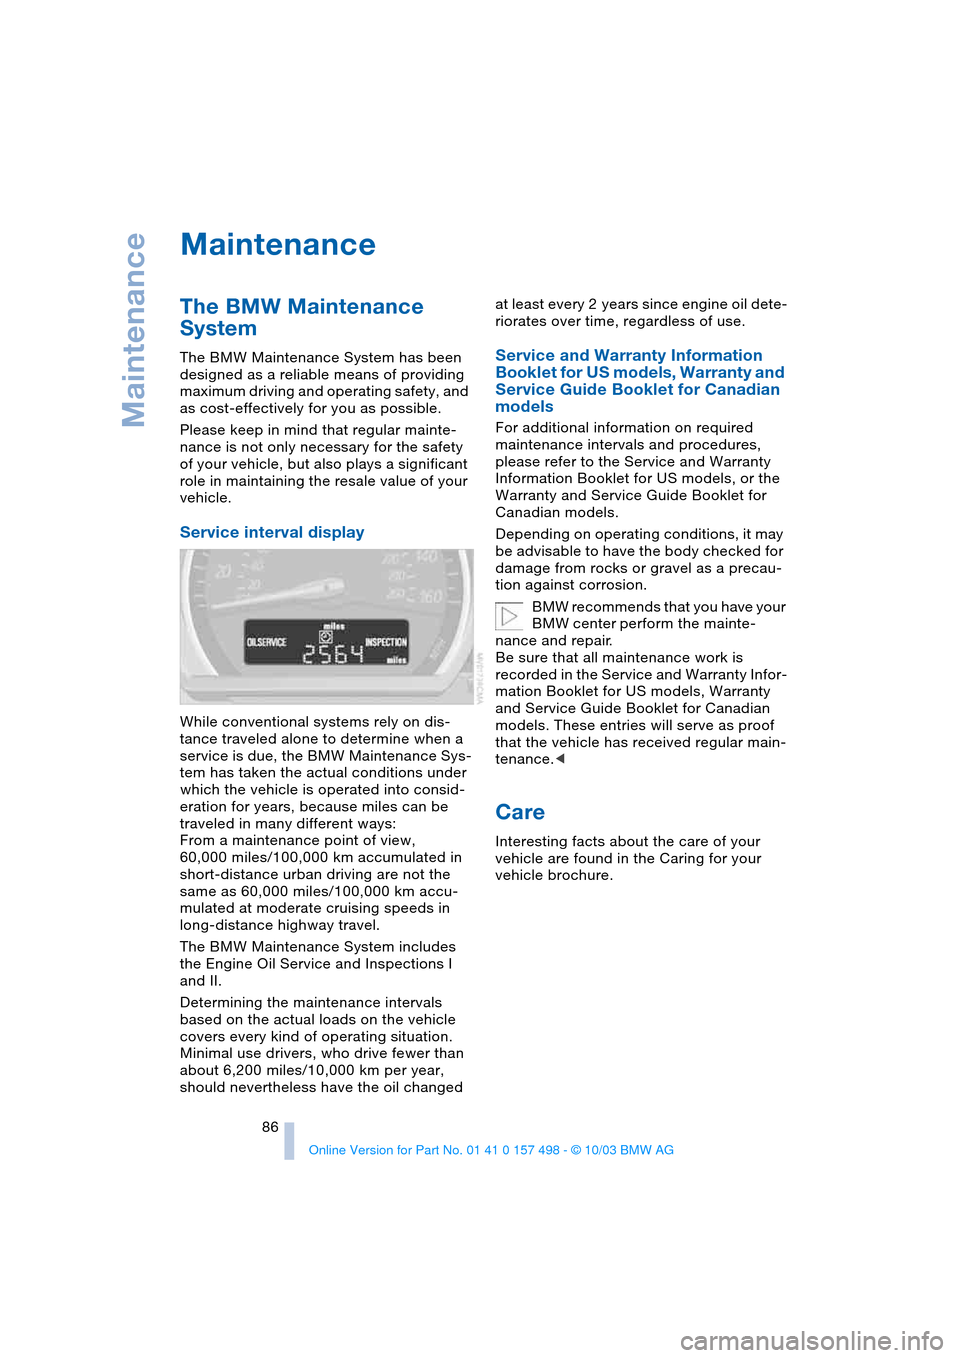
Service interval display
While conventional systems rely on dis-
tance traveled alone to determine when a
service is due, the BMW Maintenance Sys-
tem has taken the actual conditions under
which the vehicle is operated into consid-
eration for years, because miles can be
traveled in many different ways:
From a maintenance point of view,
60,000 miles/100,000 km accumulated in
short-distance urban driving are not the
same as 60,000 miles/100,000 km accu-
mulated at moderate cruising speeds in
long-distance highway travel.
The BMW Maintenance System includes
the Engine Oil Service and Inspections I
and II.
Determining the maintenance intervals
based on the actual loads on the vehicle
covers every kind of operating situation.
Minimal use drivers, who drive fewer than
about 6,200 miles/10,000 km per year,
should nevertheless have the oil changed at least every 2 years since engine oil dete-
riorates over time, regardless of use.
Service and Warranty Information
Booklet for US models, Warranty and
Service Guide Booklet for Canadian
models
For additional information on required
maintenance intervals and procedures,
please refer to the Service and Warranty
Information Booklet for US models, or the
Warranty and Service Guide Booklet for
Canadian models.
Depending on operating conditions, it may
be advisable to have the body checked for
damage from rocks or gravel as a precau-
tion against corrosion.
BMW recommends that you have your
BMW center perform the mainte-
nance and repair.
Be sure that all maintenance work is
recorded in the Service and Warranty Infor-
mation Booklet for US models, Warranty
and Service Guide Booklet for Canadian
models. These entries will serve as proof
that the vehicle has received regular main-
tenance.<
Care
Interesting facts about the care of your
vehicle are found in the Caring for your
vehicle brochure.