2004 BMW X5 3.0I roof
[x] Cancel search: roofPage 6 of 200

Contents
© 2004 Bayerische Motoren Werke
Aktiengesellschaft
Munich, Germany
Reprinting, including excerpts,
only with the written consent of
BMW AG, Munich.
Order No. 01 41 0 158 286
US English III/04
Printed in Germany
Printed on environmentally friendly paper,
bleached without chlorine, suitable for recycling.
Notes
Overview
Controls and features
About this Owner's Manual8
Symbols used8
Your individual vehicle8
Status at time of printing9
For your own safety9
Symbol on vehicle parts10
Service and Warranty10
Reporting safety defects10Cockpit14
Instrument cluster15
Indicator and warning lamps19
Buttons on steering wheel23
Warning triangle24
First-aid kit24
Refueling24
Fuel specifications26
Locks and security systems:
Keys30
Central locking system30
Opening and closing:
from outside31
Opening and closing:
from inside34
Liftgate35
Tailgate36
Alarm system38
Windows39
Panorama glass roof41
Adjustments:
Sitting safely43
Seats44
Mechanical seat adjustment45
Power seat adjustment46
Head restraints47
Power rear-seat backrest
adjustment48
Safety belts49
Seat, mirror and steering wheel
memory50
Heated seats52
Steering wheel52
Steering wheel heater53
Mirrors54
Contents
Page 7 of 200

5n
OverviewControlsMaintenanceRepairsDataIndex
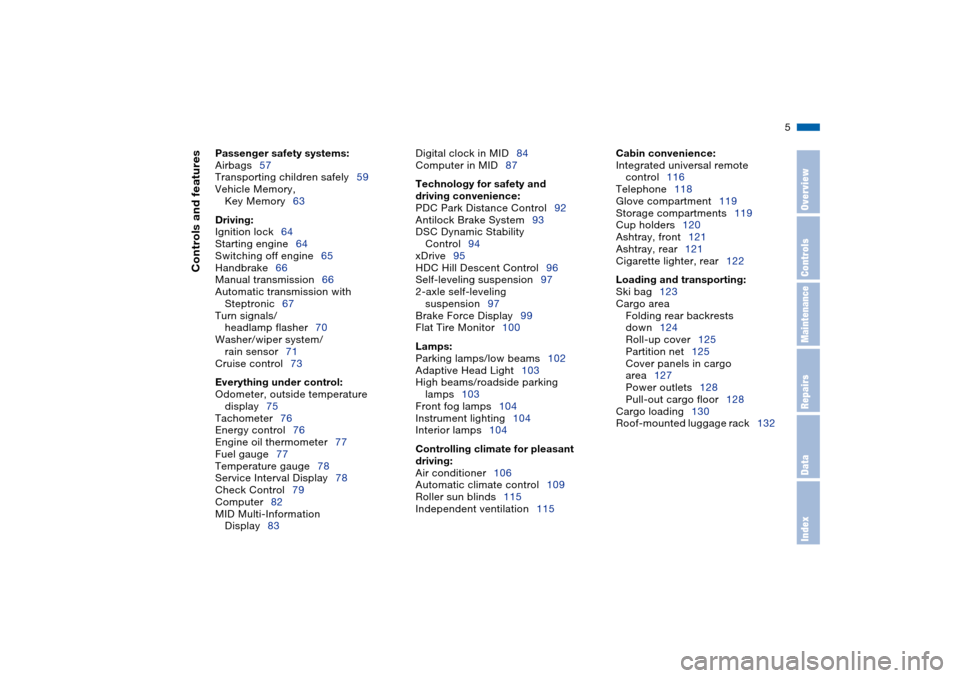
Controls and features
Passenger safety systems:
Airbags57
Transporting children safely59
Vehicle Memory,
Key Memory63
Driving:
Ignition lock64
Starting engine64
Switching off engine65
Handbrake66
Manual transmission66
Automatic transmission with
Steptronic67
Turn signals/
headlamp flasher70
Washer/wiper system/
rain sensor71
Cruise control73
Everything under control:
Odometer, outside temperature
display75
Tachometer76
Energy control76
Engine oil thermometer77
Fuel gauge77
Temperature gauge78
Service Interval Display78
Check Control79
Computer82
MID Multi-Information
Display83Digital clock in MID84
Computer in MID87
Technology for safety and
driving convenience:
PDC Park Distance Control92
Antilock Brake System93
DSC Dynamic Stability
Control94
xDrive95
HDC Hill Descent Control96
Self-leveling suspension97
2-axle self-leveling
suspension97
Brake Force Display99
Flat Tire Monitor100
Lamps:
Parking lamps/low beams102
Adaptive Head Light103
High beams/roadside parking
lamps103
Front fog lamps104
Instrument lighting104
Interior lamps104
Controlling climate for pleasant
driving:
Air conditioner106
Automatic climate control109
Roller sun blinds115
Independent ventilation115
Cabin convenience:
Integrated universal remote
control116
Telephone118
Glove compartment119
Storage compartments119
Cup holders120
Ashtray, front121
Ashtray, rear121
Cigarette lighter, rear122
Loading and transporting:
Ski bag123
Cargo area
Folding rear backrests
down124
Roll-up cover125
Partition net125
Cover panels in cargo
area127
Power outlets128
Pull-out cargo floor128
Cargo loading130
Roof-mounted luggage rack132
Page 33 of 200

31n
OverviewControlsMaintenanceRepairsDataIndex
Opening and closing: from outsideUsing remote control When you engage/release the vehicle
locks, you also activate/deactivate the
anti-theft system, arm/disarm the alarm
system, and switch the interior lamps
on/off.
You can have an acknowledgment
signal set to confirm that the vehi-
cle is correctly locked.<
Protect the remote control against
unauthorized use by handing over
only the spare key, for example when
using hotel valet parking.<
You can find more detailed information
on the alarm system on page 38.
Since passengers or animals
remaining in the vehicle might be
able to lock the doors from the inside,
take the vehicle's keys with you so that
the vehicle can be opened again from
the outside at any time.<
Unlocking vehiclePress the button.
Press the button once to unlock the
driver's door and the fuel filler door
only; press a second time to unlock all
remaining doors as well as the liftgate/
tailgate. Convenience opening modePress the button briefly and then hold
down.
The windows and the panorama glass
roof open. Locking and securing Press the button.
Switching on interior lamps If the vehicle is locked, press button.
With this function, you can also search
for your vehicle, e.g. when parked in an
underground garage.Switching off tilt alarm sensor and
interior motion sensorPress the button once again directly
after locking.
For more detailed information, refer to
page 39. Opening liftgate Briefly press the button.
The liftgate will open slightly, regard-
less of whether it was previously locked
or unlocked.
Page 35 of 200

33n
OverviewControlsMaintenanceRepairsDataIndex
Opening and closing: from outsideUsing the door lock One turn of the key in the driver's door
lock unlocks the driver's door only.
Turning the key a second time unlocks
all of the remaining doors, the liftgate/
tailgate and the fuel filler door.
You can have an acknowledgment
signal set to confirm that the vehi-
cle is correctly locked.< 530de244
Convenience operation You also have the option of operating
the windows and the panorama glass
roof from the door lock.
>To open: with the door closed, turn
the key to the Unlock position and
hold it there
>To close: with the door closed, turn
the key to the Lock position and hold
it.
Watch during the closing process
to be sure that no one is injured.
Releasing the key stops the opera-
tion.< Manual operation In the event of an electrical malfunction,
turn the key to the extreme left or right
to unlock/lock the door.
Page 38 of 200

36n
Liftgate TailgateClosing You can pull the liftgate down by plac-
ing both hands in the handle recesses,
refer to arrows.
To close the liftgate, merely press it
down gently. The closing process will
then be carried out automatically.
To avoid injuries, be sure that the
travel path of the liftgate is clear
when it is closed, as with all closing
procedures.< 530us017
Operate the vehicle only when
both gates are completely closed.
Otherwise, exhaust fumes could enter
into the interior of the vehicle.<
If special circumstances should make it
absolutely necessary to operate the
vehicle with the liftgate open:
1. Close all windows and the panorama
glass roof
2. Increase the air supply for the air
conditioner or automatic climate
control to a high level, refer to
page 107 or 111.
Opening Press the button:
You can fold the tailgate down.
When opened, the tailgate can
accept loads of up to 440 lbs./
200 kg. When the vehicle is stationary
you may, for example, utilize the tail-
gate as a seat or as a loading platform
for luggage or recreation gear.< 530de246
Page 41 of 200

39n
OverviewControlsMaintenanceRepairsDataIndex
Alarm system Windows>The indicator lamp flashes for
10 seconds after the vehicle is
unlocked: an attempted entry has
been detected in the period since the
system was armed.
Following triggering of an alarm, the
indicator lamp will flash continuously. Tilt alarm sensor and
interior motion sensor Tilt alarm sensor:
The tilt of the vehicle is monitored. The
alarm system reacts, for example, if
someone attempts to steal the wheels
or tow the vehicle.
Interior motion sensor:
In order for the interior motion sensor to
function properly, the windows and
panorama glass roof ‹must be com-
pletely closed.
Avoiding unintentional alarms The tilt alarm sensor and interior motion
sensor may be switched off at the same
time. This prevents unintentional
alarms, e.g. in the following situations:
>In duplex garages
>When transporting on car-carrying
trains
>If animals are to remain in the vehicle.
Switching off the tilt alarm sensor and
interior motion sensor:
Press the button on the remote control
twice consecutively.
The indicator lamp lights up briefly and
then flashes continuously. The tilt alarm
sensor and the interior motion sensor
are switched off up to the next unlock-
ing and locking actions.
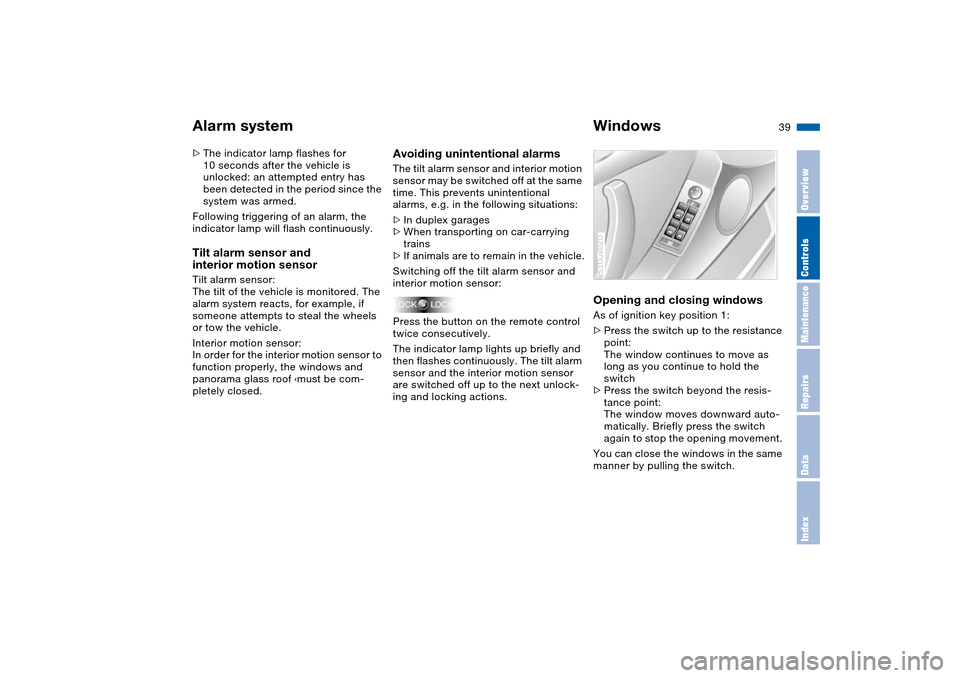
Opening and closing windows As of ignition key position 1:
>Press the switch up to the resistance
point:
The window continues to move as
long as you continue to hold the
switch
>Press the switch beyond the resis-
tance point:
The window moves downward auto-
matically. Briefly press the switch
again to stop the opening movement.
You can close the windows in the same
manner by pulling the switch.530us020
Page 43 of 200

41n
OverviewControlsMaintenanceRepairsDataIndex
Panorama glass roof
*
When leaving the vehicle, always
remove the ignition key and close
the doors, as otherwise children could
operate the roof and injure themselves
etc.<
The panorama glass roof is operational
from ignition key position 1.
After the ignition has been switched off:
You can operate the panorama glass
roof for up to 1 minute as long as nei-
ther of the doors has been opened.
Raising, opening, closingPress the switch or slide it in the
desired direction up to the resistance
point.
Release the switch to stop the motion.
The sliding visor is opened slightly
when the panorama glass roof is raised.
The panorama glass roof can be
opened or closed independently with
the sliding visor open.530us242
Ventilation setting:
The panorama glass roof is raised and
the sliding visor is opened slightly:
Briefly press the switch twice consecu-
tively.Automatic opening and closing Press the switch briefly beyond the
resistance point and then release it.
Touching the switch again briefly stops
the motion.
Opening and closing panorama glass
roof and sliding visor together:
Briefly press the switch beyond the
resistance point twice consecutively.
Touching the switch again briefly stops
the motion.Comfort position Each time the panorama glass roof is
completely opened or closed, it stops in
the comfort position. If desired, con-
tinue the motion following this with the
switch.
In the comfort position the wind noises
in the interior are reduced.
Page 44 of 200

42n
Panorama glass roof
*
Anti-trapping mechanism If the panorama glass roof or sliding
visor encounter resistance when clos-
ing from roughly one third of the roof
opening or when closing from the
raised position, the closing action is
interrupted and the panorama glass
roof and sliding visor reopen a little.
Despite the anti-trapping mecha-
nism inspect the roof's travel path
prior to closing it, as the safety system
might fail to detect certain kinds of
obstructions, such as very thin objects,
and the roof would continue closing.
The anti-trapping mechanism for clos-
ing the panorama glass roof is deacti-
vated if the switch is pressed beyond
the resistance point and held there. The
closing action is interrupted when you
release the switch.<
Following a power failure Following interruptions in electrical
power, for instance, when the battery is
disconnected, it is possible that the
panorama glass roof will extend to its
tilt-up position, but fail to respond to
other commands. The system must be
initialized. BMW recommends having
this work carried out by your BMW
Sport Activity Vehicle center.
Manual operation In the event of an electrical malfunction,
you can operate the panorama glass
roof manually.
1. Remove the Allen wrench and the
screwdriver from the onboard tool
kit, refer to page 158
2. Remove the cover from the head-
liner. To do this, position the screw-
driver somewhat off-center at the
rear and carefully lever out the cover
3. Insert the Allen wrench in the open-
ing provided and turn the panorama
glass roof in the desired direction.530de410