Page 39 of 162
337Operation
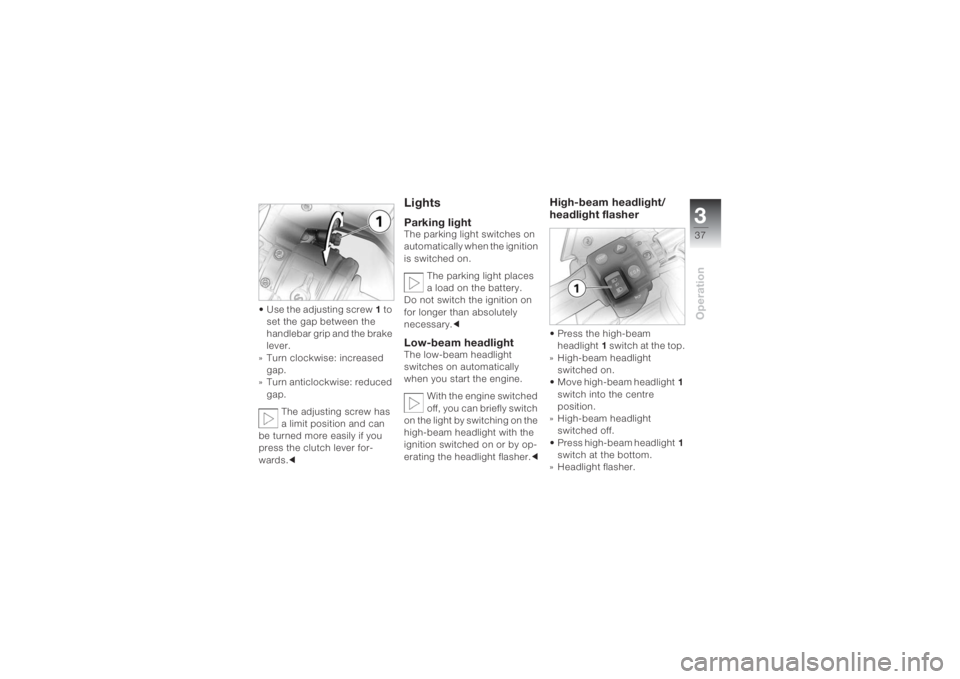
• Use the adjusting screw1 to
set the gap between the
handlebar grip and the brake
lever.
» Turn clockwise: increased
gap.
» Turn anticlockwise: reduced
gap.
The adjusting screw has
a limit position and can
be turned more easily if you
press the clutch lever for-
wards.c
LightsParking lightThe parking light switches on
automatically when the ignition
is switched on.
The parking light places
a load on the battery.
Do not switch the ignition on
for longer than absolutely
necessary.cLow-beam headlight The low-beam headlight
switches on automatically
when you start the engine.
With the engine switched
off, you can briefly switch
on the light by switching on the
high-beam headlight with the
ignition switched on or by op-
erating the headlight flasher.c
High-beam headlight/
headlight flasher • Press the high-beam
headlight1 s w i t c h a t t h e t o p .
» High-beam headlight
switched on.
• Move high-beam headlight1
switch into the centre
position.
» High-beam headlight
switched off.
• Press high-beam headlight1
switch at the bottom.
» Headlight flasher.
Page 54 of 162
Riding452
Safety checkPrior to every journeyUse the following checklist to
check important functions,
settings and wear limits before
starting to ride. Checklist–Brakes (
b 93)
– Brake fluid level (
b 91)
– Clutch function (b 93)
– Clutch fluid level (b 93)
– Warning and telltale lights
(
b 18)
– Shock absorber setting
(b 44, 46) and spring
preload (
b 47)
–Rims (
b 94), tread depth
(
b 94) and tyre pressure
(b 47)
– Load, gross weight (
b 137)
– Secure luggage systemAt regular intervals:
– Engine oil level (every time
you refuel) (
b 86)
– Brake pads (every second/
third time you refuel)
(
b 90, 91)
Making your first tripSafe handling of your
motorcycleEach motorcycle has its 'own
life' that you have to get used
to:
– Acceleration capability
– Road holding
– Cornering characteristics
–Braking power
The engine also has to be
run in during the first 1,000 km
(b 58).You will find information on
BMW Integral ABS from
(
b 69) onwards.
BMW Integral ABS incor-
porates braking power
assistance, so that braking
power is significantly higher
than with conventional brake
systems. Especially when
cornering, unintentionally hard
braking can lead to dangerous
situations.
Practice braking with
BMW Integral ABS in safe
situations.c
Page 56 of 162
Riding454
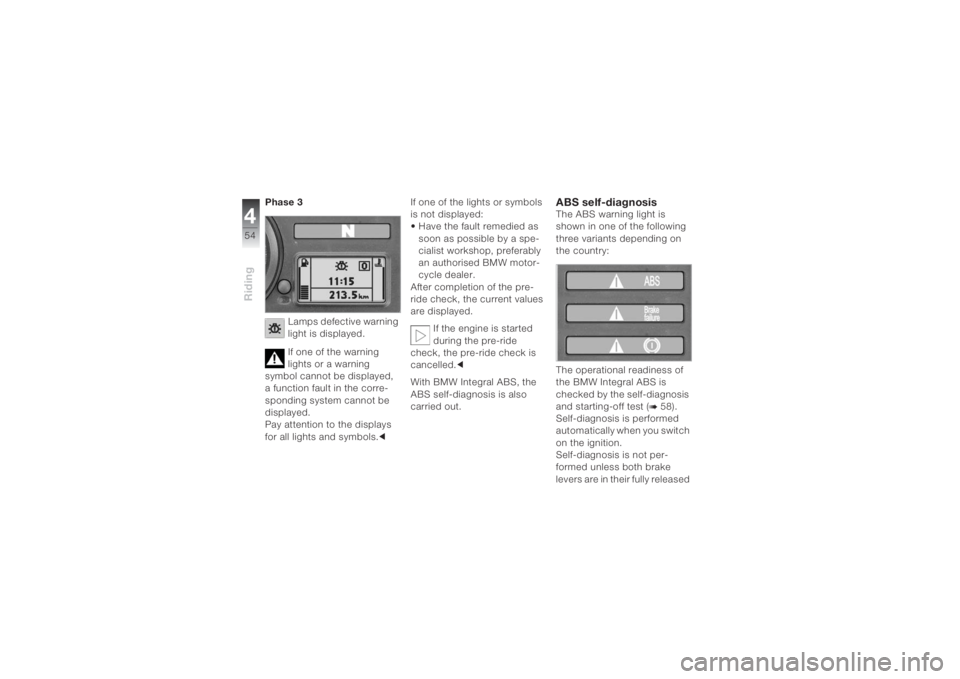
Phase 3
Lamps defective warning
light is displayed.
If one of the warning
lights or a warning
symbol cannot be displayed,
a function fault in the corre-
sponding system cannot be
displayed.
Pay attention to the displays
for all lights and symbols.cIf one of the lights or symbols
is not displayed:
• Have the fault remedied as
soon as possible by a spe-
cialist workshop, preferably
an authorised BMW motor-
cycle dealer.
After completion of the pre-
ride check, the current values
are displayed.
If the engine is started
during the pre-ride
check, the pre-ride check is
cancelled.c
With BMW Integral ABS, the
ABS self-diagnosis is also
carried out.
ABS self-diagnosisThe ABS warning light is
shown in one of the following
three variants depending on
the country:
The operational readiness of
the BMW Integral ABS is
checked by the self-diagnosis
and starting-off test (
b 58).
Self-diagnosis is performed
automatically when you switch
on the ignition.
Self-diagnosis is not per-
formed unless both brake
levers are in their fully released
Page 57 of 162
455Riding
positions. Before conclusion
of the self-diagnosis, only
residual braking function
(b 71) is available.
• Release the brake lever.
• Switch on the ignition.
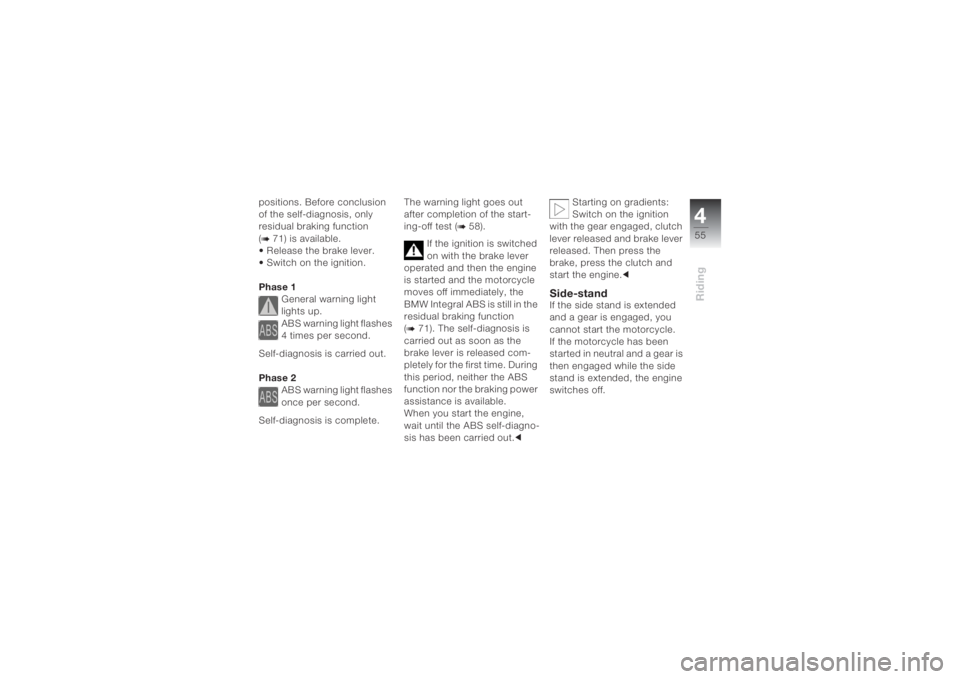
Phase 1
General warning light
lights up.
ABS warning light flashes
4 times per second.
Self-diagnosis is carried out.
Phase 2
ABS warning light flashes
once per second.
Self-diagnosis is complete. The warning light goes out
after completion of the start-
ing-off test (
b 58).
If the ignition is switched
on with the brake lever
operated and then the engine
is started and the motorcycle
moves off immediately, the
BMW Integral ABS is still in the
residual braking function
(
b 71). The self-diagnosis is
carried out as soon as the
brake lever is released com-
pletely for the first time. During
this period, neither the ABS
function nor the braking power
assistance is available.
When you start the engine,
wait until the ABS self-diagno-
sis has been carried out.cStarting on gradients:
Switch on the ignition
with the gear engaged, clutch
lever released and brake lever
released. Then press the
brake, press the clutch and
start the engine.c
Side-standIf the side stand is extended
and a gear is engaged, you
cannot start the motorcycle.
If the motorcycle has been
started in neutral and a gear is
then engaged while the side
stand is extended, the engine
switches off.
Page 60 of 162
Riding458
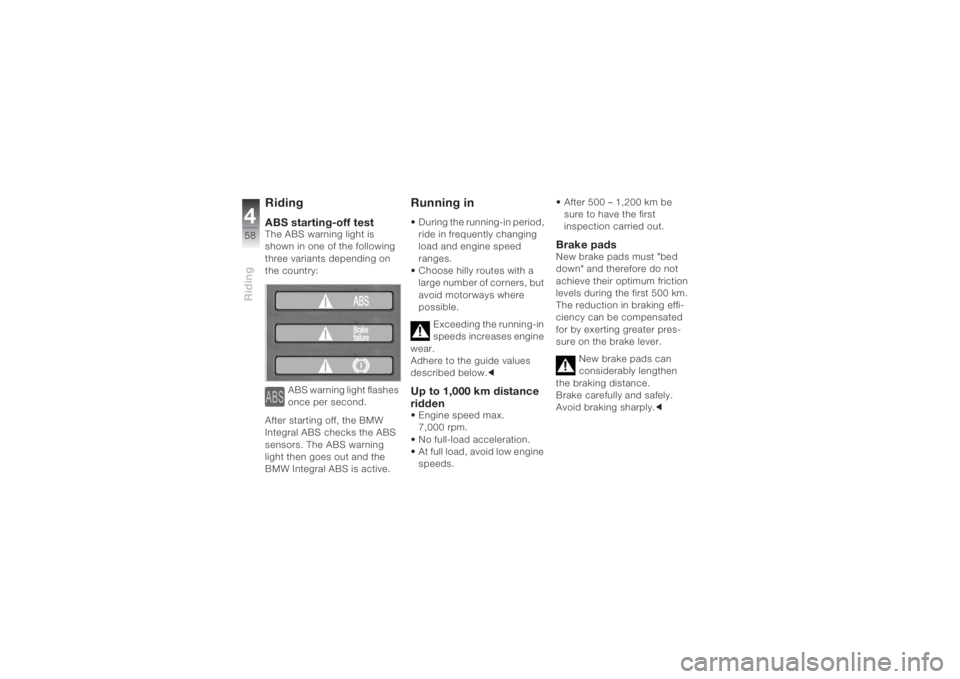
RidingABS starting-off testThe ABS warning light is
shown in one of the following
three variants depending on
the country:
ABS warning light flashes
once per second.
After starting off, the BMW
Integral ABS checks the ABS
sensors. The ABS warning
light then goes out and the
BMW Integral ABS is active.
Running in• During the running-in period,
ride in frequently changing
load and engine speed
ranges.
• Choose hilly routes with a
large number of corners, but
avoid motorways where
possible.
Exceeding the running-in
speeds increases engine
wear.
Adhere to the guide values
described below.cUp to 1,000 km distance
ridden• Engine speed max.
7,000 rpm.
• No full-load acceleration.
• At full load, avoid low engine
speeds. • After 500 – 1,200 km be
sure to have the first
inspection carried out.
Brake padsNew brake pads must "bed
down" and therefore do not
achieve their optimum friction
levels during the first 500 km.
The reduction in braking effi-
ciency can be compensated
for by exerting greater pres-
sure on the brake lever.
New brake pads can
considerably lengthen
the braking distance.
Brake carefully and safely.
Avoid braking sharply.c
Page 98 of 162
Maintenance696
• Press the brake calipers3
apart slightly using rotary
motionsA against the brake
discs4.
When removed, the
brake pads can be
pressed together to such a
degree that they do not make
contact with the brake disc on
fitting.
Do not operate the handbrake
lever when the brake calipers
are removed.c
• Mask off areas of the rim
that could be scratched on
removal of the brake
calipers.
• Pull the brake calipers back-
wards and outwards from
the brake discs. If the motorcycle is on the
centre stand
OA: If the
front of the motorcycle is
raised too far, the centre stand
rises from the ground and the
motorcycle can fall over
sideways.
Make sure that the centre
stand remains on the ground
when the front is raised.c
• Lift the motorcycle using the
BMW Motorrad front wheel
stand (
b 103) until the front
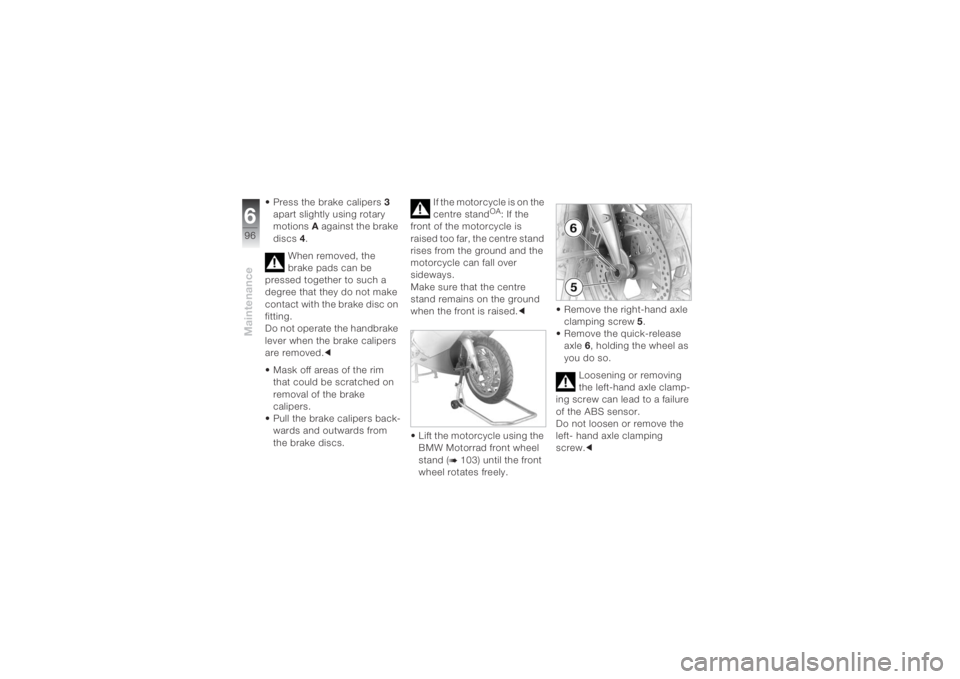
wheel rotates freely.• Remove the right-hand axle
clamping screw 5.
• Remove the quick-release
axle 6, holding the wheel as
you do so.
Loosening or removing
the left-hand axle clamp-
ing screw can lead to a failure
of the ABS sensor.
Do not loosen or remove the
left- hand axle clamping
screw.c
Page 107 of 162
6105
Maintenance
• Place your left hand on the
left grab handle of the motor-
cycle 4, and your right hand
on the lever of the rear wheel
stand 5.
• Raise the motorcycle, simul-
taneously pressing the lever
downwards until the motor-
cycle stands vertically.• Press the lever onto the
ground.
BulbsInformation on bulbsThe failure of a bulb is sig-
nalled in the display by the
defective lamp symbol. If the
brake or rear light fails, the
general warning light also
lights up yellow.
If the rear light fails, the brake
light is used as a substitute in that the luminosity of the
second glow filament is
reduced to rear light level. Fail-
ure of the rear light is still
shown in the display.
In the event of a lamp
failure, there can be
problems seeing and being
seen.
Replace defective bulbs as
soon as possible; preferably
always carry appropriate
reserve lamps.c
You will find an overview
of the types of bulb used
on (
b 136).c
Page 110 of 162
Maintenance6108
Replacing the parking
light
During the work de-
scribed below, a motor-
cycle that has been parked
insecurely can fall over.
Make sure that the motorcycle
is parked securely.c
1Parking light
2Access beneath the
headlight3Connector
4Bulb holder
5Bulb
• If necessary, switch off the
ignition.
• Pull off the connector 3
beneath the headlight.
• Remove the bulb holder 4
from the headlight housing
by turning it anticlockwise.
• Pull the bulb 5 from the bulb
holder.Assemble in reverse order.
• To hold the new bulb, use a
clean, dry cloth.
Replacing the brake light
and rear light bulbs
During the work de-
scribed below, a motor-
cycle that has been parked i
nsecurely can fall over.
Make sure that the motorcycle
is parked securely.c
• If necessary, switch off the
ignition.
• Remove the seat (
b 40).