2004 BMW 760LI SEDAN heating
[x] Cancel search: heatingPage 51 of 232
Controls
49Reference
At a glance
Driving tips
Communications
Navigation
Entertainment
Mobility
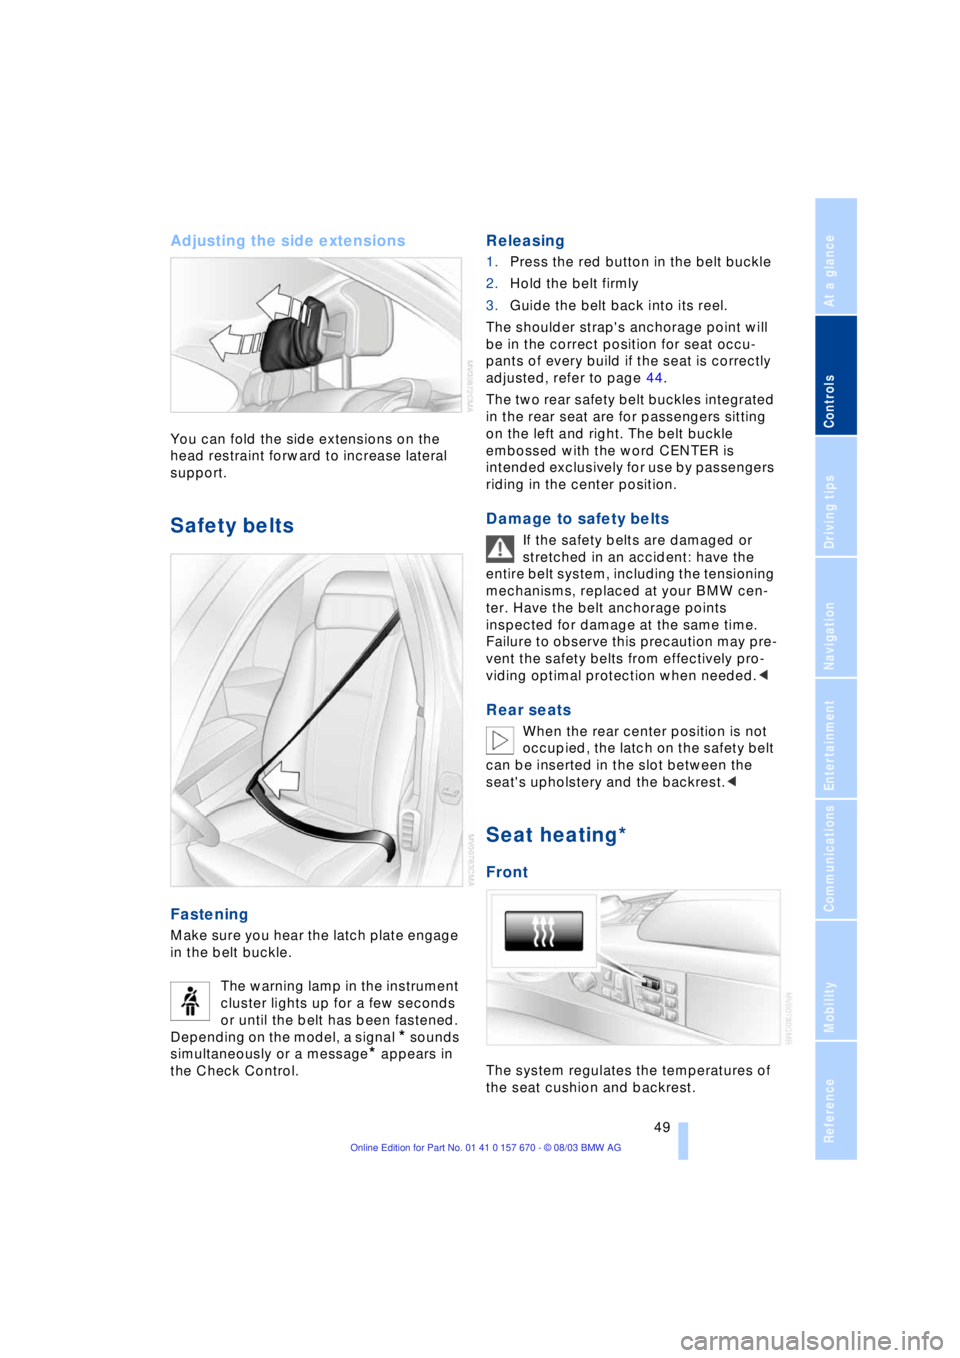
Adjusting the side extensions
You can fold the side extensions on the
head restraint forward to increase lateral
support.
Safety belts
Fastening
Make sure you hear the latch plate engage
in the belt buckle.
The warning lamp in the instrument
cluster lights up for a few seconds
or until the belt has been fastened.
Depending on the model, a signal
* sounds
simultaneously or a message
* appears in
the Check Control.
Releasing
1.Press the red button in the belt buckle
2.Hold the belt firmly
3.Guide the belt back into its reel.
The shoulder strap's anchorage point will
be in the correct position for seat occu-
pants of every build if the seat is correctly
adjusted, refer to page 44.
The two rear safety belt buckles integrated
in the rear seat are for passengers sitting
on the left and right. The belt buckle
embossed with the word CENTER is
intended exclusively for use by passengers
riding in the center position.
Damage to safety belts
If the safety belts are damaged or
stretched in an accident: have the
entire belt system, including the tensioning
mechanisms, replaced at your BMW cen-
ter. Have the belt anchorage points
inspected for damage at the same time.
Failure to observe this precaution may pre-
vent the safety belts from effectively pro-
viding optimal protection when needed.<
Rear seats
When the rear center position is not
occupied, the latch on the safety belt
can be inserted in the slot between the
seat's upholstery and the backrest.<
Seat heating*
Front
The system regulates the temperatures of
the seat cushion and backrest.
Page 52 of 232
Adjustments
50 The temperature setting progresses one
step through its control sequence each
time you press the button.
To switch off:
Maintain pressure on the button for several
seconds.
Rear
The operating concept is the same as for
the front heated seats.
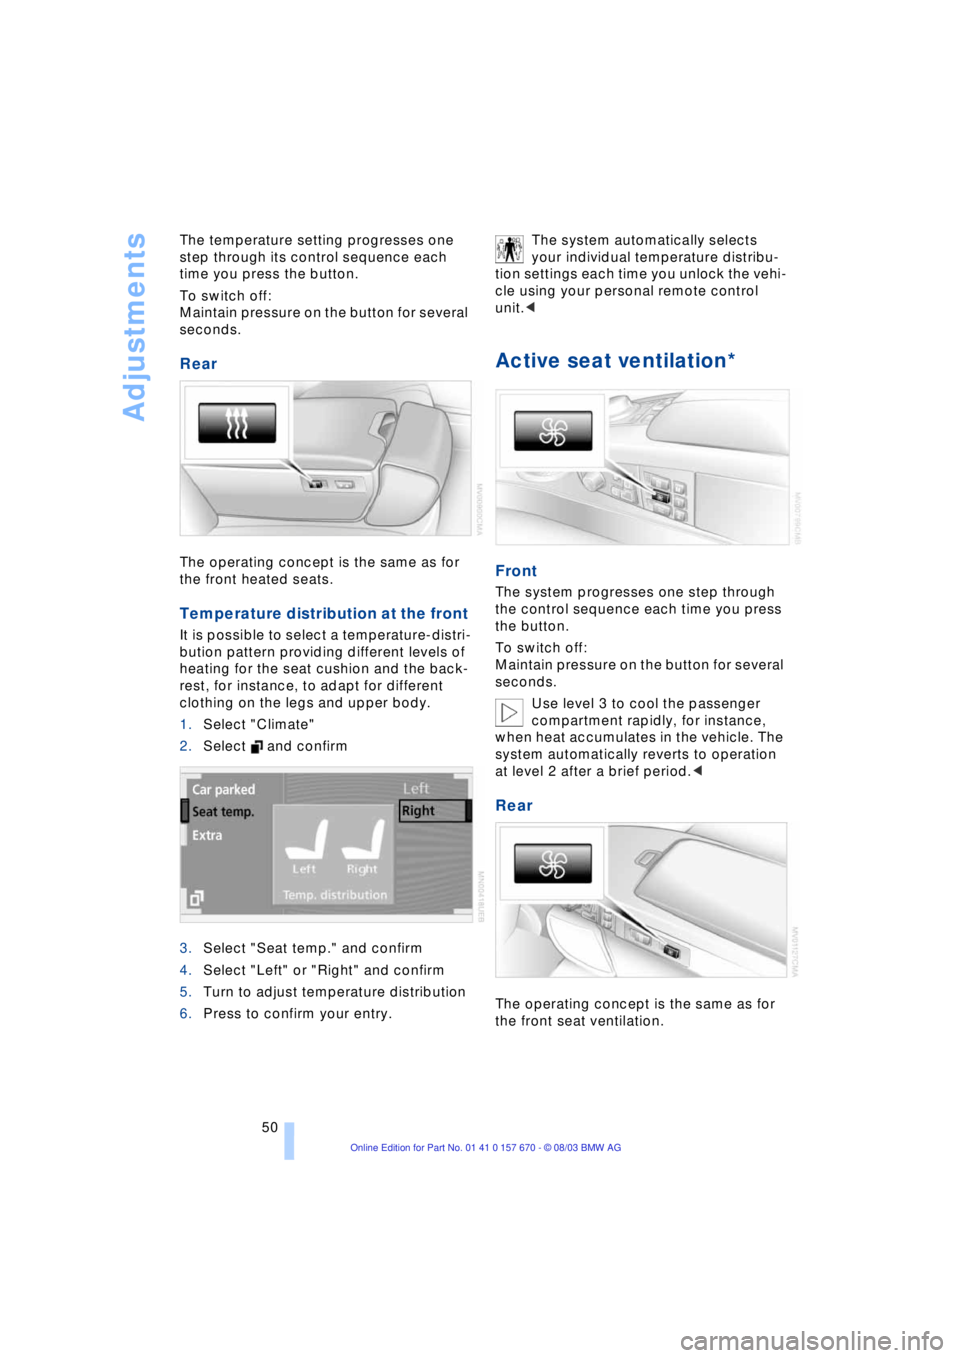
Temperature distribution at the front
It is possible to select a temperature-distri-
bution pattern providing different levels of
heating for the seat cushion and the back-
rest, for instance, to adapt for different
clothing on the legs and upper body.
1.Select "Climate"
2.Select and confirm
3.Select "Seat temp." and confirm
4.Select "Left" or "Right" and confirm
5.Turn to adjust temperature distribution
6.Press to confirm your entry. The system automatically selects
your individual temperature distribu-
tion settings each time you unlock the vehi-
cle using your personal remote control
unit.<
Active seat ventilation*
Front
The system progresses one step through
the control sequence each time you press
the button.
To switch off:
Maintain pressure on the button for several
seconds.
Use level 3 to cool the passenger
compartment rapidly, for instance,
when heat accumulates in the vehicle. The
system automatically reverts to operation
at level 2 after a brief period.<
Rear
The operating concept is the same as for
the front seat ventilation.
Page 57 of 232
Controls
55Reference
At a glance
Driving tips
Communications
Navigation
Entertainment
Mobility
>Alarm system: activate/deactivate inte-
rior motion sensor and tilt alarm sensor
>Automatic headlamp control: adjust
sensitivity.
Examples of Key Memory functions
>Seat memory: activate/deactivate func-
tion
>Central locking system: vehicle is
locked as soon as you drive off or if
you have not opened a door or the lug-
gage compartment lid after unlocking.
Activate/deactivate functions
>Automatic climate control: key-specific
storage of the temperature, blower and
air conditioner setting. Activate/deacti-
vate function
>Check Control: set languages and units
>Seat heating: recall personal tempera-
ture distribution.
Page 63 of 232
Controls
61Reference
At a glance
Driving tips
Communications
Navigation
Entertainment
Mobility
The transmission automatically shifts to
position P: interlock.<
If the remote control is still in the ignition
lock when the driver's door is opened, a
gong will sound and a message will appear
in the Info Display.
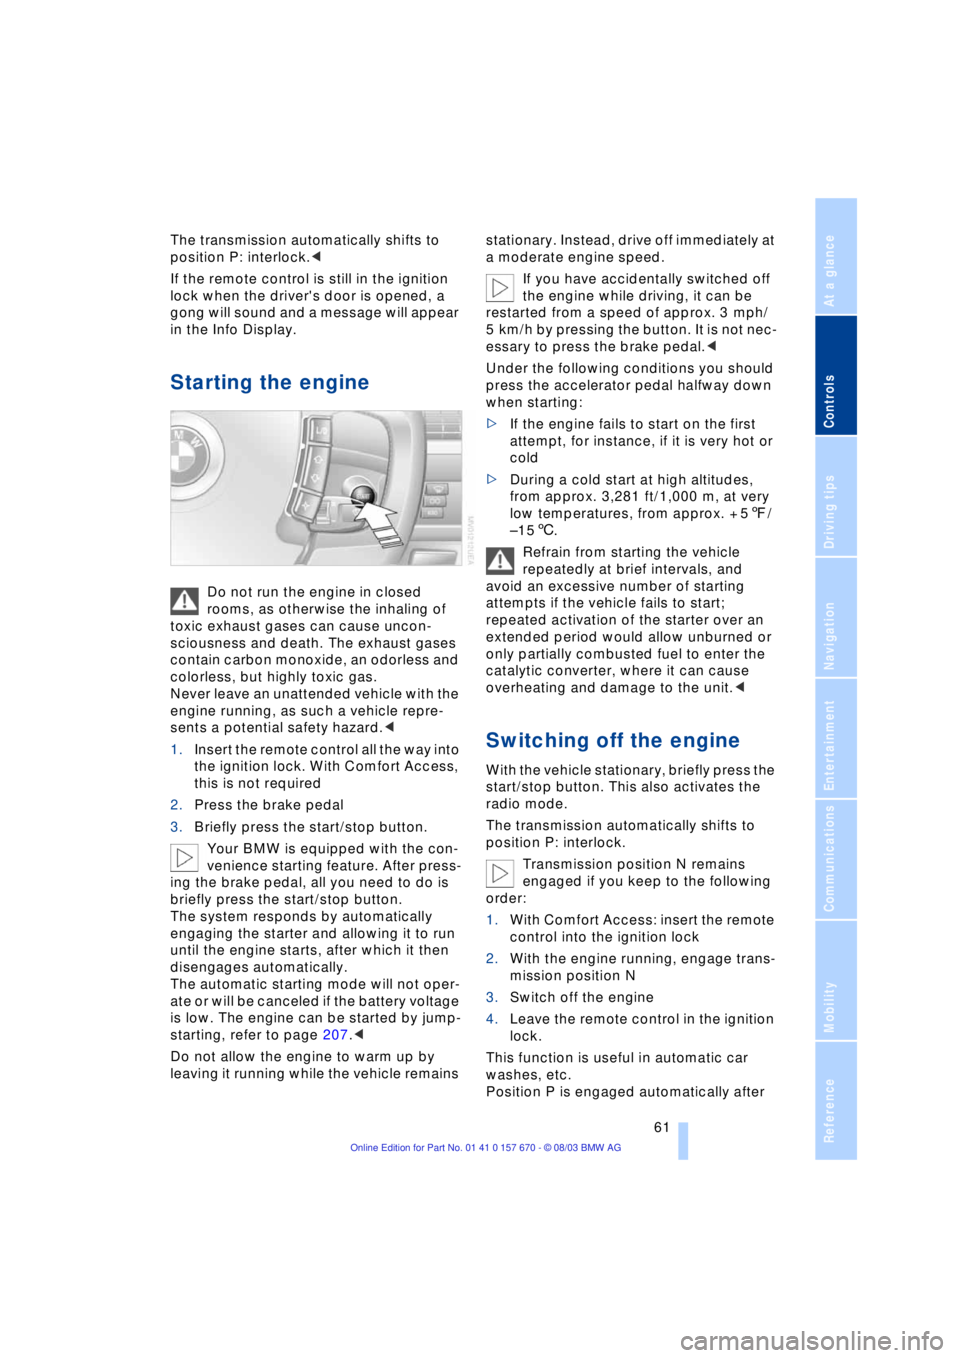
Starting the engine
Do not run the engine in closed
rooms, as otherwise the inhaling of
toxic exhaust gases can cause uncon-
sciousness and death. The exhaust gases
contain carbon monoxide, an odorless and
colorless, but highly toxic gas.
Never leave an unattended vehicle with the
engine running, as such a vehicle repre-
sents a potential safety hazard.<
1.Insert the remote control all the way into
the ignition lock. With Comfort Access,
this is not required
2.Press the brake pedal
3.Briefly press the start/stop button.
Your BMW is equipped with the con-
venience starting feature. After press-
ing the brake pedal, all you need to do is
briefly press the start/stop button.
The system responds by automatically
engaging the starter and allowing it to run
until the engine starts, after which it then
disengages automatically.
The automatic starting mode will not oper-
ate or will be canceled if the battery voltage
is low. The engine can be started by jump-
starting, refer to page 207.<
Do not allow the engine to warm up by
leaving it running while the vehicle remains stationary. Instead, drive off immediately at
a moderate engine speed.
If you have accidentally switched off
the engine while driving, it can be
restarted from a speed of approx. 3 mph/
5 km/h by pressing the button. It is not nec-
essary to press the brake pedal.<
Under the following conditions you should
press the accelerator pedal halfway down
when starting:
>If the engine fails to start on the first
attempt, for instance, if it is very hot or
cold
>During a cold start at high altitudes,
from approx. 3,281 ft/1,000 m, at very
low temperatures, from approx. + 57/
Ð156.
Refrain from starting the vehicle
repeatedly at brief intervals, and
avoid an excessive number of starting
attempts if the vehicle fails to start;
repeated activation of the starter over an
extended period would allow unburned or
only partially combusted fuel to enter the
catalytic converter, where it can cause
overheating and damage to the unit.<
Switching off the engine
With the vehicle stationary, briefly press the
start/stop button. This also activates the
radio mode.
The transmission automatically shifts to
position P: interlock.
Transmission position N remains
engaged if you keep to the following
order:
1.With Comfort Access: insert the remote
control into the ignition lock
2.With the engine running, engage trans-
mission position N
3.Switch off the engine
4.Leave the remote control in the ignition
lock.
This function is useful in automatic car
washes, etc.
Position P is engaged automatically after
Page 106 of 232
A congenial climate
104 The air conditioner comes on automatically
when you select the AUTO program.
Temperature adjustment
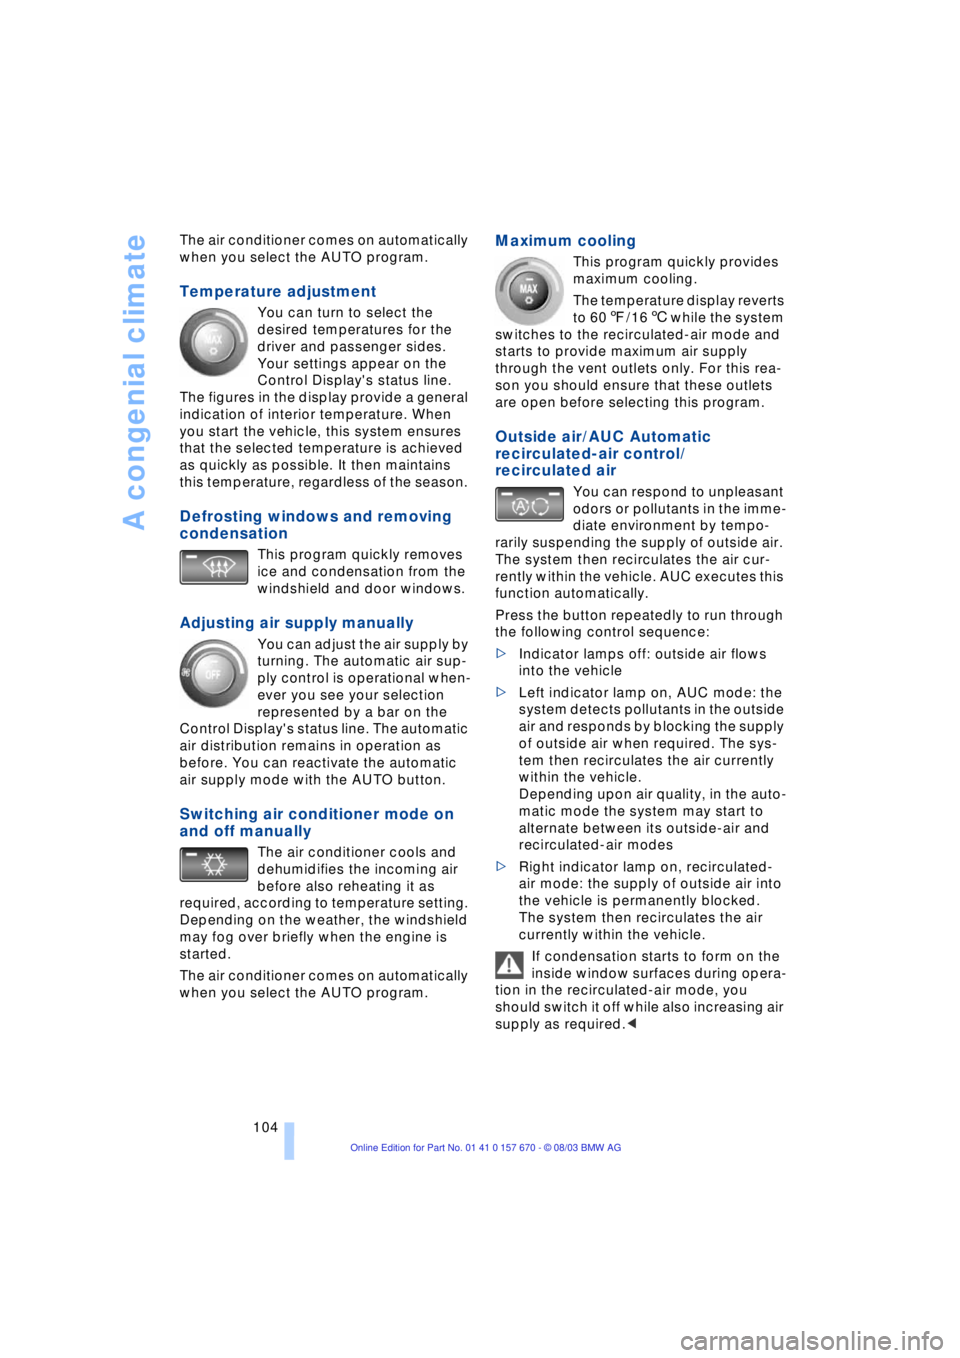
You can turn to select the
desired temperatures for the
driver and passenger sides.
Your settings appear on the
Control Display's status line.
The figures in the display provide a general
indication of interior temperature. When
you start the vehicle, this system ensures
that the selected temperature is achieved
as quickly as possible. It then maintains
this temperature, regardless of the season.
Defrosting windows and removing
condensation
This program quickly removes
ice and condensation from the
windshield and door windows.
Adjusting air supply manually
You can adjust the air supply by
turning. The automatic air sup-
ply control is operational when-
ever you see your selection
represented by a bar on the
Control Display's status line. The automatic
air distribution remains in operation as
before. You can reactivate the automatic
air supply mode with the AUTO button.
Switching air conditioner mode on
and off manually
The air conditioner cools and
dehumidifies the incoming air
before also reheating it as
required, according to temperature setting.
Depending on the weather, the windshield
may fog over briefly when the engine is
started.
The air conditioner comes on automatically
when you select the AUTO program.
Maximum cooling
This program quickly provides
maximum cooling.
The temperature display reverts
to 607/166 while the system
switches to the recirculated-air mode and
starts to provide maximum air supply
through the vent outlets only. For this rea-
son you should ensure that these outlets
are open before selecting this program.
Outside air/AUC Automatic
recirculated-air control/
recirculated air
You can respond to unpleasant
odors or pollutants in the imme-
diate environment by tempo-
rarily suspending the supply of outside air.
The system then recirculates the air cur-
rently within the vehicle. AUC executes this
function automatically.
Press the button repeatedly to run through
the following control sequence:
>Indicator lamps off: outside air flows
into the vehicle
>Left indicator lamp on, AUC mode: the
system detects pollutants in the outside
air and responds by blocking the supply
of outside air when required. The sys-
tem then recirculates the air currently
within the vehicle.
Depending upon air quality, in the auto-
matic mode the system may start to
alternate between its outside-air and
recirculated-air modes
>Right indicator lamp on, recirculated-
air mode: the supply of outside air into
the vehicle is permanently blocked.
The system then recirculates the air
currently within the vehicle.
If condensation starts to form on the
inside window surfaces during opera-
tion in the recirculated-air mode, you
should switch it off while also increasing air
supply as required.<
Page 108 of 232
A congenial climate
106 This function allows you to make minor
adjustments for maximum comfort while
also letting you vary temperatures within
the storage compartment.
Switching off automatic climate
control*
The air supply, the heater and
the air conditioner are all
switched off. You can restart
the automatic climate control
by pressing any of its buttons
except the REST button.
Settings using the Control Center
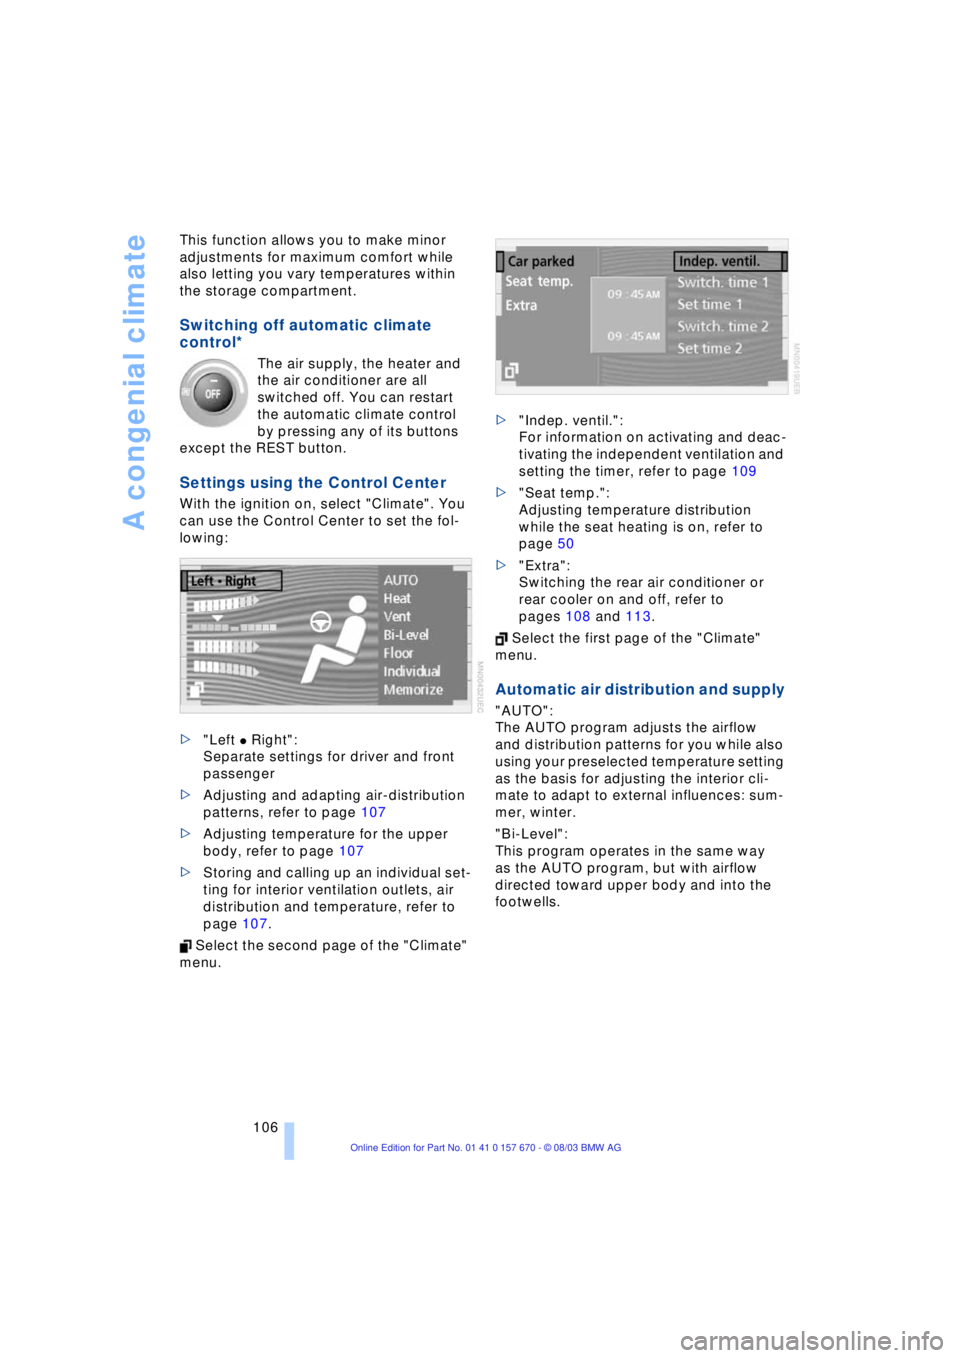
With the ignition on, select "Climate". You
can use the Control Center to set the fol-
lowing:
>"Left
C Right":
Separate settings for driver and front
passenger
>Adjusting and adapting air-distribution
patterns, refer to page 107
>Adjusting temperature for the upper
body, refer to page 107
>Storing and calling up an individual set-
ting for interior ventilation outlets, air
distribution and temperature, refer to
page 107.
Select the second page of the "Climate"
menu. >"Indep. ventil.":
For information on activating and deac-
tivating the independent ventilation and
setting the timer, refer to page 109
>"Seat temp.":
Adjusting temperature distribution
while the seat heating is on, refer to
page 50
>"Extra":
Switching the rear air conditioner or
rear cooler on and off, refer to
pages 108 and 113.
Select the first page of the "Climate"
menu.
Automatic air distribution and supply
"AUTO":
The AUTO program adjusts the airflow
and distribution patterns for you while also
using your preselected temperature setting
as the basis for adjusting the interior cli-
mate to adapt to external influences: sum-
mer, winter.
"Bi-Level":
This program operates in the same way
as the AUTO program, but with airflow
directed toward upper body and into the
footwells.
Page 126 of 232
Things to remember when driving
124 Warning lamp for Canadian models.
The brake pads have reached their mini-
mum pad thickness. Have them replaced
at your BMW center as soon as possible.
For your own safety: use only brake
pads that BMW has released for your
particular vehicle model. As BMW cannot
assess the suitability of other brake pads
for use on your vehicle, we are unable to
assume continued responsibility for the
vehicle's operating safety if non-approved
pads are installed.<
Cargo loading
To avoid loading the tires beyond
their approved carrying capacity,
never overload the vehicle. Overloading
can lead to overheating and increases the
rate at which damage develops inside the
tires. The ultimate result can assume the
form of a sudden air loss.<
Determining loading limit
1.Locate the following statement on your
vehicle's door pillar
*:
The combined weight of occu-
pants and cargo should never
exceed XXX lbs. or YYY kg, as other-
wise the vehicle may be damaged and
unstable driving conditions may
result.<
2.Determine the combined weight of the
driver and passenger that will be riding
in your vehicle3.Subtract the combined weight of the
driver and passenger from XXX lbs. or
YYY kg
4.The resulting figure equals the available
amount of cargo and luggage load
capacity.
For example, if the XXX amount equals
1,400 lbs. and there will be five 150-
pound passengers in your vehicle, the
amount of available cargo and luggage
load capacity is 650 lbs.:
1,400 Ibs. minus 750 Ibs. = 650 Ibs.
5.Determine the combined weight of lug-
gage and cargo being loaded on the
vehicle. That weight should not exceed
the available cargo and luggage load
capacity calculated in step 4
6.If your vehicle will be towing a trailer,
part of the load from your trailer will be
transferred to your vehicle. Consult the
manual for transporting a trailer to
determine how this may reduce the
available cargo and luggage load
capacity of your vehicle.
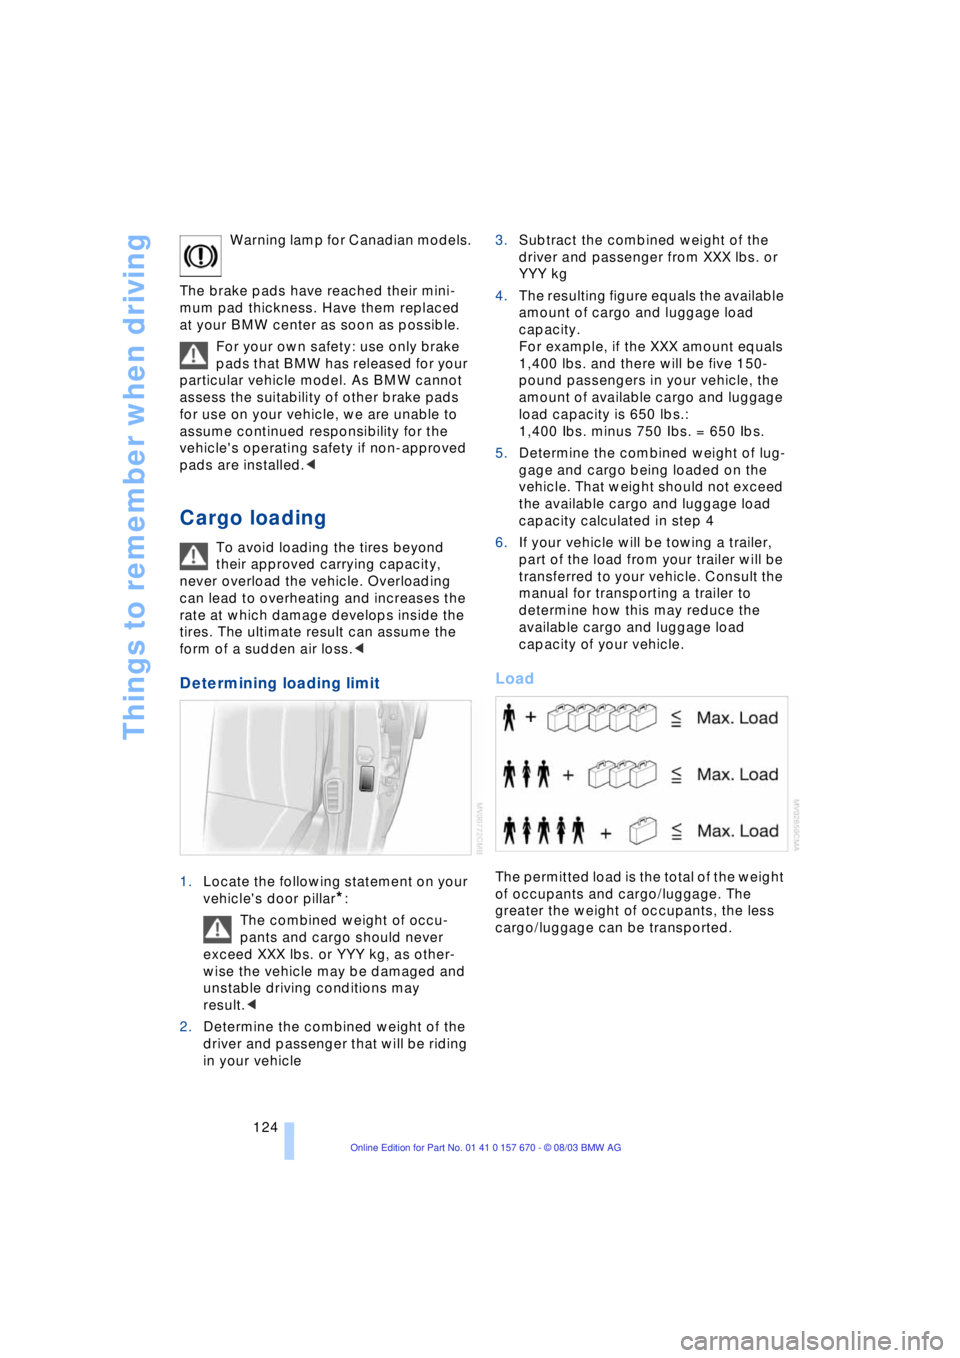
Load
The permitted load is the total of the weight
of occupants and cargo/luggage. The
greater the weight of occupants, the less
cargo/luggage can be transported.
Page 128 of 232
Things to remember when driving
126 the opening path of the luggage compart-
ment lid.
Secure roof-mounted cargo correctly and
securely to prevent it from shifting or being
lost during the trip.
Drive smoothly. Avoid sudden acceleration
and braking maneuvers. Take corners gen-
tly.
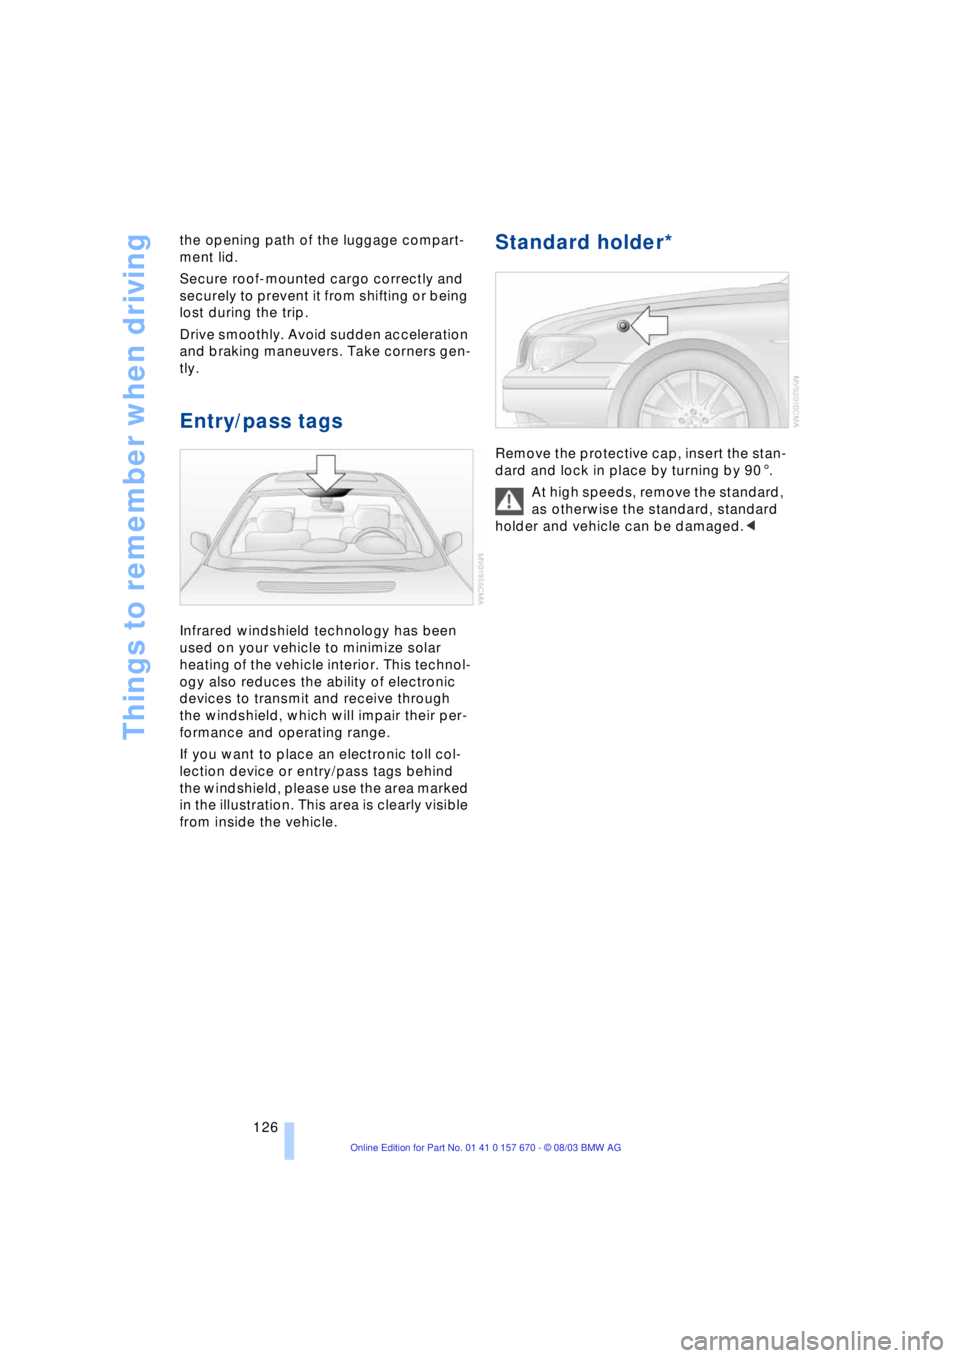
Entry/pass tags
Infrared windshield technology has been
used on your vehicle to minimize solar
heating of the vehicle interior. This technol-
ogy also reduces the ability of electronic
devices to transmit and receive through
the windshield, which will impair their per-
formance and operating range.
If you want to place an electronic toll col-
lection device or entry/pass tags behind
the windshield, please use the area marked
in the illustration. This area is clearly visible
from inside the vehicle.
Standard holder*
Remove the protective cap, insert the stan-
dard and lock in place by turning by 901.
At high speeds, remove the standard,
as otherwise the standard, standard
holder and vehicle can be damaged.<