2004 BMW 760LI SEDAN ECO mode
[x] Cancel search: ECO modePage 151 of 232
Navigation
Entertainment
Driving tips
149Reference
At a glance
Controls
Communications
Mobility
Care instructions
You can find everything you need to know
on this topic by consulting the separate
Caring for your vehicle brochure.
Switching on/off
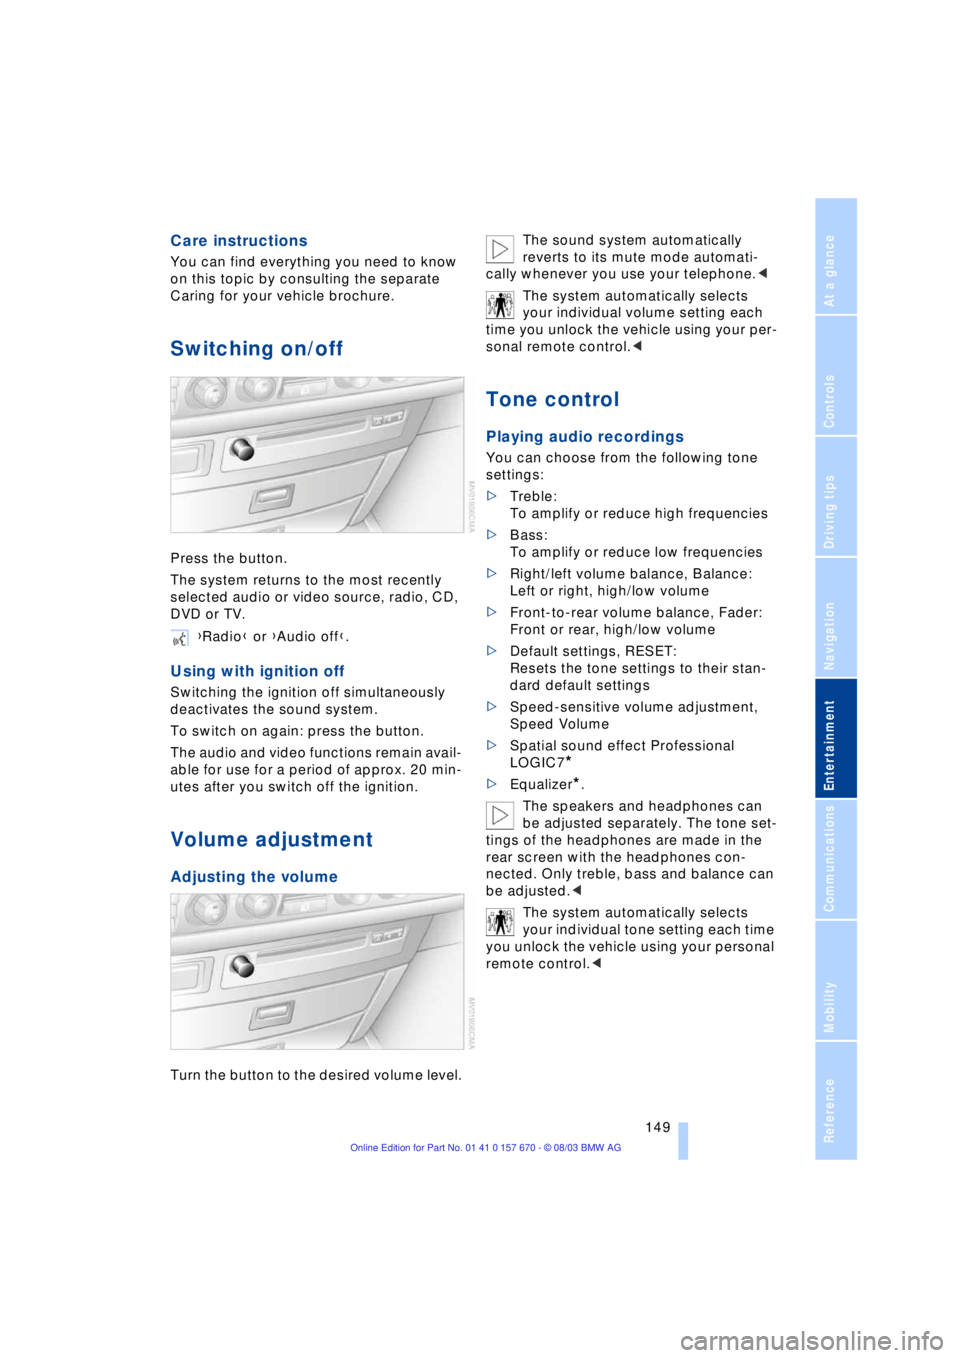
Press the button.
The system returns to the most recently
selected audio or video source, radio, CD,
DVD or TV.
Using with ignition off
Switching the ignition off simultaneously
deactivates the sound system.
To switch on again: press the button.
The audio and video functions remain avail-
able for use for a period of approx. 20 min-
utes after you switch off the ignition.
Volume adjustment
Adjusting the volume
Turn the button to the desired volume level.The sound system automatically
reverts to its mute mode automati-
cally whenever you use your telephone.<
The system automatically selects
your individual volume setting each
time you unlock the vehicle using your per-
sonal remote control.<
Tone control
Playing audio recordings
You can choose from the following tone
settings:
>Treble:
To amplify or reduce high frequencies
>Bass:
To amplify or reduce low frequencies
>Right/left volume balance, Balance:
Left or right, high/low volume
>Front-to-rear volume balance, Fader:
Front or rear, high/low volume
>Default settings, RESET:
Resets the tone settings to their stan-
dard default settings
>Speed-sensitive volume adjustment,
Speed Volume
>Spatial sound effect Professional
LOGIC7
*
>Equalizer*.
The speakers and headphones can
be adjusted separately. The tone set-
tings of the headphones are made in the
rear screen with the headphones con-
nected. Only treble, bass and balance can
be adjusted.<
The system automatically selects
your individual tone setting each time
you unlock the vehicle using your personal
remote control.< {Radio} or {Audio off}.
Page 155 of 232
Navigation
Entertainment
Driving tips
153Reference
At a glance
Controls
Communications
Mobility
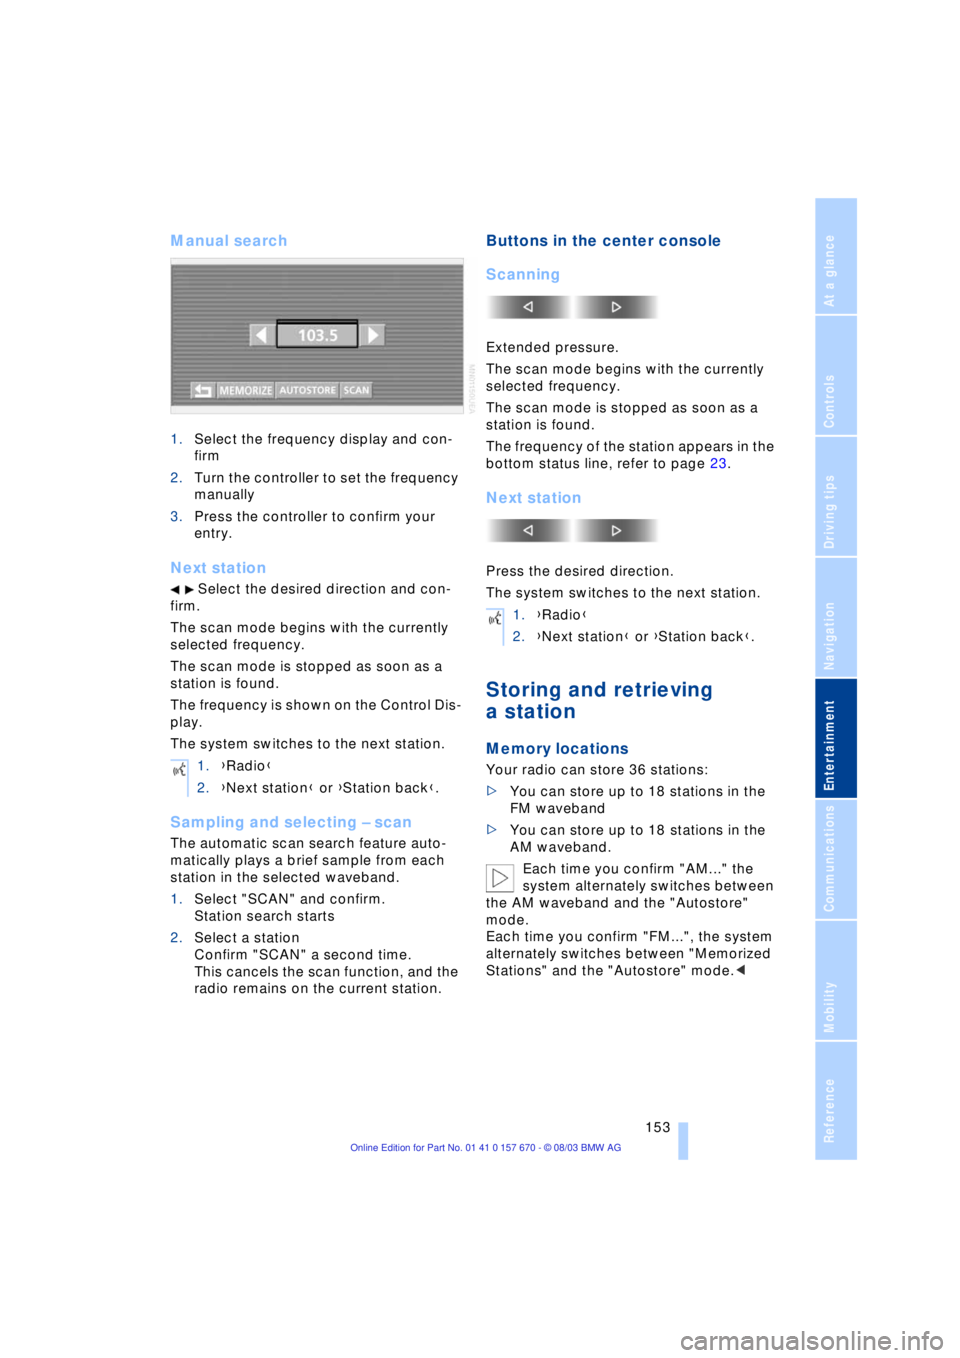
Manual search
1.Select the frequency display and con-
firm
2.Turn the controller to set the frequency
manually
3.Press the controller to confirm your
entry.
Next station
Select the desired direction and con-
firm.
The scan mode begins with the currently
selected frequency.
The scan mode is stopped as soon as a
station is found.
The frequency is shown on the Control Dis-
play.
The system switches to the next station.
Sampling and selecting Ð scan
The automatic scan search feature auto-
matically plays a brief sample from each
station in the selected waveband.
1.Select "SCAN" and confirm.
Station search starts
2.Select a station
Confirm "SCAN" a second time.
This cancels the scan function, and the
radio remains on the current station.
Buttons in the center console
Scanning
Extended pressure.
The scan mode begins with the currently
selected frequency.
The scan mode is stopped as soon as a
station is found.
The frequency of the station appears in the
bottom status line, refer to page 23.
Next station
Press the desired direction.
The system switches to the next station.
Storing and retrieving
a station
Memory locations
Your radio can store 36 stations:
>You can store up to 18 stations in the
FM waveband
>You can store up to 18 stations in the
AM waveband.
Each time you confirm "AM..." the
system alternately switches between
the AM waveband and the "Autostore"
mode.
Each time you confirm "FM...", the system
alternately switches between "Memorized
Stations" and the "Autostore" mode.< 1.{Radio}
2.{Next station} or {Station back}.
1.{Radio}
2.{Next station} or {Station back}.
Page 156 of 232
Radio
154
Storing a station
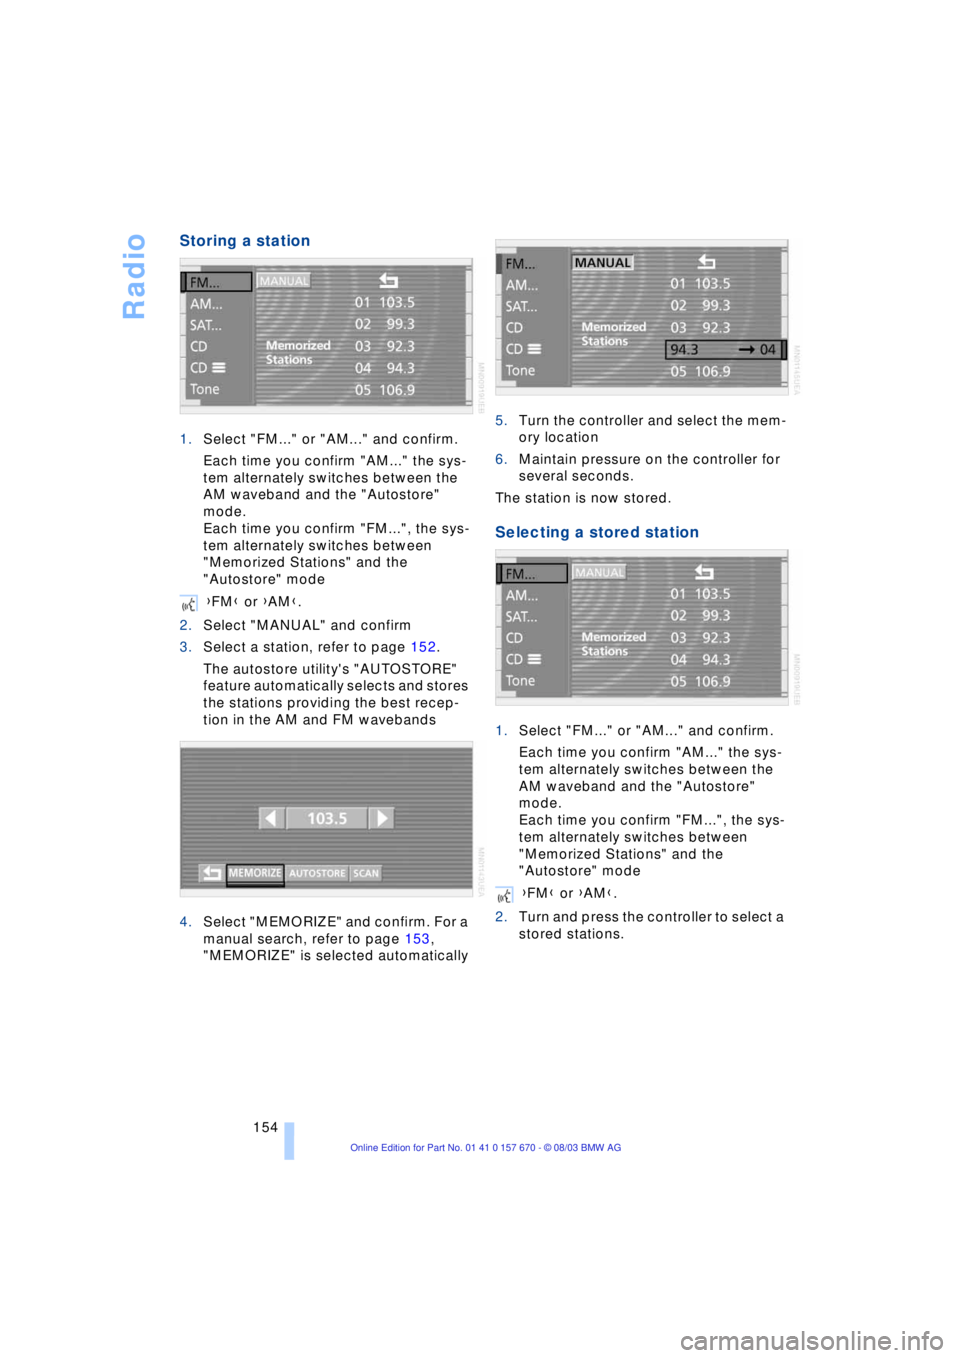
1.Select "FM..." or "AM..." and confirm.
Each time you confirm "AM..." the sys-
tem alternately switches between the
AM waveband and the "Autostore"
mode.
Each time you confirm "FM...", the sys-
tem alternately switches between
"Memorized Stations" and the
"Autostore" mode
2.Select "MANUAL" and confirm
3.Select a station, refer to page 152.
The autostore utility's "AUTOSTORE"
feature automatically selects and stores
the stations providing the best recep-
tion in the AM and FM wavebands
4.Select "MEMORIZE" and confirm. For a
manual search, refer to page 153,
"MEMORIZE" is selected automatically5.Turn the controller and select the mem-
ory location
6.Maintain pressure on the controller for
several seconds.
The station is now stored.
Selecting a stored station
1.Select "FM..." or "AM..." and confirm.
Each time you confirm "AM..." the sys-
tem alternately switches between the
AM waveband and the "Autostore"
mode.
Each time you confirm "FM...", the sys-
tem alternately switches between
"Memorized Stations" and the
"Autostore" mode
2.Turn and press the controller to select a
stored stations. {FM} or {AM}.
{FM} or {AM}.
Page 163 of 232
Navigation
Entertainment
Driving tips
161Reference
At a glance
Controls
Communications
Mobility
If the CD magazine has been newly filled,
playback begins with the lowest CD, e.g.
CD 1, track 1.
Volume adjustment, refer to page 149.
Tone control, refer to page 149.
If you play self-recorded audio CDs,
faults, e.g. drop-outs, can occur, or
the CD is not played at all.<
Status displays
The CD magazine's load status is indicated
on the Control Display.
If the display fails to detect a CD that
you have loaded in the magazine,
check to ensure that the CD has been
inserted correctly and inspect it for signs
of defects.<
Selecting a track using the
Control Center
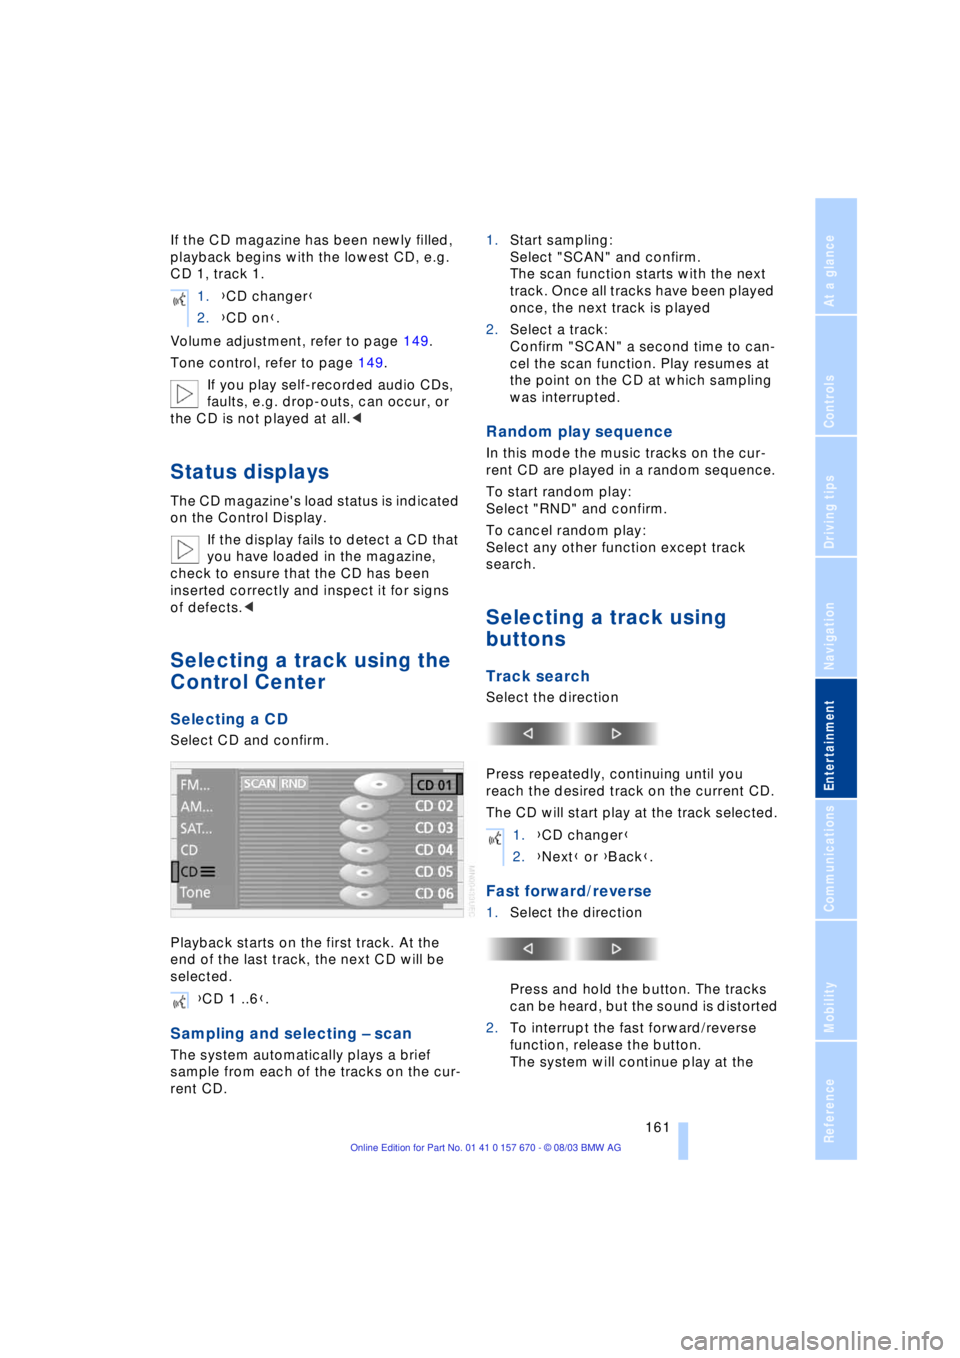
Selecting a CD
Select CD and confirm.
Playback starts on the first track. At the
end of the last track, the next CD will be
selected.
Sampling and selecting Ð scan
The system automatically plays a brief
sample from each of the tracks on the cur-
rent CD.1.Start sampling:
Select "SCAN" and confirm.
The scan function starts with the next
track. Once all tracks have been played
once, the next track is played
2.Select a track:
Confirm "SCAN" a second time to can-
cel the scan function. Play resumes at
the point on the CD at which sampling
was interrupted.
Random play sequence
In this mode the music tracks on the cur-
rent CD are played in a random sequence.
To start random play:
Select "RND" and confirm.
To cancel random play:
Select any other function except track
search.
Selecting a track using
buttons
Track search
Select the direction
Press repeatedly, continuing until you
reach the desired track on the current CD.
The CD will start play at the track selected.
Fast forward/reverse
1.Select the direction
Press and hold the button. The tracks
can be heard, but the sound is distorted
2.To interrupt the fast forward/reverse
function, release the button.
The system will continue play at the 1.{CD changer}
2.{CD on}.
{CD 1 ..6}.
1.{CD changer}
2.{Next} or {Back}.
Page 222 of 232
Everything from A to Z
220 Environmentally friendly
driving, refer to Energy
Control 85
Equalizer 149, 150
ESP, refer to DSC 92
Extended vehicle storage,
refer to the Caring for
your vehicle brochure
Exterior mirrors 51
Ð automatic dimming
feature 51
"Extra"
Ð in "Climate" menu 106
Ð rear air conditioning 109
Ð rear cooler 113
F
Factory preparations for
phone installation 177
Fader 149
"Fader" for audio mode 150
Failure messages, refer to
Check Control 82
Failure of a current
consumer 206
Fan, refer to Air supply 104
"Fastest route" 137
Fastest route 137
Filling the washer
reservoir 71
Filling the windshield
washer reservoir 71
First-aid kit 207
Fittings, towing 209
Flashlight 114
Flat Tire Monitor 95
Flat tires 188, 191
"FM..." 148, 152, 154
FM waveband 152
Fog lamps 100
"Footwell" 107
Footwell lamps 101
Front armrest, refer to Front
center armrest 114
Front center armrest 114
Front seat adjustment 44
Front-to-rear adjustment in
audio mode 149"FTM" 95
Fuel 187
Fuel capacity 186
Fuel economy 86
Fuel filler door 186
Ð releasing in the event of
electrical defect 186
Fuel gauge 85
Fuel-saving driving, refer to
Energy Control 85
Fuel specifications 187
Fuel tank capacity 186
"FULL MENU" 167, 168
"Full Release" 24
Fuses 206
G
Garage door opener, refer
to Integrated universal
remote control 111
Gasoline 187
Gear changes, refer to
Automatic transmission
with Steptronic 66
Gearshifts, refer to
Automatic transmission
with Steptronic 66
General driving notes 122
Glasses compartment 115
Glass roof, electrical 42
Ð closing in the event of an
electrical malfunction 43
Ð convenience operation 36
Ð remote control 34
Glove compartment 114
GPS, refer to Navigation
system 130
H
Hand lamp 114
Hands-free
microphone 177
Hands-free system 177
Having vehicle towed 208
Hazard warning flashers 14
Headlamp control,
automatic 99
Headlamp flasher 69
Headlamp washers 70Headlamp washer
system 71
Head Light, refer to
Adaptive Head Light 99
Head restraints 47
Ð front head restraints,
active 47
Heated seats 49
Heated steering wheel 52
Heating and ventilation 102
Heating while stopped 105
Height 213
Height adjustment
Ð seats 45
Ð steering wheel 52
"Help" 18, 21
Help texts in Control
Display 22
High beams 100
Ð replacing bulbs 201
Home address 142, 143
Horn 11
"Hotline" 182
Hydraulic brake assistant,
refer to DBC 93
Hydroplaning 122, 191
I
Ice warning 80
iDrive, refer to Control
Center 17
Ignition key 32
Ignition lock 60
Ð with Comfort Access 60
Independent
ventilation 109
"Indep. ventil." 109
Indicator lamps 12
"Individual" 107
Individual button
assignment 17
Ð on steering wheel 52
Inflation pressure 188
Info Display 12
"Information" for
navigation 135, 136
Information on the
navigation system, refer
to Voice guidance for
navigation 141