2004 BMW 545I SEDAN start stop button
[x] Cancel search: start stop buttonPage 57 of 220
Controls
55Reference
At a glance
Driving tips
Communications
Navigation
Entertainment
Mobility
Changing the selector-lever
positions
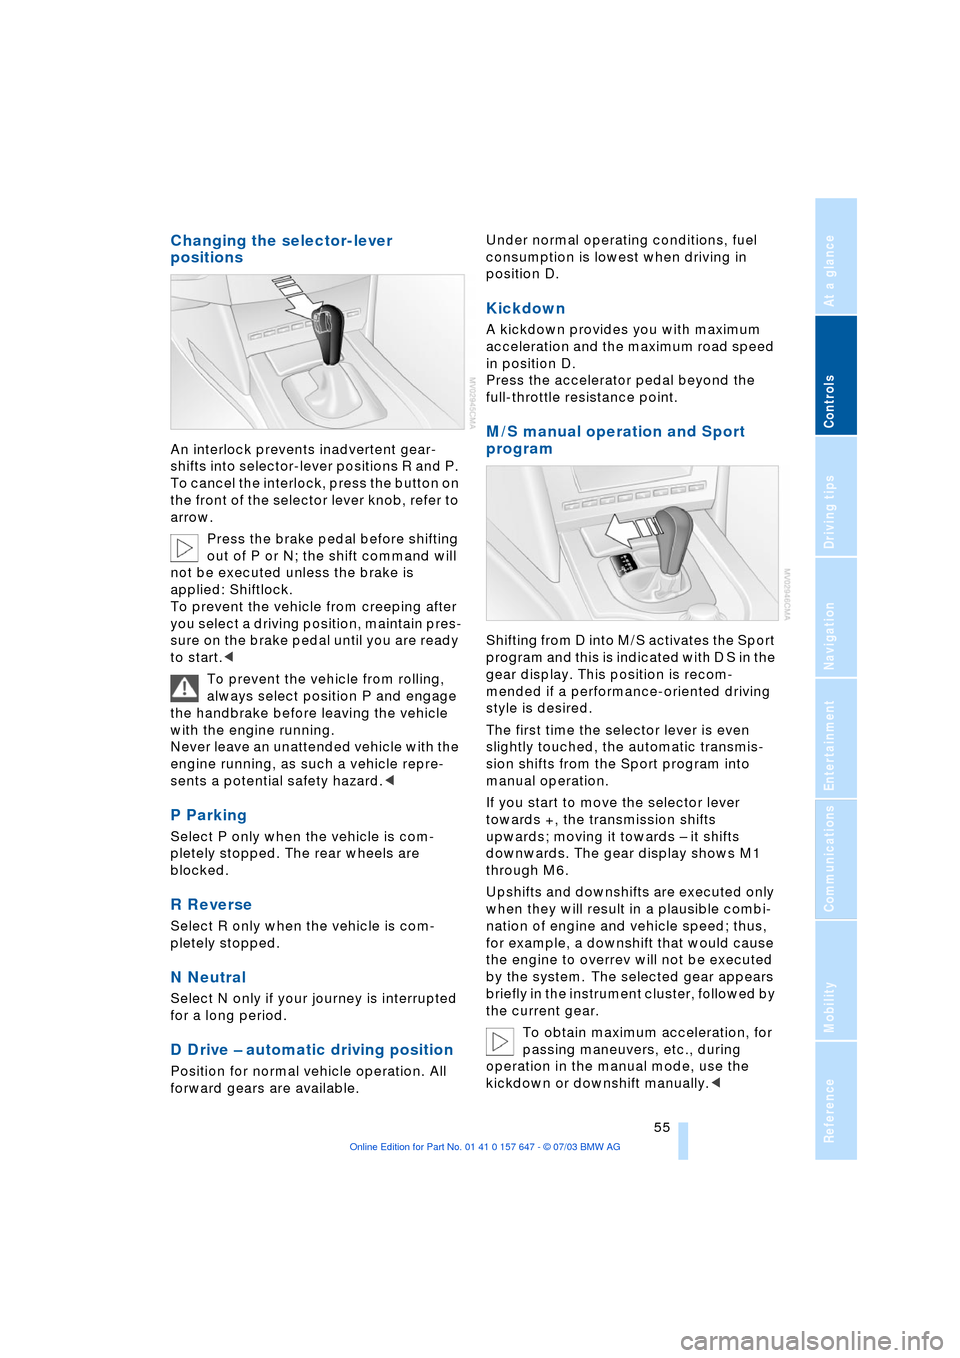
An interlock prevents inadvertent gear-
shifts into selector-lever positions R and P.
To cancel the interlock, press the button on
the front of the selector lever knob, refer to
arrow.
Press the brake pedal before shifting
out of P or N; the shift command will
not be executed unless the brake is
applied: Shiftlock.
To prevent the vehicle from creeping after
you select a driving position, maintain pres-
sure on the brake pedal until you are ready
to start.<
To prevent the vehicle from rolling,
always select position P and engage
the handbrake before leaving the vehicle
with the engine running.
Never leave an unattended vehicle with the
engine running, as such a vehicle repre-
sents a potential safety hazard.<
P Parking
Select P only when the vehicle is com-
pletely stopped. The rear wheels are
blocked.
R Reverse
Select R only when the vehicle is com-
pletely stopped.
N Neutral
Select N only if your journey is interrupted
for a long period.
D Drive Ð automatic driving position
Position for normal vehicle operation. All
forward gears are available.Under normal operating conditions, fuel
consumption is lowest when driving in
position D.
Kickdown
A kickdown provides you with maximum
acceleration and the maximum road speed
in position D.
Press the accelerator pedal beyond the
full-throttle resistance point.
M/S manual operation and Sport
program
Shifting from D into M/S activates the Sport
program and this is indicated with D S in the
gear display. This position is recom-
mended if a performance-oriented driving
style is desired.
The first time the selector lever is even
slightly touched, the automatic transmis-
sion shifts from the Sport program into
manual operation.
If you start to move the selector lever
towards +, the transmission shifts
upwards; moving it towards Ð it shifts
downwards. The gear display shows M1
through M6.
Upshifts and downshifts are executed only
when they will result in a plausible combi-
nation of engine and vehicle speed; thus,
for example, a downshift that would cause
the engine to overrev will not be executed
by the system. The selected gear appears
briefly in the instrument cluster, followed by
the current gear.
To obtain maximum acceleration, for
passing maneuvers, etc., during
operation in the manual mode, use the
kickdown or downshift manually.<
Page 75 of 220
Controls
73Reference
At a glance
Driving tips
Communications
Navigation
Entertainment
Mobility
3.Select "Limit" and press the controller
4.Select "Select current speed" and
press the controller. The system adopts
your current speed as the limit.
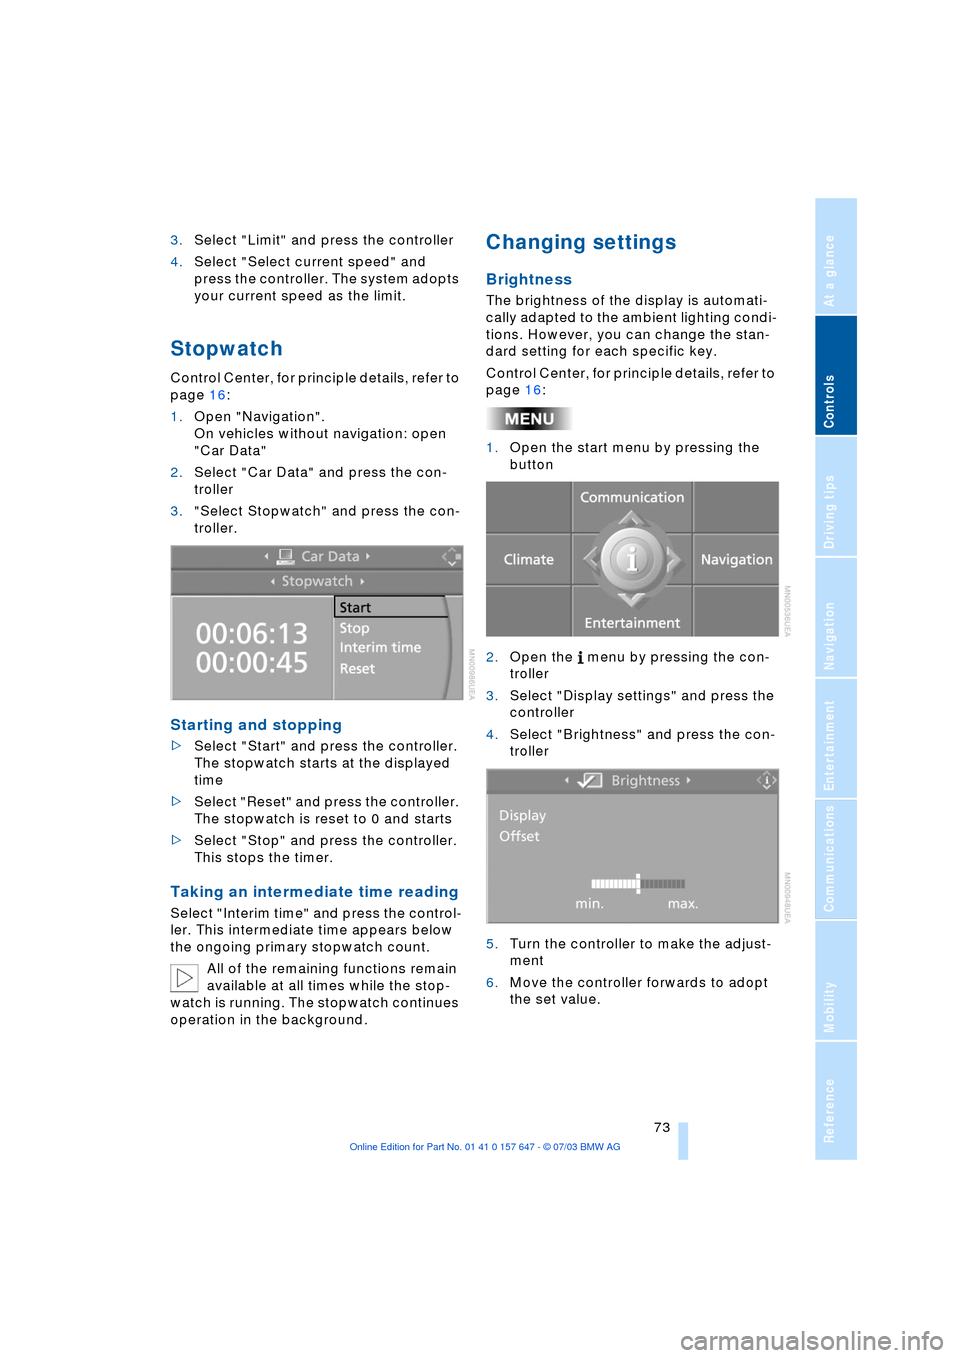
Stopwatch
Control Center, for principle details, refer to
page 16:
1.Open "Navigation".
On vehicles without navigation: open
"Car Data"
2.Select "Car Data" and press the con-
troller
3."Select Stopwatch" and press the con-
troller.
Starting and stopping
>Select "Start" and press the controller.
The stopwatch starts at the displayed
time
>Select "Reset" and press the controller.
The stopwatch is reset to 0 and starts
>Select "Stop" and press the controller.
This stops the timer.
Taking an intermediate time reading
Select "Interim time" and press the control-
ler. This intermediate time appears below
the ongoing primary stopwatch count.
All of the remaining functions remain
available at all times while the stop-
watch is running. The stopwatch continues
operation in the background.
Changing settings
Brightness
The brightness of the display is automati-
cally adapted to the ambient lighting condi-
tions. However, you can change the stan-
dard setting for each specific key.
Control Center, for principle details, refer to
page 16:
1.Open the start menu by pressing the
button
2.Open the menu by pressing the con-
troller
3.Select "Display settings" and press the
controller
4.Select "Brightness" and press the con-
troller
5.Turn the controller to make the adjust-
ment
6.Move the controller forwards to adopt
the set value.
Page 94 of 220
A congenial climate
92 rarily suspending the supply of outside air.
The system then recirculates the air cur-
rently within the vehicle. AUC executes this
function automatically.
Press the button repeatedly to run through
the following control sequence:
>Indicator lamps off: outside air flows in
>Right indicator lamp on, AUC mode: the
system detects pollutants in the outside
air and responds by blocking the supply
of outside air when required. The sys-
tem then recirculates the air currently
within the vehicle.
Depending upon air quality require-
ments, in the automatic mode the sys-
tem alternates between its outside-air
and recirculated-air modes
>Left indicator lamp on, recirculated-air
mode: the supply of outside air is per-
manently blocked. The system then
recirculates the air currently within the
vehicle.
If condensation starts to form on the
inside window surfaces during opera-
tion in the recirculated-air mode, you
should switch it off while also increasing
the air volume as required.
The recirculated-air mode should not be
used over a sustained longer period of
time, as the air quality inside the vehicle
deteriorates continuously.<
Residual heat mode
The system uses the warmth
stored in the engine to heat the
interior when the ignition is off,
for instance, while the vehicle is
stopped at a school to pick up a
child.
You can adjust the automatic climate con-
trol settings in ignition key position 1.
Provided that the engine has warmed
to its normal operating temperature
and the battery is charged, you can use this
function for up to 15 minutes after switch-
ing off the ignition. The LED within the but-
ton lights up to confirm compliance with
these conditions.<
Switching automatic climate control
off
The air volume, the heater and
the cooling function are all
switched off. You can restart
the automatic climate control
by pressing any of its buttons
except the REST button.
Settings using the Control Center
You can make the settings for each specific
key.
Control Center, for principle details, refer to
page 16:
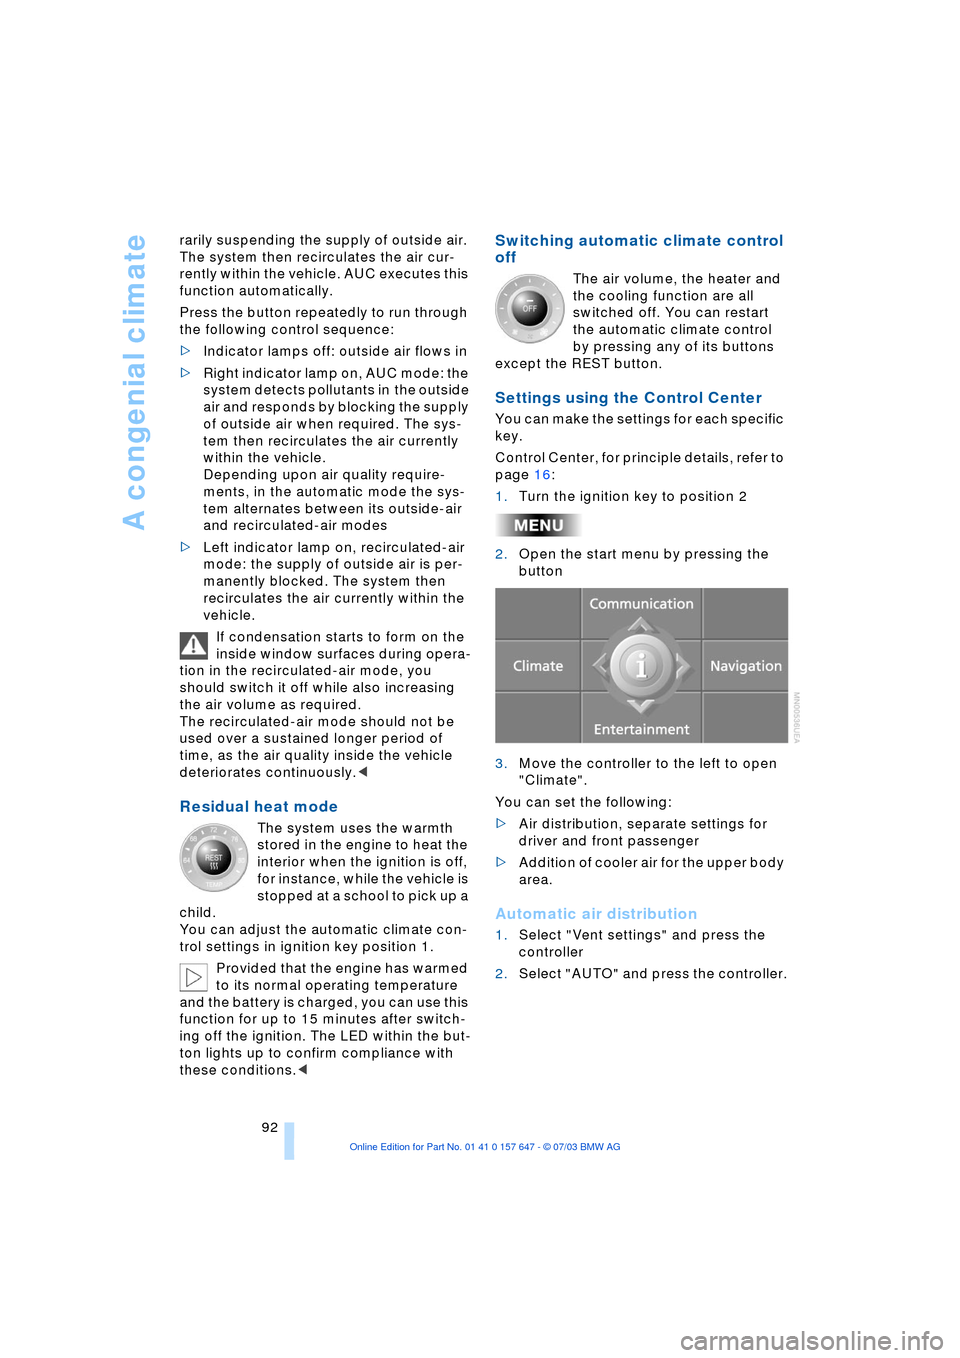
1.Turn the ignition key to position 2
2.Open the start menu by pressing the
button
3.Move the controller to the left to open
"Climate".
You can set the following:
>Air distribution, separate settings for
driver and front passenger
>Addition of cooler air for the upper body
area.
Automatic air distribution
1.Select "Vent settings" and press the
controller
2.Select "AUTO" and press the controller.
Page 138 of 220
Radio
136 Control Center, for principle details, refer to
page 16:
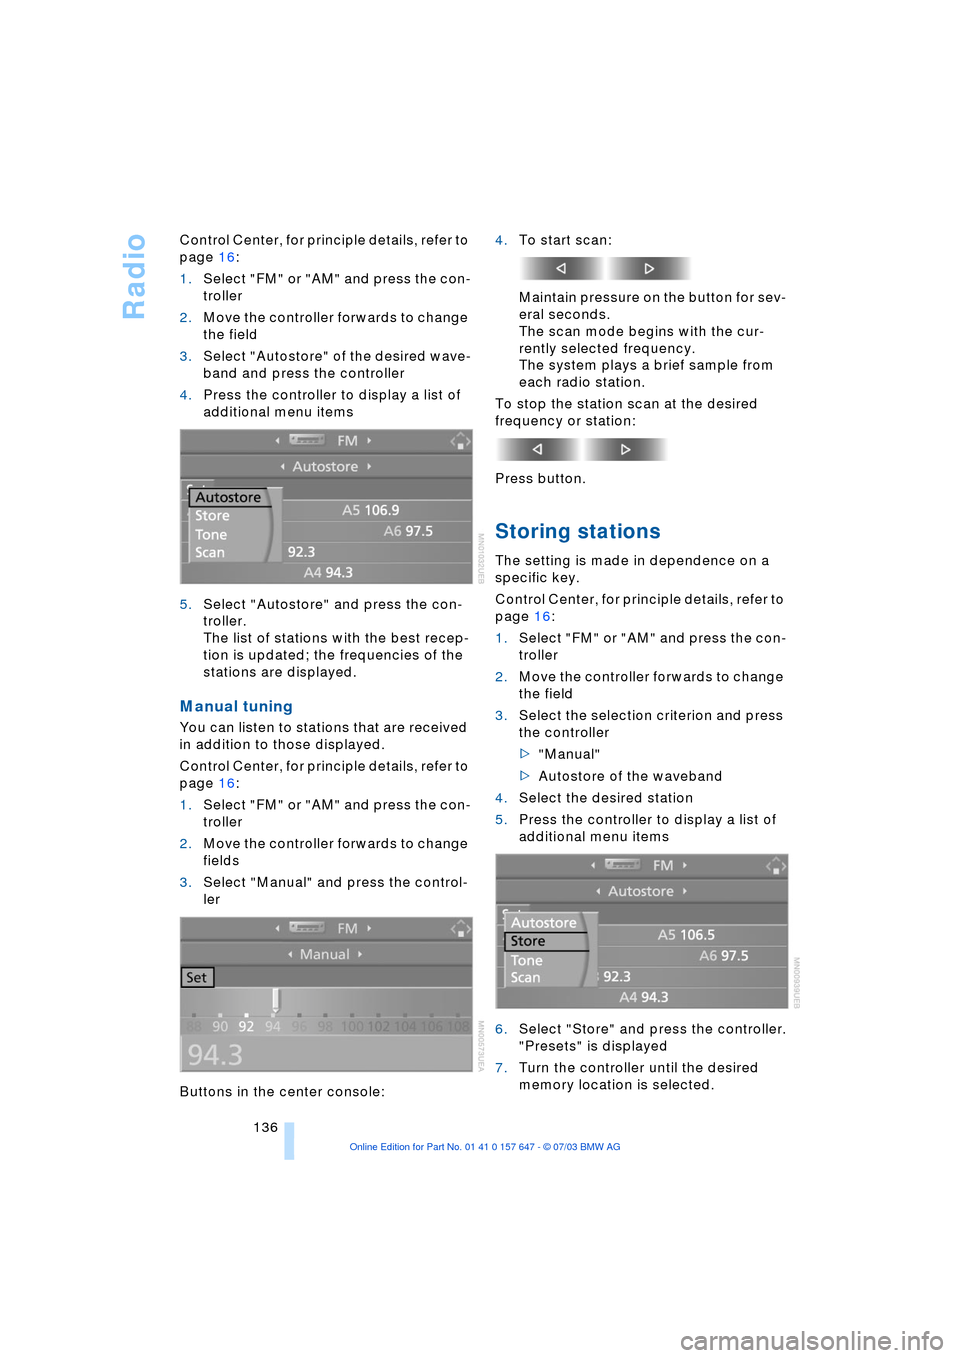
1.Select "FM" or "AM" and press the con-
troller
2.Move the controller forwards to change
the field
3.Select "Autostore" of the desired wave-
band and press the controller
4.Press the controller to display a list of
additional menu items
5.Select "Autostore" and press the con-
troller.
The list of stations with the best recep-
tion is updated; the frequencies of the
stations are displayed.
Manual tuning
You can listen to stations that are received
in addition to those displayed.
Control Center, for principle details, refer to
page 16:
1.Select "FM" or "AM" and press the con-
troller
2.Move the controller forwards to change
fields
3.Select "Manual" and press the control-
ler
Buttons in the center console:4.To start scan:
Maintain pressure on the button for sev-
eral seconds.
The scan mode begins with the cur-
rently selected frequency.
The system plays a brief sample from
each radio station.
To stop the station scan at the desired
frequency or station:
Press button.
Storing stations
The setting is made in dependence on a
specific key.
Control Center, for principle details, refer to
page 16:
1.Select "FM" or "AM" and press the con-
troller
2.Move the controller forwards to change
the field
3.Select the selection criterion and press
the controller
>"Manual"
>Autostore of the waveband
4.Select the desired station
5.Press the controller to display a list of
additional menu items
6.Select "Store" and press the controller.
"Presets" is displayed
7.Turn the controller until the desired
memory location is selected.
Page 210 of 220
Everything from A to Z
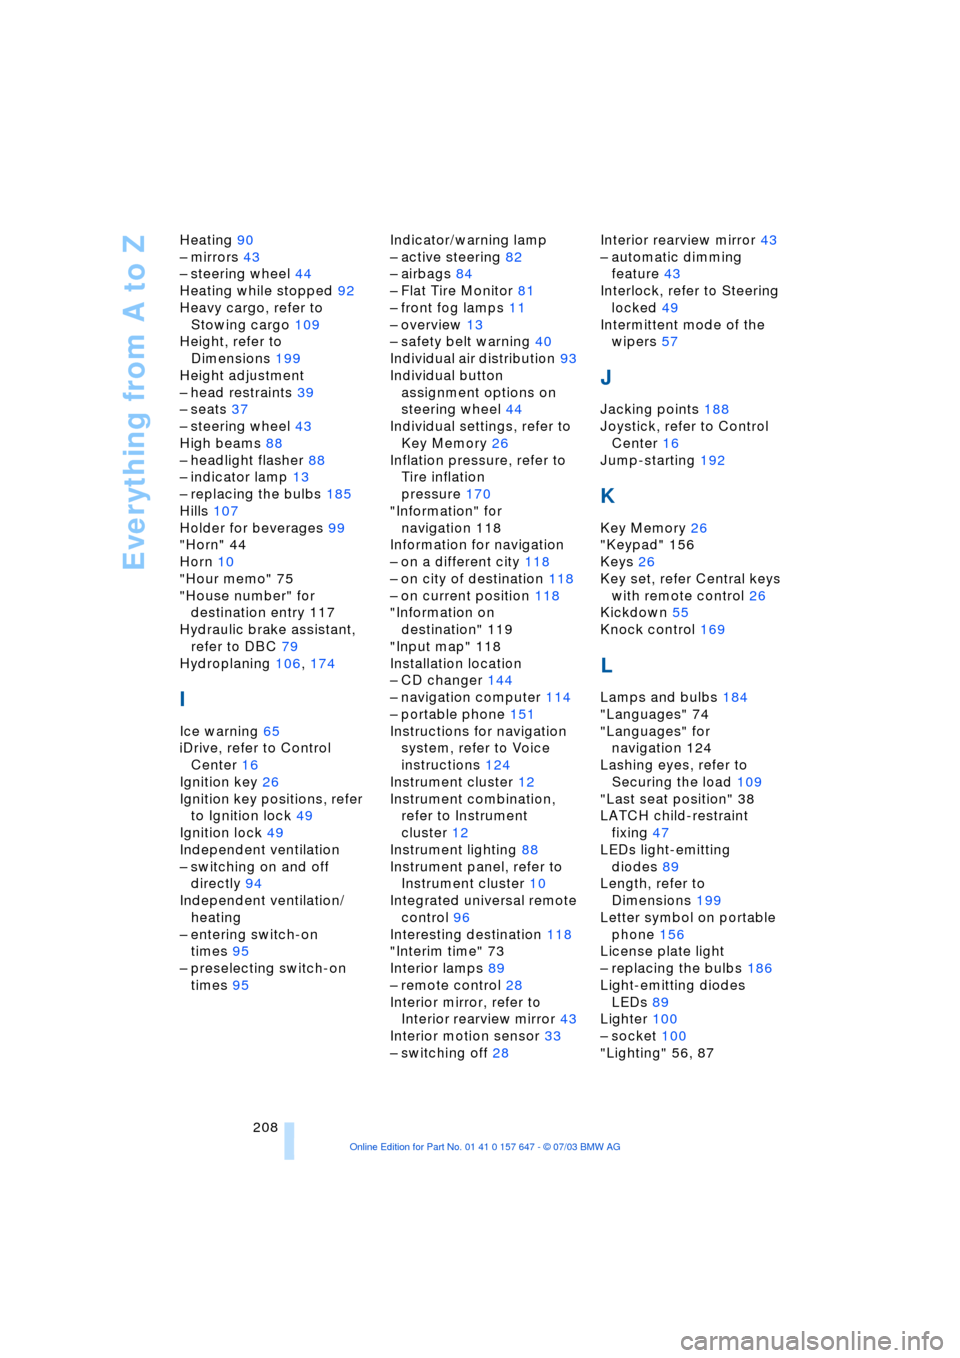
208 Heating 90
Ð mirrors 43
Ð steering wheel 44
Heating while stopped 92
Heavy cargo, refer to
Stowing cargo 109
Height, refer to
Dimensions 199
Height adjustment
Ð head restraints 39
Ð seats 37
Ð steering wheel 43
High beams 88
Ð headlight flasher 88
Ð indicator lamp 13
Ð replacing the bulbs 185
Hills 107
Holder for beverages 99
"Horn" 44
Horn 10
"Hour memo" 75
"House number" for
destination entry 117
Hydraulic brake assistant,
refer to DBC 79
Hydroplaning 106, 174
I
Ice warning 65
iDrive, refer to Control
Center 16
Ignition key 26
Ignition key positions, refer
to Ignition lock 49
Ignition lock 49
Independent ventilation
Ð switching on and off
directly 94
Independent ventilation/
heating
Ð entering switch-on
times 95
Ð preselecting switch-on
times 95Indicator/warning lamp
Ð active steering 82
Ð airbags 84
Ð Flat Tire Monitor 81
Ð front fog lamps 11
Ð overview 13
Ð safety belt warning 40
Individual air distribution 93
Individual button
assignment options on
steering wheel 44
Individual settings, refer to
Key Memory 26
Inflation pressure, refer to
Tire inflation
pressure 170
"Information" for
navigation 118
Information for navigation
Ð on a different city 118
Ð on city of destination 118
Ð on current position 118
"Information on
destination" 119
"Input map" 118
Installation location
Ð CD changer 144
Ð navigation computer 114
Ð portable phone 151
Instructions for navigation
system, refer to Voice
instructions 124
Instrument cluster 12
Instrument combination,
refer to Instrument
cluster 12
Instrument lighting 88
Instrument panel, refer to
Instrument cluster 10
Integrated universal remote
control 96
Interesting destination 118
"Interim time" 73
Interior lamps 89
Ð remote control 28
Interior mirror, refer to
Interior rearview mirror 43
Interior motion sensor 33
Ð switching off 28Interior rearview mirror 43
Ð automatic dimming
feature 43
Interlock, refer to Steering
locked 49
Intermittent mode of the
wipers 57
J
Jacking points 188
Joystick, refer to Control
Center 16
Jump-starting 192
K
Key Memory 26
"Keypad" 156
Keys 26
Key set, refer Central keys
with remote control 26
Kickdown 55
Knock control 169
L
Lamps and bulbs 184
"Languages" 74
"Languages" for
navigation 124
Lashing eyes, refer to
Securing the load 109
"Last seat position" 38
LATCH child-restraint
fixing 47
LEDs light-emitting
diodes 89
Length, refer to
Dimensions 199
Letter symbol on portable
phone 156
License plate light
Ð replacing the bulbs 186
Light-emitting diodes
LEDs 89
Lighter 100
Ð socket 100
"Lighting" 56, 87
Page 213 of 220
Reference 211
At a glance
Controls
Driving tips
Communications
Navigation
Entertainment
Mobility
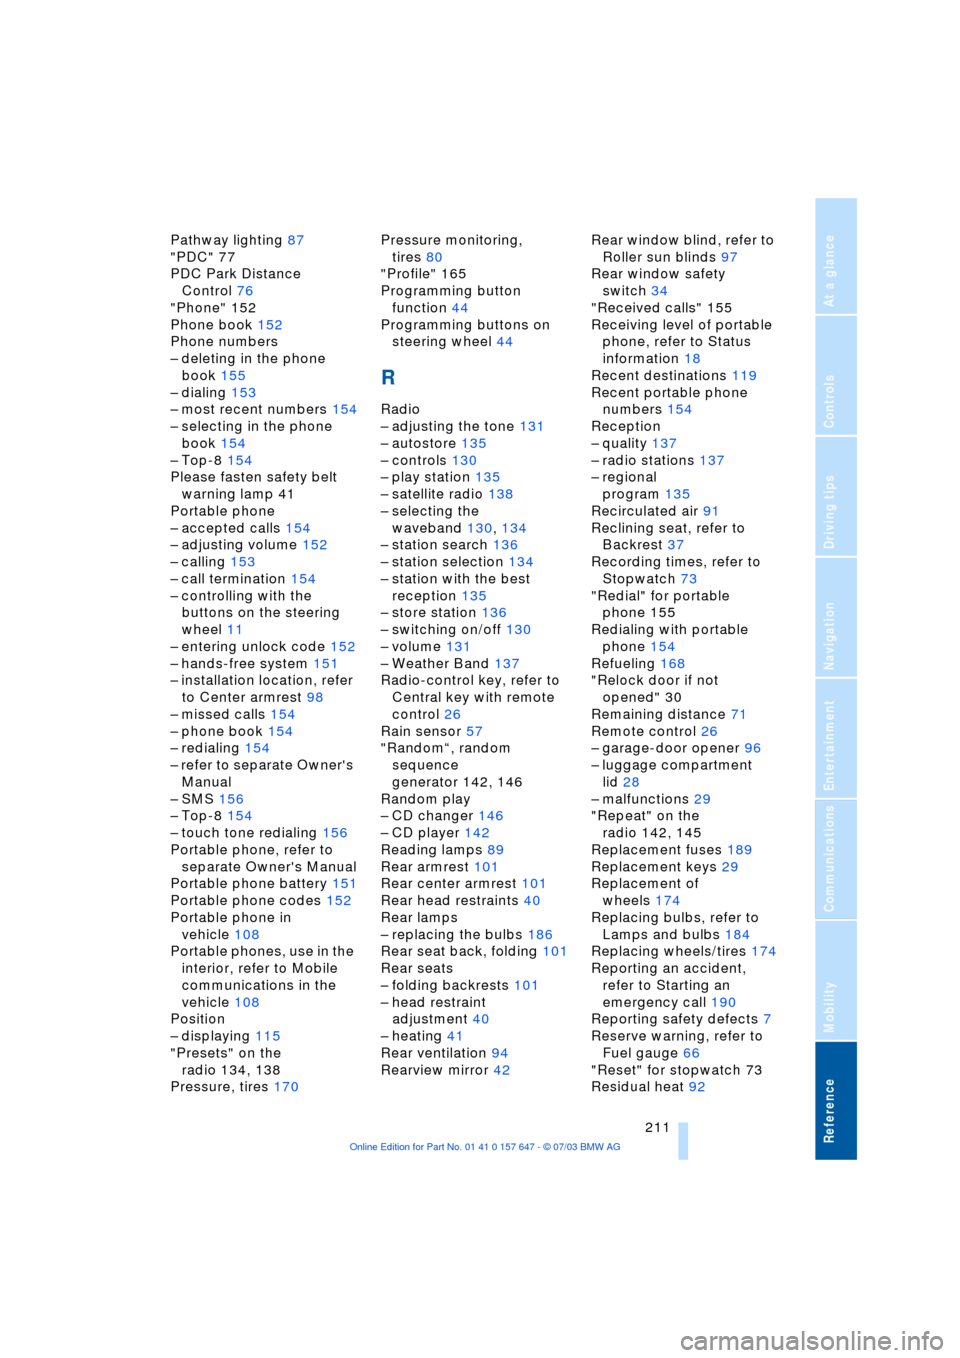
Pathway lighting 87
"PDC" 77
PDC Park Distance
Control 76
"Phone" 152
Phone book 152
Phone numbers
Ð deleting in the phone
book 155
Ð dialing 153
Ð most recent numbers 154
Ð selecting in the phone
book 154
Ð Top-8 154
Please fasten safety belt
warning lamp 41
Portable phone
Ð accepted calls 154
Ð adjusting volume 152
Ð calling 153
Ð call termination 154
Ð controlling with the
buttons on the steering
wheel 11
Ð entering unlock code 152
Ð hands-free system 151
Ð installation location, refer
to Center armrest 98
Ð missed calls 154
Ð phone book 154
Ð redialing 154
Ð refer to separate Owner's
Manual
Ð SMS 156
Ð Top-8 154
Ð touch tone redialing 156
Portable phone, refer to
separate Owner's Manual
Portable phone battery 151
Portable phone codes 152
Portable phone in
vehicle 108
Portable phones, use in the
interior, refer to Mobile
communications in the
vehicle 108
Position
Ð displaying 115
"Presets" on the
radio 134, 138
Pressure, tires 170Pressure monitoring,
tires 80
"Profile" 165
Programming button
function 44
Programming buttons on
steering wheel 44
R
Radio
Ð adjusting the tone 131
Ð autostore 135
Ð controls 130
Ð play station 135
Ð satellite radio 138
Ð selecting the
waveband 130, 134
Ð station search 136
Ð station selection 134
Ð station with the best
reception 135
Ð store station 136
Ð switching on/off 130
Ð volume 131
Ð Weather Band 137
Radio-control key, refer to
Central key with remote
control 26
Rain sensor 57
"RandomÒ, random
sequence
generator 142, 146
Random play
Ð CD changer 146
Ð CD player 142
Reading lamps 89
Rear armrest 101
Rear center armrest 101
Rear head restraints 40
Rear lamps
Ð replacing the bulbs 186
Rear seat back, folding 101
Rear seats
Ð folding backrests 101
Ð head restraint
adjustment 40
Ð heating 41
Rear ventilation 94
Rearview mirror 42Rear window blind, refer to
Roller sun blinds 97
Rear window safety
switch 34
"Received calls" 155
Receiving level of portable
phone, refer to Status
information 18
Recent destinations 119
Recent portable phone
numbers 154
Reception
Ð quality 137
Ð radio stations 137
Ð regional
program 135
Recirculated air 91
Reclining seat, refer to
Backrest 37
Recording times, refer to
Stopwatch 73
"Redial" for portable
phone 155
Redialing with portable
phone 154
Refueling 168
"Relock door if not
opened" 30
Remaining distance 71
Remote control 26
Ð garage-door opener 96
Ð luggage compartment
lid 28
Ð malfunctions 29
"Repeat" on the
radio 142, 145
Replacement fuses 189
Replacement keys 29
Replacement of
wheels 174
Replacing bulbs, refer to
Lamps and bulbs 184
Replacing wheels/tires 174
Reporting an accident,
refer to Starting an
emergency call 190
Reporting safety defects 7
Reserve warning, refer to
Fuel gauge 66
"Reset" for stopwatch 73
Residual heat 92
Page 215 of 220
Reference 213
At a glance
Controls
Driving tips
Communications
Navigation
Entertainment
Mobility
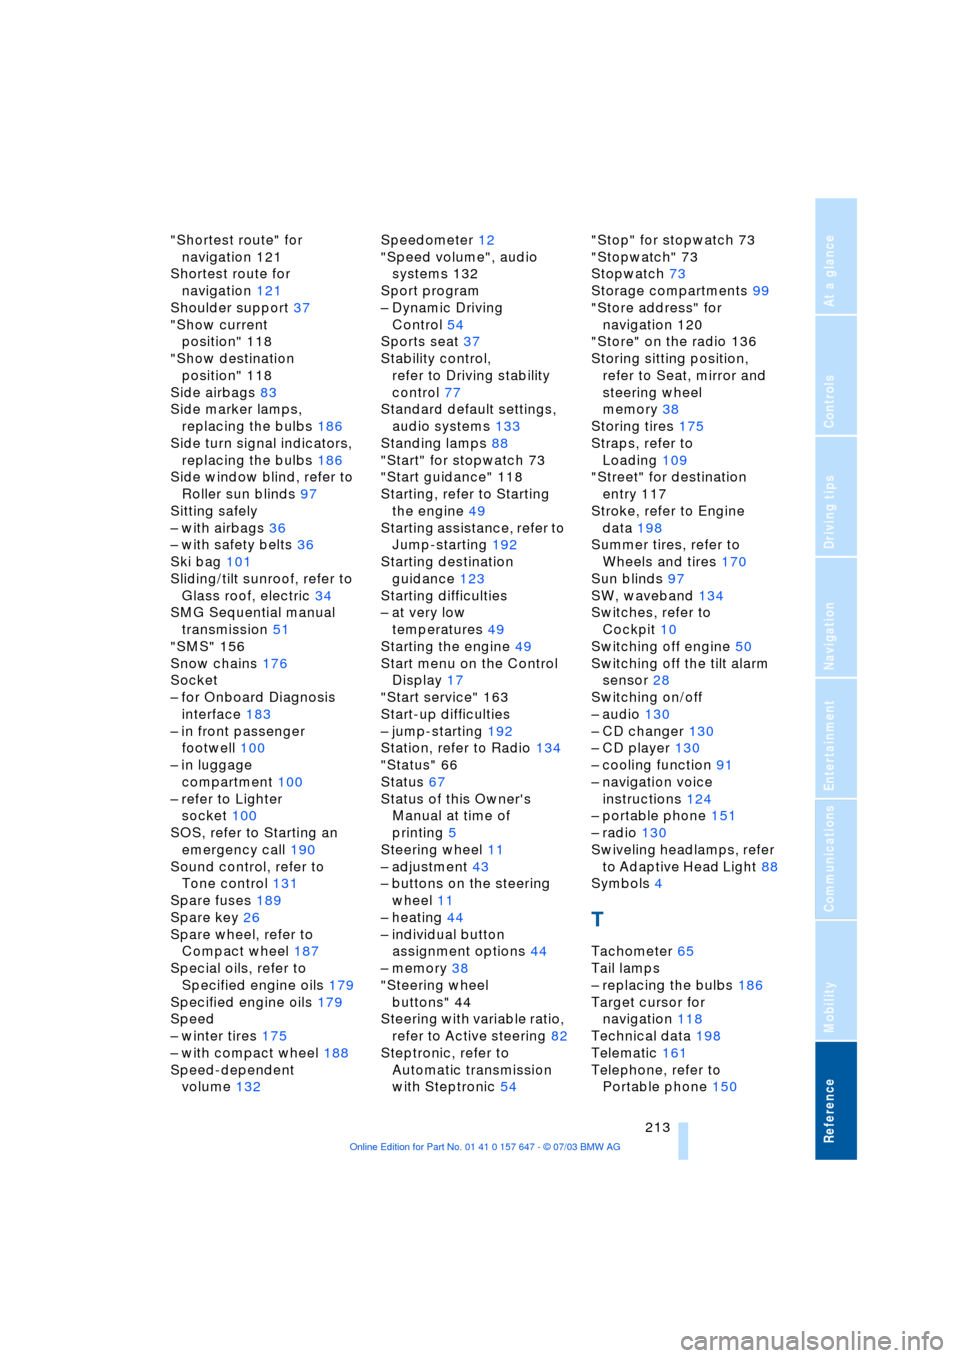
"Shortest route" for
navigation 121
Shortest route for
navigation 121
Shoulder support 37
"Show current
position" 118
"Show destination
position" 118
Side airbags 83
Side marker lamps,
replacing the bulbs 186
Side turn signal indicators,
replacing the bulbs 186
Side window blind, refer to
Roller sun blinds 97
Sitting safely
Ð with airbags 36
Ð with safety belts 36
Ski bag 101
Sliding/tilt sunroof, refer to
Glass roof, electric 34
SMG Sequential manual
transmission 51
"SMS" 156
Snow chains 176
Socket
Ð for Onboard Diagnosis
interface 183
Ð in front passenger
footwell 100
Ð in luggage
compartment 100
Ð refer to Lighter
socket 100
SOS, refer to Starting an
emergency call 190
Sound control, refer to
Tone control 131
Spare fuses 189
Spare key 26
Spare wheel, refer to
Compact wheel 187
Special oils, refer to
Specified engine oils 179
Specified engine oils 179
Speed
Ð winter tires 175
Ð with compact wheel 188
Speed-dependent
volume 132Speedometer 12
"Speed volume", audio
systems 132
Sport program
Ð Dynamic Driving
Control 54
Sports seat 37
Stability control,
refer to Driving stability
control 77
Standard default settings,
audio systems 133
Standing lamps 88
"Start" for stopwatch 73
"Start guidance" 118
Starting, refer to Starting
the engine 49
Starting assistance, refer to
Jump-starting 192
Starting destination
guidance 123
Starting difficulties
Ð at very low
temperatures 49
Starting the engine 49
Start menu on the Control
Display 17
"Start service" 163
Start-up difficulties
Ð jump-starting 192
Station, refer to Radio 134
"Status" 66
Status 67
Status of this Owner's
Manual at time of
printing 5
Steering wheel 11
Ð adjustment 43
Ð buttons on the steering
wheel 11
Ð heating 44
Ð individual button
assignment options 44
Ð memory 38
"Steering wheel
buttons" 44
Steering with variable ratio,
refer to Active steering 82
Steptronic, refer to
Automatic transmission
with Steptronic 54"Stop" for stopwatch 73
"Stopwatch" 73
Stopwatch 73
Storage compartments 99
"Store address" for
navigation 120
"Store" on the radio 136
Storing sitting position,
refer to Seat, mirror and
steering wheel
memory 38
Storing tires 175
Straps, refer to
Loading 109
"Street" for destination
entry 117
Stroke, refer to Engine
data 198
Summer tires, refer to
Wheels and tires 170
Sun blinds 97
SW, waveband 134
Switches, refer to
Cockpit 10
Switching off engine 50
Switching off the tilt alarm
sensor 28
Switching on/off
Ð audio 130
Ð CD changer 130
Ð CD player 130
Ð cooling function 91
Ð navigation voice
instructions 124
Ð portable phone 151
Ð radio 130
Swiveling headlamps, refer
to Adaptive Head Light 88
Symbols 4
T
Tachometer 65
Tail lamps
Ð replacing the bulbs 186
Target cursor for
navigation 118
Technical data 198
Telematic 161
Telephone, refer to
Portable phone 150