2004 BMW 325CI display
[x] Cancel search: displayPage 96 of 186

96
Because the sides of Run Flat
tires are reinforced, a drop in infla-
tion pressure usually cannot be
detected from the outside, refer to Run
Flat tires, page 156.<
2. To continue driving, follow the
instructions under Driving with a
damaged tire on page 157.
System malfunction
The indicator lamp in the instru-
ment cluster lights up yellow.
The Flat Tire Monitor is malfunc-
tioning or out of order. Please refer the
problem to your BMW center.
Brake force displayThe brake force display indicates to the
driver of the vehicle behind you how
hard you are braking your vehicle.
The display has two levels:
>Normal braking: the brake lamps
among the rear lamps and the center
brake lamp light up
>Hard braking or use of ABS: the tail
lamps light up with the same bright-
ness as the brake lamps and thereby
intensify the visual effect of the brake
lamps.
Flat Tire Monitor*
Page 100 of 186

100
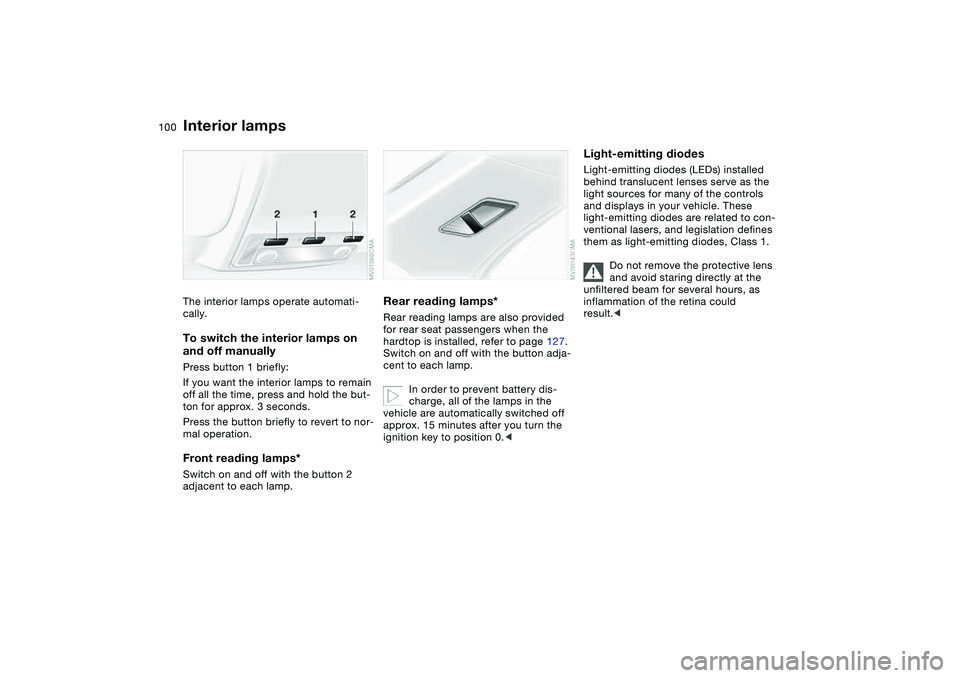
Interior lampsThe interior lamps operate automati-
cally.To switch the interior lamps on
and off manuallyPress button 1 briefly:
If you want the interior lamps to remain
off all the time, press and hold the but-
ton for approx. 3 seconds.
Press the button briefly to revert to nor-
mal operation.Front reading lamps*Switch on and off with the button 2
adjacent to each lamp.
Rear reading lamps*Rear reading lamps are also provided
for rear seat passengers when the
hardtop is installed, refer to page 127.
Switch on and off with the button adja-
cent to each lamp.
In order to prevent battery dis-
charge, all of the lamps in the
vehicle are automatically switched off
approx. 15 minutes after you turn the
ignition key to position 0.<
Light-emitting diodesLight-emitting diodes (LEDs) installed
behind translucent lenses serve as the
light sources for many of the controls
and displays in your vehicle. These
light-emitting diodes are related to con-
ventional lasers, and legislation defines
them as light-emitting diodes, Class 1.
Do not remove the protective lens
and avoid staring directly at the
unfiltered beam for several hours, as
inflammation of the retina could
result.<
Page 107 of 186

107
1Air onto the windshield and the side
windows
2Air for the upper body area109
3Air to the footwell
4Air inlet for interior temperature
sensor – please keep clear and
unobstructed
5Outside air/Automatic recirculated-
air control (AUC)/Recirculated
air109
6Automatic air distribution and
supply108
7Individual air distribution108
8Temperature108
9Display for temperature108
and air supply108
10 Air supply/Blower108
11 To defrost windows and remove
condensation108
12 Air conditioning108
13 Rear window defroster109Automatic climate control*
OverviewControlsMaintenanceRepairsDataIndex
Page 108 of 186

108
Tips for pleasant drivingUse the automatic mode – switch on
with AUTO button 6. Select the desired
interior temperature.
Detailed setting options are described
for you in the following section.
You can make the settings of your
vehicle in such a manner that,
when you unlock the vehicle with the
remote control of your personal key,
your own personalized setting for the
automatic climate control is initiated.
The AUTO program adjusts the
air distribution and the air sup-
ply for you and in addition adapts the
temperature to external influences –
summer, winter – to meet preferences
you can specify.
Individual air distribution
You can cancel the AUTO pro-
gram by selecting specific dis-
tribution patterns to suit your
own individual requirements.
While the AUTO program is then deacti-
vated, the automatic airflow control
remains in operation. Air flows onto
the windows , toward the upper
body , and into the footwell . You
can reactivate the automatic air distri-
bution mode by selecting the AUTO
button.Temperature
The interior temperature that
appears in the display panel is a
general figure intended for refer-
ence purposes. We recommend 727/
+226 as a comfortable setting, even if
the air conditioning is on. When you
start the vehicle, the system ensures
that the selected temperature is
achieved as quickly as possible. It then
maintains this temperature, regardless
of the season.
To select the units of measure 6/7 of
the display, refer to page 90.
Air supply/Blower
By pressing the upper or lower
button, you can vary the air sup-
ply. This deactivates the auto-
matic control of the air supply, AUTO
disappears from the display panel. Nev-
ertheless, the automatic air distribution
remains unchanged. You can reactivate
the automatic air distribution mode by
selecting the AUTO button.
When the lowest blower speed is set
and you press the lower button, all of
the displays are canceled: the blower,
heating and air conditioning are
switched off. The outside air supply is
blocked. You can reactivate the system
by pressing any button for the auto-
matic climate control.To defrost windows and remove
condensation
This program quickly removes
ice and condensation from the
windshield and the side windows.
Air conditioning
The air is cooled and dehumidi-
fied and – depending on the
temperature setting – rewarmed.
Depending on the weather, the wind-
shield may fog over briefly when the
engine is started. Air conditioning helps
prevent the windows from fogging up.
Condensation forms during opera-
tion of the air conditioning system,
which then exits under the vehicle. It is
thus not unusual for a small puddle to
form under the car while the system is
running.<
Automatic climate control*
Page 133 of 186

133
the tire sidewall, refer to Changing a
wheel. In this case, use only Run Flat
winter tires, since no spare tire is pro-
vided in the event of a flat tire.Tire condition, tire pressureAt tread depths below approx. 3/16 in /
4 mm, winter tires display a perceptible
decrease in their ability to cope with
winter driving conditions, and should be
replaced in the interest of safety.
Comply with the specified tire inflation
pressures — and be sure to have the
wheel and tire assembly balanced
every time you change a tire or wheel.Snow chains*Only certain snow chains have been
tested by BMW and determined and
approved as roadworthy. Consult any
BMW center for details. BMW recom-
mends using only these approved fine-
link snow chains. Use them in pairs on
either summer or winter tires, but only
on both rear wheels.
Comply with all manufacturer's safety
precautions when mounting the chains.
Do not exceed a speed of 30 mph /
50 km/h when using snow chains.You cannot mount snow chains with the
following tires:
225/50 R 16
225/45 R 17
225/40 R 18
245/40 R 17
255/35 R 18
Do not initialize the Flat Tire Moni-
tor after mounting snow chains to
the tires.
When driving with snow chains, it may
be useful to turn off the DSC for a short
time, refer to page 94.
Page 142 of 186

142Maintenance
The BMW Maintenance SystemThe BMW Maintenance System has
been designed as a reliable means of
providing maximum driving and operat-
ing safety – and as cost-effectively for
you as possible.
Please keep in mind that regular main-
tenance is not only necessary for the
safety of your vehicle, but also plays a
significant role in maintaining its resale
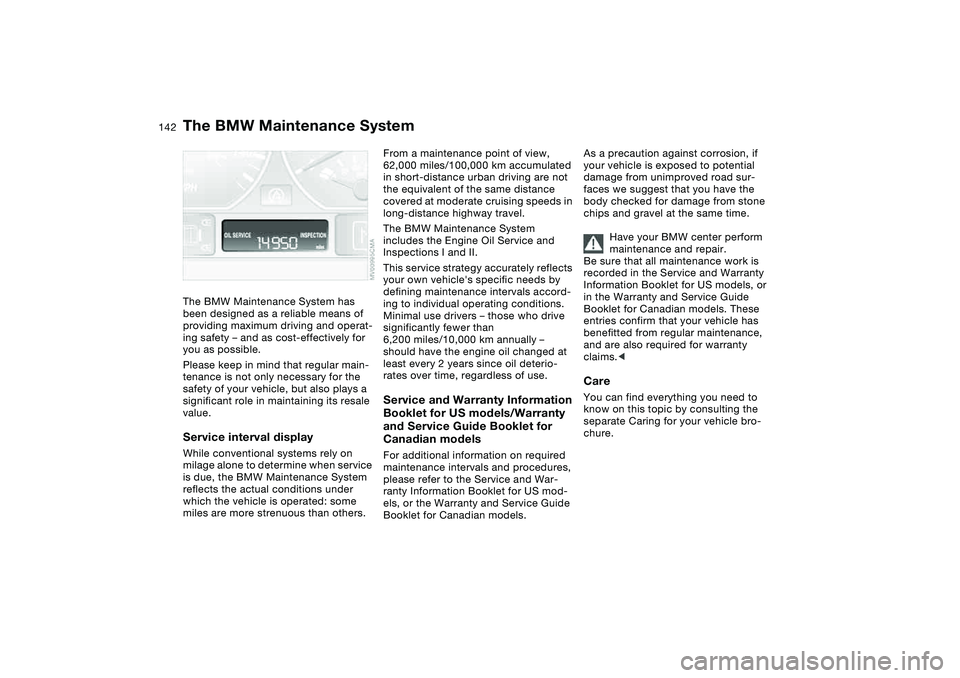
value.Service interval displayWhile conventional systems rely on
milage alone to determine when service
is due, the BMW Maintenance System
reflects the actual conditions under
which the vehicle is operated: some
miles are more strenuous than others.
From a maintenance point of view,
62,000 miles/100,000 km accumulated
in short-distance urban driving are not
the equivalent of the same distance
covered at moderate cruising speeds in
long-distance highway travel.
The BMW Maintenance System
includes the Engine Oil Service and
Inspections I and II.
This service strategy accurately reflects
your own vehicle's specific needs by
defining maintenance intervals accord-
ing to individual operating conditions.
Minimal use drivers – those who drive
significantly fewer than
6,200 miles/10,000 km annually –
should have the engine oil changed at
least every 2 years since oil deterio-
rates over time, regardless of use.Service and Warranty Information
Booklet for US models/Warranty
and Service Guide Booklet for
Canadian modelsFor additional information on required
maintenance intervals and procedures,
please refer to the Service and War-
ranty Information Booklet for US mod-
els, or the Warranty and Service Guide
Booklet for Canadian models.As a precaution against corrosion, if
your vehicle is exposed to potential
damage from unimproved road sur-
faces we suggest that you have the
body checked for damage from stone
chips and gravel at the same time.
Have your BMW center perform
maintenance and repair.
Be sure that all maintenance work is
recorded in the Service and Warranty
Information Booklet for US models, or
in the Warranty and Service Guide
Booklet for Canadian models. These
entries confirm that your vehicle has
benefitted from regular maintenance,
and are also required for warranty
claims.<
CareYou can find everything you need to
know on this topic by consulting the
separate Caring for your vehicle bro-
chure.
Page 173 of 186

Everything from A to Z
173
Battery 157
charge 157
disposal 157
indicator lamp 18
jump-starting 159
remote control 30, 31
Battery charge current 18
Belts, refer to Safety
belts 56
Beverage holders 115
Blower
air conditioning 104
automatic climate
control 108
BMW High Performance
Synthetic Oils 139
BMW Maintenance
System 142
BMW sports seat 53
Bore, refer to Engine
data 166
Bottle holders, see Bever-
age holders 115
Brake fluid 141
indicator lamp 18, 141
level 141
Brake force display 96
Brake hydraulic system 126
Brake lamps
bulb replacement 151
indicator lamp, defective
lamp 88Brake lights
brake force display 96
Brake pads 126
brake fluid level
18, 126, 141
breaking in 124
disc brakes 126
indicator lamp 19
Brake rotors
brake system 126
breaking in 124
Brake wear warning
indicator lamp 19
Brakes
ABS 125
brake fluid 141
breaking in 124
indicator/warning lamp
18, 19
parking brake 73
Break-in procedures 124
Bulb replacement, refer to
Lamps and bulbs 149
Bulb, replacing 149
Buttons in steering wheel 22
C
California Proposition
65 warning 143
Can holders, see Beverage
holders 115
Capacities 169Car battery 157
Car care, refer to the Caring
for your vehicle brochure
Car keys, refer to Keys 30
Car radio, refer to the
Owner's Manual for Radio
Car telephone
preparation 115
Car telephone, refer to the
separate Owner's Manual
Car vacuum cleaner, con-
necting 116
Car wash, refer to the Caring
for your vehicle brochure
Carpet care, refer to the
Caring for your vehicle
brochure
Cassette operation, refer to
the Owner's Manual for
Radio/Onboard Computer
CBC Cornering Brake Con-
trol 125
warning lamp 19
CD changer, refer to the
Owner's Manual for
Radio/Onboard Computer
CD operation, refer to the
Owner's Manual for
Radio/Onboard Computer
Cellular phone 115
Center armrest
front 114Center high-mount brake
lamp
bulb replacement 152
Central locking system 30
button 34
passenger
compartment 34
Changing a wheel 153
Charge indicator lamp 18
Check Control 88
Check Gas Cap
indicator lamp 19
Child seats, refer to Child-
restraint systems 64
Child-restraint mounting
system (LATCH) 66
Child-restraint system 64
Chock 154
Cigarette lighter 115
Cigarette lighter socket 116
Cleaning chrome parts, refer
to the Caring for your vehi-
cle brochure
Cleaning light alloy wheels,
refer to the Caring for your
vehicle brochure
Cleaning position, convert-
ible top 45, 50
Cleaning the vehicle, refer to
the Caring for your vehicle
brochure
Cleaning windshield 84
OverviewControlsMaintenanceRepairsDataIndex
Page 174 of 186

Everything from A to ZClock 89
12-/24-hour mode 89
setting, refer also to the
Owner's Manual for
Radio/Onboard Computer
Closing
from inside 34
from outside 31
Clothes hooks 125
Clutch
breaking in 124
Cockpit 14
Code, refer to the Owner's
Manual for Radio/Onboard
Computer
Coin box 115
Cold start, refer to Starting
the engine 71
Compact disc operation,
refer to the Owner's Man-
ual for Radio/Onboard
Computer
Compartments 114
Compression ratio, refer to
Engine data 166
Computer 90
Condensation, refer to Air
conditioning mode
104, 108
Configuring settings, refer to
Vehicle Memory, Key
Memory 70Connecting a vacuum
cleaner, refer to Cigarette
lighter 116
Consumption
display 86
Consumption, refer to Aver-
age fuel consumption 91
Control elements, refer to
Cockpit 14
Convenience operation
from outside 33
windows 32
Convertible top
cleaning position 45, 50
closing in an
emergency 48
electrical fault 48
indicator lamps 47
remote control 31
Convertible top activation
fully automatic top 46
manual top 41
Convertible top compart-
ment panel 37
Coolant 140
indicator lamp 19, 87
level 140
temperature gauge 87
Coolant water, refer to Cool-
ant 140
Cooling, refer to Tempera-
ture 104, 108Copyright 4
Cornering Brake Control
(CBC) 125
warning lamp 19
Correct tires 132
Cruise control 84
indicator lamp 20
Cup holders, see Beverage
holders 115
Curb weight, refer to
Weights 168
Current consumption, refer
to Energy control 86
Curve lighting, refer to
Adaptive headlights 98
Cylinders, refer to Engine
data 166
D
Dashboard, refer to
Cockpit 14
Data
capacities 169
dimensions 167
engine 166
technical 166
weights 168
Daytime driving lamps 97
DBC Dynamic Brake Control
19, 125
Deep water, refer to Water
on roadways 125Defrost position, refer
to Defrosting windows
105, 108
Defrosting and demisting
windows
air conditioning 105
automatic climate
control 108
Defrosting windows
105, 108
Defrosting windshield, refer
to Defrosting windows
105, 108
Demisting windows
air conditioning 105
automatic climate
control 108
Determining the maximum
load 118
Differential
breaking in 124
Digital clock 89
Dimensions 167
Dipstick, engine oil 138
Disc brakes 126
Displacement, refer to
Engine data 166
Display lighting, refer to
Instrument lighting 98
Displays, refer to Instrument
cluster 16