Page 80 of 186
80
KickdownIn the kickdown mode, you achieve
maximum acceleration and top speed
in position D.
Depress the accelerator pedal past the
increased resistance point at the full-
throttle position.
M/S manual operation and Sport
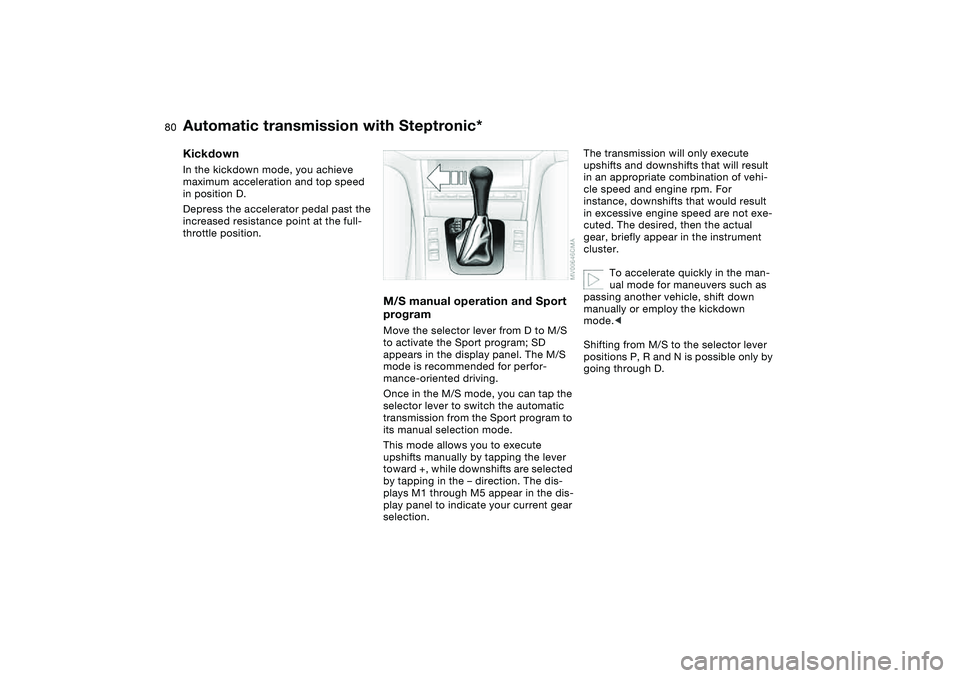
programMove the selector lever from D to M/S
to activate the Sport program; SD
appears in the display panel. The M/S
mode is recommended for perfor-
mance-oriented driving.
Once in the M/S mode, you can tap the
selector lever to switch the automatic
transmission from the Sport program to
its manual selection mode.
This mode allows you to execute
upshifts manually by tapping the lever
toward +, while downshifts are selected
by tapping in the – direction. The dis-
plays M1 through M5 appear in the dis-
play panel to indicate your current gear
selection.
The transmission will only execute
upshifts and downshifts that will result
in an appropriate combination of vehi-
cle speed and engine rpm. For
instance, downshifts that would result
in excessive engine speed are not exe-
cuted. The desired, then the actual
gear, briefly appear in the instrument
cluster.
To accelerate quickly in the man-
ual mode for maneuvers such as
passing another vehicle, shift down
manually or employ the kickdown
mode.<
Shifting from M/S to the selector lever
positions P, R and N is possible only by
going through D.
Automatic transmission with Steptronic*
Page 117 of 186
117 Loading and transporting
Ski bag*The ski bag allows the safe and clean
transport of up to 4 pairs of standard
skis or up to two snowboards.
The length of the ski bag and the addi-
tional space provided in the luggage
compartment make it possible to carry
skis up to 6 ft 10 in / 2.10 m long.
Because of the tapered shape of the
bag, only two pairs of skis longer than
6 ft 10 in / 2.10 m can be carried.
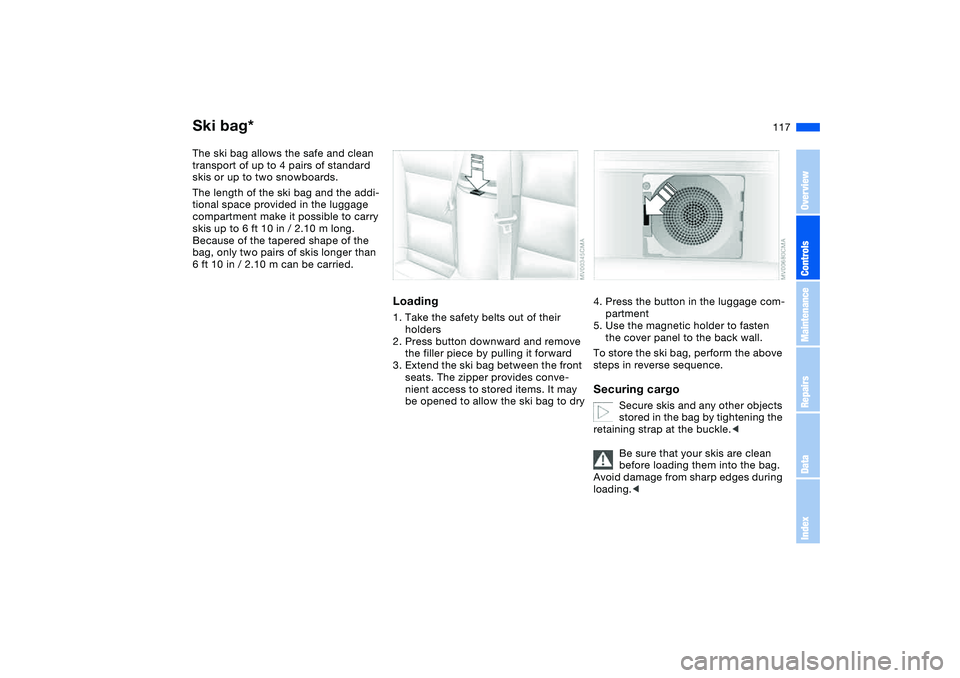
Loading1. Take the safety belts out of their
holders
2. Press button downward and remove
the filler piece by pulling it forward
3. Extend the ski bag between the front
seats. The zipper provides conve-
nient access to stored items. It may
be opened to allow the ski bag to dry
4. Press the button in the luggage com-
partment
5. Use the magnetic holder to fasten
the cover panel to the back wall.
To store the ski bag, perform the above
steps in reverse sequence.Securing cargo
Secure skis and any other objects
stored in the bag by tightening the
retaining strap at the buckle.<
Be sure that your skis are clean
before loading them into the bag.
Avoid damage from sharp edges during
loading.<
OverviewControlsMaintenanceRepairsDataIndex
Page 118 of 186
118
When reattaching the cover, guide
both bars into the guide and press
the cover back into place. Secure the
safety belts in their holders again.<
Cargo loading
Avoid overloading the vehicle so
that the permitted load on the tires
is not exceeded. Overloading can lead
to overheating and internal tire damage.
The ultimate result can assume the
form of a sudden air loss.<
Determining the maximum load1. Locate the following statement on
your vehicle‘s placard*:
The combined weight of occu-
pants and cargo should never
exceed XXX kg or YYY lbs., as this
could otherwise result in damage to the
vehicle or unstable driving conditions.<
2. Determine the combined weight of
the driver and passengers that will be
riding in your vehicle
3. Subtract the combined weight of the
driver and passengers from
XXX kilograms or YYY pounds
Ski bag*
Page 120 of 186
120
Securing cargo>For small, light items, use the rubber-
lined, non-skid side of the floor mat
or secure using the luggage compart-
ment net* or elastic straps
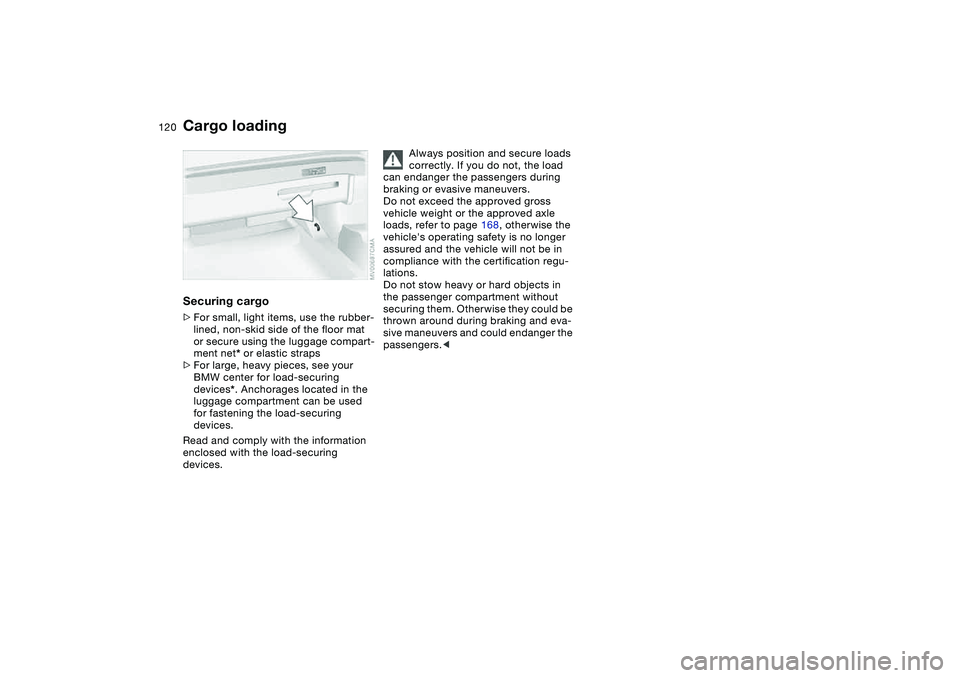
>For large, heavy pieces, see your
BMW center for load-securing
devices*. Anchorages located in the
luggage compartment can be used
for fastening the load-securing
devices.
Read and comply with the information
enclosed with the load-securing
devices.
Always position and secure loads
correctly. If you do not, the load
can endanger the passengers during
braking or evasive maneuvers.
Do not exceed the approved gross
vehicle weight or the approved axle
loads, refer to page 168, otherwise the
vehicle's operating safety is no longer
assured and the vehicle will not be in
compliance with the certification regu-
lations.
Do not stow heavy or hard objects in
the passenger compartment without
securing them. Otherwise they could be
thrown around during braking and eva-
sive maneuvers and could endanger the
passengers.<
Cargo loading
Page 121 of 186

121
Roof-mounted luggage rack for the hardtop*A special roof-rack system is available
as an optional extra for your BMW.
Please observe the precautions
included with the installation instruc-
tions.AnchoragesAccess to the anchorages:
To fold up the covers, please use the
tool provided with the roof-rack system.Loading and driving notesRoof-mounted luggage racks raise the
center of gravity of the vehicle when
they are loaded. For this reason, they
exercise a major effect on the vehicle's
handling and steering response.
You should therefore always remember
not to exceed the approved roof load
capacity, the approved gross vehicle
weight or the maximum axle loads
when loading the rack. These weights
are listed under Technical data on
page 168.
Make sure that the load is not too bulky,
and attempt to distribute it evenly.
Always load the heaviest pieces first so
that they are at the bottom. Make sure
that no objects will be in the way when
the luggage compartment lid is opening
or closing.
Secure the roof-mounted luggage cor-
rectly and securely to prevent it from
shifting or being lost during driving.
Drive smoothly and avoid sudden
acceleration or braking. Do not corner
at high speeds.
The roof-mounted luggage rack and the
roof load increase the aerodynamic
resistance: increased fuel consumption
and additional stress on the vehicle's
body are the result.
OverviewControlsMaintenanceRepairsDataIndex
Page 128 of 186
128
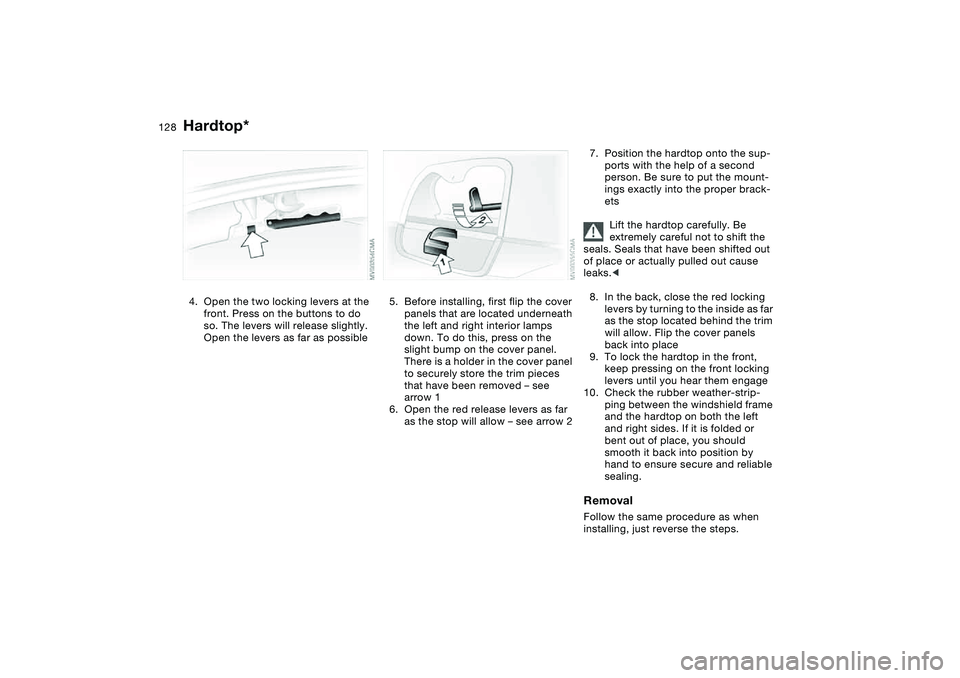
4. Open the two locking levers at the
front. Press on the buttons to do
so. The levers will release slightly.
Open the levers as far as possible
5. Before installing, first flip the cover
panels that are located underneath
the left and right interior lamps
down. To do this, press on the
slight bump on the cover panel.
There is a holder in the cover panel
to securely store the trim pieces
that have been removed – see
arrow 1
6. Open the red release levers as far
as the stop will allow – see arrow 2
7. Position the hardtop onto the sup-
ports with the help of a second
person. Be sure to put the mount-
ings exactly into the proper brack-
ets
Lift the hardtop carefully. Be
extremely careful not to shift the
seals. Seals that have been shifted out
of place or actually pulled out cause
leaks.<
8. In the back, close the red locking
levers by turning to the inside as far
as the stop located behind the trim
will allow. Flip the cover panels
back into place
9. To lock the hardtop in the front,
keep pressing on the front locking
levers until you hear them engage
10. Check the rubber weather-strip-
ping between the windshield frame
and the hardtop on both the left
and right sides. If it is folded or
bent out of place, you should
smooth it back into position by
hand to ensure secure and reliable
sealing.RemovalFollow the same procedure as when
installing, just reverse the steps.
Hardtop*
Page 134 of 186
134In the engine compartment
HoodTo releasePull the lever located under the left-
hand side of the instrument panel.
Do not attempt to service your
vehicle if you do not have the
required technical background. Failure
to work in an informed, professional
manner when servicing components
and materials constitutes a safety haz-
ard for vehicle occupants and other
road users. If you are not familiar with
the guidelines, BMW recommends that
you have the operations performed by
your BMW center.<
To openPull the release handle and open the
hood.
To closeAllow the hood to fall from a height of
about 1 ft/30 cm so that it audibly
engages.
To avoid injuries, be sure that the
travel path of the hood is clear
when it is closed, following the same
safety precautions used in all closing
procedures.
If you notice while driving that the hood
is not completely closed, stop immedi-
ately and close it securely.<
Page 154 of 186
154
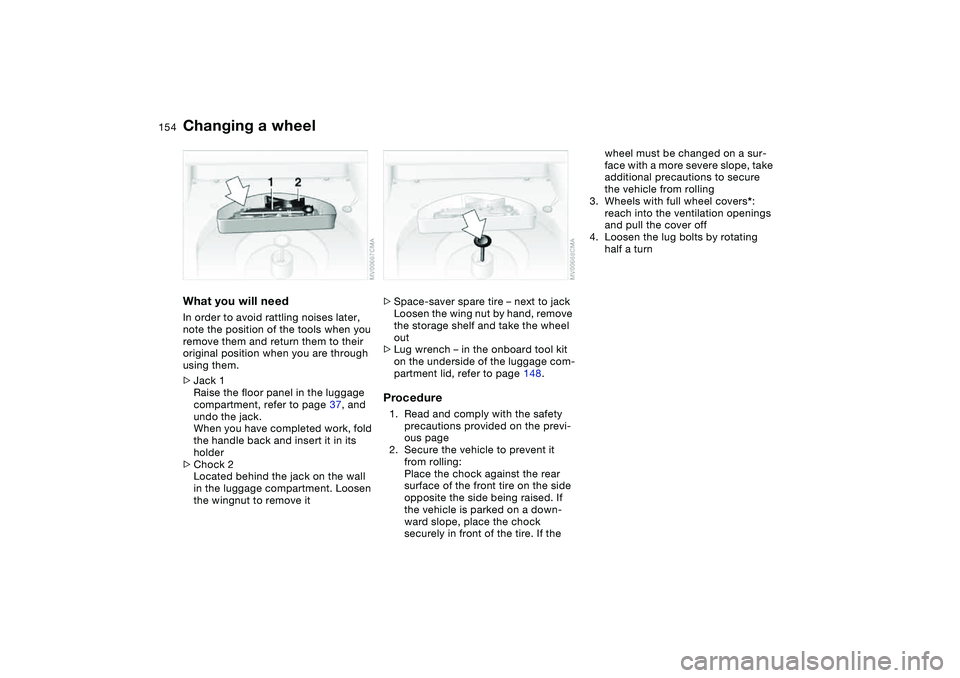
What you will needIn order to avoid rattling noises later,
note the position of the tools when you
remove them and return them to their
original position when you are through
using them.
>Jack 1
Raise the floor panel in the luggage
compartment, refer to page 37, and
undo the jack.
When you have completed work, fold
the handle back and insert it in its
holder
>Chock 2
Located behind the jack on the wall
in the luggage compartment. Loosen
the wingnut to remove it
>Space-saver spare tire – next to jack
Loosen the wing nut by hand, remove
the storage shelf and take the wheel
out
>Lug wrench – in the onboard tool kit
on the underside of the luggage com-
partment lid, refer to page 148.Procedure1. Read and comply with the safety
precautions provided on the previ-
ous page
2. Secure the vehicle to prevent it
from rolling:
Place the chock against the rear
surface of the front tire on the side
opposite the side being raised. If
the vehicle is parked on a down-
ward slope, place the chock
securely in front of the tire. If the
wheel must be changed on a sur-
face with a more severe slope, take
additional precautions to secure
the vehicle from rolling
3. Wheels with full wheel covers*:
reach into the ventilation openings
and pull the cover off
4. Loosen the lug bolts by rotating
half a turn
Changing a wheel