2004 BMW 325CI heating
[x] Cancel search: heatingPage 8 of 186

Contents
Notes
About this Owner's Manual4
Additional sources of
information4
Symbols used4
Your individual vehicle5
Status at time of printing5
For your own safety5
Symbol on vehicle parts6
Service and warranty7
Reporting safety defects7
Overview
Cockpit14
Instrument cluster16
Indicator and warning lamps18
Buttons in steering wheel*22
Hazard warning triangle*23
First-aid kit*23
Refueling24
Fuel specifications25
Tire inflation pressure25
Controls and features
Opening and closing:
Keys30
Central locking system30
Opening and closing – via the
remote control31
Opening and closing – via the
door lock33
Opening and closing – from the
inside34
Luggage compartment lid35
Luggage compartment37
Alarm system*38
Electric power windows40
Manual convertible top41
Fully-automatic convertible
top*46
Wind deflector*50
To adjust:
Safe seating position52
Seats53
Adjusting electric power
seats53
Lumbar support*54
Head restraints54
Entering the rear55
Safety belts56
Seat and mirror memory*57
Seat heating*58
Steering wheel59
Mirrors59
Page 18 of 186

18
Indicator and warning lamps
Technology that monitors itself
Indicator and warning lamps that are
identified by
●
are tested for proper
functioning whenever the ignition key is
turned. They each light up once for dif-
ferent periods of time.
If a fault should occur in one of these
systems, the corresponding lamp does
not go out after the engine is started, or
it lights up while the vehicle is moving.
You will see how to react in the follow-
ing section.
Red: stop immediately
Battery charge current
●
The battery is no longer being
charged. Indicates a defective
alternator drive belt or a problem with
the alternator's charge circuit. Please
contact the nearest BMW center.
If the drive belt is defective, stop
and switch off the engine immedi-
ately to prevent overheating and seri-
ous engine damage. If the drive belt is
defective, increased steering effort is
also required.
<
Engine oil pressure
●
Stop the vehicle immediately
and switch off the engine.
Check the engine oil level; top off as
required. If the oil level is correct:
please contact the nearest BMW cen-
ter.
Do not continue driving, as the
engine could sustain serious dam-
age from inadequate lubrication.
<
Flat Tire Monitor
●
In addition, an acoustic signal is
sounded: there is a flat tire.
Reduce speed and carefully come to a
stop. Avoid sudden braking and steer-
ing maneuvers.
For additional information: refer to
page 94
Brake warning lamp
●
If the lamp comes on when the
parking brake is not engaged:
check the brake fluid level. Before driv-
ing further, be sure to comply with the
instructions on pages 126 and 141.
Brake warning lamp for Cana-
dian models.
Red: an important reminder
Brake warning lamp
Comes on when the parking
brake is engaged – an additional
acoustic signal sounds when you start
off.
For additional information: refer to
page 73
Brake warning lamp for Cana-
dian models.
Lock backrest/Fasten safety
belts
●
Comes on together with an
acoustic signal until the safety belts are
fastened. Flashes if the backrest is not
locked.
For additional information on locking
the seat backrests, refer to page 55
For additional information on safety
belts: refer to page 56
Airbags
●
Please have the system
inspected at your BMW center.
For additional information: refer to
page 61
Page 58 of 186

58
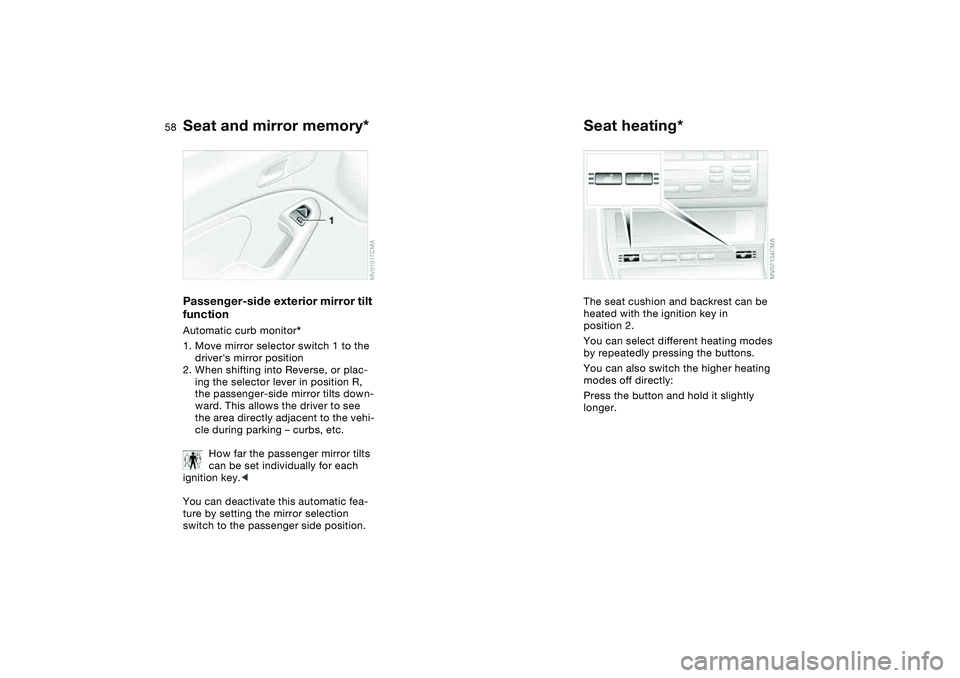
Passenger-side exterior mirror tilt
functionAutomatic curb monitor*
1. Move mirror selector switch 1 to the
driver's mirror position
2. When shifting into Reverse, or plac-
ing the selector lever in position R,
the passenger-side mirror tilts down-
ward. This allows the driver to see
the area directly adjacent to the vehi-
cle during parking – curbs, etc.
How far the passenger mirror tilts
can be set individually for each
ignition key.<
You can deactivate this automatic fea-
ture by setting the mirror selection
switch to the passenger side position.
Seat heating*The seat cushion and backrest can be
heated with the ignition key in
position 2.
You can select different heating modes
by repeatedly pressing the buttons.
You can also switch the higher heating
modes off directly:
Press the button and hold it slightly
longer.
Seat and mirror memory*
Page 104 of 186

104
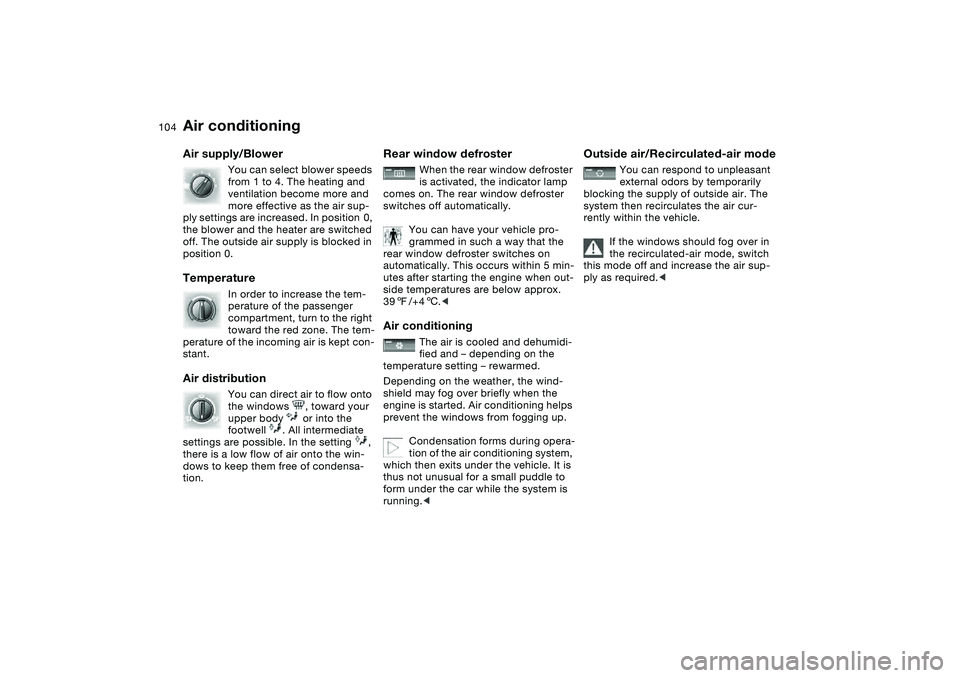
Air supply/Blower
You can select blower speeds
from 1 to 4. The heating and
ventilation become more and
more effective as the air sup-
ply settings are increased. In position 0,
the blower and the heater are switched
off. The outside air supply is blocked in
position 0.
Temperature
In order to increase the tem-
perature of the passenger
compartment, turn to the right
toward the red zone. The tem-
perature of the incoming air is kept con-
stant.
Air distribution
You can direct air to flow onto
the windows , toward your
upper body or into the
footwell . All intermediate
settings are possible. In the setting ,
there is a low flow of air onto the win-
dows to keep them free of condensa-
tion.
Rear window defroster
When the rear window defroster
is activated, the indicator lamp
comes on. The rear window defroster
switches off automatically.
You can have your vehicle pro-
grammed in such a way that the
rear window defroster switches on
automatically. This occurs within 5 min-
utes after starting the engine when out-
side temperatures are below approx.
397/+46.<
Air conditioning
The air is cooled and dehumidi-
fied and – depending on the
temperature setting – rewarmed.
Depending on the weather, the wind-
shield may fog over briefly when the
engine is started. Air conditioning helps
prevent the windows from fogging up.
Condensation forms during opera-
tion of the air conditioning system,
which then exits under the vehicle. It is
thus not unusual for a small puddle to
form under the car while the system is
running.<
Outside air/Recirculated-air mode
You can respond to unpleasant
external odors by temporarily
blocking the supply of outside air. The
system then recirculates the air cur-
rently within the vehicle.
If the windows should fog over in
the recirculated-air mode, switch
this mode off and increase the air sup-
ply as required.<
Air conditioning
Page 108 of 186

108
Tips for pleasant drivingUse the automatic mode – switch on
with AUTO button 6. Select the desired
interior temperature.
Detailed setting options are described
for you in the following section.
You can make the settings of your
vehicle in such a manner that,
when you unlock the vehicle with the
remote control of your personal key,
your own personalized setting for the
automatic climate control is initiated.
The AUTO program adjusts the
air distribution and the air sup-
ply for you and in addition adapts the
temperature to external influences –
summer, winter – to meet preferences
you can specify.
Individual air distribution
You can cancel the AUTO pro-
gram by selecting specific dis-
tribution patterns to suit your
own individual requirements.
While the AUTO program is then deacti-
vated, the automatic airflow control
remains in operation. Air flows onto
the windows , toward the upper
body , and into the footwell . You
can reactivate the automatic air distri-
bution mode by selecting the AUTO
button.Temperature
The interior temperature that
appears in the display panel is a
general figure intended for refer-
ence purposes. We recommend 727/
+226 as a comfortable setting, even if
the air conditioning is on. When you
start the vehicle, the system ensures
that the selected temperature is
achieved as quickly as possible. It then
maintains this temperature, regardless
of the season.
To select the units of measure 6/7 of
the display, refer to page 90.
Air supply/Blower
By pressing the upper or lower
button, you can vary the air sup-
ply. This deactivates the auto-
matic control of the air supply, AUTO
disappears from the display panel. Nev-
ertheless, the automatic air distribution
remains unchanged. You can reactivate
the automatic air distribution mode by
selecting the AUTO button.
When the lowest blower speed is set
and you press the lower button, all of
the displays are canceled: the blower,
heating and air conditioning are
switched off. The outside air supply is
blocked. You can reactivate the system
by pressing any button for the auto-
matic climate control.To defrost windows and remove
condensation
This program quickly removes
ice and condensation from the
windshield and the side windows.
Air conditioning
The air is cooled and dehumidi-
fied and – depending on the
temperature setting – rewarmed.
Depending on the weather, the wind-
shield may fog over briefly when the
engine is started. Air conditioning helps
prevent the windows from fogging up.
Condensation forms during opera-
tion of the air conditioning system,
which then exits under the vehicle. It is
thus not unusual for a small puddle to
form under the car while the system is
running.<
Automatic climate control*
Page 118 of 186

118
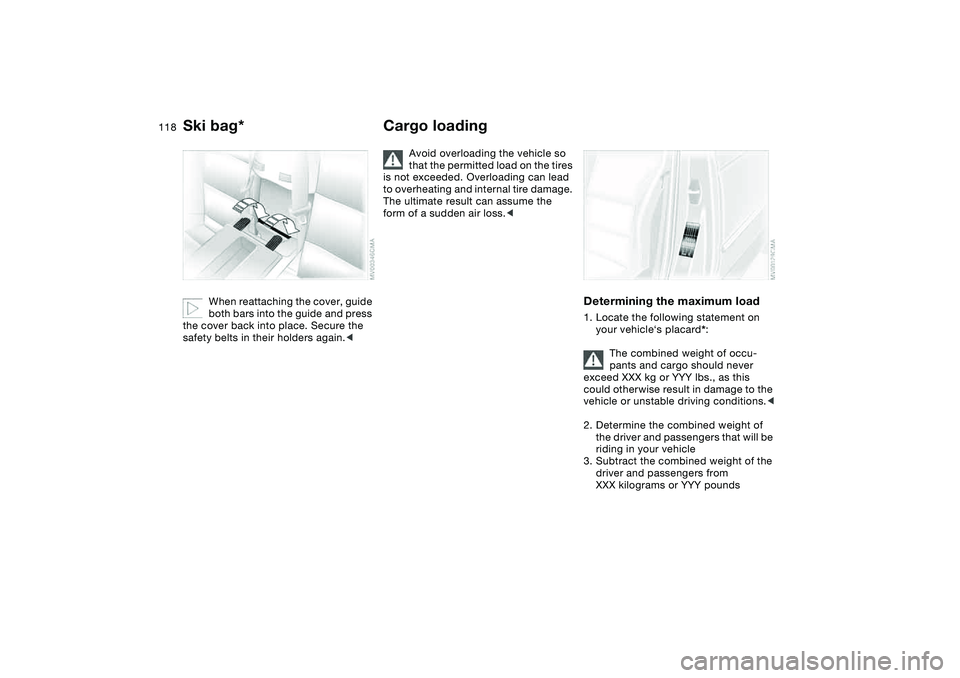
When reattaching the cover, guide
both bars into the guide and press
the cover back into place. Secure the
safety belts in their holders again.<
Cargo loading
Avoid overloading the vehicle so
that the permitted load on the tires
is not exceeded. Overloading can lead
to overheating and internal tire damage.
The ultimate result can assume the
form of a sudden air loss.<
Determining the maximum load1. Locate the following statement on
your vehicle‘s placard*:
The combined weight of occu-
pants and cargo should never
exceed XXX kg or YYY lbs., as this
could otherwise result in damage to the
vehicle or unstable driving conditions.<
2. Determine the combined weight of
the driver and passengers that will be
riding in your vehicle
3. Subtract the combined weight of the
driver and passengers from
XXX kilograms or YYY pounds
Ski bag*
Page 130 of 186

130
Do not drive on a deflated – flat –
tire unless your vehicle is
equipped with Run Flat tires. A flat tire
greatly impairs steering and braking
response, and can lead to complete
loss of control over the vehicle. Avoid
overloading the vehicle so that the per-
mitted load on the tires is not
exceeded. Overloading can lead to
overheating and internal tire damage.
The ultimate result can assume the
form of a sudden air loss.
Unusual vibrations encountered during
normal vehicle operation can indicate a
flat tire or some other vehicle malfunc-
tion. This type of problem can be
caused by contact with curbs, etc. This
is also true for irregularities in the vehi-
cle's handling characteristics, such as a
pronounced tendency to pull to the left
or right. Should this occur, respond by
immediately reducing your speed. Pro-
ceed carefully to the nearest BMW cen-
ter or professional tire center, or have
the vehicle towed in to have it, its
wheels or its tires inspected.
Tire damage up to and including sud-
den and complete air loss can endan-
ger the lives of both the vehicle occu-
pants and other road users.<
Tire replacementTo maintain good handling and vehicle
response, use only tires of a single
tread configuration from a single manu-
facturer.
Comply with the specified tire inflation
pressures — and be sure to have the
wheel and tire assembly balanced
every time you change a tire or wheel.DOT quality gradesTread wear
Traction AA A B C
Temperature A B C
All passenger car tires must con-
form to Federal Safety Require-
ments in addition to these grades.
when tested under controlled condi-
tions on a specified government test
course.
For example, a tire graded 150 would
wear one and one-half – 1
1/2 – times as
well on the government course as a tire
graded 100. The relative performance
of tires depends upon the actual condi-
tions of their use, however, and may
depart significantly from the norm due
to variations in driving habits, service
practices and differences in road char-
acteristics and climate.TractionThe traction grades, from highest to
lowest, are AA, A, B and C.
Those grades represent the tire's ability
to stop on wet pavement as measured
under controlled conditions on speci-
fied government test surfaces of
asphalt and concrete. A tire marked C
may have poor traction performance.
The traction grade assigned to
this tire is based on straight-
ahead braking traction tests, and does
not include acceleration, cornering,
hydroplaning, or peak traction charac-
teristics.
tire's resistance to the generation of
heat and its ability to dissipate heat
when tested under controlled condi-
tions on a specified indoor laboratory
test wheel.
Tire condition
Page 176 of 186

Everything from A to ZFlat tire 153
Flat Tire Monitor 94
space-saver spare tire 153
Flat Tire Monitor 94
indicator lamp 18, 19, 95
Flat tire, refer to Tire condi-
tion 129
Fluid reservoir for washer
systems 138
Fog lamps 99
indicator lamp 20
Follow me home lamps 97
Footbrake, refer to General
driving notes 125
Front airbags 61
Front fog lamps 99
Front seat adjustment 53
Fuel
display 87
quality 25
volume 169
Fuel consumption
display 91
Fuel display, refer to Fuel
gauge 87
Fuel economy, refer to
Energy control 86
Fuel filler door 24
release following an elec-
trical malfunction 24
Fuel level indicator, refer to
Fuel gauge 87Fuel mixture preparation 166
Fuel reserve indicator, refer
to Fuel gauge 87
Fuel tank capacity 169
Fully-automatic convertible
top 46
activation 46
convenience operation
32, 33
opening, closing 47
remote control 32
Fuses 157
G
Garage door opener, refer to
Integrated universal
remote control 112
Gasoline consumption, refer
to Average fuel consump-
tion 91
Gasoline, refer to Fuel spec-
ifications 25
Gear indicator 77, 81
Gear lever
automatic transmission
with Steptronic 79
sequential manual gear-
box SMG 75
Gearbox
manual transmission 74
Gearshift lever
manual transmission 74General driving notes 125
Glove compartment 111
Grills, refer to Ventilation
102, 106
Gross weight, refer to
Weights 168
H
Handbrake, refer to Parking
brake 73
Hardtop 127
Hardtop preparation 127
Hardtop, refer to the sepa-
rate Owner's Manual 127
Hazard warning flashers 14
Hazard warning triangle 23
Head restraints 54
Headlamp cleaning system
cleaning headlamps 84
washer fluid 138, 169
Headlamp control, auto-
matic 97
Headlamp flasher 99
indicator lamp 21
Headlamps
bulb replacement 149
care, refer to the Caring
for your vehicle brochure
Heated mirrors 59Heated rear window
air conditioning 104
automatic climate
control 109
Heated seats 58
Heating
exterior mirrors 59
rear window 104, 109
seats 58
Heating and ventilation
102, 106
Heavy loads, refer to Cargo
loading 119
Height adjustment
seats 53
steering wheel 59
Height, refer to
Dimensions 167
High beams 82, 83, 99
bulb replacement 150
headlamp flasher 99
indicator lamp 21
Holder for beverages 115
Hood release 134
Horn 14
Hub cap 154
Hydraulic brake assistant,
refer to DBC 125
Hydraulic system
brakes 126
Hydroplaning 125