2004 BMW 325CI COUPE lock
[x] Cancel search: lockPage 97 of 174

97
Condensation forms during opera-
tion of the air conditioning system,
which then exits under the vehicle.
Traces of condensed water on the
ground underneath the vehicle are thus
normal.<
Outside air/Automatic
recirculated-air control (AUC)/
Recirculated air
You can respond to unpleasant
external odors or pollutants by
temporarily stopping the flow of outside
air. The system then recirculates the air
currently within the vehicle.
Press the button repeatedly to select
one of three different operating modes.
>Indicator lamps off: outside airflow is
on
>Left-hand indicator lamp on – AUC
mode: the system recognizes pollut-
ants in the outside air and blocks the
flow of air when necessary. The sys-
tem then recirculates the air currently
within the vehicle. Depending on the
air quality, the automatic system then
switches back and forth between
outside air supply and recirculation of
the air within the vehicle
>Right-hand indicator lamp on: the
flow of external air into the vehicle is
permanently blocked. The system
then recirculates the air currently
within the vehicle.
If the windows should fog over in
the recirculated-air mode, switch
this mode off and increase the air sup-
ply as required.
is activated, the indicator lamp
comes on. The rear window defroster
switches off automatically after a short
while.
You can have your vehicle pro-
grammed in such a way that the
rear window defroster switches on
automatically. This occurs within 5 min-
utes after starting the engine when out-
side temperatures are below approx.
397/+46.<
Draft-free ventilationYou can adjust the blower controls for
the upper body area to obtain the opti-
mum airflow rates and directions for
your personal requirements:
1Rotary dials for infinitely variable
opening and closing of the vent out-
lets
2Levers for airflow direction
3With the rotary dial, you can add
more or less cool air to the air coming
from the outlets for the upper body
area:
>Turn toward blue – cooler.
>Turn toward red – warmer.
Automatic climate control*
OverviewControlsMaintenanceRepairsDataIndex
Page 99 of 174
99 Interior conveniences
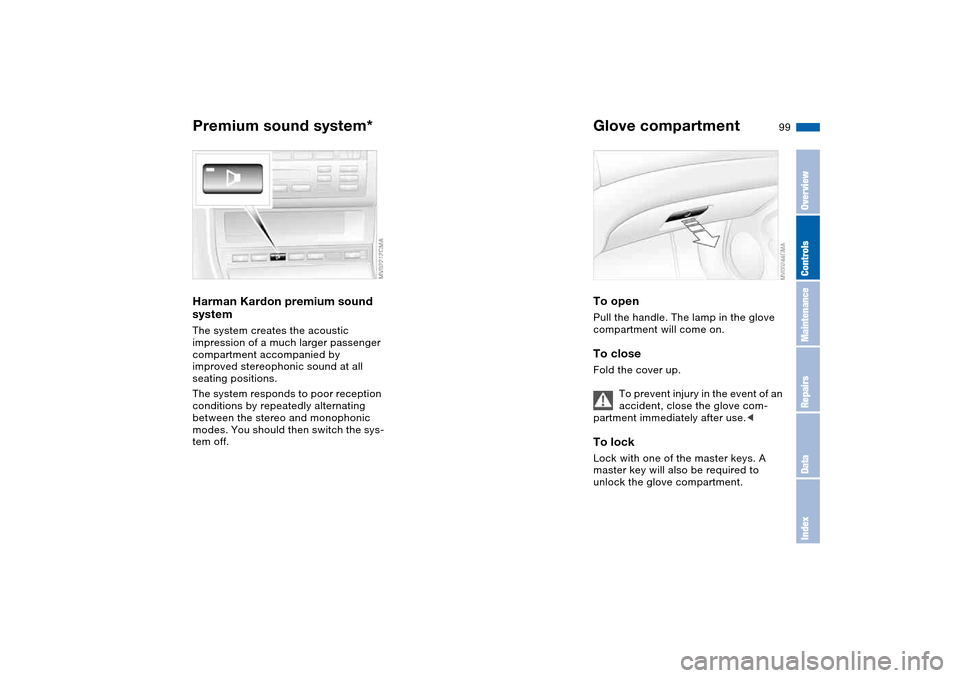
Premium sound system*Harman Kardon premium sound
systemThe system creates the acoustic
impression of a much larger passenger
compartment accompanied by
improved stereophonic sound at all
seating positions.
The system responds to poor reception
conditions by repeatedly alternating
between the stereo and monophonic
modes. You should then switch the sys-
tem off.
Glove compartmentTo openPull the handle. The lamp in the glove
compartment will come on.To closeFold the cover up.
To prevent injury in the event of an
accident, close the glove com-
partment immediately after use.
unlock the glove compartment.
OverviewControlsMaintenanceRepairsDataIndex
Page 100 of 174
100
If – for example for valet parking –
you turn over only your spare key,
refer to page 28, then access to the
locked glove compartment is not possi-
ble.<
Rechargeable flashlightThe flashlight is located on the left side
of the glove compartment.
It features integral overload protection,
so it can be left in its holder continu-
ously.
To avoid completely discharging
and possibly damaging the flash-
light, always ensure that it is switched
off before inserting it in the socket.<
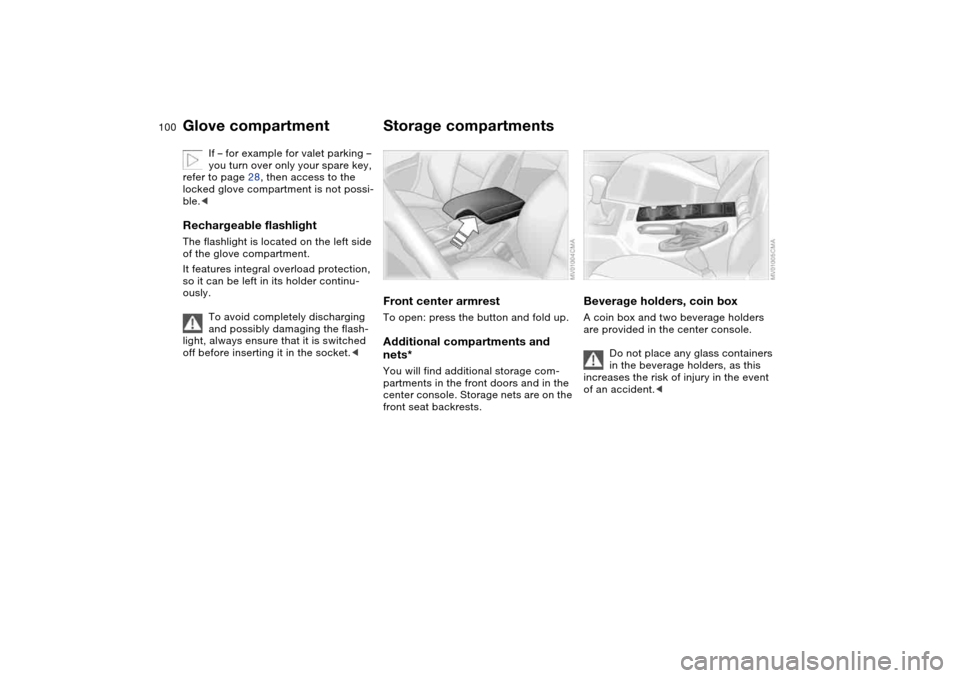
Storage compartmentsFront center armrestTo open: press the button and fold up.Additional compartments and
nets*You will find additional storage com-
partments in the front doors and in the
center console. Storage nets are on the
front seat backrests.
Beverage holders, coin boxA coin box and two beverage holders
are provided in the center console.
Do not place any glass containers
in the beverage holders, as this
increases the risk of injury in the event
of an accident.<
Glove compartment
Page 105 of 174
105
Ski bag*The ski bag allows the safe and clean
transport of up to 4 pairs of standard
skis or up to two snowboards.
The length of the ski bag and the addi-
tional space provided in the luggage
compartment make it possible to carry
skis up to 6 ft 10 in / 2.10 m long.
Because of the tapered shape of the
bag, only two pairs of skis longer than
6 ft 10 in / 2.10 m can be carried.
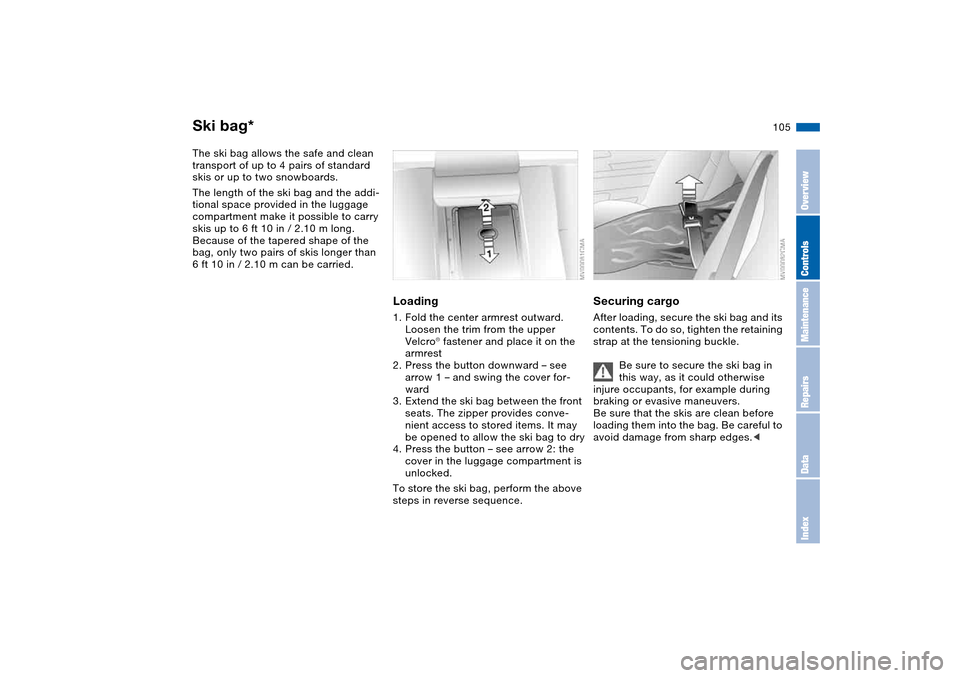
Loading1. Fold the center armrest outward.
Loosen the trim from the upper
Velcro® fastener and place it on the
armrest
2. Press the button downward – see
arrow 1 – and swing the cover for-
ward
3. Extend the ski bag between the front
seats. The zipper provides conve-
nient access to stored items. It may
be opened to allow the ski bag to dry
4. Press the button – see arrow 2: the
cover in the luggage compartment is
unlocked.
To store the ski bag, perform the above
steps in reverse sequence.
Securing cargoAfter loading, secure the ski bag and its
contents. To do so, tighten the retaining
strap at the tensioning buckle.
Be sure to secure the ski bag in
this way, as it could otherwise
injure occupants, for example during
braking or evasive maneuvers.
Be sure that the skis are clean before
loading them into the bag. Be careful to
avoid damage from sharp edges.<
OverviewControlsMaintenanceRepairsDataIndex
Page 115 of 174
115
Antilock Brake System (ABS)The conceptABS keeps the wheels from locking
during braking, thereby enhancing
active driving safety.Braking with ABSIf you are in a situation that requires full
braking, you will exploit the full benefits
of the ABS system if you apply maxi-
mum pedal pressure: panic stop. Since
the vehicle maintains steering respon-
siveness, you can avoid possible obsta-
cles with a minimum of steering effort,
despite the full brake application.
Pulsation at the brake pedal combined
with sounds from the hydraulic circuits
indicates to the driver that ABS is in its
active mode.Dynamic Brake Control (DBC)DBC is included in the DSC, refer to
page 81.
The system responds to sudden, high-
intensity applications of force to the
brake pedal by automatically braking
the vehicle with maximum boost to
achieve the shortest-possible braking
distances during 'panic stops'. This
system exploits all the benefits of ABS.Do not reduce the pressure exerted
against the brake pedal until the brak-
ing maneuver has been completed.
DBC is deactivated when you release
the brake pedal.
Cornering Brake Control (CBC)CBC is an advanced engineering devel-
opment of ABS. When braking during
cornering with high lateral accelera-
tion, or when braking during a lane
change, vehicle stability is improved
and the steering response is enhanced.
OverviewControlsMaintenanceRepairsDataIndex
Page 128 of 174

128
Coolant
Do not add coolant to the cooling
system when the engine is hot. If
you attempt to do so, escaping coolant
can cause burns.<
Coolant consists of water as well as an
additive such as antifreeze with corro-
sion inhibitor. Not all commercially
available additives are suitable for your
BMW. Your BMW center knows which
additives are appropriate.
Only use approved additives, as
the engine could otherwise be
damaged. The additives are hazardous
to your health; therefore, follow the
instructions on the containers.<
Comply with the applicable envi-
ronmental laws regulating the dis-
posal of antifreeze with corrosion inhib-
itor.<
Checking the coolant level and
adding coolantCheck the coolant level when the
engine is cold, approx. 687/+206.
1. Open the cap for the expansion tank
by turning it slightly counterclock-
wise to allow accumulated pressure
to escape. Then open
2. The coolant level is correct when the
upper end of the red float rod is at
least even with the upper edge of the
filler neck; see arrow. The end of the
float may stick out by a maximum of
3/4 in/2 cm – that is, up to the sec-
ond mark on the float
3. If necessary, add coolant. If the cool-
ant is low, slowly add coolant until
the correct level is reached – do not
overfill.
Brake fluidIndicator lamp
The warning lamp comes on
even though the parking brake
is released:
The brake fluid level in the reservoir is
too low, refer to page 18. At the same
time, there may be significantly greater
pedal travel. Have the system checked
as soon as possible.
Warning lamp for Canadian
models.
If you continue driving, extended
pedal travel may be necessary
and braking distances may be signifi-
cantly longer. Be sure to adapt your
driving style accordingly.<
Page 141 of 174
141
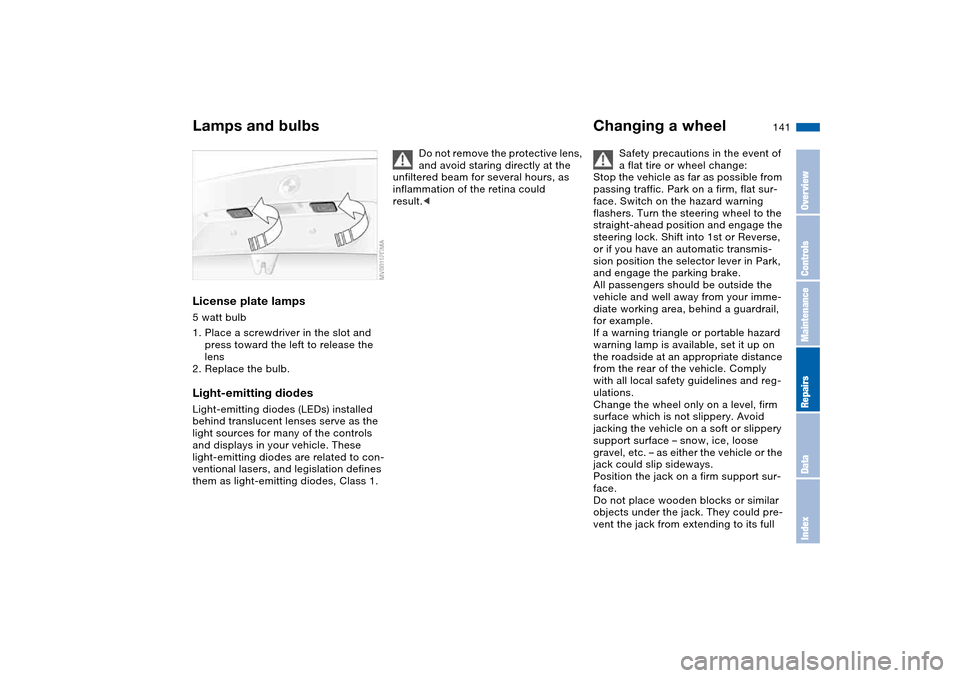
License plate lamps5 watt bulb
1. Place a screwdriver in the slot and
press toward the left to release the
lens
2. Replace the bulb.Light-emitting diodesLight-emitting diodes (LEDs) installed
behind translucent lenses serve as the
light sources for many of the controls
and displays in your vehicle. These
light-emitting diodes are related to con-
ventional lasers, and legislation defines
them as light-emitting diodes, Class 1.
Do not remove the protective lens,
and avoid staring directly at the
unfiltered beam for several hours, as
inflammation of the retina could
result.<
Changing a wheel
Safety precautions in the event of
a flat tire or wheel change:
Stop the vehicle as far as possible from
passing traffic. Park on a firm, flat sur-
face. Switch on the hazard warning
flashers. Turn the steering wheel to the
straight-ahead position and engage the
steering lock. Shift into 1st or Reverse,
or if you have an automatic transmis-
sion position the selector lever in Park,
and engage the parking brake.
All passengers should be outside the
vehicle and well away from your imme-
diate working area, behind a guardrail,
for example.
If a warning triangle or portable hazard
warning lamp is available, set it up on
the roadside at an appropriate distance
from the rear of the vehicle. Comply
with all local safety guidelines and reg-
ulations.
Change the wheel only on a level, firm
surface which is not slippery. Avoid
jacking the vehicle on a soft or slippery
support surface – snow, ice, loose
gravel, etc. – as either the vehicle or the
jack could slip sideways.
Position the jack on a firm support sur-
face.
Do not place wooden blocks or similar
objects under the jack. They could pre-
vent the jack from extending to its full
Lamps and bulbs
OverviewControlsMaintenanceRepairsDataIndex
Page 145 of 174

145
BatteryMaintenanceThe battery is completely maintenance-
free. This means that the original bat-
tery acid will normally last for the ser-
vice life of the battery under moderate
climate conditions. Your BMW center
will be glad to advise you if you have
any questions concerning the battery.Charging the batteryWhen charging the battery in the vehi-
cle, leave the engine off at all times.
Connect the charge cables to the termi-
nals in the engine compartment. For
terminal locations, refer to Jump-start-
ing on page 147.Disposal
After changing the battery, have
the old battery disposed of by
your BMW center or bring it to a recy-
cling point. Maintain the battery in an
upright position for transport and stor-
age. Secure the battery against falling
over in transit.<
Power lossAfter a temporary power loss, e.g. due
to a discharged battery, some equip-
ment will be limited in its use and will
have to be reinitialized. Individual set-
tings are also lost and must be reset:
>Seat and mirror memory
The position settings must be stored
again, refer to page 47
>Clock
must be reset, refer to page 77
>Radio
Stations must be reset, refer to the
Owner's Manual for Radio/Onboard
Computer
>Navigation system
The system will not be operable
immediately, refer to the Owner's
Manual for Radio/Onboard Com-
puter.
FusesYou will find the fuses and information
on their respective allocation in the
glove compartment behind a panel with
two snap clips.
Do not attempt to repair a blown
fuse or replace it with a fuse
having a different color or amperage
rating. To do this could cause a fire in
the vehicle resulting from a circuit over-
load.<
OverviewControlsMaintenanceRepairsDataIndex