Page 111 of 186
111 Interior conveniences
Glove compartmentTo openPull the handle. The lamp in the glove
compartment comes on.To closeFold the cover back up.
To prevent injury in the event of an
accident, close the glove com-
partment immediately after use.
master key will also be required to
unlock the glove compartment.
If – for example for valet parking –
you turn over only your spare key,
refer to page 30, then access to the
glove compartment and luggage com-
partment is not possible.<
Rechargeable flashlightThe flashlight is located on the left-
hand side of the glove compartment.
It features integral overload-protection,
so it can be left in its holder continu-
ously.
To avoid completely discharging
and possibly damaging the flash-
light, always ensure that it is switched
off before inserting it in the socket.<
OverviewControlsMaintenanceRepairsDataIndex
Page 117 of 186

117 Loading and transporting
Ski bag*The ski bag allows the safe and clean
transport of up to 4 pairs of standard
skis or up to two snowboards.
The length of the ski bag and the addi-
tional space provided in the luggage
compartment make it possible to carry
skis up to 6 ft 10 in / 2.10 m long.
Because of the tapered shape of the
bag, only two pairs of skis longer than
6 ft 10 in / 2.10 m can be carried.
Loading1. Take the safety belts out of their
holders
2. Press button downward and remove
the filler piece by pulling it forward
3. Extend the ski bag between the front
seats. The zipper provides conve-
nient access to stored items. It may
be opened to allow the ski bag to dry
4. Press the button in the luggage com-
partment
5. Use the magnetic holder to fasten
the cover panel to the back wall.
To store the ski bag, perform the above
steps in reverse sequence.Securing cargo
Secure skis and any other objects
stored in the bag by tightening the
retaining strap at the buckle.<
Be sure that your skis are clean
before loading them into the bag.
Avoid damage from sharp edges during
loading.<
OverviewControlsMaintenanceRepairsDataIndex
Page 119 of 186

119
4. The resulting figure equals the avail-
able amount of cargo and luggage
load capacity.
For example, if the XXX amount
equals 1,400 lbs. and there will be
five 150 lbs. passengers in your vehi-
cle, the amount of available cargo
and luggage load capacity is
650 lbs.:
1,400 lbs. minus 750 lbs. = 650 lbs.
5. Determine the combined weight of
luggage and cargo being loaded on
the vehicle. That weight may not
safely exceed the available cargo
and luggage load capacity calculated
in Step 4
6. If your vehicle will be towing a trailer,
load from your trailer will be trans-
fered to your vehicle. Consult the
manual for transporting a trailer to
determine how this may reduce the
available cargo and luggage load
capacity of your vehicle.
Stowing cargo>Load heavy cargo as far forward as
possible – directly behind the lug-
gage compartment partition – and as
low as possible
>Cover sharp edges and corners.
With the convertible top closed,
you can increase the space in the
luggage compartment – refer to
page 37 – by folding back the convert-
ible top compartment panel.
We recommend that you always fold
the convertible top compartment panel
down as soon as you have removed
your cargo from the luggage compart-
ment. This way, you can be sure that
you can always operate your convert-
ible top at any time.
At the same time, when the top is
raised you should fold the convertible
top compartment panel back up before
stowing large objects in the luggage
compartment; this precaution will help
reduce the likelihood of damage to
either the convertible top compartment
or your luggage.<
Cargo loading
OverviewControlsMaintenanceRepairsDataIndex
Page 120 of 186

120
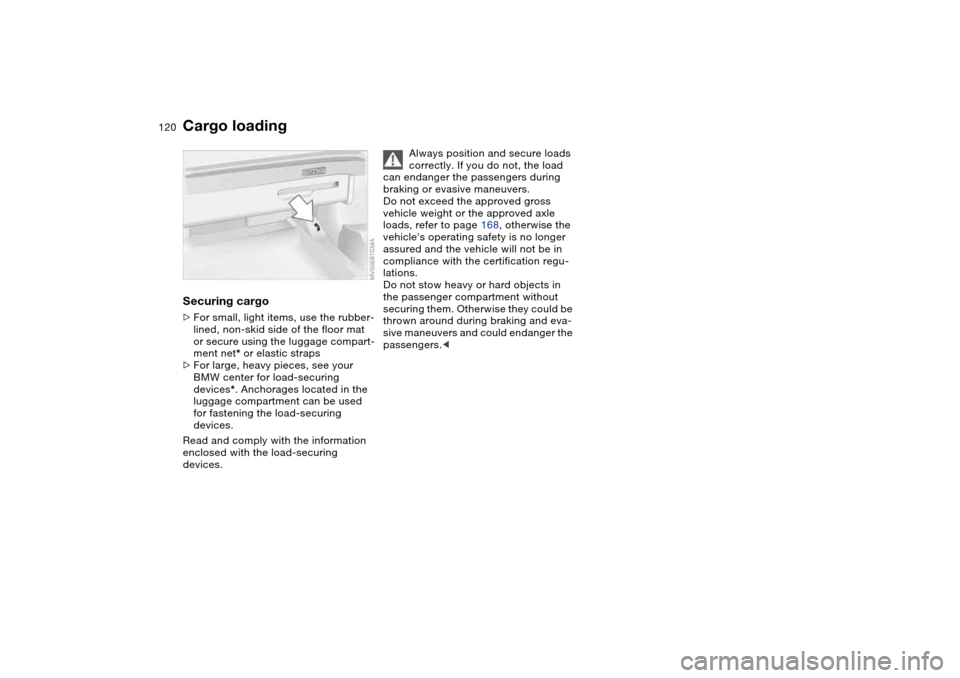
Securing cargo>For small, light items, use the rubber-
lined, non-skid side of the floor mat
or secure using the luggage compart-
ment net* or elastic straps
>For large, heavy pieces, see your
BMW center for load-securing
devices*. Anchorages located in the
luggage compartment can be used
for fastening the load-securing
devices.
Read and comply with the information
enclosed with the load-securing
devices.
Always position and secure loads
correctly. If you do not, the load
can endanger the passengers during
braking or evasive maneuvers.
Do not exceed the approved gross
vehicle weight or the approved axle
loads, refer to page 168, otherwise the
vehicle's operating safety is no longer
assured and the vehicle will not be in
compliance with the certification regu-
lations.
Do not stow heavy or hard objects in
the passenger compartment without
securing them. Otherwise they could be
thrown around during braking and eva-
sive maneuvers and could endanger the
passengers.<
Cargo loading
Page 121 of 186

121
Roof-mounted luggage rack for the hardtop*A special roof-rack system is available
as an optional extra for your BMW.
Please observe the precautions
included with the installation instruc-
tions.AnchoragesAccess to the anchorages:
To fold up the covers, please use the
tool provided with the roof-rack system.Loading and driving notesRoof-mounted luggage racks raise the
center of gravity of the vehicle when
they are loaded. For this reason, they
exercise a major effect on the vehicle's
handling and steering response.
You should therefore always remember
not to exceed the approved roof load
capacity, the approved gross vehicle
weight or the maximum axle loads
when loading the rack. These weights
are listed under Technical data on
page 168.
Make sure that the load is not too bulky,
and attempt to distribute it evenly.
Always load the heaviest pieces first so
that they are at the bottom. Make sure
that no objects will be in the way when
the luggage compartment lid is opening
or closing.
Secure the roof-mounted luggage cor-
rectly and securely to prevent it from
shifting or being lost during driving.
Drive smoothly and avoid sudden
acceleration or braking. Do not corner
at high speeds.
The roof-mounted luggage rack and the
roof load increase the aerodynamic
resistance: increased fuel consumption
and additional stress on the vehicle's
body are the result.
OverviewControlsMaintenanceRepairsDataIndex
Page 127 of 186

127
Hardtop*It is not necessary to remove the fabric
top even in the winter, when the hard-
top is generally in constant use. But you
can also remove it easily at any time.
Before the fabric top is stored in the
convertible top compartment, it must
be absolutely dry in order to avoid
water spots and mildew from forming.
The hardtop offers reading lamps and
clothes hooks that can be used just by
pressing. It is also possible to mount a
luggage rack on the roof. Please con-
sult your BMW center.
When hanging clothing from the
hooks, be sure that they will not
obstruct the driver's vision. Do not hang
heavy objects on the hooks. If you do
so, they could cause personal injury
during braking or evasive maneuvers.<
Two people are required for installation
or removal. Work with extreme caution
in order to avoid paint damage and
damage to the body or hardtop.
To facilitate hardtop installation or
removal, you can obtain a specially
designed hardtop lift* or hardtop rack*
at your BMW center.
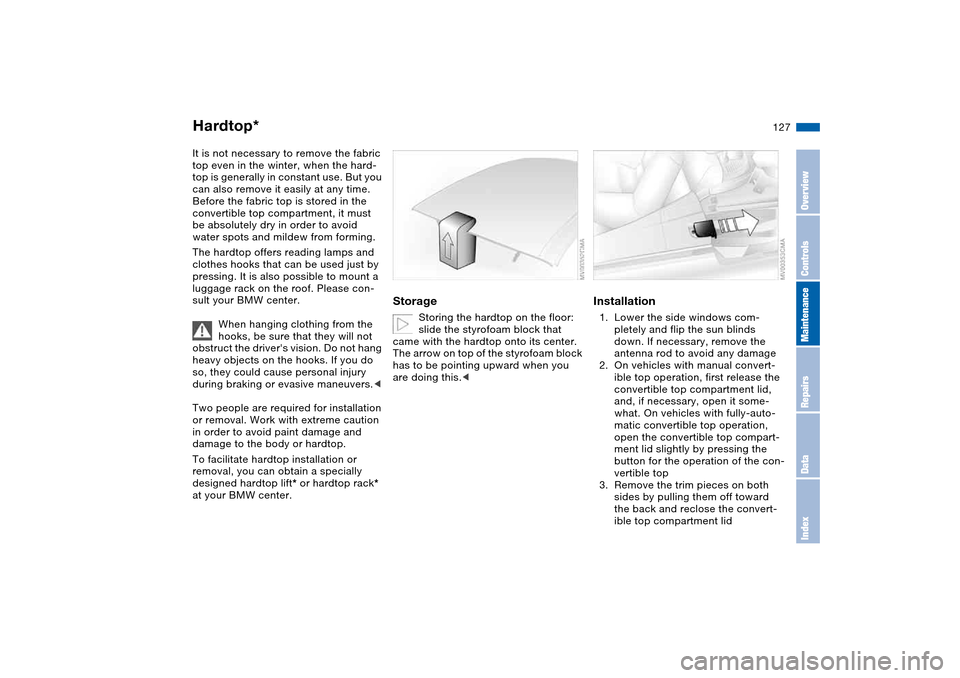
Storage
Storing the hardtop on the floor:
slide the styrofoam block that
came with the hardtop onto its center.
The arrow on top of the styrofoam block
has to be pointing upward when you
are doing this.<
Installation1. Lower the side windows com-
pletely and flip the sun blinds
down. If necessary, remove the
antenna rod to avoid any damage
2. On vehicles with manual convert-
ible top operation, first release the
convertible top compartment lid,
and, if necessary, open it some-
what. On vehicles with fully-auto-
matic convertible top operation,
open the convertible top compart-
ment lid slightly by pressing the
button for the operation of the con-
vertible top
3. Remove the trim pieces on both
sides by pulling them off toward
the back and reclose the convert-
ible top compartment lid
OverviewControlsMaintenanceRepairsDataIndex
Page 148 of 186
148Replacement procedures
Onboard tool kitThe onboard tool kit is located in the
luggage compartment lid.
Loosen the wing nut to open.
Windshield wiper blades1. Switch off the engine
2. Fold the wiper arm completely out
from the windshield
3. Position the wiper blade at an angle
and pull the release spring – see
arrow
4. Fold the wiper blade down and
unhook it toward the windshield
5. Pull the wiper blade past the wiper
arm toward the top
6. Insert a new wiper blade and apply
pressure until you hear it engage.
Page 152 of 186
152
Bulbs in the luggage compartment lid:
1. Using a screwdriver, loosen the clip
2. Swing trim panel down – see arrow 1.
Unlock bulb holder – see arrow 2 –
and remove
3. Applying light pressure, turn the bulb
to the left. Remove and exchange the
bulb
4. Press the bulb holder into place con-
tinuing until you hear it engage
5. Reinstall the trim panel with the clip.
Center high-mount brake lampLED strip on the rear window.
Please contact your BMW center in
case of a malfunction.
Lamps and bulbs