2004 BMW 320i maintenance
[x] Cancel search: maintenancePage 37 of 182
37
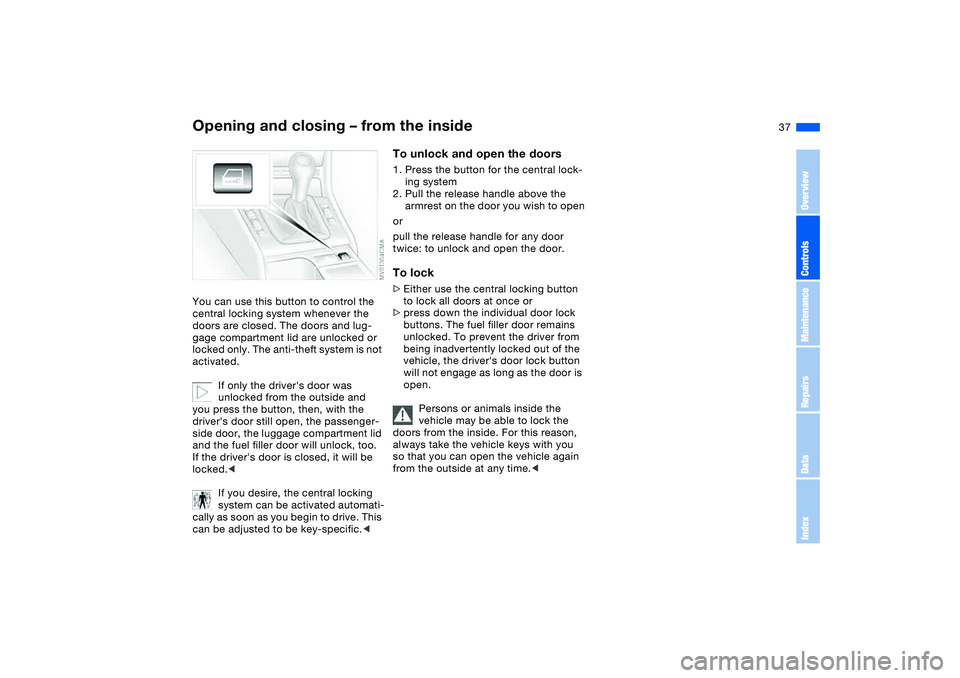
Opening and closing – from the insideYou can use this button to control the
central locking system whenever the
doors are closed. The doors and lug-
gage compartment lid are unlocked or
locked only. The anti-theft system is not
activated.
If only the driver's door was
unlocked from the outside and
you press the button, then, with the
driver's door still open, the passenger-
side door, the luggage compartment lid
and the fuel filler door will unlock, too.
If the driver's door is closed, it will be
locked.<
If you desire, the central locking
system can be activated automati-
cally as soon as you begin to drive. This
can be adjusted to be key-specific.<
To unlock and open the doors1. Press the button for the central lock-
ing system
2. Pull the release handle above the
armrest on the door you wish to open
or
pull the release handle for any door
twice: to unlock and open the door.To lock>Either use the central locking button
to lock all doors at once or
>press down the individual door lock
buttons. The fuel filler door remains
unlocked. To prevent the driver from
being inadvertently locked out of the
vehicle, the driver's door lock button
will not engage as long as the door is
open.
Persons or animals inside the
vehicle may be able to lock the
doors from the inside. For this reason,
always take the vehicle keys with you
so that you can open the vehicle again
from the outside at any time.<
OverviewControlsMaintenanceRepairsDataIndex
Page 39 of 182
39
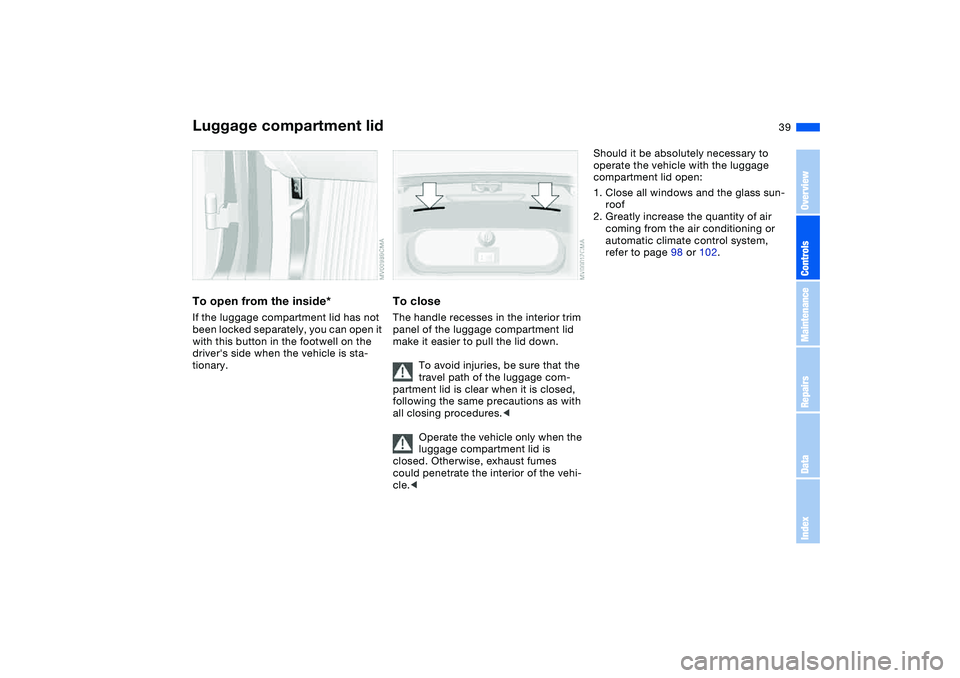
To open from the inside*If the luggage compartment lid has not
been locked separately, you can open it
with this button in the footwell on the
driver's side when the vehicle is sta-
tionary.
To closeThe handle recesses in the interior trim
panel of the luggage compartment lid
make it easier to pull the lid down.
To avoid injuries, be sure that the
travel path of the luggage com-
partment lid is clear when it is closed,
following the same precautions as with
all closing procedures.<
Operate the vehicle only when the
luggage compartment lid is
closed. Otherwise, exhaust fumes
could penetrate the interior of the vehi-
cle.<
Should it be absolutely necessary to
operate the vehicle with the luggage
compartment lid open:
1. Close all windows and the glass sun-
roof
2. Greatly increase the quantity of air
coming from the air conditioning or
automatic climate control system,
refer to page 98 or 102.
Luggage compartment lid
OverviewControlsMaintenanceRepairsDataIndex
Page 41 of 182

41
Floor matYou can turn the floor mat over to trans-
port soiled objects, etc. The rubber-
coated side is suitable for washing and
is also designed to inhibit sliding.
The fittings at the corners of the lug-
gage compartment provide you with a
convenient means of attaching luggage
compartment nets* and flexible straps
for securing luggage.
Refer also to Cargo loading on
page 114.
Alarm system*The conceptThe vehicle alarm system responds:
>When a door, the hood or the lug-
gage compartment lid is opened
>To movement inside the vehicle –
interior motion sensor
>To variations in the vehicle's tilt angle
such as those occurring during
attempts to steal the wheels or tow
the vehicle – tilt alarm sensor
>To interruption of battery voltage.
The system responds to unauthorized
vehicle entry and attempted theft by
simultaneously activating the following:
>The acoustic alarm sounds for
30 seconds
>The hazard warning flashers are acti-
vated for approx. five minutes
>The high beams flash on and off in
rhythm with the hazard warning flash-
ers.To arm and disarm the alarm
systemWhen the vehicle is locked or unlocked
via the driver's door lock or with the
remote control, the alarm system is also
simultaneously armed or disarmed.You can have different acknowl-
edgment signals set to confirm
arming and disarming.<
You can also open the luggage com-
partment lid when the system is armed
by pressing the remote control button,
refer to page 34. The lid is once again
secured when it is closed.
Extended pressure on the button sets
off the alarm – Panic mode, refer to
page 34.
Luggage compartment
OverviewControlsMaintenanceRepairsDataIndex
Page 43 of 182
43
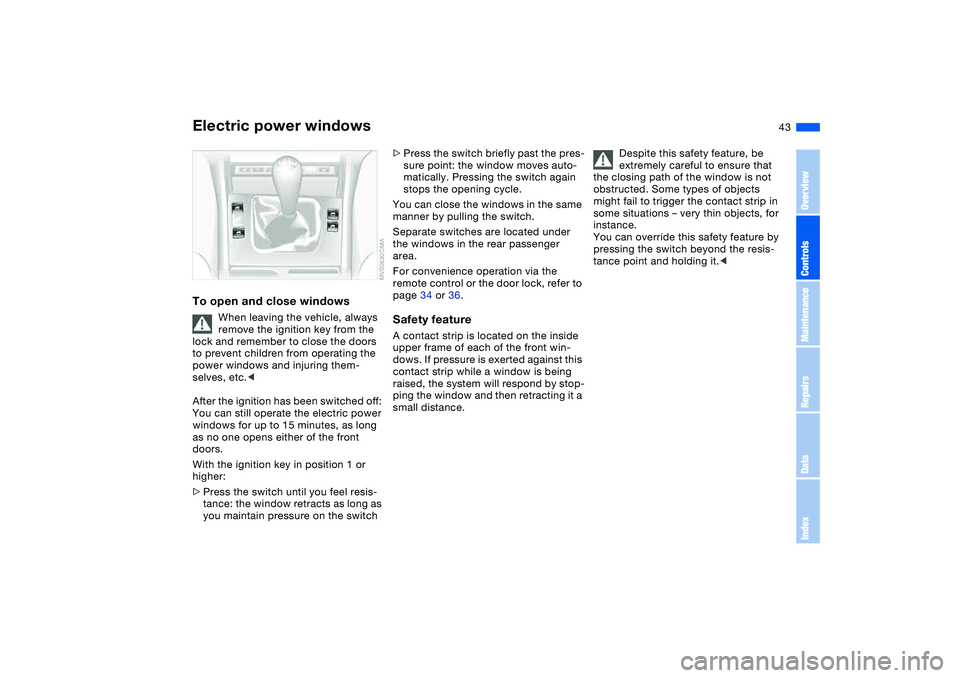
Electric power windowsTo open and close windows
When leaving the vehicle, always
remove the ignition key from the
lock and remember to close the doors
to prevent children from operating the
power windows and injuring them-
selves, etc.<
After the ignition has been switched off:
You can still operate the electric power
windows for up to 15 minutes, as long
as no one opens either of the front
doors.
With the ignition key in position 1 or
higher:
>Press the switch until you feel resis-
tance: the window retracts as long as
you maintain pressure on the switch
>Press the switch briefly past the pres-
sure point: the window moves auto-
matically. Pressing the switch again
stops the opening cycle.
You can close the windows in the same
manner by pulling the switch.
Separate switches are located under
the windows in the rear passenger
area.
For convenience operation via the
remote control or the door lock, refer to
page 34 or 36.Safety featureA contact strip is located on the inside
upper frame of each of the front win-
dows. If pressure is exerted against this
contact strip while a window is being
raised, the system will respond by stop-
ping the window and then retracting it a
small distance.Despite this safety feature, be
extremely careful to ensure that
the closing path of the window is not
obstructed. Some types of objects
might fail to trigger the contact strip in
some situations – very thin objects, for
instance.
You can override this safety feature by
pressing the switch beyond the resis-
tance point and holding it.<
OverviewControlsMaintenanceRepairsDataIndex
Page 45 of 182
45
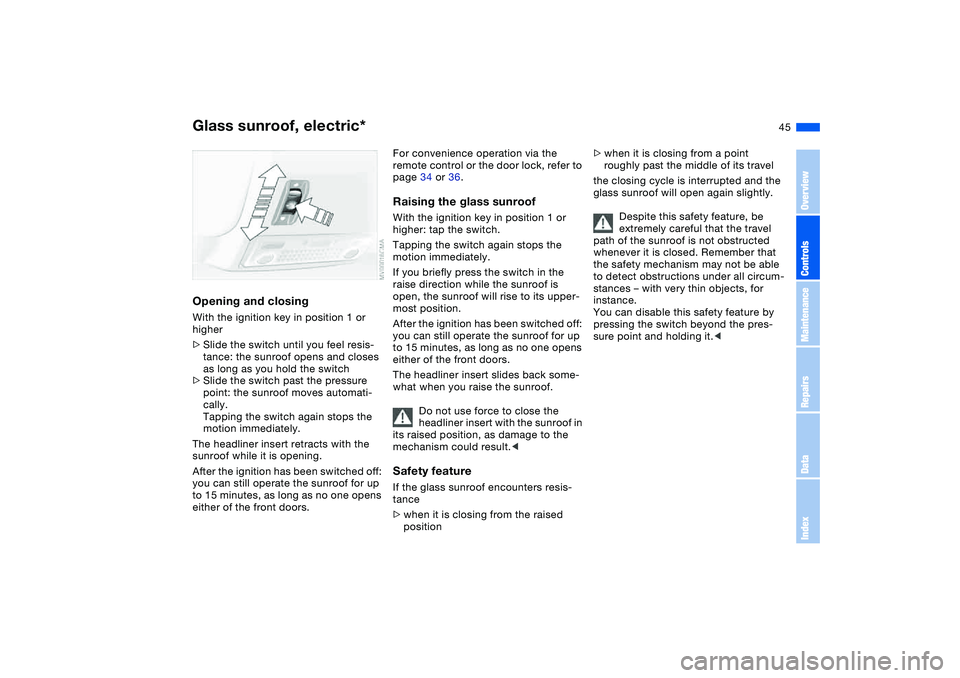
Opening and closingWith the ignition key in position 1 or
higher
>Slide the switch until you feel resis-
tance: the sunroof opens and closes
as long as you hold the switch
>Slide the switch past the pressure
point: the sunroof moves automati-
cally.
Tapping the switch again stops the
motion immediately.
The headliner insert retracts with the
sunroof while it is opening.
After the ignition has been switched off:
you can still operate the sunroof for up
to 15 minutes, as long as no one opens
either of the front doors.
For convenience operation via the
remote control or the door lock, refer to
page 34 or 36.Raising the glass sunroofWith the ignition key in position 1 or
higher: tap the switch.
Tapping the switch again stops the
motion immediately.
If you briefly press the switch in the
raise direction while the sunroof is
open, the sunroof will rise to its upper-
most position.
After the ignition has been switched off:
you can still operate the sunroof for up
to 15 minutes, as long as no one opens
either of the front doors.
The headliner insert slides back some-
what when you raise the sunroof.
Do not use force to close the
headliner insert with the sunroof in
its raised position, as damage to the
mechanism could result.
>when it is closing from the raised
position
>when it is closing from a point
roughly past the middle of its travel
the closing cycle is interrupted and the
glass sunroof will open again slightly.
Despite this safety feature, be
extremely careful that the travel
path of the sunroof is not obstructed
whenever it is closed. Remember that
the safety mechanism may not be able
to detect obstructions under all circum-
stances – with very thin objects, for
instance.
You can disable this safety feature by
pressing the switch beyond the pres-
sure point and holding it.<
Glass sunroof, electric*
OverviewControlsMaintenanceRepairsDataIndex
Page 47 of 182
47 To adjust
Safe seating positionFor driving that is relaxed and less likely
to cause fatigue, you should select a
sitting position that reflects your per-
sonal requirements. In combination
with the safety belts and airbags, the
correct seating position also plays an
important role in enhancing occupant
safety in the event of an accident. To
ensure that the vehicle's safety systems
provide you with optimal protection, we
request that you direct your careful
attention to the following section.
For supplementary information on
transporting children, refer to page 60. Sitting safely with airbags
Always maintain an adequate dis-
tance between yourself and the
airbags. Always hold the steering wheel
by the rim to keep any chance of injury
to hands or arms to an absolute mini-
mum should the airbag be deployed.
Never allow any objects, individuals or
animals to obstruct the areas between
passengers and airbags. Never use the
front airbag's cover as a storage tray or
support for objects of any kind. Never
allow front passengers to rest their feet
or legs on the airbag cover.<
For airbag locations and additional
information on airbags, refer to
page 57.Sitting safely with safety beltsYour vehicle offers five sitting positions,
each of which is provided with a safety
belt.Never allow more than one person
to wear a single safety belt. Never
allow infants or small children to ride in
a passenger's lap. Avoid twisting the
belt while routing it firmly across the
hips and shoulder, wear it as snugly
against your body as possible. Do not
allow the belt to rest against hard or
fragile objects. Do not route the belt
across your neck, or run it across sharp
edges. Be sure that the belt does not
become caught or jammed. Avoid
wearing bulky clothing and pull on the
lap belt periodically to retension it over
your shoulders. In the event of a frontal
impact, a loose lap belt could slide over
your hips, leading to abdominal injury.
In addition, the safety belt's restraint
effectiveness is reduced if it is worn
loosely. Expectant mothers should
always wear their safety belts, taking
care to position the lap belt against the
lower hips, where it will not exert pres-
sure against the abdominal area.<
For information on using the safety
belts, refer to page 51.
OverviewControlsMaintenanceRepairsDataIndex
Page 49 of 182
49
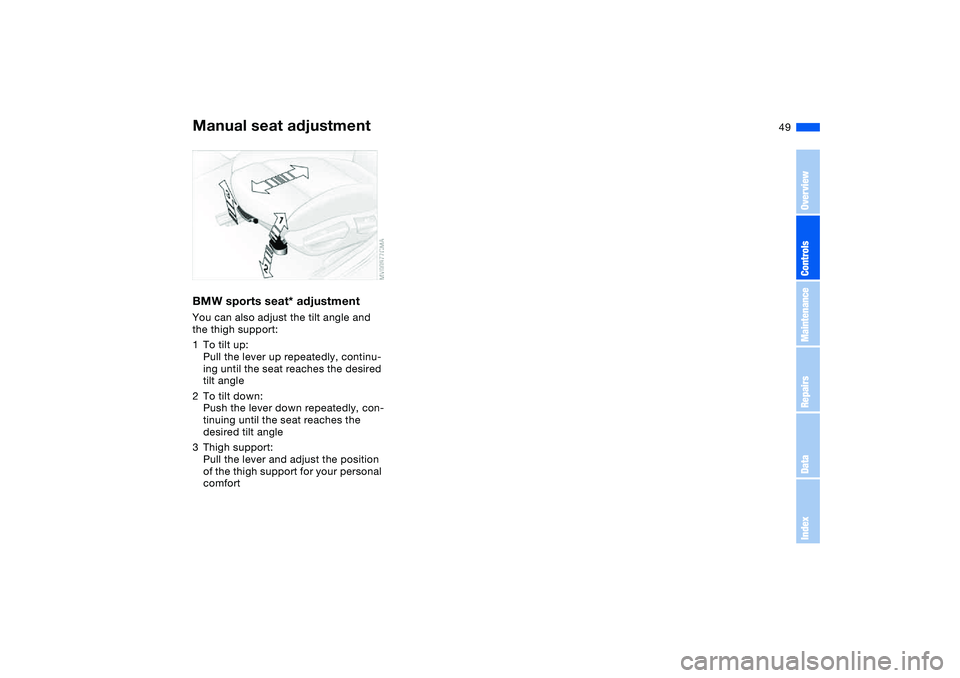
BMW sports seat* adjustmentYou can also adjust the tilt angle and
the thigh support:
1To tilt up:
Pull the lever up repeatedly, continu-
ing until the seat reaches the desired
tilt angle
2To tilt down:
Push the lever down repeatedly, con-
tinuing until the seat reaches the
desired tilt angle
3Thigh support:
Pull the lever and adjust the position
of the thigh support for your personal
comfortManual seat adjustment
OverviewControlsMaintenanceRepairsDataIndex
Page 51 of 182
51
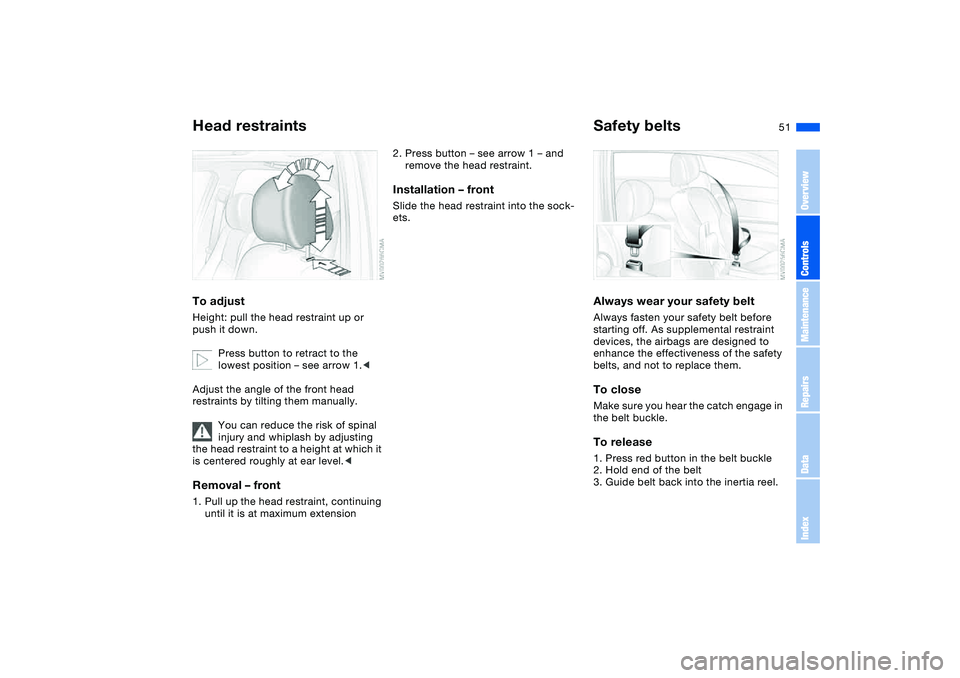
Head restraintsTo adjustHeight: pull the head restraint up or
push it down.
Press button to retract to the
lowest position – see arrow 1.<
Adjust the angle of the front head
restraints by tilting them manually.
You can reduce the risk of spinal
injury and whiplash by adjusting
the head restraint to a height at which it
is centered roughly at ear level.
2. Press button – see arrow 1 – and
remove the head restraint.Installation – frontSlide the head restraint into the sock-
ets.
Safety beltsAlways wear your safety beltAlways fasten your safety belt before
starting off. As supplemental restraint
devices, the airbags are designed to
enhance the effectiveness of the safety
belts, and not to replace them.To closeMake sure you hear the catch engage in
the belt buckle.To release1. Press red button in the belt buckle
2. Hold end of the belt
3. Guide belt back into the inertia reel.
OverviewControlsMaintenanceRepairsDataIndex