Page 34 of 510
 1 - 4
GEN
INFO
IMPORTANT INFORMATION
EC132000
ALL REPLACEMENT PARTS
1. We recommend to use Yamaha genuine
parts for all replacements. Use oil and/or
grease recommended by Yamaha for
assembly and adjus")
1 - 4
GEN
INFO
IMPORTANT INFORMATION
EC132000
ALL REPLACEMENT PARTS
1. We recommend to use Yamaha genuine
parts for all replacements. Use oil and/or
grease recommended by Yamaha for
assembly and adjustment.
EC133000
GASKETS, OIL SEALS AND O-RINGS
1. All gaskets, oil seals, and O-rings should
be replaced when an engine is over-
hauled. All gasket surfaces, oil seal lips,
and O-rings must be cleaned.
2. Properly oil all mating parts and bearings
during reassembly. Apply grease to the
oil seal lips.
EC134000
LOCK WASHERS/PLATES AND COTTER
PINS
1. All lock washers/plates 1 and cotter pins
must be replaced when they are
removed. Lock tab(s) should be bent
along the bolt or nut flat(s) after the bolt
or nut has been properly tightened.
EC135001
BEARINGS AND OIL SEALS
1. Install the bearing(s) 1 and oil seal(s) 2
with their manufacturer’s marks or num-
bers facing outward. (In other words, the
stamped letters must be on the side
exposed to view.) When installing oil
seal(s), apply a light coating of light-
weight lithium base grease to the seal
lip(s). Oil the bearings liberally when
installing.
CAUTION:
Do not use compressed air to spin the
bearings dry. This causes damage to the
bearing surfaces.
EC136000
CIRCLIPS
1. All circlips should be inspected carefully
before reassembly. Always replace pis-
ton pin clips after one use. Replace dis-
torted circlips. When installing a circlip
1, make sure that the sharp-edged cor-
ner 2 is positioned opposite to the thrust
3 it receives. See the sectional view.
4Shaft
Page 166 of 510
 3 - 8
INSP
ADJ
ENGINE OIL LEVEL INSPECTION
4. Check:
�Oil level
Oil level should be between maximum
a and minimum b marks.
Oil level is low → Add oil to proper
level.
NOTE:
When inspecting the oil l")
3 - 8
INSP
ADJ
ENGINE OIL LEVEL INSPECTION
4. Check:
�Oil level
Oil level should be between maximum
a and minimum b marks.
Oil level is low → Add oil to proper
level.
NOTE:
When inspecting the oil level, do not screw the
dipstick into the oil tank. Insert the gauge
lightly.
(For USA and CDN)
CAUTION:
�Do not add any chemical additives.
Engine oil also lubricates the clutch and
additives could cause clutch slippage.
�Do not allow foreign material to enter the
crankcase.
Recommended oil:
At –10 ˚C (10 ˚F) or higher Å:
Yamalube 4 (10W-30) or SAE
10W-30 type SE motor oil
At 5 ˚C (40 ˚F) or higher ı:
Yamalube 4 (20W-40) or SAE
20W-40 type SE motor oil
(Except for USA and CDN)
CAUTION:
�Do not add any chemical additives or use
oils with a grade of CD a or higher.
�Do not use oils labeled “ENERGY CON-
SERVING II” b or higher. Engine oil also
lubricates the clutch and additives could
cause clutch slippage.
�Do not allow foreign materials to enter the
crankcase.
Recommended oil:
Refer to the following chart for
selection of oils which are suited
to the atmospheric temperatures.
Recommended engine oil classi-
fication:
API STANDARD:
API “SE” or higher grade
(Designed primarily for motor-
cycles)
Page 408 of 510
5 - 22
CHAS
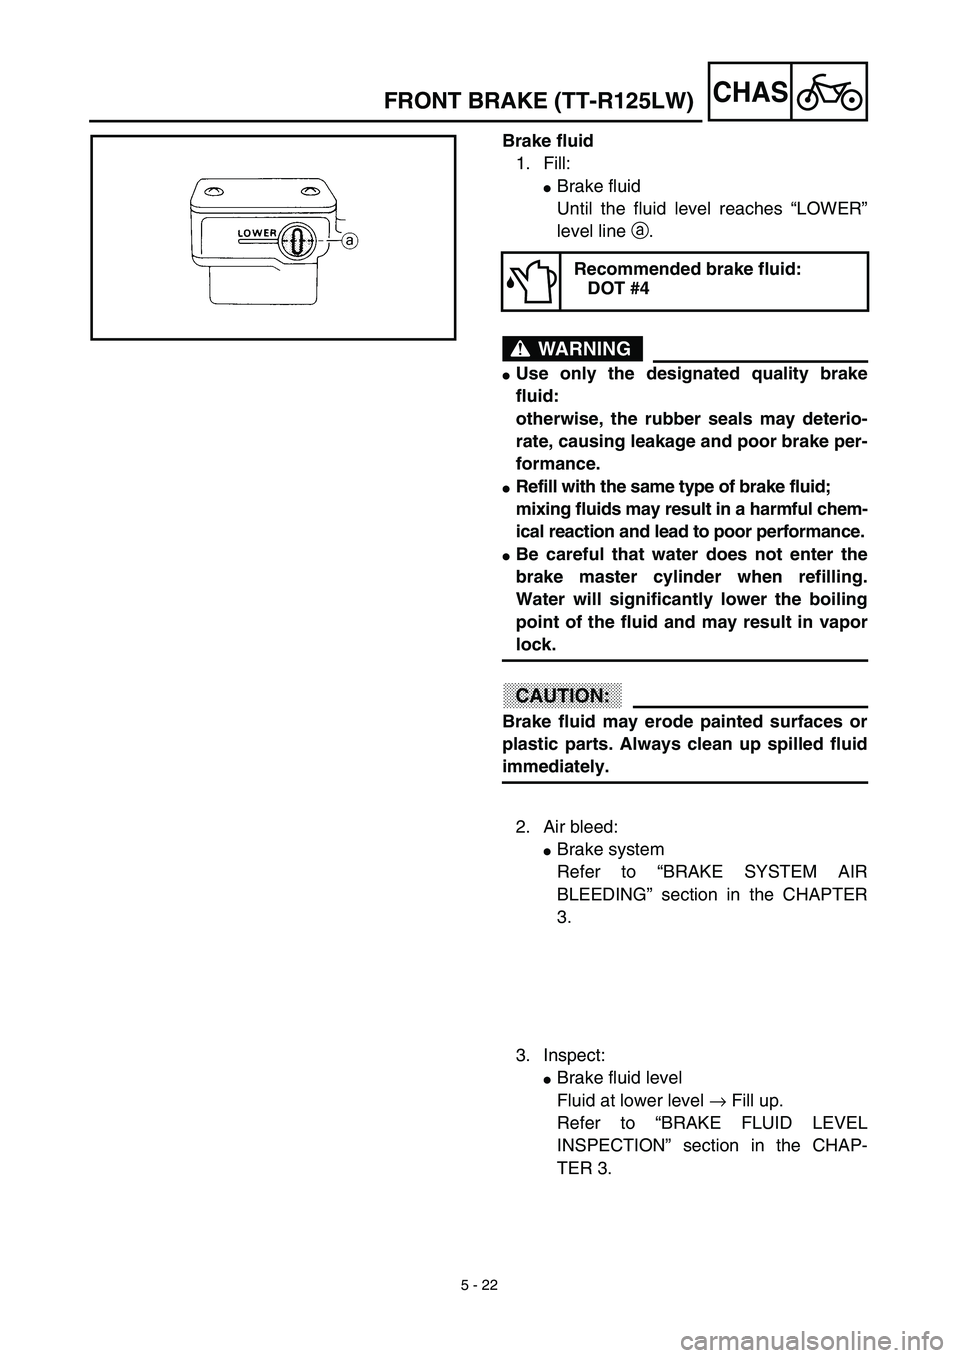
Brake fluid
1. Fill:
�Brake fluid
Until the fluid level reaches “LOWER”
level line a.
WARNING
�Use only the designated quality brake
fluid:
otherwise, the rubber seals may deterio-
rate, causing leakage and poor brake per-
formance.
�Refill with the same type of brake fluid;
mixing fluids may result in a harmful chem-
ical reaction and lead to poor performance.
�Be careful that water does not enter the
brake master cylinder when refilling.
Water will significantly lower the boiling
point of the fluid and may result in vapor
lock.
CAUTION:
Brake fluid may erode painted surfaces or
plastic parts. Always clean up spilled fluid
immediately.
Recommended brake fluid:
DOT #4
2. Air bleed:
�Brake system
Refer to “BRAKE SYSTEM AIR
BLEEDING” section in the CHAPTER
3.
3. Inspect:
�Brake fluid level
Fluid at lower level → Fill up.
Refer to “BRAKE FLUID LEVEL
INSPECTION” section in the CHAP-
TER 3.
FRONT BRAKE (TT-R125LW)
Page 432 of 510
 5 - 34
CHASFRONT FORK
HANDLING NOTE
NOTE:
The front fork requires careful attention. So it is
recommended that the front fork be main-
tained at the dealers.
CAUTION:
To prevent an accidental explosio")
5 - 34
CHASFRONT FORK
HANDLING NOTE
NOTE:
The front fork requires careful attention. So it is
recommended that the front fork be main-
tained at the dealers.
CAUTION:
To prevent an accidental explosion of air,
the following instructions should be
observed:
The front fork with a built-in piston rod has
a very sophisticated internal construction
and is particularly sensitive to foreign
material.
Use enough care not to allow any foreign
material to come in when the oil is replaced
or when the front fork is disassembled and
reassembled.
EC553000
REMOVAL POINTS
Cap bolt
1. Remove:
�Cap bolt 1
From the inner tube.
NOTE:
Before removing the front fork from the
machine, loosen the cap bolt.
Inner tube
1. Remove:
�Dust seal 1
�Stopper ring 2
Using slotted-head screwdriver.
CAUTION:
Take care not to scratch the inner tube.
2. Remove:
�Bolt (damper rod)
�Damper rod
�Inner tube
�Oil flow stopper
�Piston metal
NOTE:
Use the damper rod holder 1 and the T-han-
dle 2 to lock the damper rod.
Page 442 of 510
5 - 39
CHASFRONT FORK
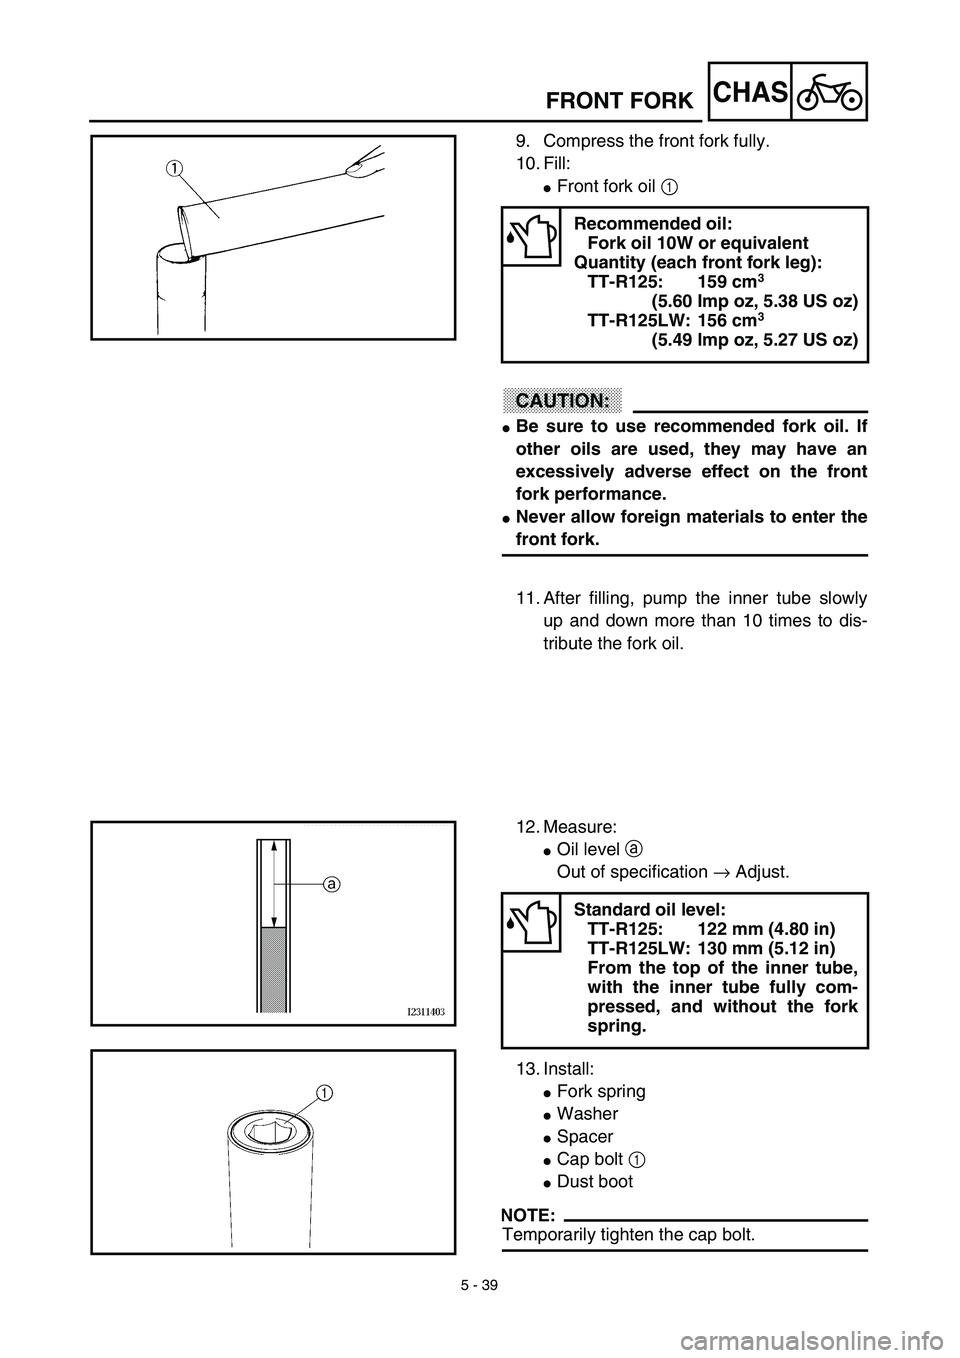
9. Compress the front fork fully.
10. Fill:
�Front fork oil 1
CAUTION:
�Be sure to use recommended fork oil. If
other oils are used, they may have an
excessively adverse effect on the front
fork performance.
�Never allow foreign materials to enter the
front fork.
Recommended oil:
Fork oil 10W or equivalent
Quantity (each front fork leg):
TT-R125: 159 cm
3
(5.60 Imp oz, 5.38 US oz)
TT-R125LW: 156 cm
3
(5.49 lmp oz, 5.27 US oz)
11. After filling, pump the inner tube slowly
up and down more than 10 times to dis-
tribute the fork oil.
12. Measure:
�Oil level a
Out of specification → Adjust.
13. Install:
�Fork spring
�Washer
�Spacer
�Cap bolt 1
�Dust boot
NOTE:
Temporarily tighten the cap bolt.
Standard oil level:
TT-R125: 122 mm (4.80 in)
TT-R125LW: 130 mm (5.12 in)
From the top of the inner tube,
with the inner tube fully com-
pressed, and without the fork
spring.