2003 VOLVO S80 trunk
[x] Cancel search: trunkPage 45 of 109
NOTE: This handle is not intended to be used to anchor the trunk lid when long loads are being transported.
WARNING!
Keep vehicle doors and trunk locked and keep keys out of a child's reach. Unsupervised children could lock
themselves in an open trunk and risk injury. Children should be taught not to play in vehicles.
On hot days, the temperature in the trunk or vehicle interior can rise very quickly. Exposure of people to these
high temperatures for even a short period of time can cause heat-related injury or death. Small children are
particularly at risk.
pg. 64 Locking and unlocking the car
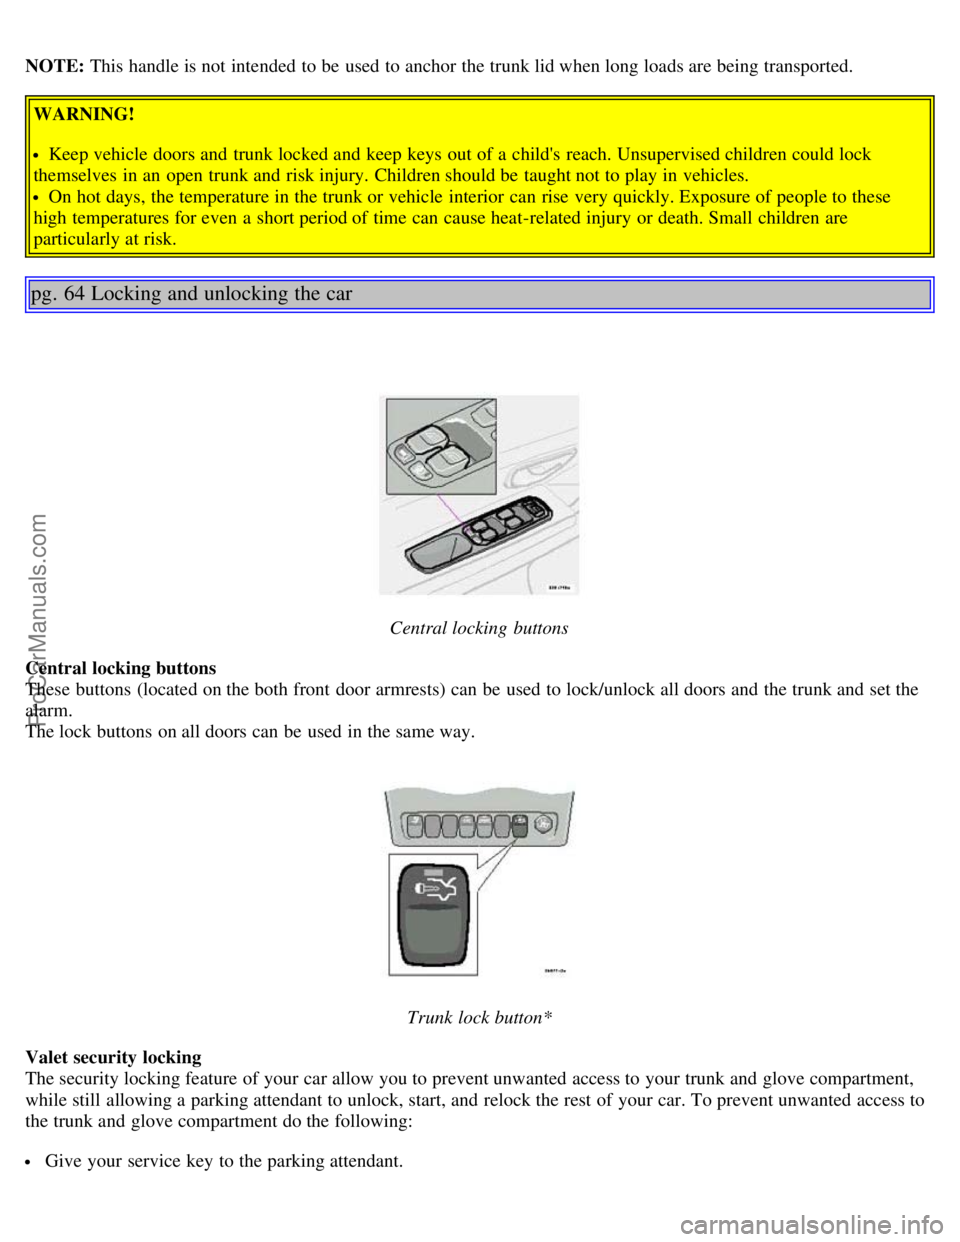
Central locking buttons
Central locking buttons
These buttons (located on the both front door armrests) can be used to lock/unlock all doors and the trunk and set the
alarm.
The lock buttons on all doors can be used in the same way.
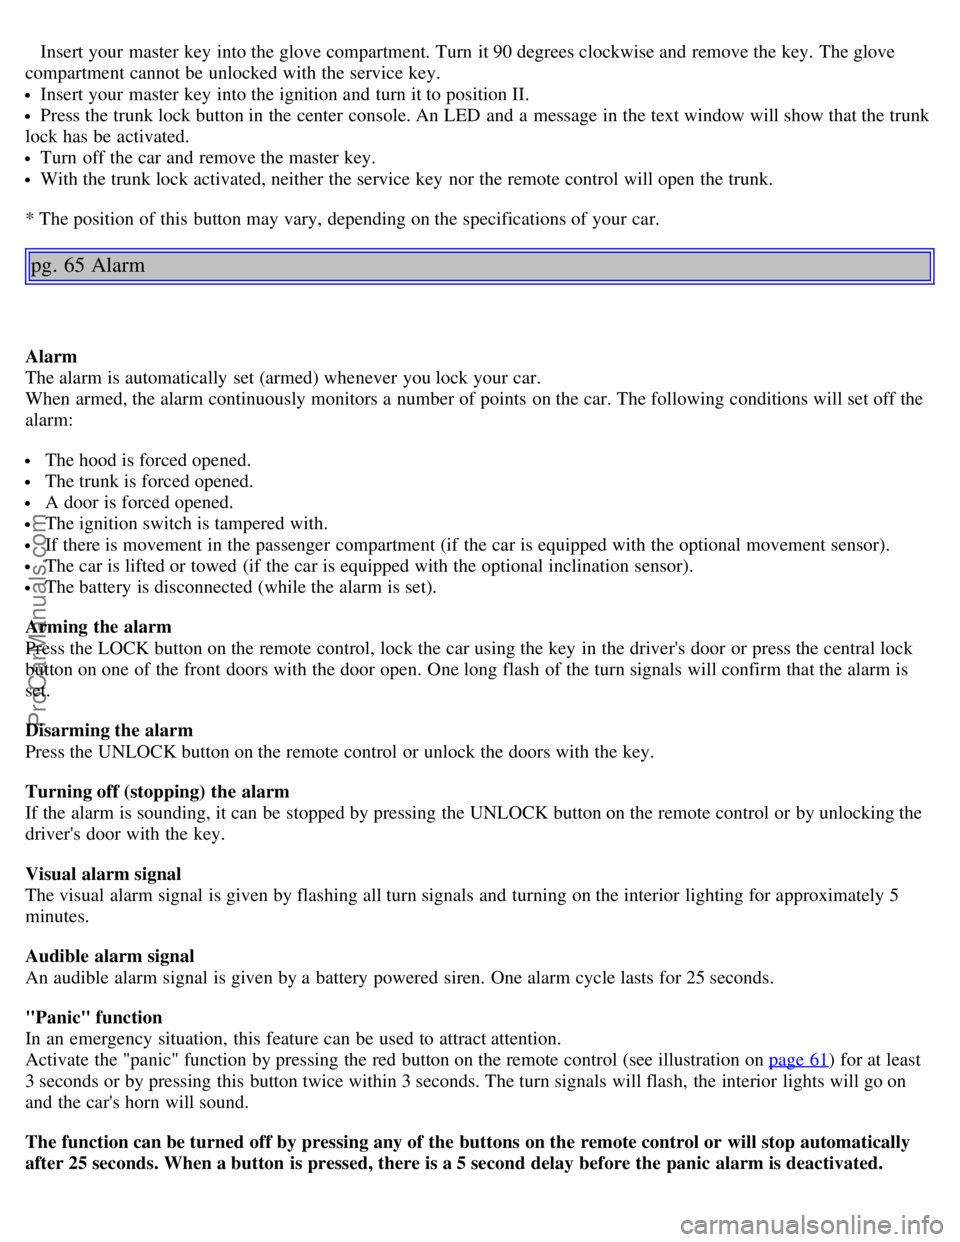
Trunk lock button*
Valet security locking
The security locking feature of your car allow you to prevent unwanted access to your trunk and glove compartment,
while still allowing a parking attendant to unlock, start, and relock the rest of your car. To prevent unwanted access to
the trunk and glove compartment do the following:
Give your service key to the parking attendant.
ProCarManuals.com
Page 46 of 109
Insert your master key into the glove compartment. Turn it 90 degrees clockwise and remove the key. The glove
compartment cannot be unlocked with the service key.
Insert your master key into the ignition and turn it to position II.
Press the trunk lock button in the center console. An LED and a message in the text window will show that the trunk
lock has be activated.
Turn off the car and remove the master key.
With the trunk lock activated, neither the service key nor the remote control will open the trunk.
* The position of this button may vary, depending on the specifications of your car.
pg. 65 Alarm
Alarm
The alarm is automatically set (armed) whenever you lock your car.
When armed, the alarm continuously monitors a number of points on the car. The following conditions will set off the
alarm:
The hood is forced opened.
The trunk is forced opened.
A door is forced opened.
The ignition switch is tampered with.
If there is movement in the passenger compartment (if the car is equipped with the optional movement sensor).
The car is lifted or towed (if the car is equipped with the optional inclination sensor).
The battery is disconnected (while the alarm is set).
Arming the alarm
Press the LOCK button on the remote control, lock the car using the key in the driver's door or press the central lock
button on one of the front doors with the door open. One long flash of the turn signals will confirm that the alarm is
set.
Disarming the alarm
Press the UNLOCK button on the remote control or unlock the doors with the key.
Turning off (stopping) the alarm
If the alarm is sounding, it can be stopped by pressing the UNLOCK button on the remote control or by unlocking the
driver's door with the key.
Visual alarm signal
The visual alarm signal is given by flashing all turn signals and turning on the interior lighting for approximately 5
minutes.
Audible alarm signal
An audible alarm signal is given by a battery powered siren. One alarm cycle lasts for 25 seconds.
"Panic" function
In an emergency situation, this feature can be used to attract attention.
Activate the "panic" function by pressing the red button on the remote control (see illustration on page 61
) for at least
3 seconds or by pressing this button twice within 3 seconds. The turn signals will flash, the interior lights will go on
and the car's horn will sound.
The function can be turned off by pressing any of the buttons on the remote control or will stop automatically
after 25 seconds. When a button is pressed, there is a 5 second delay before the panic alarm is deactivated.
ProCarManuals.com
Page 47 of 109

NOTE: This button will NOT unlock the car.
pg. 66 Alarm
Temporarily disconnecting the alarm sensor(s) - option
This button will only be found in cars equipped with the optional inclination and/or movement sensors.
In certain situations it may be desirable to turn off the optional inclination and movement alarm sensors if, for
example, you drive your car onto a ferry where the rocking of the boat could trigger the alarm or if a pet is left in the
car with the doors locked.
To temporarily turn off the inclination and movement alarm sensor from the alarm system:
From the time the ignition key is turned from the Drive position (position II) until you lock the car, you can press the
button in the center console *. The LED in the switch will light up and a message will be displayed in the text window
to indicate that the sensors are disconnected.
The car can then be locked in the usual way to set the alarm.
NOTE: The optional sensors are automatically reconnected to the alarm system the next time the car is unlocked and
then locked again.
LED alarm status signals
The status of the alarm system is indicated by the red LED at the top of the dash:
LED off - the alarm is not armed
LED flashes once per second - the alarm is armed
LED flashes rapidly before the ignition is switched on - the alarm has been triggered
Fault in the alarm system: If a fault has been detected in the alarm system, a message will be displayed in the text
window. Contact a Volvo retailer.
Automatic reset function
If the car is unlocked with the remote, the car will re-lock and the alarm will re-arm after 2 minutes unless a door or
the trunk has been opened.
* The position of this button may vary, depending on the specifications of your car.
pg. 67 Child safety locks - rear doors
ProCarManuals.com
Page 51 of 109
standing upwind away from the filler nozzle while refueling
refueling only at gas stations with vapor recovery systems that fully seal the mouth of the filler neck during refueling
wear neoprene gloves while handling a fuel filler nozzle.
Use of Additives
With the exception of gas line antifreeze during winter months, do not add solvents, thickeners, or other store -bought
additives to your car's fuel, cooling, or lubricating systems. Overuse may damage your engine, and some of these
additives contain organically volatile chemicals. Do not needlessly expose yourself to these chemicals.
pg. 72 Refueling
Refueling
The fuel tank is designed to hold approximately 21.1 US gal. (80 liters) with sufficient volume left over to
accommodate possible expansion of the fuel in hot weather. Be aware that the "usable" tank capacity will be somewhat
less than the specified maximum. When the fuel level is low, such factors as ambient temperature, the fuel's "Reid
vapor pressure" characteristics, and terrain can affect the fuel pumps' ability to supply the engine with an adequate
supply of fuel. Therefore, it is advisable to refuel as soon as possible when the needle nears the red zone, or when the
fuel warning light comes on.
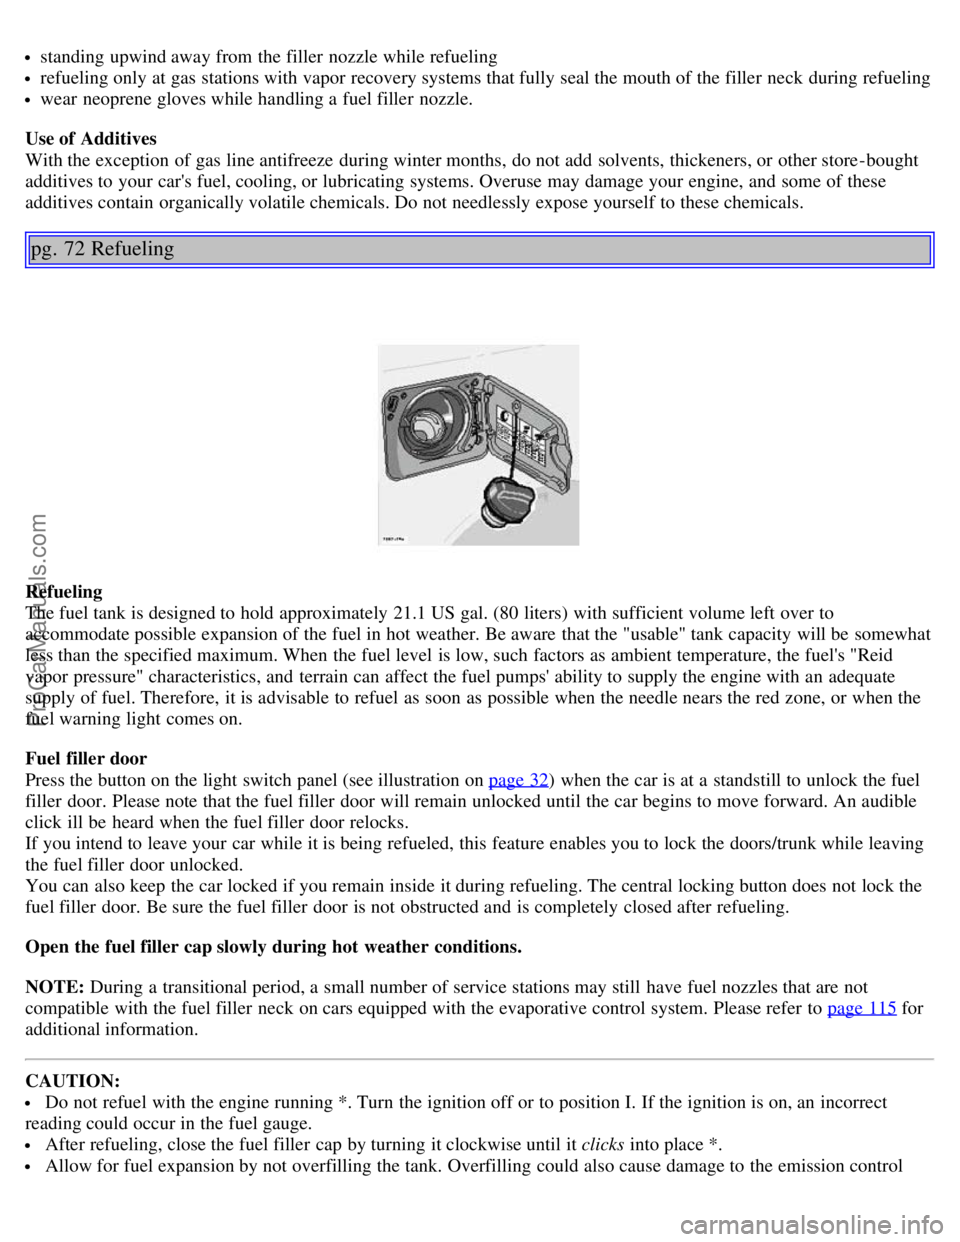
Fuel filler door
Press the button on the light switch panel (see illustration on page 32
) when the car is at a standstill to unlock the fuel
filler door. Please note that the fuel filler door will remain unlocked until the car begins to move forward. An audible
click ill be heard when the fuel filler door relocks.
If you intend to leave your car while it is being refueled, this feature enables you to lock the doors/trunk while leaving
the fuel filler door unlocked.
You can also keep the car locked if you remain inside it during refueling. The central locking button does not lock the
fuel filler door. Be sure the fuel filler door is not obstructed and is completely closed after refueling.
Open the fuel filler cap slowly during hot weather conditions.
NOTE: During a transitional period, a small number of service stations may still have fuel nozzles that are not
compatible with the fuel filler neck on cars equipped with the evaporative control system. Please refer to page 115
for
additional information.
CAUTION:
Do not refuel with the engine running *. Turn the ignition off or to position I. If the ignition is on, an incorrect
reading could occur in the fuel gauge.
After refueling, close the fuel filler cap by turning it clockwise until it clicks into place *.
Allow for fuel expansion by not overfilling the tank. Overfilling could also cause damage to the emission control
ProCarManuals.com
Page 63 of 109
cornering (turning) traction.
TEMPERATURE
The temperature grades are AA (the highest), A, B, and C, representing the tire's resistance to the generation of heat
and its ability to dissipate heat when tested under controlled conditions on a specified indoor laboratory test wheel.
Sustained high temperature can cause the material of the tire to degenerate and reduce tire life, and excessive
temperature can lead to sudden tire failure. The grade C corresponds to a minimum level of performance that all
passenger car tires must meet under the Federal Motor Safety Standard No. 109. Grades B and A represent higher
levels of performance on the laboratory test wheel than the minimum required by law.
WARNING!
The temperature grade for this tire is established for a tire that is properly inflated and not overloaded. Excessive
speed, under-inflation, or excessive loading, either separately or in combination, can cause heat buildup and possible
tire failure.
pg. 96 Changing wheels
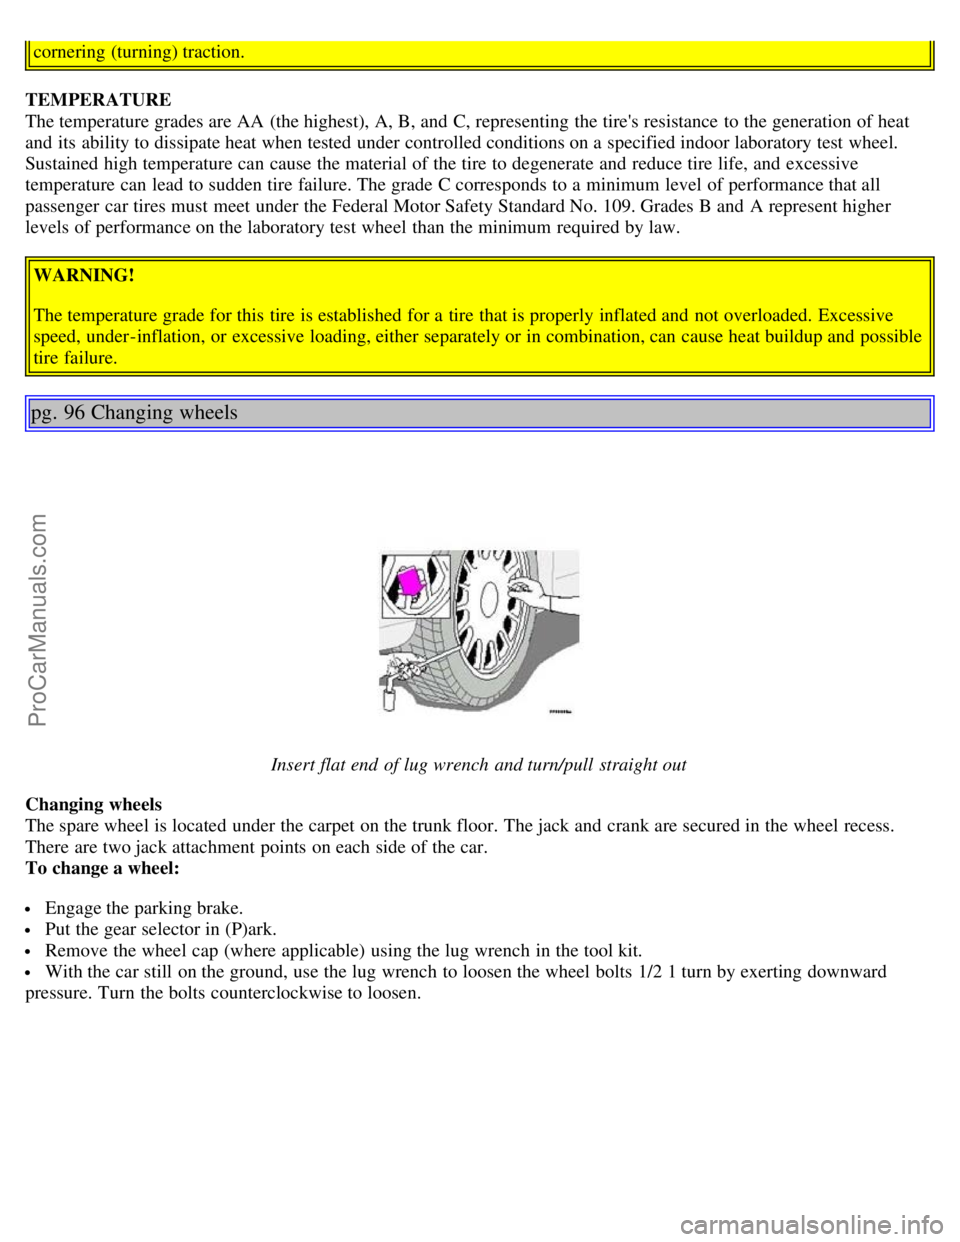
Insert flat end of lug wrench and turn/pull straight out
Changing wheels
The spare wheel is located under the carpet on the trunk floor. The jack and crank are secured in the wheel recess.
There are two jack attachment points on each side of the car.
To change a wheel:
Engage the parking brake.
Put the gear selector in (P)ark.
Remove the wheel cap (where applicable) using the lug wrench in the tool kit.
With the car still on the ground, use the lug wrench to loosen the wheel bolts 1/2 1 turn by exerting downward
pressure. Turn the bolts counterclockwise to loosen.
ProCarManuals.com
Page 67 of 109
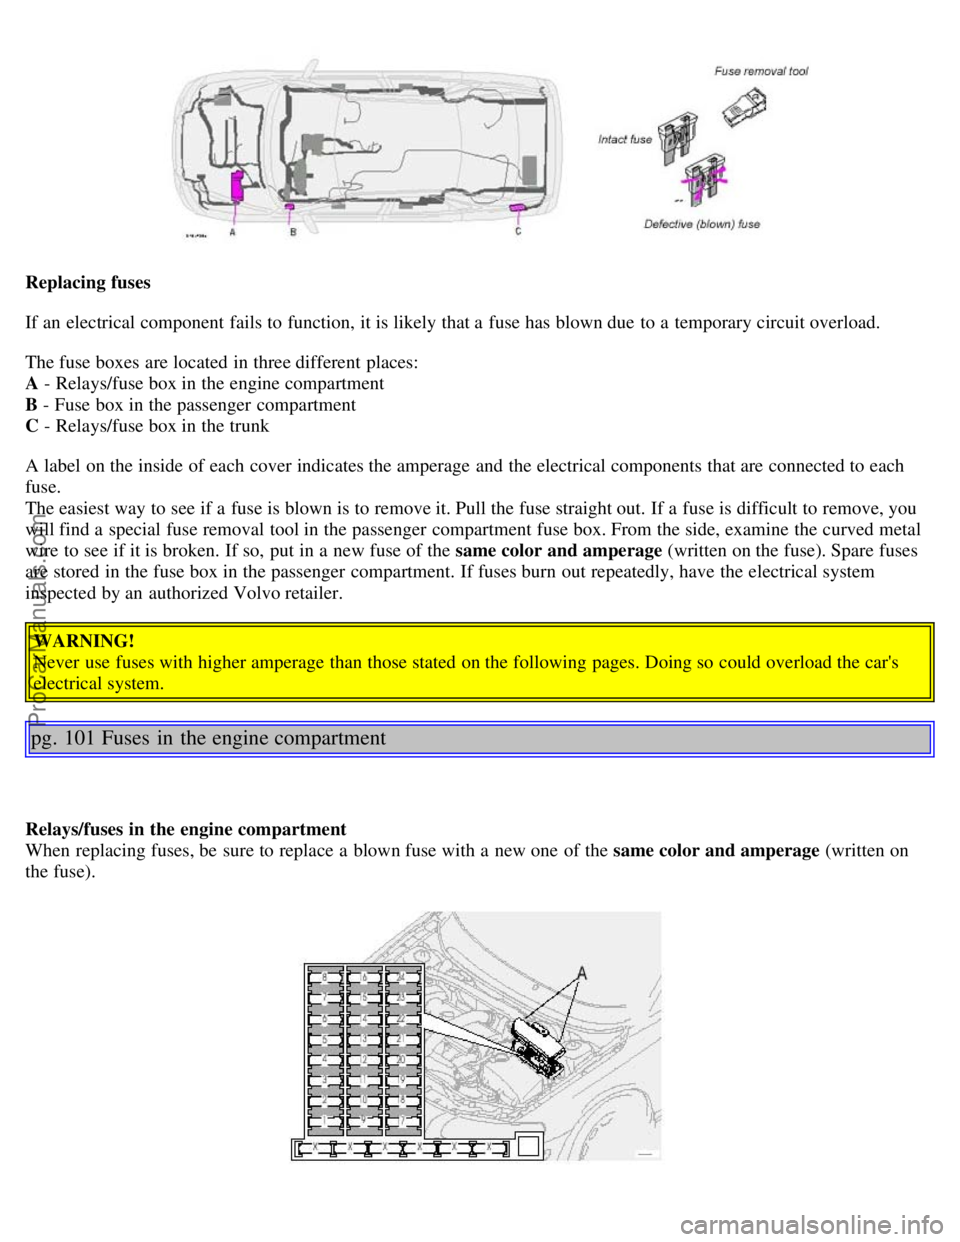
Replacing fuses
If an electrical component fails to function, it is likely that a fuse has blown due to a temporary circuit overload.
The fuse boxes are located in three different places:
A - Relays/fuse box in the engine compartment
B - Fuse box in the passenger compartment
C - Relays/fuse box in the trunk
A label on the inside of each cover indicates the amperage and the electrical components that are connected to each
fuse.
The easiest way to see if a fuse is blown is to remove it. Pull the fuse straight out. If a fuse is difficult to remove, you
will find a special fuse removal tool in the passenger compartment fuse box. From the side, examine the curved metal
wire to see if it is broken. If so, put in a new fuse of the same color and amperage (written on the fuse). Spare fuses
are stored in the fuse box in the passenger compartment. If fuses burn out repeatedly, have the electrical system
inspected by an authorized Volvo retailer.
WARNING!
Never use fuses with higher amperage than those stated on the following pages. Doing so could overload the car's
electrical system.
pg. 101 Fuses in the engine compartment
Relays/fuses in the engine compartment
When replacing fuses, be sure to replace a blown fuse with a new one of the same color and amperage (written on
the fuse).
ProCarManuals.com
Page 70 of 109

27-
28Electronic module - courtesy lighting 10A
29 -
30 Left front/rear parking lights 7.5A
31 Right front/rear parking lights, license plate lights 7.5A
32 Central electrical module, vanity mirror lighting, power steering, glove compartment light,
interior courtesy lighting 10A
33 Fuel pump 15A
34 Power sun roof 15A
35 Central locking system, power windows - left door mirror 25A
36 Central locking system, power windows - right door mirror 25A
37 Rear power windows, power child safety locks 30A
38 Alarm siren* 5A
* Please be aware that if this fuse is not intact, or if it is removed, the alarm will sound.
pg. 103 Fuses in the trunk
Fuses in the trunk
The fuses in the trunk are located behind the left panel. When replacing a blown fuse, be sure to replace it with a new
one of the same color and amperage (written on the fuse).
Ordinary fuses
Location Amperage
1 Rear electrical module, trunk lighting 10A
2 Rear fog light 10A
3 Brake lights 15A
4 Backup lights 10A
5 Rear window defroster, relay 15I - accessories 5A
6 Trunk release 10A
ProCarManuals.com
Page 71 of 109

7Folding rear head restraints 10A
8Central locking rear doors/fuel filler door 15A
9 Trailer hitch (30 feed) 15A
10 CD changer, VNS 10A
11 Accessory control module (AEM) 15A
12 -
13 -
14 Brake lights 7.5A
15 Trailer hitch (15I feed) 20A
16 Electrical socket in trunk - accessories 15A
17 -
18 -
pg. 104 Replacing bulbs
Replacing high/low beam headlight bulbs
The headlight bulbs must be replaced from the engine compartment.
CAUTION:
Do not touch the glass on halogen bulbs with your fingers. Grease, oil or any other impurities can be carbonized
onto the bulb and cause damage to the reflector.
Be sure to use bulbs of the correct type and voltage.
Removing a defective bulb
ProCarManuals.com