2003 VOLVO S80 ECO mode
[x] Cancel search: ECO modePage 62 of 109

The tires on your Volvo will perform to specifications at all normal loads when inflated as recommended on the tire
information label located on the inside of the fuel filler door*. This label lists both tire and vehicle design limits. Do
not load your car beyond the load limits indicated.
Temporary Spare (certain models)
The spare tire in your car is called a "Temporary Spare". It has the following designation: T125/80 R17.
Recommended tire pressure (see decal on fuel filler door) should be maintained irrespective of which position on the
car the Temporary Spare tire is used on.
In the event of damage to this tire, a new one can be purchased from your Volvo retailer.
WARNING!
Current legislation prohibits the use of the "Temporary Spare" tire other than as a temporary replacement for a
punctured tire. In other words, it must be replaced as soon as possible by a standard tire. Road holding and handling
may be affected with the "Temporary Spare" in use. Do not exceed 50 mph (80 km/h). Do not drive farther than 50
miles (80 km) on a temporary spare tire.
CAUTION:
The car must not be driven with wheels of different dimensions or with a spare tire other than the one that came with
the car. The use of different size wheels can seriously damage your car's transmission.
NOTE: Certain models may be equipped with a full-size spare tire. When used, it should be inflated to the same
pressure as the tire it is replacing.
* Please note that the tire information label indicates pressure for both comfort and fuel economy.
pg. 95 Wheels and tires
Uniform tire quality grading
ALL PASSENGER CAR TIRES MUST CONFORM TO FEDERAL SAFETY REQUIREMENTS IN
ADDITION TO THESE GRADES
Quality grades can be found, where applicable, on the tire sidewall between the tread should and maximum section
width. For example:
Treadwear 200 Traction AA Temperature A
TREADWEAR
The treadwear grade is a comparative rating based on the wear rate of the tire when tested under controlled conditions
on a specified government test course. For example, a tire graded 150 would wear one and one half (1 1/2) times as
well on the government course as a tire graded 100. The relative performance of tires depends upon the actual
conditions of their use, however, and many depart significantly from the norm due to variation in driving habits,
service practices and differences in road characteristics and climate.
TRACTION
The traction grades, from highest to lowest, are AA, A, B, and C, as measured under controlled conditions on specified
government test surfaces of asphalt and concrete. A tire marked C may have poor traction performance.
WARNING!
The traction grade assigned to this tire is based on braking (straight-ahead) traction tests and does not include
ProCarManuals.com
Page 89 of 109

bass). A "detent" indicates "equalized" bass. Press the button back in when you have made the adjustment.
Treble
Adjust the treble by pressing the button to extend the control, pulling it out as far as possible, and then turning it to the
left (less treble) or to the right (more treble). A "detent" indicates "equalized" treble. Press the button back in when you
have made the adjustment.
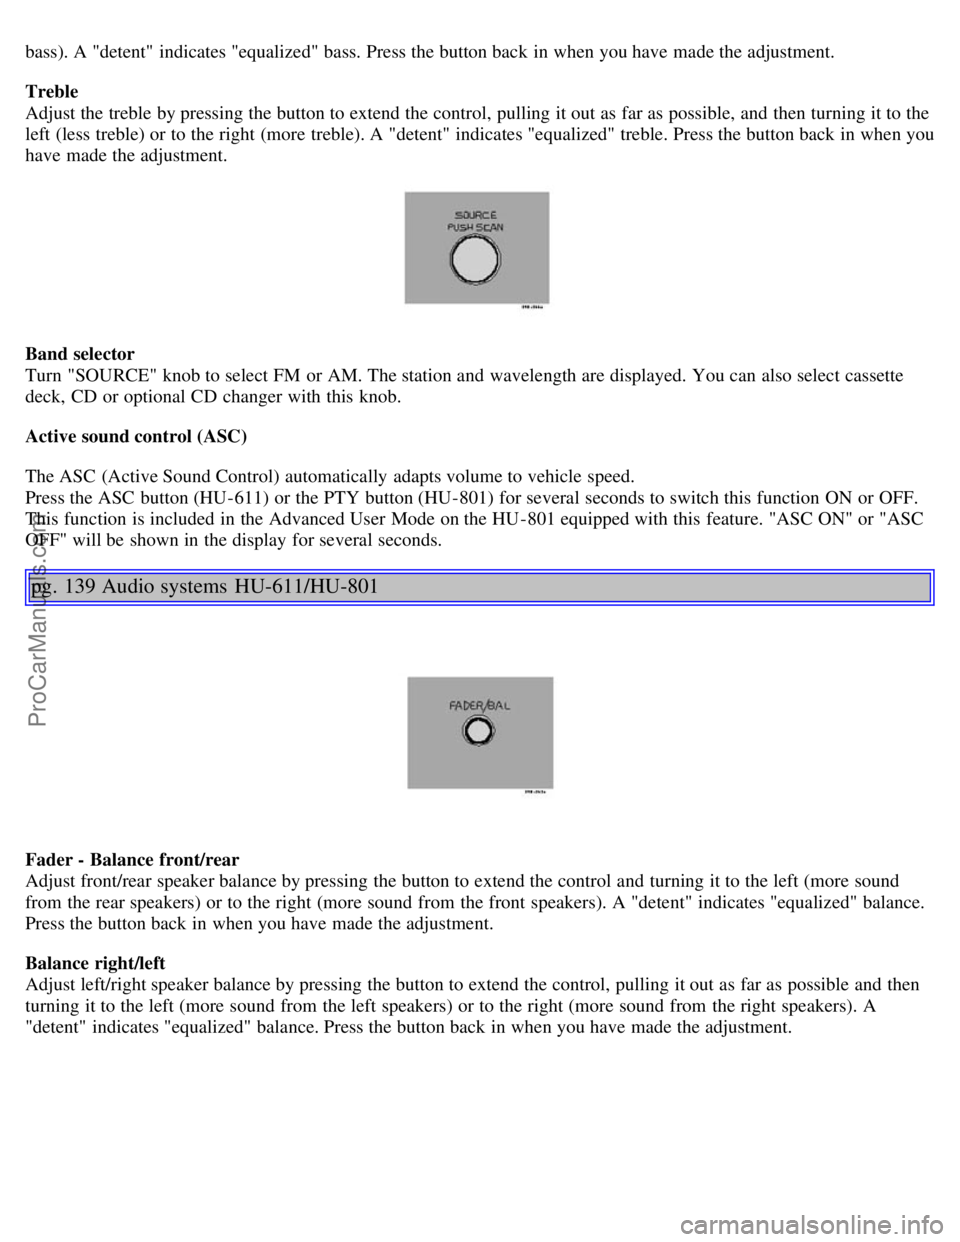
Band selector
Turn "SOURCE" knob to select FM or AM. The station and wavelength are displayed. You can also select cassette
deck, CD or optional CD changer with this knob.
Active sound control (ASC)
The ASC (Active Sound Control) automatically adapts volume to vehicle speed.
Press the ASC button (HU-611) or the PTY button (HU-801) for several seconds to switch this function ON or OFF.
This function is included in the Advanced User Mode on the HU -801 equipped with this feature. "ASC ON" or "ASC
OFF" will be shown in the display for several seconds.
pg. 139 Audio systems HU-611/HU-801
Fader - Balance front/rear
Adjust front/rear speaker balance by pressing the button to extend the control and turning it to the left (more sound
from the rear speakers) or to the right (more sound from the front speakers). A "detent" indicates "equalized" balance.
Press the button back in when you have made the adjustment.
Balance right/left
Adjust left/right speaker balance by pressing the button to extend the control, pulling it out as far as possible and then
turning it to the left (more sound from the left speakers) or to the right (more sound from the right speakers). A
"detent" indicates "equalized" balance. Press the button back in when you have made the adjustment.
ProCarManuals.com
Page 91 of 109

1. Press in the "AUTO" button for at least 2 seconds. A number of strong signal stations (max. 10) from the currently
selected waveband are now stored automatically in the memory. An "A" and "AUTO" is displayed. If there is no
station with sufficient signal strength "NO STATION" is displayed.
2. Turn "1-20/DISC" button if you wish to change to another of the auto-stored stations. Another auto-stored station is
selected with each turn.
Programming stations
1. Tune in the desired frequency.
2. Press the "1-20/DISC" button. Select a number by turning forwards or backwards. Press again to store the selected
frequency and station.
Preset
To choose a pre-set station, turn "1-20/DISC" button to the stored number. The currently selected station is displayed.
Radio Data System (RDS, also referred to as RBDS) - HU-801 only
The HU -801 radio in your car is equipped with an advanced system allowing information from broadcasters to be
transmitted visually, as text, together with the audio signal. This information is then decoded by the radio and made
available for several new and unique features. The RDS or Radio Data System operates in the FM band only, and
the information transmitted is supplied exclusively by participating broadcasters. Volvo has no control over the
accuracy of the data or information. Please refer to the following pages regarding specific descriptions and operation
of these functions.
Volvo was among the first to pioneer this technology throughout Europe and it is slowly making its way to North
America. Coverage by local broadcasters may be limited at this time, but as the technology and benefits grow, you will
find the radio in your car is equipped to take advantage of this system.
pg. 141 Audio systems HU-801 - radio
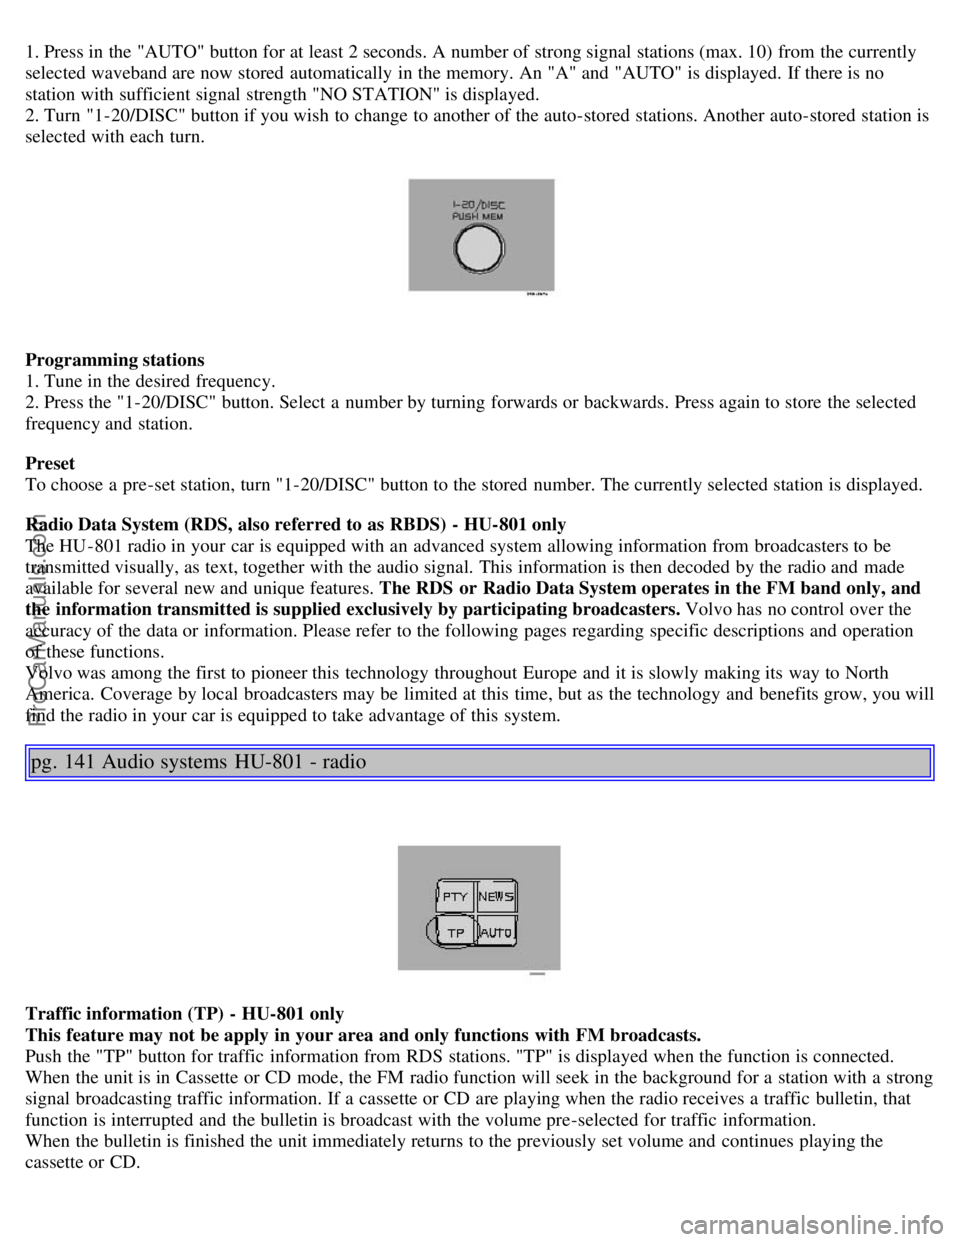
Traffic information (TP) - HU-801 only
This feature may not be apply in your area and only functions with FM broadcasts.
Push the "TP" button for traffic information from RDS stations. "TP" is displayed when the function is connected.
When the unit is in Cassette or CD mode, the FM radio function will seek in the background for a station with a strong
signal broadcasting traffic information. If a cassette or CD are playing when the radio receives a traffic bulletin, that
function is interrupted and the bulletin is broadcast with the volume pre-selected for traffic information.
When the bulletin is finished the unit immediately returns to the previously set volume and continues playing the
cassette or CD.
ProCarManuals.com
Page 96 of 109

Repeat steps 3 and 4 to program the other two transceiver buttons.
If, after several attempts, you are unable to successfully train the HomeLink® Universal Transceiver to learn your
hand -held transmitter's signal, contact HomeLink® toll-free 1-800-355-3515 (Internet: www.HomeLink.com
).
pg. 152 HomeLink® Universal Transceiver (option)
WARNING!
If you use HomeLink® to open a garage door or gate, be sure no one is near the gate or door while it is in motion.
Do not use the HomeLink® Universal Transceiver with any garage door opener that lacks safety "stop" and
"reverse" features as required by federal safety standards. (This includes any garage door opener model
manufactured before April 1, 1982) A garage door opener that cannot "detect" an object, signalling the door to
"stop" and "reverse" does not meet current federal safety standards. Using a garage door opener without these
features increases the risk of serious injury or death. For more information on this matter, call toll-free 1-800-355-
3515 (Internet: www.HomeLink.com
).
NOTE - Canadian residents:
During programming, your hand -held transmitter may automatically stop transmitting. To successfully train
HomeLink®, continue to hold the HomeLink® button. At the same time, repeatedly press and hold your hand -held
transmitter's button at two-second intervals until HomeLink® has learned your transmitter's code. The HomeLink®
indicator light will flash first slowly, and then rapidly to indicate that the button has been successfully programmed.
Determining if your garage door uses a rolling code
Determine, in one of the following ways, if your garage door uses a rolling code system and is manufactured after
1996:
Refer to the garage door opener owner's manual for verification.
If your hand -held transmitter appears to program the HomeLink® Universal Transceiver but the programmed button
does not activate the garage door, your garage door opener may have a rolling code.
Press the programmed HomeLink® button. If the garage door opener has the rolling code feature, the HomeLink®
indicator light flashes rapidly and then glows steadily after approximately 2 seconds.
To train a rolling code garage door opener , follow these instructions after programming the desired transceiver
button according to "Programming the transceiver." The help of a second person may make training easier.
1. Locate the training button on the garage door opener motor head unit . The location and color of the training button
may vary. If you encounter difficulty, refer to the garage door opener owner's manual or call toll-free 1-800-355-3515
(Internet: www.HomeLink.com
).
2. Press the "training" button on the garage door opener motor head unit until the "training" light comes on.
3. Press and release the programmed HomeLink® button. Press and release the programmed HomeLink® button a
second time to complete the training process.
Some garage door openers may require you to do this procedure a third time to complete the training.
The programmed button on your HomeLink® Universal Transceiver should now operate your garage door opener. The
original hand -held transmitter can also be used, as desired, to operate the garage door.
The remaining two HomeLink® buttons can be programmed in the same way. In the event of any problems in
ProCarManuals.com
Page 100 of 109

Cup holder - opening..........56
D
Dimensions..........129
Direction indicator bulbs (front)..........105
Direction indicators..........35
Distributor ignition system..........132
Door step courtesy lights - replacing..........108
Doors and locks..........60
Drive belt..........116
Driver's seat and remote keyless entry system..........53
Driving economy..........78
Driving mode indicator..........25
Driving mode W..........75, 77, 87
Driving with trunk open..........79
E
Economical driving..........78
Electrical system..........133
Electrical system - general information..........79
Electrically operated front seats..........52
Electrically operated sideview mirrors..........40
Electrically operated sun roof..........41
Electrically operated windows..........39
Electronic Brake Force Distribution..........17
Electronic Climate Control(ECC)..........45 - 49
Emergency Locking Retractor (ELR)..........14
Emergency towing..........81, 82
Emergency warning flashers..........37
Emissions systems..........115
Engine - specifications..........130
Engine - starting..........73
Engine air filter..........117
Engine compartment..........119
Engine oil..........87, 120, 121, 131
Exterior courtesy lights..........60
Exterior features - overview..........23
F
Fog light - rear..........27
, 32
Fog lights - front..........32
Folding head restraints..........29
Folding passenger's seat backrest..........53
Folding rear seat backrests ........58
Folding sideview mirrors..........27
Front airbags - SRS..........4-7
Front airbags - SRS - warning light..........26
ProCarManuals.com