2003 PONTIAC GRAND PRIX oil
[x] Cancel search: oilPage 160 of 378

The Driver Information Center (DIC) gives you important
safety and maintenance facts. When you turn the
ignition on, all of the DIC lights illuminate for a few
seconds. After this, the DIC will begin working.
Functions
__ (Door Ajar): If one of the doors is ajar, this light
will appear next to that door on the vehicle outline.
CHANGE OIL SOON: This light will appear when the
system indicates that it’s time for an oil change. The
system predicts remaining oil life using data from length
of drives, coolant temperature, engine rpm and
vehicle speed. It alerts you to change the oil on a
schedule consistent with the vehicle’s driving conditions.
After changing the oil, the system must be reset. See
How to Reset the GM
Oil Life SystemTM under
Engine
Oil on page 5- 18.
e LOW: This light will come on when the ignition is
on and the fluid in the washer fluid container is low.
AJAR: This light alerts you that the trunk is not
fully closed.
LOW TRAC (Low Traction): If your vehicle is equipped
with anti-lock brakes, this light will come on when the
enhanced traction system is limiting wheel spin. See Enhanced Traction System (ETS) on page 4-
I I or
Low Traction Light on page 3-30.
TRAC OFF (Traction Off): If your vehicle is equipped
with anti-lock brakes, this light lets you know that
the enhanced traction system has been disabled and
will not limit wheel spin. See Enhanced Traction System
Warning Light
on page 3-30 or Low Traction Light on
page 3-30.
TRAC (Traction): If the vehicle has anti-lock brakes
and the enhanced traction system, you will have a
disable button on the far right side of the DIC.
The enhanced traction system is automatically activated
when you turn the ignition on. This button will
activate/deactivate the system. If you need to disable
the system, such
as when you are stuck and are rocking
the vehicle back and forth, push this button. See If
You Are Stuck: in Sand, Mud, Ice or Snow on
page 4-32.
3-39
Page 163 of 378
Control Buttons
The trip computer has three buttons that control its
functions.
ENG/MET (English/Metric): Press this button to
change the display from English
to metric units or metric
to English.
RESET: Press this button for two seconds to reset the
mode displayed.
MODE: Press this button to change the function mode,
(Fuel Used, AVG ECON, OIL LIFE, RANGE) being
displayed.
OIL LIFE: This shows a percentage of the engine’s oil
remaining useful life. The system predicts remaining
oil life using data from length of drives, coolant
temperature, engine rpm and vehicle speed. Each time
you get an oil change, be sure to reset this function
so that it will give you an accurate percentage. See
“How to Reset the GM Oil Life System” under Engine
Oil on page
5-18.
RANGE: This mode shows how much farther you can
travel with the fuel you have remaining in the gas
tank before refueling. When the range displays
L, for
40 to
50 miles (64.36 to 80.45 km), the display will flash
LOW continuously. The range is calculated from the
AVG ECON value multiplied by the fuel remaining in
the tank.
Functions
LOW: This light will come on the vehicle outline when
FUEL USED: This mode shows the total amount of fuel the ignition is on and the fluid in the washer fluid
used since you last reset it. The amount can be container is low.
displayed in gallons or liters.
AVG ECON (Average Economy): This mode shows
the average fuel economy since you last reset
it.
3-42
Page 180 of 378
Cassettes are subject to wear and the sound quality
may degrade over time. Always make sure the cassette
tape is in good condition before you have your tape
player serviced.
Care of Your CDs
Handle discs carefully. Store them in their original cases
or other protective cases and away from direct sunlight
and dust.
If the surface of a disc is soiled, dampen
a clean, soft cloth in a mild, neutral detergent solution
and clean it, wiping from the center to the edge.
Be sure never to touch the side without writing when
handling discs. Pick up discs by grasping the outer
edges or the edge of the hole and the outer edge.
Care of Your CD Player
The use of CD lens cleaner discs is not advised, due to
the risk
of contaminating the lens of the CD optics
with lubricants internal to the CD mechanism.
Backglass Antenna
The AM-FM antenna is integrated with the rear window
defogger, located in the rear window. Be sure that
the inside surface of the rear window is not scratched
and that the lines on the glass are not damaged.
If the inside surface is damaged, it could interfere with
radio reception. Also, for proper radio reception,
the antenna connector at the top-center of the rear
window needs to be properly attached to the post on
the glass.
Notice; Do not try to clear frost or other material
from the inside of the rear window with a razor blade
or anything else that
is sharp. This may damage
the rear defogger grid and affect your radio’s ability
to pick up stations clearly. The repairs wouldn’t
be covered by your warranty.
Because this antenna is built into your rear window,
there is a reduced risk of damage caused by car washes
and vandals.
If you choose
to add a cellular telephone to your
vehicle, and the antenna needs to be attached
to the
glass, be sure that you do not damage the grid lines for
the AM-FM antenna. There is enough space between
the lines
to attach a cellular telephone antenna
without interfering with radio reception
Do not apply aftermarket glass tinting to the back glass.
The metallic film in some tinting materials will interfere
with or distort the incoming radio reception. Care
must be taken when cleaning the rear window because
it breaks in the resistive material heating element
and will adversely affect radio and defogger
performance. See your dealer for details.
3-59
Page 205 of 378
Once you are moving on the freeway, make certain you
allow a reasonable following distance.
Expect to move slightly slower at night.
When you want to leave the freeway, move to the
proper lane well in advance.
If you miss your exit, do
not, under any circumstances, stop and back up. Drive
on to the next exit.
The exit ramp can be curved, sometimes quite sharply.
The exit speed is usually posted. Reduce your speed
according to your speedometer, not to your sense
of motion. After driving for any distance at higher
speeds, you may tend to think you are going slower
than you actually are.
Before Leaving on a Long Trip
Make sure you’re ready. Try to be well rested. If you
must start when you’re not fresh
- such as after a day’s
work
- don’t plan to make too many miles that first
part of the journey. Wear comfortable clothing and shoes
you can easily drive in.
Is your vehicle ready for a long trip? If you keep it
serviced and maintained, it’s ready to
go. If it
needs service, have it done before starting out.
Of course, you’ll find experienced and able service
experts in dealerships all across North America. They’ll
be ready and willing to help
if you need it.
Here are some things you can check before a trip:
Windshield Washer Fluid:
Is the reservior full?
Are all windows clean inside and outside?
Wiper Blades: Are they in good shape?
Fuel, Engine Oil, Other Fluids: Have you checked
all levels?
Lamps: Are they all working? Are the lenses clean?
Tires: They are vitally important to a safe,
trouble-free trip.
Is the tread good enough for
long-distance driving? Are the tires all inflated to the
recommended pressure?
Weather Forecasts: What’s the weather outlook
along your route? Should you delay your trip a
short time to avoid a major storm system?
Maps:
Do you have up-to-date maps?
4-24
Page 224 of 378

But if you ever have to park your rig on a hill, here’s
how to do it:
1.
2.
3.
4.
5.
Apply your regular brakes, but don’t shift into
PARK
(P) yet.
Have someone place chocks under the trailer
wheels.
When the wheel chocks are in place, release the
regular brakes until the chocks absorb the load.
Reapply the regular brakes. Then apply your
parking brake, and then shift to PARK
(P).
Release the regular brakes.
When You Are Ready to Leave After
Parking on a
Hill
1. Apply your regular brakes and hold the pedal down
while you:
start your engine,
0 shift into a gear, and
0 release the parking brake. 2. Let
up on the brake pedal.
3. Drive slowly until the trailer is clear of the chocks.
4. Stop and have someone pick up and store the
chocks.
Maintenance When Trailer Towing
Your vehicle will need service more often when you’re
pulling a trailer. See Part
A: Scheduled Maintenance
Services on page
6-4 for more information. Things that
are especially important in trailer operation are
automatic transaxle fluid (don’t overfill), engine oil, drive
belts, cooling system and brake system. Each of
these is covered in this manual, and the Index will help
you find them quickly.
If you’re trailering, it’s a good
idea to review this information before you start your trip.
Check periodically
to see that all hitch nuts and bolts
are tight.
Engine Cooling When Trailer Towing
Your cooling system may temporarily overheat during
severe operating conditions. See Engine Overheating
on page
5-33.
4-43
Page 226 of 378

Section 5 Service and Appearance Care
Service ............................................................ 5.3
Doing Your
Owr? Service Work ......................... 5-4
Adding Equipment to the Outside of
Your Vehicle
.............................................. 5-4
Fuel ................................................................ 5-5
Gasoline Octane
............................................ 5-5
Gasoline Specifications
.................................... 5-5
California Fuel
............................................... 5-6
Additives
....................................................... 5-6
Fuels in Foreign Countries
............................... 5-7
Filling Your Tank
............................................ 5-7
Filling a Portable Fuel Container
....................... 5-9
Checking Things Under the Hood .................... 5-10
Hood Release
.............................................. 5-10
Engine Compartment Overview
....................... 5-12
Engine Oil
................................................... 5-18
Supercharger Oil
.......................................... 5-24
Engine Air CleanedFilter
................................ 5-25
Automatic Transaxle Fluid
.............................. 5-27
Engine Coolant
............................................. 5-30
Radiator Pressure Cap
.................................. 5-33
Cooling System
........................................... -5-36
Power Steering Fluid
..................................... 5-46
Windshield Washer Fluid
................................ 5-48
Engine Overheating
....................................... 5-33 Brakes
........................................................ 5.49
Battery
........................................................ 5.52
Jump Starting
............................................... 5-53
Bulb Replacement .......................................... 5-60
Halogen Bulbs
.............................................. 5-60
Headlamps
.................................................. 5-60
Front Turn Signal and Sidemarker Lamps
........ 5-62
Center High-Mounted Stoplamp (CHMSL)
......... 5-63
Taillamps, Sidemarker and Back-up Lamps
...... 5-64
Replacement Bulbs
....................................... 5-66
Windshield Wiper Blade Replacement .............. 5-67
Tires ............................................................. -5-68
Inflation
-- Tire Pressure ................................ 5-68
Tire Inspection and Rotation
........................... 5-69
When It
Is Time for New Tires ....................... 5-70
Buying New Tires
......................................... 5-71
Uniform Tire Quality Grading
.......................... 5-72
Wheel Replacement
...................................... 5-73
Headlamp Aiming ........................................... 5-59
Wheel Alignment and Tire Balance
.................. 5-73
Tire Chains
.................................................. 5-75
If a Tire Goes Flat ........................................ 5-76
Changing a Flat Tire
..................................... 5-76
Compact Spare Tire
...................................... 5-87
5- 1
Page 232 of 378
Some gasolines that are not reformulated for low
emissions may contain an octane-enhancing additive
called methylcyclopentadienyl manganese tricarbonyl
(MMT); ask the attendant where you buy gasoline
whether the fuel contains MMT. General Motors does
not recommend the use of such gasolines. Fuels
containing MMT can reduce the life of spark plugs and
the performance of the emission control system may
be affected. The malfunction indicator lamp may turn on
If this occurs, return to your authorized GM dealer for
service.
Fuels in Foreign Countries
If you plan on driving in another country outside the
United States or Canada, the proper fuel may be hard
to find. Never use leaded gasoline or any other fuel
not recommended in the previous text on fuel. Costly
repairs caused by use of improper fuel wouldn’t be
covered by your warranty.
To check the fuel availability, ask an auto club, or
contact a major oil company that does business in the
country where you’ll be driving.
Filling Your Tank
Fuel \-$or is highly flammable. .. mrns
violently, and that can cause very bad injuries.
Don’t smoke
if you’re near fuel or refueling
your vehicle. Keep sparks, flames and smoking
materials away from fuel.
Turn the vehicle off before refueling.
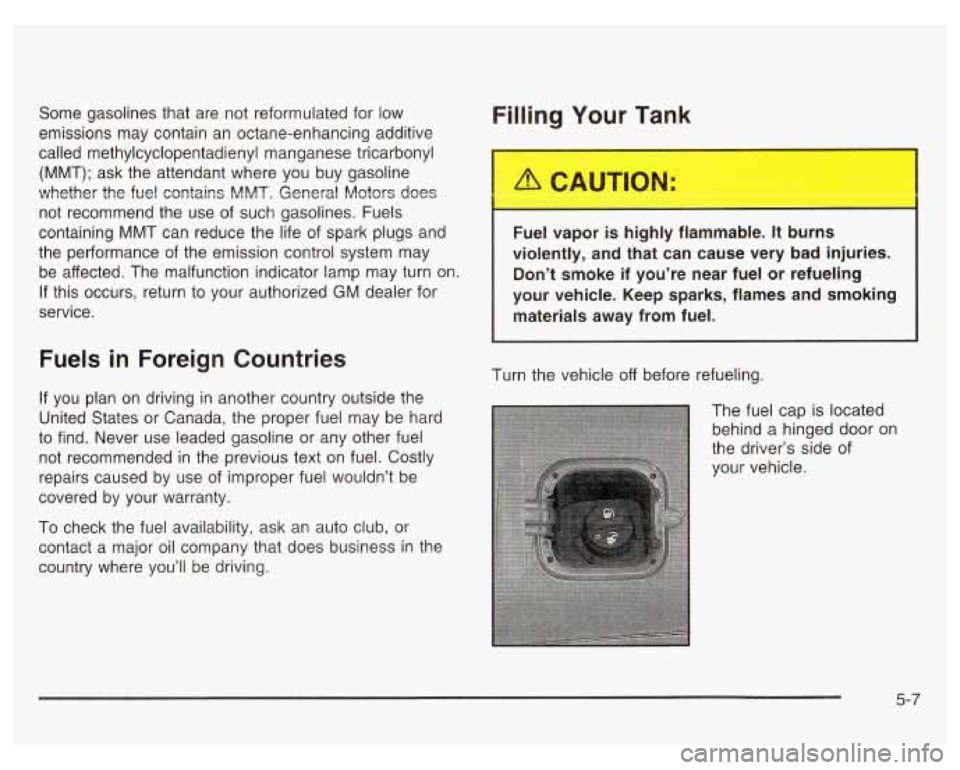
The fuel cap is located
behind a hinged door on
the driver’s side
of
your vehicle.
5-7
Page 235 of 378
Checking Things Under
the
Hood
Ar. Jectric fan unl,.' the hood can start up
and injure you even when the engine is not
running. Keep hands, clothing and tools away
from any underhood electric fan.
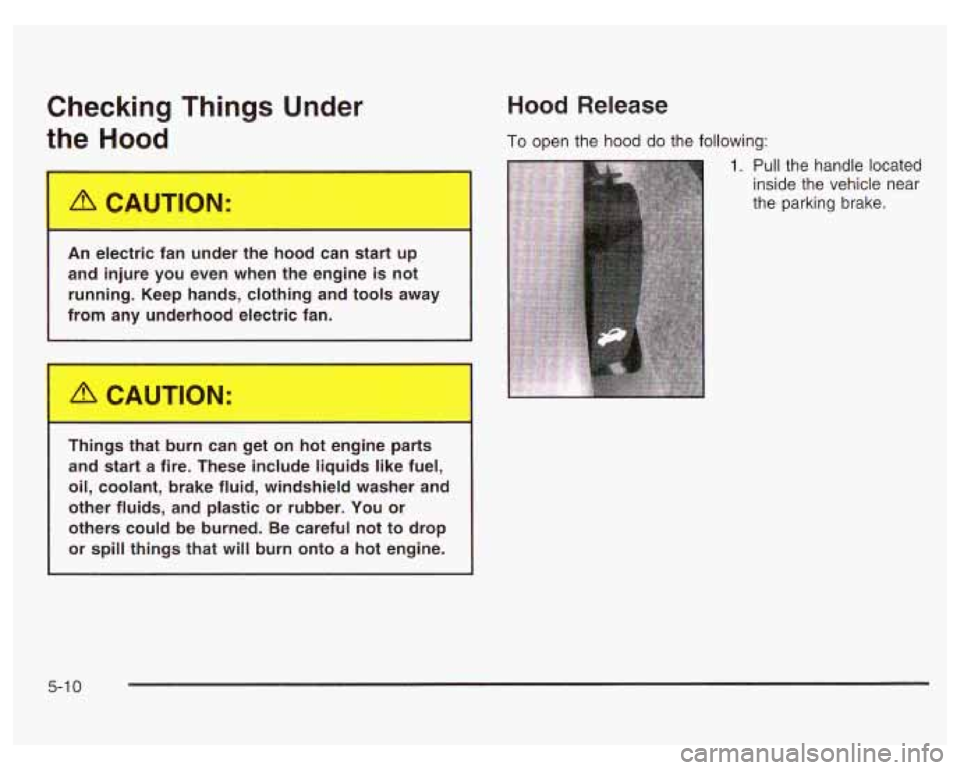
Hood Release
To open the hood do the following:
Things that burn can get on ..__ -.. 3"'- parts
and start
a fire. These include liquids like fuel,
oil, coolant, brake fluid, windshield washer and
other fluids, and plastic or rubber. You or
others could be burned. Be careful not to drop
or spill things that
will burn onto a hot engine.
1. Pull the handle located
inside the vehicle near
the parking brake.
5-1 0