Page 104 of 177

17-02-2003
To disarm external type protection only
¥ see "Disarming" section. Note:if you wish to charge or replace
the battery:
¥ Turn on the ignition.
¥ You have 10 seconds after turning on the ignition to press the internal protection switch 1and hold it
down for two seconds.
¥ The warning light flashes rapidly for three seconds.
¥ Disconnect the battery.
¥ After reconnecting the battery, lock, then unlock the vehicle using the remote control.
YOUR 406 IN DETAIL 107
To set the alarm to external protection only If you want to leave a window partially open, or a pet inside thevehicle, you need to select externalprotection only:
¥ Switch off the ignition.
¥ Within the next ten seconds, press the internal protection button 1
until the light comes on.
¥ Get out of the vehicle.
¥ Press the locking button on the remote control.
¥ The doors lock.
¥ The direction indicators light for two seconds.
¥ The red light on the switch flashes once a second.
Do not make any modifi- cations to the alarm sys-tem, this could causefaults.
Page 106 of 177

17-02-2003
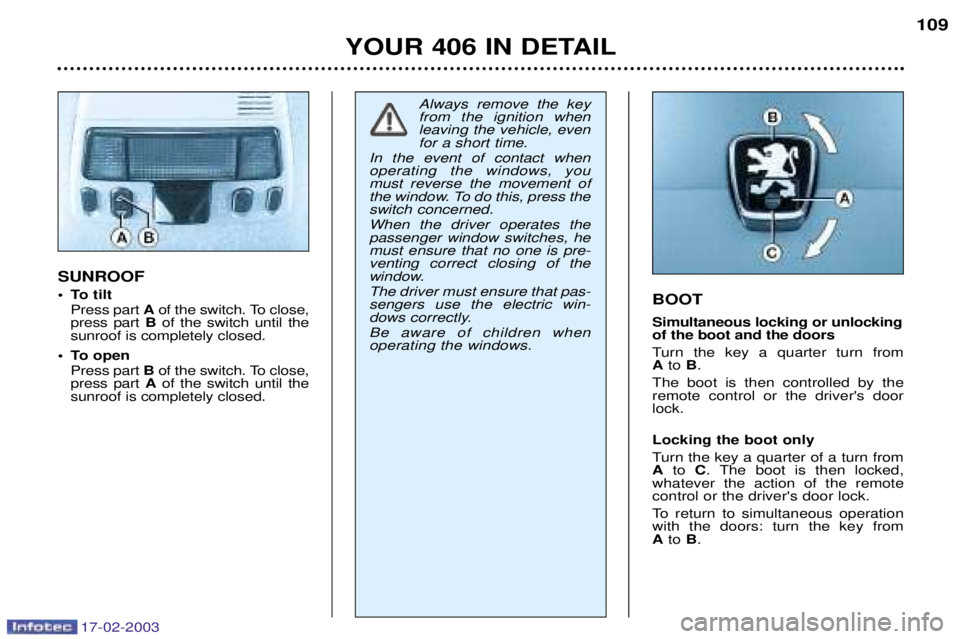
BOOT Simultaneous locking or unlocking of the boot and the doors
Turn the key a quarter turn from Ato B.
The boot is then controlled by theremote control or the driver's doorlock. Locking the boot only
Turn the key a quarter of a turn from A to C. The boot is then locked,
whatever the action of the remotecontrol or the driver's door lock.
To return to simultaneous operation with the doors: turn the key fromA to B.
YOUR 406 IN DETAIL
109
SUNROOF
¥ To tilt Press part Aof the switch. To close,
press part Bof the switch until the
sunroof is completely closed.
¥ To open Press part Bof the switch. To close,
press part Aof the switch until the
sunroof is completely closed.
Always remove the key from the ignition whenleaving the vehicle, evenfor a short time.
In the event of contact whenoperating the windows, youmust reverse the movement of
the window. To do this, press theswitch concerned. When the driver operates the passenger window switches, hemust ensure that no one is pre-venting correct closing of the
window. The driver must ensure that pas- sengers use the electric win-
dows correctly. Be aware of children when operating the windows.
Page 108 of 177

17-02-2003
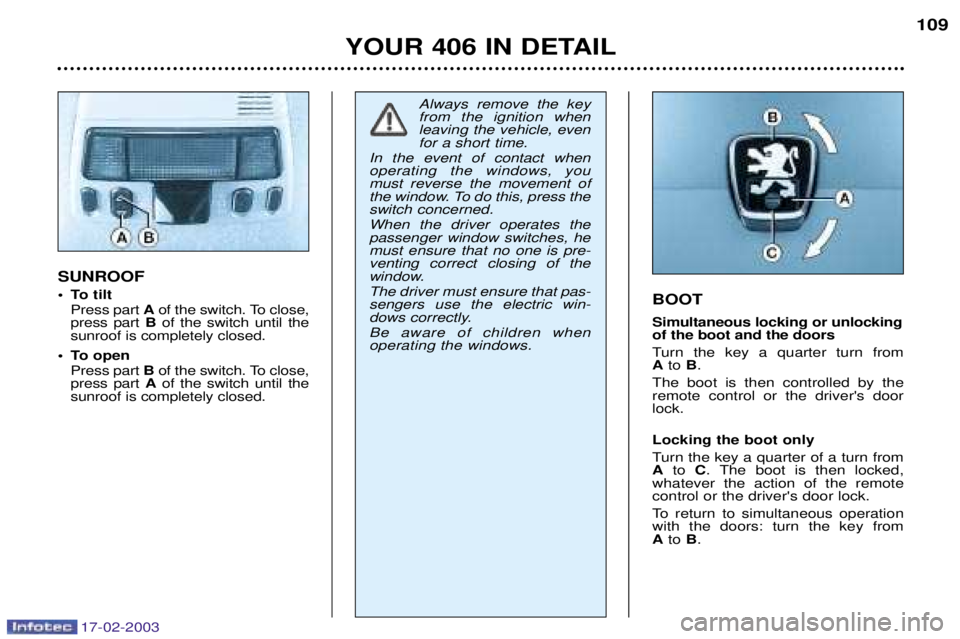
BOOT Simultaneous locking or unlocking of the boot and the doors
Turn the key a quarter turn from Ato B.
The boot is then controlled by theremote control or the driver's doorlock. Locking the boot only
Turn the key a quarter of a turn from A to C. The boot is then locked,
whatever the action of the remotecontrol or the driver's door lock.
To return to simultaneous operation with the doors: turn the key fromA to B.
YOUR 406 IN DETAIL
109
SUNROOF
¥ To tilt Press part Aof the switch. To close,
press part Bof the switch until the
sunroof is completely closed.
¥ To open Press part Bof the switch. To close,
press part Aof the switch until the
sunroof is completely closed.
Always remove the key from the ignition whenleaving the vehicle, evenfor a short time.
In the event of contact whenoperating the windows, youmust reverse the movement of
the window. To do this, press theswitch concerned. When the driver operates the passenger window switches, hemust ensure that no one is pre-venting correct closing of the
window. The driver must ensure that pas- sengers use the electric win-
dows correctly. Be aware of children when operating the windows.
Page 116 of 177

17-02-2003
ELECTRIC WINDOWS
1 - Driver's electric window switch.You have two options:
Ð Manual operation:Press or pull switch 1gently.
The window stops as soon as the switch is released.
Ð Automatic operation: Press or pull switch 1fully. The
window opens or closes com-pletely when the switch isreleased. Pressing the switchagain stops the movement of
the window.
YOUR 406 IN DETAIL 141
Safety auto-reverse When the window on the driver's side rises and meets an obstacle,it stops and lowers again. Notes: In the case of unwanted opening of the window on closing (forexample, in the case of frost) ifthe window will not rise and goesinto safety auto-reverse mode,lower it completely and raise it
again immediately, by pulling theswitch until the window closes
completely. Continue to press theswitch for approximately one sec-ond after closing. Following reconnection of the
battery, in the event of a malfunc-tion, you must reinitialise thesafety auto-reverse function:
Ð open the window completely,
then close it, it will rise in stages of a few centimetreswith each press, repeat theoperation until the window iscompletely closed,
Ð continue to press the switch for at least one second afterreaching this position.
The safety auto-reverse func-tion is not operational duringthese operations. 2 - Passenger's electric window
switch.
3 - Rear left electric window switch.
4 - Rear right electric window switch.
5 - Disarming the rear window switches (child safety). For the safety of your children, press switch 5to prevent opera-
tion of the rear windows irrespec-tive of their position. The 1st press activates the switch and the 2nd press deacti-vates it.
Always remove the key from the ignition whenleaving the vehicle, evenfor a short time.
In the event of contact whenoperating the windows, you mustreverse the movement of the
window. To do this, press theswitch concerned. When the driver operates the passenger window switches, hemust ensure that no one ispreventing correct closing of the
window. The driver must ensure that passengers use the electric
windows correctly. Be aware of children when operating the windows.
Page 152 of 177
17-02-2003
CHANGING A FUSE The fuse boxes are under the fascia and in the engine compartment. Fascia fuse box
Turn the three screws a quarter turn with a coin. Pull at Aand tilt the
cover to access the fuses. Removing and changing a fuse Before changing a fuse you must find out the cause of the fault and have it put
right. The fuse numbers are indicated on the fuse box. Use the special pliers
Aattached to the box.
Always change a faulty fuse for one of the same rating.
Correct Incorrect Pliers A
Remove the fascia panel lower trim to access the built-in systems interface.
Fuse n o
. Rating Functions
A 20 A Locking/Unlocking, Deadlock- ing.
B 10 A Rear fog lamps.
C 40 A Demisting the mirrors.
D 15 A Rear screen wiper.
E 30 A Electric windows.
F 15 A Supply to instrument panel -
Display - Audio equipment - Satellite navigation system - Air conditioning.
MAINTENANCE OF YOUR 406 41
Page 156 of 177
17-02-2003
CHANGING A FUSE The fuse boxes are under the fascia and in the engine compartment. Fascia fuse box
Turn the three screws a quarter turn with a coin. Pull at Aand tilt the
cover to access the fuses. Removing and changing a fuse Before changing a fuse you must find out the cause of the fault and have it put
right. The fuse numbers are indicated on the fuse box. Use the special pliers
Aattached to the box.
Always change a faulty fuse for one of the same rating.
Correct Incorrect Pliers A
Remove the fascia panel lower trim to access the built-in systems interface.
Fuse n o
. Rating Functions
A 20 A Locking/Unlocking, Deadlock- ing.
B 10 A Rear fog lamps.
C 40 A Demisting the mirrors.
D 15 A Rear screen wiper.
E 30 A Electric windows.
F 15 A Supply to instrument panel -
Display - Audio equipment - Satellite navigation system - Air conditioning.
MAINTENANCE OF YOUR 406 41
Page 157 of 177
17-02-2003
Fuse N¡ RatingFunctions
1 shuntCentral air bag.
25 AVentilation controls.
3 10 A Instrument panel.
45 AIgnition +ve signal for Built-in Systems Interface.
5Ð Not used.
6 10 ASteering wheel stalk.
7 15 AAlarm siren.
8 10 ASatellite navigation system.
95 ABattery +ve signal for Built-in Systems Interface.
10 15 A Audio equipment.
11 10 AThird brake light.
12 10 A Right-hand brake light.
13 20 ADriver's electric window.
14 30 ARear window power.
15 ÐBattery +ve towing socket.
16 20 AMemorisation of seats.
17 20 APassenger's electric seat.
18 10 A Lighter lighting - Display - Lighting for switches and ash tray, automatic gearbox selector lever.
Fascia fuse box
MAINTENANCE OF YOUR 406
42
Page 158 of 177
17-02-2003
Fuse N¡ RatingFunctions
19 10 ARear fog lamps.
20 10 ARear right and front left side light.
21 10 ARear left and front right side light.
22 10 A Glove box lighting - Map reading light - Courtesy mirror light - Front and rear courtesy lights.
Lighting for electric window pad - Electrochrome rear view mirror.
23 20 A Lighter.
24 ÐNot used.
25 20 AAudio equipment.
26 ÐNot used.
27 5 ARear window relay.
28 15 AHeated seats.
R5 AReplacement fuse.
R2 10 A Replacement fuse.
R3 30 AReplacement fuse.
R4 20 AReplacement fuse.
R5 15 A Replacement fuse.
MAINTENANCE OF YOUR 406 43