2003 Oldsmobile Bravada brake
[x] Cancel search: brakePage 294 of 410

If it is, you should have your brake system fixed, since a
leak means that sooner or later your brakes won’t
work well, or won’t work at all.
So, it isn’t a good idea to “top off’ your brake fluid.
Adding brake fluid won’t correct a leak. If you add fluid
when your linings are worn, then you’ll have too
much fluid when you get new brake linings. You should
add (or remove) brake fluid, as necessary, only when
work is done on the brake hydraulic sys+-n.
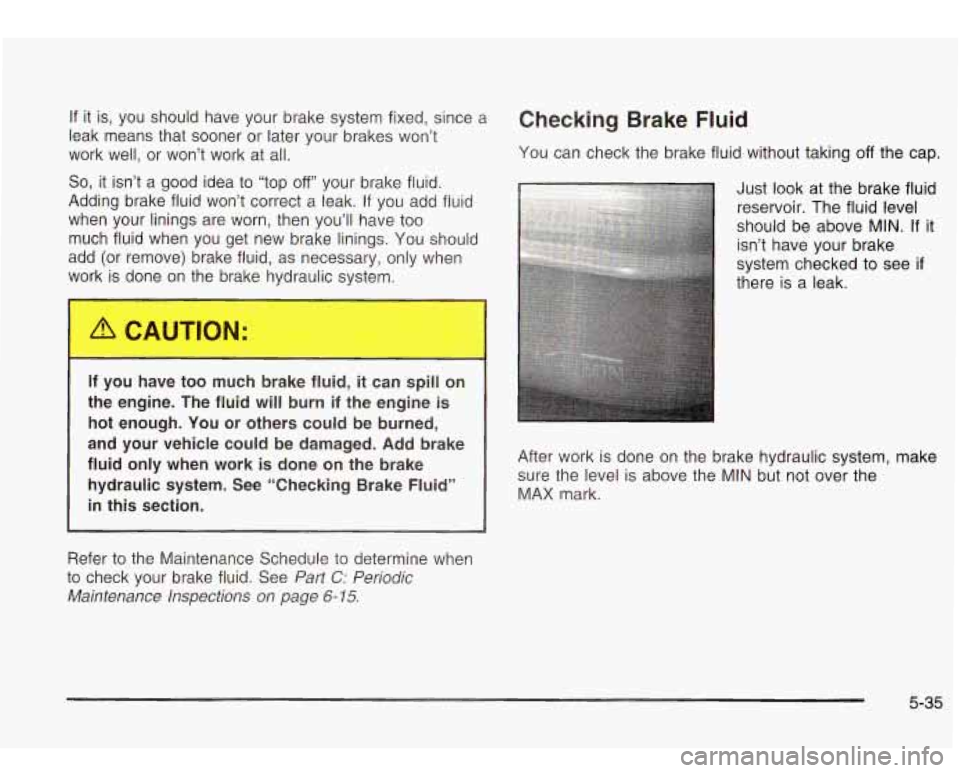
Checking Brake Fluid
You can check the brake fluid without taking off the cap.
If you have too much brake fluid, it can spill on
the engine. The fluid will burn if the engine is
hot enough. You or others could be burned,
and your vehicle could be damaged. Add brake
fluid only when work is done
on the brake
hydraulic system. See “Checking Brake Fluid”
in this section.
Refer to the Maintenance Schedule to determine when
to check your brake fluid. See
farf C: Periodic
Maintenance Inspections on
page 6- 15.
After work is done on the brake hydraulic system, make
sure the level is above the MIN but not
over the
MAX mark.
5-35
Page 295 of 410

What to Add Notice:
When you do need brake fluid, use only DOT-3 brake
fluid. Use new brake fluid from a sealed container only. See
Part D: Recommended Fluids and Lubricants
on page 6- 17.
Always clean the brake fluid reservoir cap and the area
around the cap before removing it. This will help
keep dirt )m en’
. the reservoir.
A I:
With the wrong kind of fluid in your brake
system, your brakes may not work well, or
they may not even work at all. This could
cause a crash. Always use the proper brake
fluid.
Using the wrong fluid can badly damage brake
system parts. For example, just a few drops of
mineral-based oil, such as engine oil,
in your
brake system can damage brake system parts
so badly that they’ll have to be replaced.
Don’t let someone put in the wrong kind of fluid
If you spill brake fluid on your vehicle’s painted
surfaces, the paint finish can be damaged. Be
careful not to spill brake fluid on your vehicle. If
you
do, wash it off immediately. See
“Appearance Care’’ in the Index.
Brake Wear
Your vehicle has four-wheel disc brakes.
Disc brake pads have built-in wear indicators that make
a high-pitched warning sound when the brake pads
are worn and new pads are needed. The sound
may come and
go or be heard all the time your vehicle
is moving (except when you are pushing
on the
brake pedal firmly).
5-36
Page 296 of 410

Brake Pedal Travel
The brake wear warning sound means that
soon your brakes won’t work well. That could
lead to an accident. When you hear the brake
wear warning sound, have your vehicle
serviced.
Notice: Continuing to drive with worn-out brake
pads could result
in costly brake repair.
Some driving conditions or climates may cause a brake
squeal when the brakes are first applied or lightly
applied. This does not mean something is wrong with
your brakes.
Properly torqued wheel nuts are necessary
to help
prevent brake pulsation. When tires are rotated, inspect
brake pads for wear and evenly tighten wheel nuts in
the proper sequence
to GM torque specifications.
Brake linings should always be replaced as complete
axle sets.
See
Brake System Inspection on page 6-16.
See your dealer if the brake pedal does not return to
normal height, or
if there is a rapid increase in
pedal travel. This could be a sign of brake trouble.
Brake Adjustment
Every time you make a brake stop, your disc brakes
adjust for wear.
Replacing Brake System Parts
The braking system on a vehicle is complex. Its many
parts have
to be of top quality and work well together if
the vehicle is to have really good braking. Your
vehicle was designed and tested with top-quality GM
brake parts. When you replace parts
of your braking
system
- for example, when your brake linings
wear down and you need new ones put in
- be sure
you get new approved GM replacement parts.
If
you don’t, your brakes may no longer work properly. For
example,
if someone puts in brake linings that are
wrong for your vehicle, the balance between your front
and rear brakes can change
- for the worse. The
braking performance you’ve come
to expect can change
in many other ways
if someone puts in the wrong
replacement brake parts.
5-37
Page 298 of 410

Jump Starting
If your battery has run down, you may want to use
another vehicle and some jumper cables to start your
vehicle. But please use the following steps
to do it
safely.
can be dangerous
* They contain acid that can burn you.
0 They contain gas that can explode or
* They contain enough electricity to
If you don’t follow these steps exactly, some
Notice: Ignoring these steps could result in costly
damage to your vehicle that wouldn’t be covered
by your warranty.
Trying to start your vehicle by pushing or pulling
it
won’t work, and it could damage your vehicle.
1. Check the other vehicle. It must have a 12-volt
battery with
a negative ground system.
Notice: If the other system isn’t a 12-volt system
with a negative ground, both vehicles can be damaged.
2. Get the vehicles close enough so the jumper cables
can reach, but be sure the vehicles aren’t touching
each other. If they are, it could cause a ground
connection you don’t want.
You wouldn’t be able to
start your vehicle, and the bad grounding could
damage the electrical systems.
To avoid the possibility of the vehicles rolling, set
the parking brake firmly on both vehicles involved in
the jump start procedure. Put an automatic
transmission in
PARK (P) or a manual transmission
in NEUTRAL before setting the parking brake. If
you have a four- wheel-drive vehicle, be sure
the transfer case is not in NEUTRAL.
Notice: If you leave your radio on, it could be badly
damaged. The repairs wouldn’t be covered by
your warranty.
3. Turn off the ignition on both vehicles. Unplug
unnecessary accessories plugged into the cigarette
lighter or accessory power outlets (if equipped).
Turn
off the radio and all lamps that aren’t needed.
This will avoid sparks and help
to save both
batteries. And it could save your radio!
5-39
Page 318 of 410

If you need to replace any of your wheels, wheel bolts
or wheel nuts, replace them only with new
GM
original equipment parts. This way, you will be sure to
have the right wheel, wheel bolts and wheel nuts
for your vehicle.
Lb CAUTION:
Using the wrong replacement wheels, wheel
bolts or wheel nuts on your vehicle can be
dangerous.
It could affect the braking and
handling
of your vehicle, make your tires lose
air and make you lose control. You could have
a collision in which you or others could be injured. Always use the correct wheel, wheel
bolts and wheel nuts for replacement.
Notice: The wrong wheel can also cause problems
with bearing life, brake cooling, speedometer or odometer calibration, headlamp aim, bumper height,
vehicle ground clearance and tire clearance to the body and chassis.
See
Changing a Flat Tire on page 5-62 for more
information.
Used Replacement Wheels
Putting a used wheel on 1 lr vehicle is
dangerous. You can’t know how it’s been used
or how far
it’s been driven. It could fail
suddenly and cause a crash. If you have to replace a wheel, use a new
GM original
equipment wheel.
5-59
Page 319 of 410

lire Chains
Accessory Inflator
I^
Do.. - use tire ch-..ls. There’s no- _.__ugh
clearance. Tire chains used on a vehicle without
the proper amount of clearance can cause
damage to the brakes, suspension or other
vehicle parts. The area damaged by the tire
chains could cause you to lose control of your
vehicle and you or others may be injured
in a
crash. Use another type of traction device only if
its manufacturer recommends it for use on
your vehicle and tire size combination and road
conditions. Follow that manufacturer’s instructions.
To help avoid damage to your
vehicle, drive slowly, readjust or remove the device
if it’s contacting your vehicle, and don’t
spin your wheels.
If you do find traction devices
that will fit, install them on the rear tires. Your
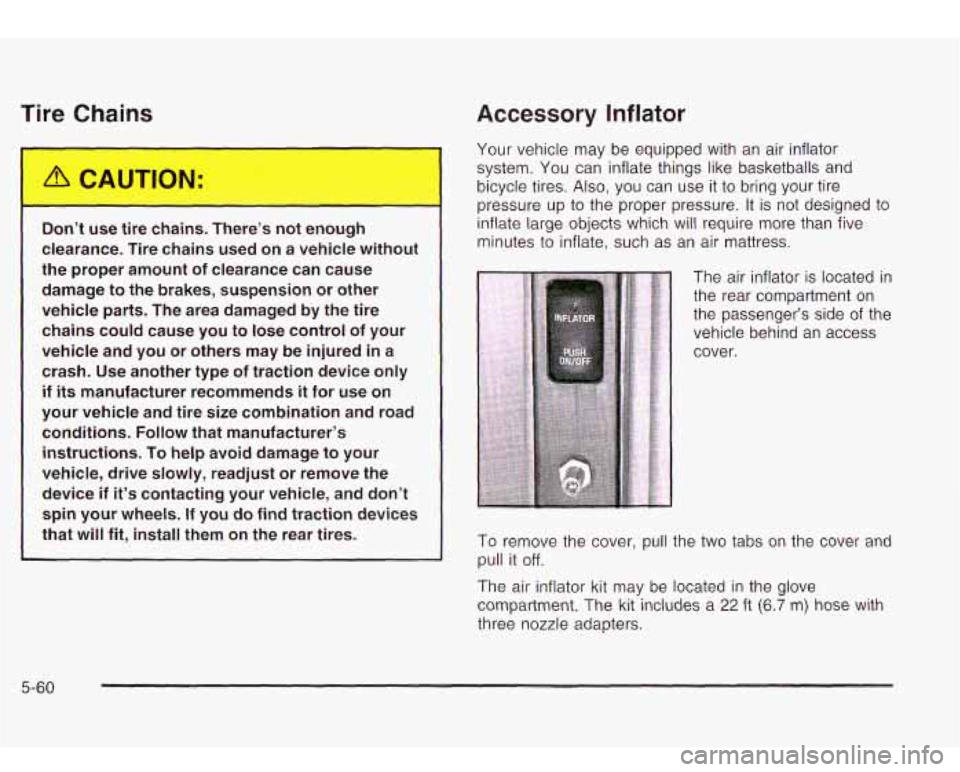
vehicle may be equipped with an air inflator
system. You can inflate things like basketballs and
bicycle tires.
Also, you can use it to bring your tire
pressure up to the proper pressure. It is not designed to
inflate large objects which will require more than five
minutes to inflate, such as an air mattress.
To remove the cover, pull the two tabs on the cover and
pull
it off.
The air inflator kit may be located in the glove
compartment. The kit includes a
22 ft (6.7 m) hose with
three nozzle adapters.
5-60
Page 320 of 410

To use the air inflator attach the appropriate nozzle
adapter to the end of the hose
if required. Then attach
that end of the hose to the object you wish to inflate.
Attach the other end of the hose to the outlet.
Press and release the switch to turn the air inflator on.
The indicator light will remain on when the inflator is
running.
The system has an internal clock to prevent overheating.
The system will allow about five minutes of running
time, then the compressor will stop. The indicator light
will then begin to flash. When the indicator is off,
the inflator can be started again by pressing the switch.
If the compressor is still hot,
it may only run for a
short time before shutting off again.
Press and release the switch to turn the inflator off.
Place the inflator kit
tools in the pouch and store
it properly. Remove the inflator hose from the outlet
during loading and unloading. Load leveling will
not function with the inflator hose attached
to the inflator
outlet. See ”Electronically Controlled Air Suspension
System” in the Index.
To reinstall the cover, line up the tabs at the back of the
cover, put it in place and latch the tabs.
A continuous flashing indicator light may also indicate a
malfunction in the air suspension system. See
“Electronically Controlled Air Suspension System” in the
Index.
Inllarlllg something too m,.-h can make it
explode, and you or others could be injured.
Be sure to read the inflator instructions, and
inflate any object only to its recommended
If a Tire Goes Flat
It’s unusual for a tire to “blowout” while you’re driving,
especially
if you maintain your tires properly. If air goes
out of a tire, it’s much more likely to leak out slowly.
But
if you should ever have a “blowout”, here are a few
tips about what to expect and what to do:
If a front tire fails, the flat tire will create a drag that
pulls the vehicle toward that side. Take your foot off the
accelerator pedal and grip the steering wheel firmly.
Steer to maintain lane position, and then gently brake to
a stop well out of the traffic lane.
5-61
Page 321 of 410

A rear blowout, particularly on a curve, acts much like a
skid and may require the same correction you’d use
in a skid. In any rear blowout, remove your foot from the
accelerator pedal. Get the vehicle under control by
steering the way you want the vehicle
to go. It may be
very bumpy and noisy, but you can still steer. Gently
brake
to a stop - well off the road if possible.
If
a tire goes flat, the next part shows how to use your
jacking equipment
to change a flat tire safely.
Changing a Flat Tire
If a tire goes flat, avoid further tire and wheel damage
by driving slowly
to a level place. Turn on your
hazard warning flashers. Cha..,ing
a tire can ca-.-e an injc.
,. The
vehicle can slip
off the jack and roll over you
or other people. You and they could be badly
injured. Find a level place to change your tire.
To help prevent the vehicle from moving:
1. Set the parking brake firmly.
2. Put the shift lever in PARK (P).
3. Turn off the engine.
4. Put the wheel blocks at the front and rear
of the tire farthest away from the one
being changed. That would be the tire on
the other side of the vehicle,
at the
opposite end.
5-62