2003 Oldsmobile Bravada oil change
[x] Cancel search: oil changePage 277 of 410
How to Reset the CHANGE ENG OIL Light
The GM Oil Life System calculates when to change
your engine oil and filter based on vehicle use. Anytime
your oil is changed, reset the system
so it can
calculate when the next oil change is required. If a
situation occurs where you change your oil prior to a
CHANGE ENG OIL light being turned on, reset the
system.
To reset the CHANGE ENG OIL light, do the following:
1. Turn the ignition key to RUN with the
2. Fully press and release the accelerator pedal three
engine
off.
times within five seconds.
For vehicles with the Driver Information Center, see
Driver Information Center (DE) on page 3-43 to reset
the system.
What to Do with Used Oil
Used engine oil contains certain elements that may be
unhealthy for your skin and could even cause cancer.
Don’t let used oil stay on your skin for very long. Clean
your skin and nails with soap and water, or a good
hand cleaner. Wash or properly dispose of clothing or
rags containing used engine oil. See the manufacturer’s
warnings about the use and disposal of oil products. Used oil can be a threat
to the environment. If you
change your own oil, be sure to drain all the oil from the
filter before disposal. Never dispose
of oil by putting it
in the trash, pouring it on the ground, into sewers, or into
streams
or bodies of water. Instead, recycle it by
taking it to a place that collects used oil. If you have a
problem properly disposing
of your used oil, ask
your dealer, a service station or a local recycling center
for help.
Engine Air CleanedFilter
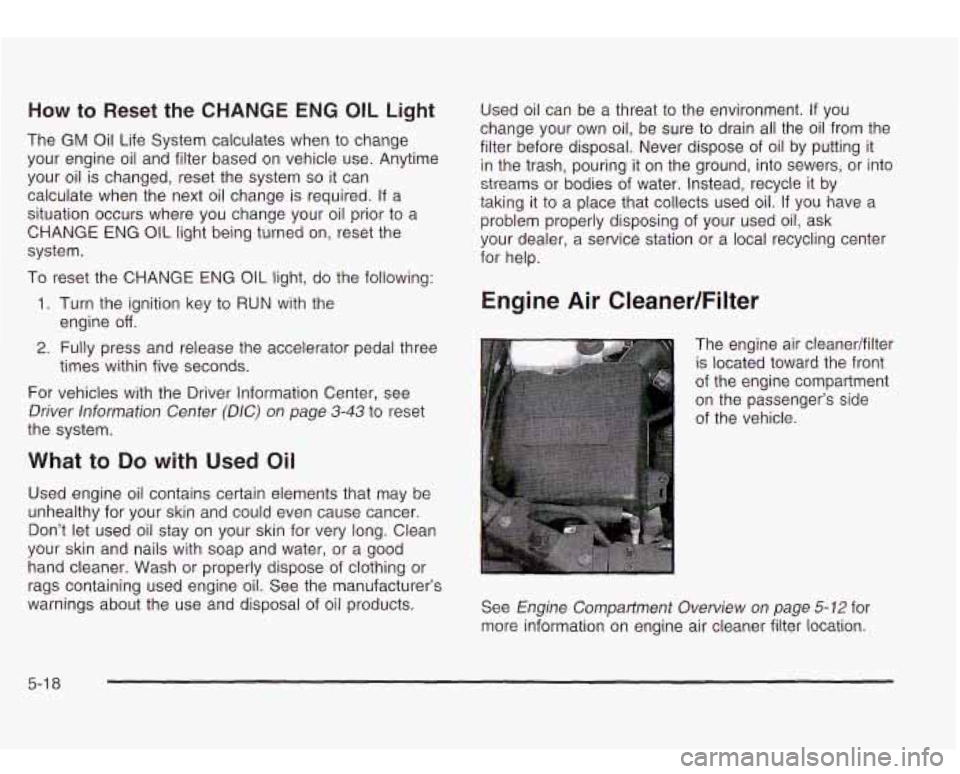
The engine air cleanedfilter
is located toward the front
of the engine compartment
on the passenger’s side
of the vehicle.
See
Engine Compartment Overview on page 5-12 for
more information on engine air cleaner filter location.
5-1 8
Page 279 of 410

Automatic Transmission Fluid
When to Check and Change
A good time to check your automatic transmission fluid
level is when the engine oil is changed.
Change both the fluid and filter every
50,000 miles
(83
000 km) if the vehicle is mainly driven under one or
more of these conditions:
In heavy city traffic where the outside temperature
9 In hilly or mountainous terrain.
0 When doing frequent trailer towing.
regularly
reaches
90°F (32°C) or higher.
Uses such as found in taxi, police or delivery
If you do not use your vehicle under any of these
conditions, change the fluid and filter every
100,000 miles (1 66 000 km).
service.
How to Check
Because this operation can
be a little difficult, you may
choose
to have this done at the dealership service
department.
If you do it yourself, be sure to follow all the instructions
here, or you could get a false reading on the dipstick.
Notice: Too much or too little fluid can damage
your transmission.
Too much can mean that some
of the fluid could come out and fall on hot engine
part or exhaust system parts, starting
a fire.
Too little fluid could cause the transmission to
overheat.
Be sure to get an accurate reading if you
check your transmission fluid.
Wait at least 30 minutes before checking the
transmission fluid level
if you have been driving:
When outside temperatures are above
90°F (32°C).
At high speed for quite a while.
In heavy traffic-especially in hot weather
While pulling a trailer.
To get the right reading, the fluid should be at normal
operating temperature, which is 180°F
to 200°F
(82°C to 93°C).
5-20
Page 281 of 410

How to Add Fluid
Refer to the Maintenance Schedule to determine what
kind of transmission fluid
to use. See Part D:
Recommended Fluids and Lubricants on page 6- 17.
Add fluid only after checking the transmission fluid while
it is hot.
(A cold check is used only as a reference.) If
the fluid level is low, add only enough of the proper fluid
to bring the level up
to the HOT area for a hot check.
It doesn’t take much fluid, generally less than one
pint (0.5 L).
Don’t overfill.
Notice: We recommend you use only fluid labeled
DEXRON@
-111, because fluid with that label is
made especially for your automatic transmission.
Damage caused by fluid other than DEXRON@
-111 is
not covered by your new vehicle warranty.
After adding fluid, recheck the fluid level as
described under “How
to Check”.
When the correct fluid level is obtained, push the
dipstick back
in all the way; then flip the handle
down
to lock the dipstick in place.
Engine Coolant
The cooling system in your vehicle is filled with
DEX-COOL@ engine coolant. This coolant is designed
to remain in your vehicle for 5 years or 150,000 miles
(240 000 km), whichever occurs first, if you add
only DEX-COOL@ extended life coolant. The following explains
your cooling system and how
to
add coolant when it is low. If you have a problem
with engine overheating, see
Engine Overheating on
page 5-24.
A 50/50 mixture of clean, drinkable water and
DEX-COOL@ coolant will:
Give freezing protection down to -34°F (-37°C).
Give boiling protection up to 265°F (129°C).
Protect against rust and corrosion.
Help keep the proper engine temperature.
Let the warning lights and gages work as they
should.
Notice: When adding coolant, it is important that
you use only
DEX-COOL@ (silicate-free) coolant.
If coolant other than DEX-COOL@ is added to
the system, premature engine, heater core or
radiator corrosion may result. In addition, the engine
coolant will require change sooner
-- at 30,000 miles
(50,000 km) or 24 months, whichever occurs first.
Damage caused by the
use of coolant other
than DEX-COOL@
is not covered by your new
vehicle warranty.
5-22
Page 330 of 410
5. Raise the vehicle by turning the jack handle
clockwise. Raise the vehicle far enough
off the
ground
so there is enough room for the spare
tire to fit.
6. Remove all the wheel nuts and take off the flat tire.
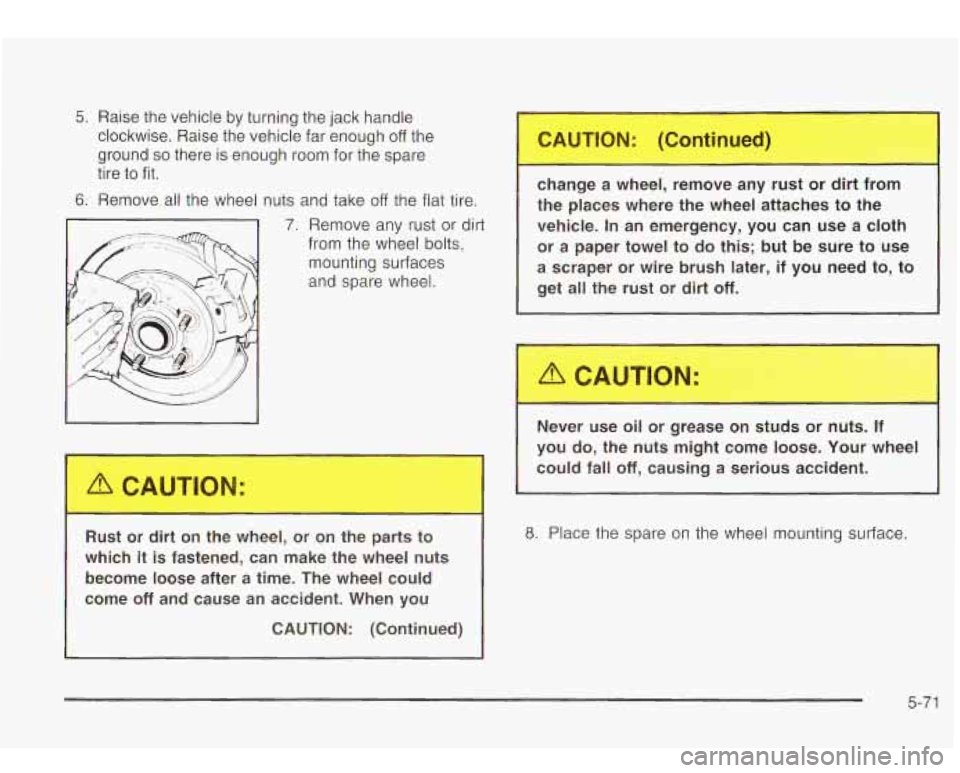
7. Remove any rust or dirt
from the wheel
bolts,
mounting surfaces
and spare wheel.
Is--- -
Rust or dir n t ---lee-, 3r 4 the p. s to
which
it is fastened, can make the wheel nuts
become loose after
a time. The wheel could
come
off and cause an accident. When you
CAUTION: (Continued) change a
wheel, remove any rust or dirt from
the places where the wheel attaches
to the
vehicle. In an emergency, you can use a cloth
or a paper towel to do this;
but be sure to use
a scraper or wire brush later, if you need to, to
get all the rust or dirt
off.
1
Never use oil or grease on studs tan nnutS. If
you do, the nuts might come loose. Your wheel
could fall
off, causing a serious
8. Place the spare on the wheel mounting surface.
5-71
Page 337 of 410
Here are some cleaning tips:
Always read the instructions on the cleaner label.
Clean up stains as soon as you can - before
Carefully scrape off any excess stain.
they set.
Use a clean cloth
or sponge, and change to a clean
area often. A soft brush may be used
if stains are
stubborn.
If a ring forms on fabric after spot cleaning, clean
the entire area immediately or it will set.
Using Cleaner on Fabric
1. Vacuum and brush the area to remove any loose
dirt.
2. Always clean a whole trim panel or section. Mask
surrounding trim along stitch or welt lines.
3. Follow the directions on the container label.
4. Apply cleaner with a clean sponge. Don’t saturate
the material and don’t rub it roughly.
5. As soon as you’ve cleaned the section, use a
sponge
to remove any excess cleaner.
6. Wipe cleaned area with a clean, water-dampened
towel or cloth.
Special Fabric Cleaning Problems
Stains caused by such things as catsup, coffee (black),
egg, fruit, fruit juice, milk, soft drinks, vomit, urine
and blood can be removed as follows:
1. Carefully scrape off excess stain, then sponge the
soiled area with cool water.
2. If a stain remains, follow the cleaner instructions
3. If an odor lingers after cleaning vomit or urine, treat
described earlier.
the area with a watedbaking soda solution:
1 teaspoon (5 ml) of baking soda to 1 cup (250 ml)
of lukewarm water.
4. Let dry.
Stains caused by candy, ice cream, mayonnaise, chili
sauce and unknown stains can be removed as follows:
1. Carefully scrape off excess stain.
2. Clean with cool water and allow to dry completely.
3. If a stain remains, follow the cleaner instructions
described earlier.
7. Wipe with a clean cloth and let dry.
5-78
Page 357 of 410
Part A: Scheduled Maintenance
Services
This part contains engine oil scheduled maintenance
which explains the engine oil life system and how
it indicates when to change the engine oil and filter.
Also, listed are scheduled maintenance services which
are
to be performed at the mileage intervals specified.
Using Your Maintenance Schedule
We at General Motors want to help you keep your
vehicle in good condition. But we don’t know exactly how
you’ll drive it. You may drive very short distances only
a few times a week. Or you may drive long distances in
very hot, dusty weather. You may use your vehicle in
making deliveries. Or you may drive it to work,
to
do errands or in many other ways.
Because
of all the different ways people use their
vehicles, maintenance needs vary. You may need more
frequent checks and replacements.
So please read
the following and note how you drive.
If you have any
questions on how
to keep your vehicle in good condition,
see your dealer. This part tells you the
maintenance services you should
have done and when you should schedule them.
When you
go to your dealer for your service needs,
you’ll know that GM-trained and supported service
people will perform the work using genuine GM parts.
The proper fluids and lubricants
to use are listed in
Part
D. Make sure whoever services your vehicle uses
these.
All parts should be replaced and all necessary
repairs done before you or anyone else drives the
vehicle.
This schedule is for vehicles that:
carry passengers and cargo within recommended
limits. You will find these limits on your vehicle’s
Certificationflire label. See
Loading Your Vehicle on
page
4-4 1.
are driven on reasonable road surfaces within legal
driving limits.
are driven off-road in the recommended manner.
See
Operating Your All- Wheel-Drive Vehicle Off
Paved Roads on page 4- 15.
use the recommended fuel. See Gasoline Octane
on page 5-5.
6-4
Page 358 of 410
Scheduled Maintenance
The services shown in this schedule up to 100,000 miles
(166 000 km) should be repeated after 100,000 miles
(166 000 km) at the same intervals for the life of
this vehicle. The services shown at
150,000 miles
(240 000 km) should be repeated at the same interval
after
150,000 miles (240 000 km) for the life of this
vehicle.
See
Part B: Owner Checks and Services on page 6- 10
and Part C: Periodic Maintenance Inspections on
page 6- 15.
Footnotes
t The US. Environmental Protection Agency or the
California Air Resources Board has determined that the
failure to perform this maintenance item will not nullify
the emission warranty or limit recall liability prior
to
the completion of the vehicle 's useful life. We, however,
urge that all recommended maintenance services be
performed at the indicated intervals and the
maintenance be recorded.
+ A good time to check your brakes is during tire
rotation. See Brake System Inspection
on page 6- 16.
Engine Oil Scheduled Maintenance
Change engine oil and filter as indicated by the GM
Oil Life System (or every 12 months, whichever
occurs first). Reset the system.
Your vehicle has a computer system that lets you know
when
to change the engine oil and filter. This is
based on engine revolutions and engine temperature,
and not on mileage. Based on driving conditions,
the mileage
at which an oil change will be indicated can
vary considerably. For the
oil life system to work
properly, you must reset the system every time the oil is
changed.
When the system has calculated that oil life has been
diminished, it will indicate that an oil change is
necessary. A CHANGE ENGINE
OIL light will come on.
Change your oil as soon as possible within the next
two times you stop for fuel. It is possible that,
if you are
driving under the best conditions, the oil life system
may not indicate that an oil change is necessary for over
a year. However, your engine oil and filter must be
changed at least once a year and at this time the system
must be reset.
It is also important to check your oil
regularly and keep
it at the proper level.
If the system is ever reset accidentally, you must
change your oil at
3,000 miles (5 000 km) since your
last oil change. Remember
to reset the oil life system
whenever the oil is changed. See
Engine Oil on
page 5-13 for information on resetting the system.
After the services are performed, record the date, odometer reading and who performed the service on the
maintenance record pages in Part
E of this schedule.
An Emission Control Service.
6-5
Page 364 of 410

At Least Twice a Year
Restraint System Check
Make sure the safety belt reminder light and all your
belts, buckles, latch plates, retractors and anchorages
are working properly. Look for any other loose or
damaged safety belt system parts. If you see anything
that might keep a safety belt system from doing its
job, have it repaired. Have any torn or frayed safety belts
replaced.
Also look for any opened or broken air bag coverings,
and have them repaired or replaced. (The air bag
system does not need regular maintenance.)
Wiper Blade Check
Inspect wiper blades for wear or cracking. Replace
blade inserts that appear worn or damaged or that
streak or miss areas of the windshield.
Also see
Cleaning the Outside of Your Vehicle on page 5-80.
Spare Tire Check
At least twice a year, after the monthly inflation check of
the spare tire determines that the spare is inflated
to
the correct tire inflation pressure, make sure that
the spare tire is stored securely. Push, pull, and then try
to rotate or turn the tire. If it moves, use the wheel
wrenchhatchet
to tighten the cable. See Changing a Flat
Tire on page
5-62.
Engine Air Cleaner Filter Restriction
Indicator Check
Your vehicle may be equipped with an engine air
cleaner filter restriction indicator located on the air
cleaner in the engine compartment. The indicator lets
you know when the air cleaner filter is dirty and needs
to
be changed. Check the indicator at least twice a year
or when your engine oil is changed, whichever
occurs first. See
Engine Air Cleaner/Fi/fer on page 5-18
for more information. Inspect your air cleaner filter
restriction indicator more often
if the vehicle is used in
dusty areas or under
off road conditions.
Weatherstrip Lubrication
Silicone grease on weatherstrips will make them last
longer, seal better, and not stick or squeak. Apply
silicone grease with a clean cloth. During very cold,
damp weather more frequent application may be required. See
Part D: Recommended Fluids and
Lubricants on page
6-17.
Automatic Transmission Check
Check the transmission fluid level; add if needed. See
Automatic Transmission Fluid on page 5-20. A fluid loss
may indicate a problem. Check the system and repair
if needed.
6-1 1