2003 NISSAN XTERRA belt
[x] Cancel search: beltPage 52 of 272

7. Check to make sure the child restraint is
properly secured prior to each use. If the
seat belt is not locked, repeat steps 3
through 6.
After the child restraint is removed and the seat
belt is fully retracted, the automatic locking mode
(child restraint mode) is canceled.
1-46Seats, restraints and supplemental air bag systems
ZREVIEW COPY:Ð2003 Xterra(xtr)
Owners Manual(owners)ÐUSA English(nna)
02/21/03Ðtbrooks
X
Page 61 of 272

orAnti-lock brake warning lightLow fuel warning light4-wheel drive indicator light (if so equipped)
Automatic transmission oil temperature warn-
ing light (model)Low tire pressure warning light (if so equipped)High beam indicator light (Blue)
Automatic transmission park warning light
(model)Low washer fluid warning lightMalfunction indicator lamp (MIL)
orBrake warning lightSeat belt warning light and chimeOverdrive off indicator light (automatic trans-
mission only)
Charge warning lightSupplemental air bag warning lightSlip indicator light (if so equipped)
Door open warning lightCRUISE main switch indicator light (if so
equipped)Turn signal/hazard indicator lights
Engine oil pressure warning lightCruise SET switch indicator light (if so
equipped)Vehicle dynamic control off indicator light (if so
equipped)
CHECKING BULBS
With all doors closed, apply the parking brake
and turn the ignition key to the ON position
without starting the engine. The following lights
will come on:
,or,,,
If the driver’s seat belt is fastened before the
ignition key is turned to the ON position,
the
light will not come on.
If equipped, the following lights come on briefly
and then go off:
or,,,,,
If any light fails to come on, it may indicate
a burned-out bulb or an open circuit in the
electrical system. Have the system repaired
promptly.
WARNING/INDICATOR LIGHTS AND
AUDIBLE REMINDERS
Instruments and controls2-9
ZREVIEW COPY:Ð2003 Xterra(xtr)
Owners Manual(owners)ÐUSA English(nna)
02/21/03Ðtbrooks
X
Page 63 of 272
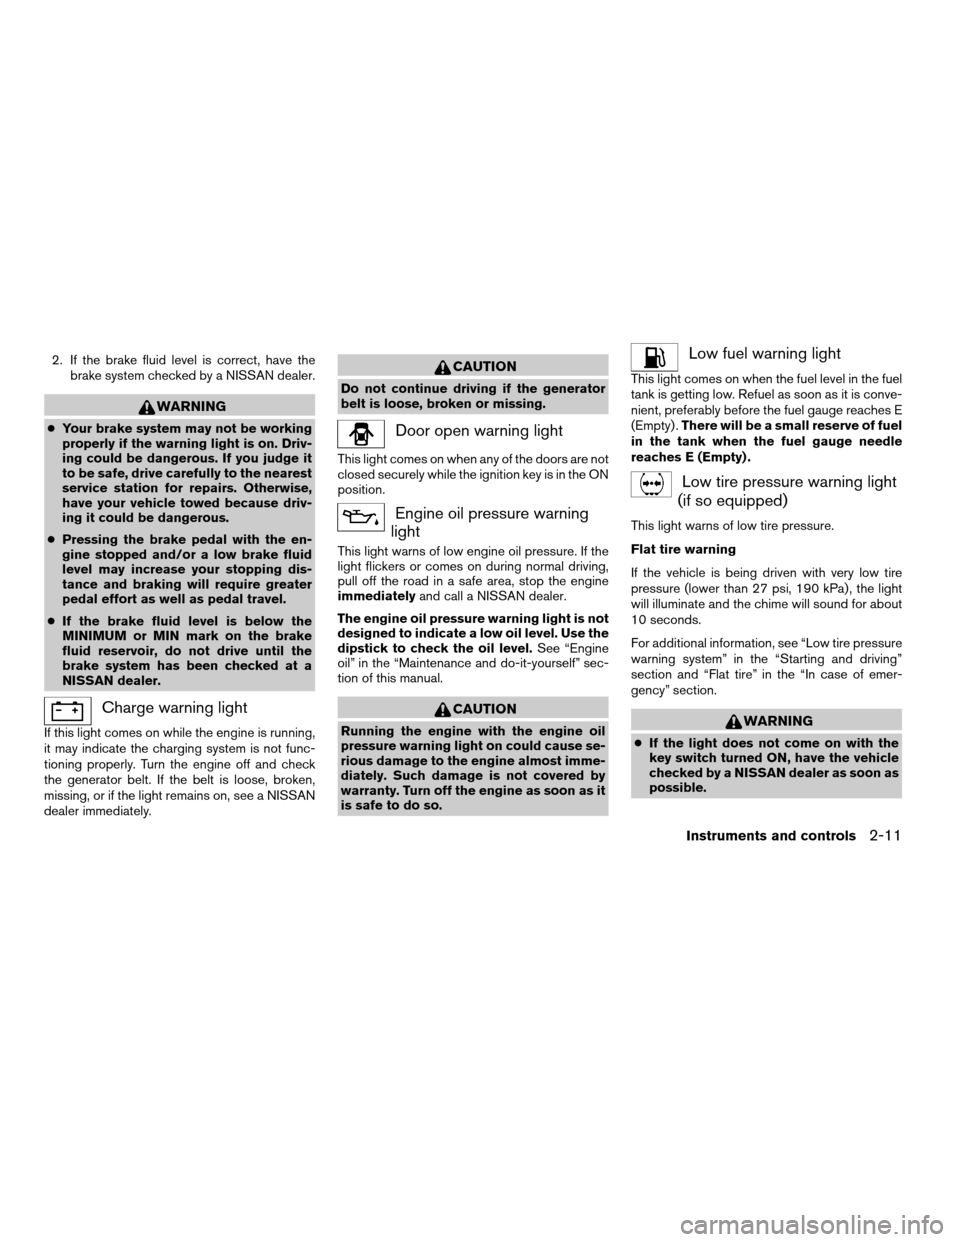
2. If the brake fluid level is correct, have the
brake system checked by a NISSAN dealer.
WARNING
cYour brake system may not be working
properly if the warning light is on. Driv-
ing could be dangerous. If you judge it
to be safe, drive carefully to the nearest
service station for repairs. Otherwise,
have your vehicle towed because driv-
ing it could be dangerous.
cPressing the brake pedal with the en-
gine stopped and/or a low brake fluid
level may increase your stopping dis-
tance and braking will require greater
pedal effort as well as pedal travel.
cIf the brake fluid level is below the
MINIMUM or MIN mark on the brake
fluid reservoir, do not drive until the
brake system has been checked at a
NISSAN dealer.
Charge warning light
If this light comes on while the engine is running,
it may indicate the charging system is not func-
tioning properly. Turn the engine off and check
the generator belt. If the belt is loose, broken,
missing, or if the light remains on, see a NISSAN
dealer immediately.
CAUTION
Do not continue driving if the generator
belt is loose, broken or missing.
Door open warning light
This light comes on when any of the doors are not
closed securely while the ignition key is in the ON
position.
Engine oil pressure warning
light
This light warns of low engine oil pressure. If the
light flickers or comes on during normal driving,
pull off the road in a safe area, stop the engine
immediatelyand call a NISSAN dealer.
The engine oil pressure warning light is not
designed to indicate a low oil level. Use the
dipstick to check the oil level.See “Engine
oil” in the “Maintenance and do-it-yourself” sec-
tion of this manual.
CAUTION
Running the engine with the engine oil
pressure warning light on could cause se-
rious damage to the engine almost imme-
diately. Such damage is not covered by
warranty. Turn off the engine as soon as it
is safe to do so.
Low fuel warning light
This light comes on when the fuel level in the fuel
tank is getting low. Refuel as soon as it is conve-
nient, preferably before the fuel gauge reaches E
(Empty) .There will be a small reserve of fuel
in the tank when the fuel gauge needle
reaches E (Empty) .
Low tire pressure warning light
(if so equipped)
This light warns of low tire pressure.
Flat tire warning
If the vehicle is being driven with very low tire
pressure (lower than 27 psi, 190 kPa) , the light
will illuminate and the chime will sound for about
10 seconds.
For additional information, see “Low tire pressure
warning system” in the “Starting and driving”
section and “Flat tire” in the “In case of emer-
gency” section.
WARNING
cIf the light does not come on with the
key switch turned ON, have the vehicle
checked by a NISSAN dealer as soon as
possible.
Instruments and controls2-11
ZREVIEW COPY:Ð2003 Xterra(xtr)
Owners Manual(owners)ÐUSA English(nna)
02/21/03Ðtbrooks
X
Page 64 of 272
cIf the light comes on while driving,
avoid sudden steering maneuvers or
abrupt braking, reduce vehicle speed,
pull off the road to a safe location and
stop the vehicle as soon as possible.
Serious vehicle damage could occur
and may lead to an accident and result
in serious personal injury. Check the
tire pressure for all 4 wheels and adjust
the pressure to the COLD tire pressure
shown on the tire placard. If the light
still comes on while driving after adjust-
ing the tire pressure, a tire may be flat. If
you have a flat tire, replace it with a
spare tire as soon as possible.
cWhen a spare tire is mounted or a wheel
is replaced, tire pressure will not be
indicated and the low tire pressure
warning system will not function. Con-
tact your NISSAN dealer as soon as
possible for tire replacement and/or
system resetting.
CAUTION
cThe low tire pressure warning system is
not a substitute for the regular tire pres-
sure check. Be sure to check the tire
pressure regularly.cIf the vehicle is being driven at speeds
of less than 20 MPH (32 km/h) , the low
tire pressure warning system may not
operate correctly.
cBe sure to install the specified size of
tires to the 4 wheels correctly.
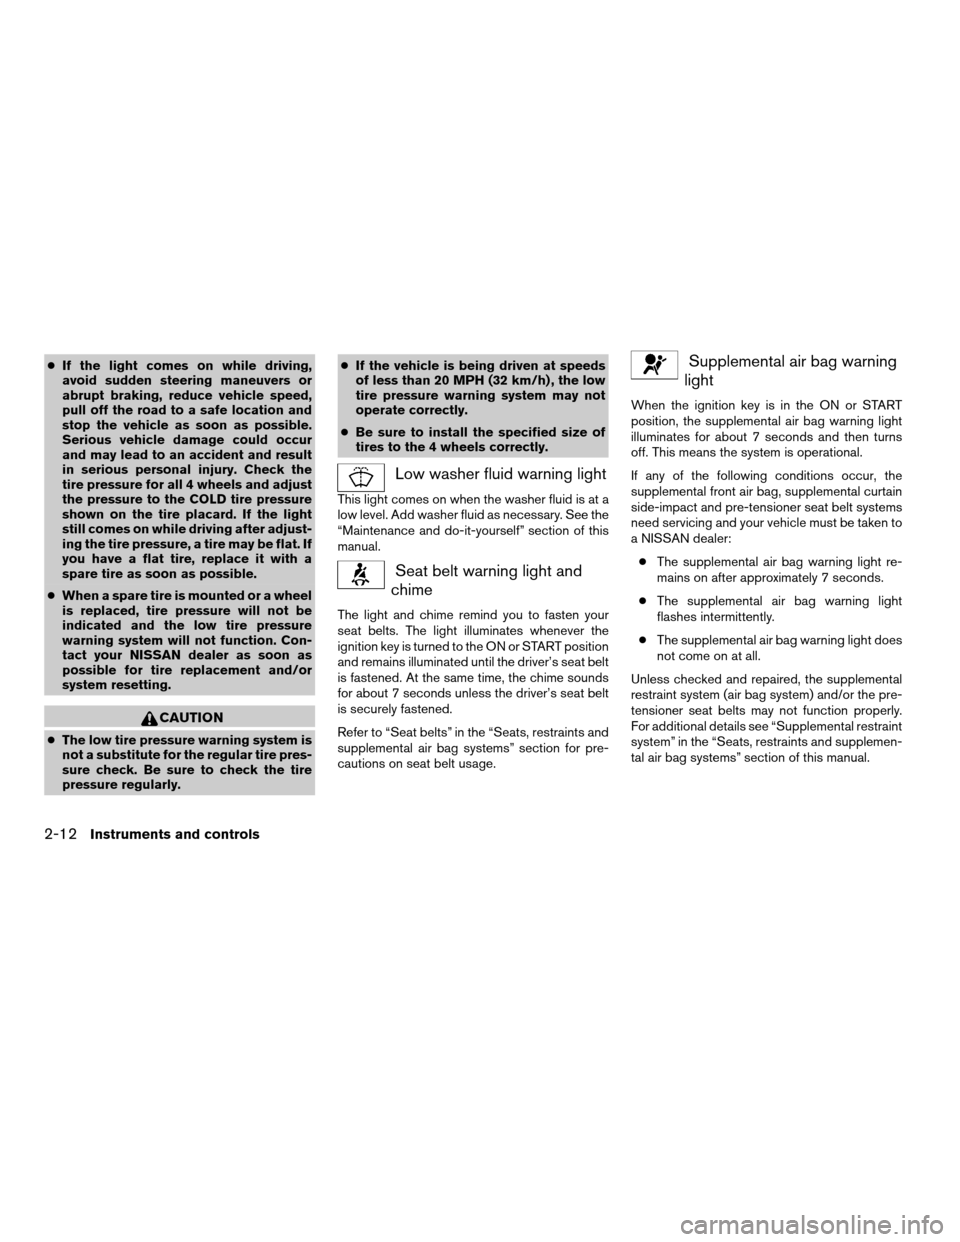
Low washer fluid warning light
This light comes on when the washer fluid is at a
low level. Add washer fluid as necessary. See the
“Maintenance and do-it-yourself” section of this
manual.
Seat belt warning light and
chime
The light and chime remind you to fasten your
seat belts. The light illuminates whenever the
ignition key is turned to the ON or START position
and remains illuminated until the driver’s seat belt
is fastened. At the same time, the chime sounds
for about 7 seconds unless the driver’s seat belt
is securely fastened.
Refer to “Seat belts” in the “Seats, restraints and
supplemental air bag systems” section for pre-
cautions on seat belt usage.
Supplemental air bag warning
light
When the ignition key is in the ON or START
position, the supplemental air bag warning light
illuminates for about 7 seconds and then turns
off. This means the system is operational.
If any of the following conditions occur, the
supplemental front air bag, supplemental curtain
side-impact and pre-tensioner seat belt systems
need servicing and your vehicle must be taken to
a NISSAN dealer:
cThe supplemental air bag warning light re-
mains on after approximately 7 seconds.
cThe supplemental air bag warning light
flashes intermittently.
cThe supplemental air bag warning light does
not come on at all.
Unless checked and repaired, the supplemental
restraint system (air bag system) and/or the pre-
tensioner seat belts may not function properly.
For additional details see “Supplemental restraint
system” in the “Seats, restraints and supplemen-
tal air bag systems” section of this manual.
2-12Instruments and controls
ZREVIEW COPY:Ð2003 Xterra(xtr)
Owners Manual(owners)ÐUSA English(nna)
02/21/03Ðtbrooks
X
Page 65 of 272
WARNING
If the supplemental air bag warning light
is on, it could mean that the supplemental
front air bag, supplemental curtain side-
impact air bag systems (if so equipped)
and/or pre-tensioner seat belt systems
will not operate in an accident.
INDICATOR LIGHTS
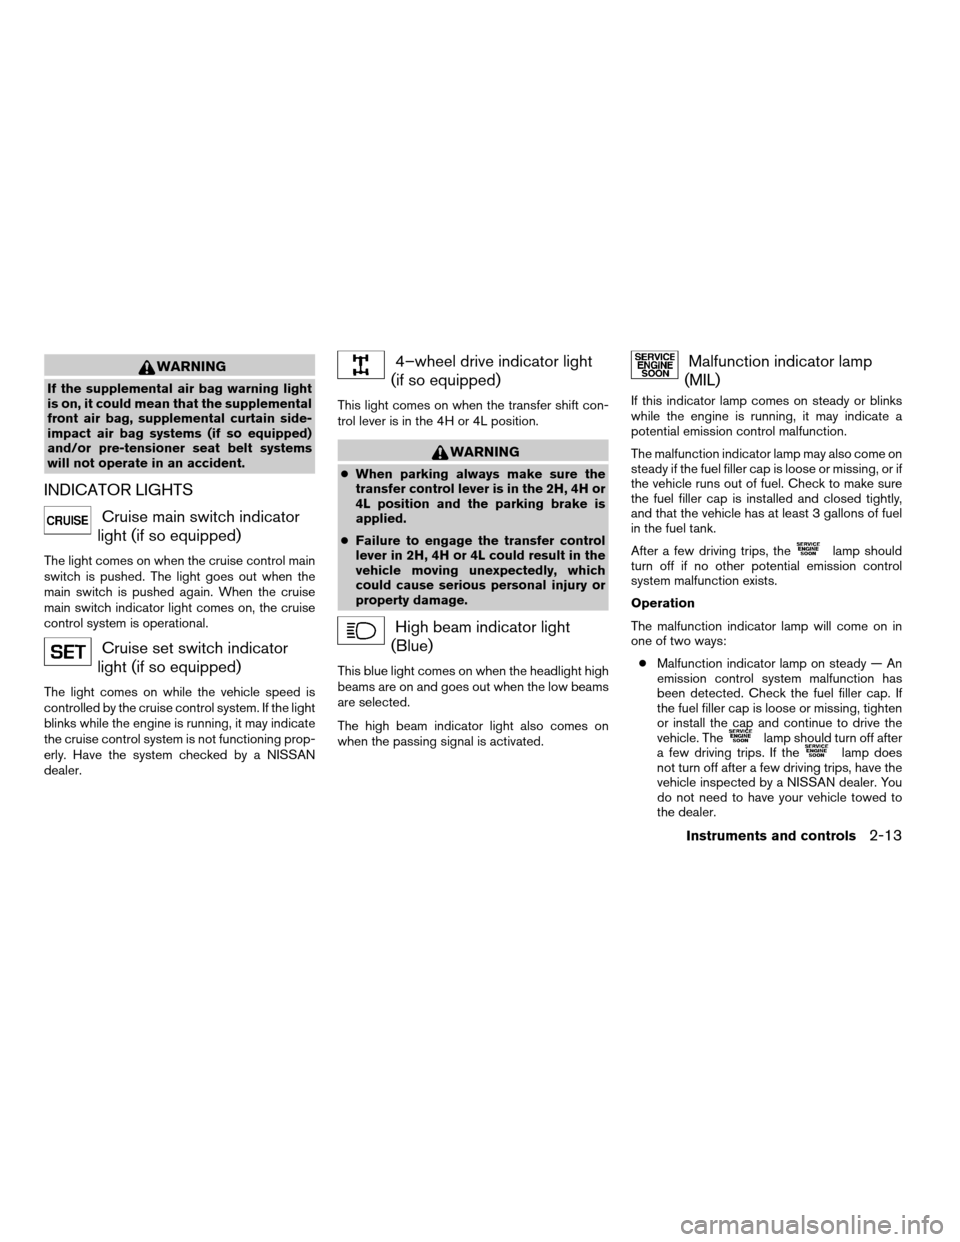
Cruise main switch indicator
light (if so equipped)
The light comes on when the cruise control main
switch is pushed. The light goes out when the
main switch is pushed again. When the cruise
main switch indicator light comes on, the cruise
control system is operational.
Cruise set switch indicator
light (if so equipped)
The light comes on while the vehicle speed is
controlled by the cruise control system. If the light
blinks while the engine is running, it may indicate
the cruise control system is not functioning prop-
erly. Have the system checked by a NISSAN
dealer.
4–wheel drive indicator light
(if so equipped)
This light comes on when the transfer shift con-
trol lever is in the 4H or 4L position.
WARNING
cWhen parking always make sure the
transfer control lever is in the 2H, 4H or
4L position and the parking brake is
applied.
cFailure to engage the transfer control
lever in 2H, 4H or 4L could result in the
vehicle moving unexpectedly, which
could cause serious personal injury or
property damage.
High beam indicator light
(Blue)
This blue light comes on when the headlight high
beams are on and goes out when the low beams
are selected.
The high beam indicator light also comes on
when the passing signal is activated.
Malfunction indicator lamp
(MIL)
If this indicator lamp comes on steady or blinks
while the engine is running, it may indicate a
potential emission control malfunction.
The malfunction indicator lamp may also come on
steady if the fuel filler cap is loose or missing, or if
the vehicle runs out of fuel. Check to make sure
the fuel filler cap is installed and closed tightly,
and that the vehicle has at least 3 gallons of fuel
in the fuel tank.
After a few driving trips, the
lamp should
turn off if no other potential emission control
system malfunction exists.
Operation
The malfunction indicator lamp will come on in
one of two ways:
cMalfunction indicator lamp on steady — An
emission control system malfunction has
been detected. Check the fuel filler cap. If
the fuel filler cap is loose or missing, tighten
or install the cap and continue to drive the
vehicle. The
lamp should turn off after
a few driving trips. If thelamp does
not turn off after a few driving trips, have the
vehicle inspected by a NISSAN dealer. You
do not need to have your vehicle towed to
the dealer.
Instruments and controls2-13
ZREVIEW COPY:Ð2003 Xterra(xtr)
Owners Manual(owners)ÐUSA English(nna)
02/21/03Ðtbrooks
X
Page 81 of 272
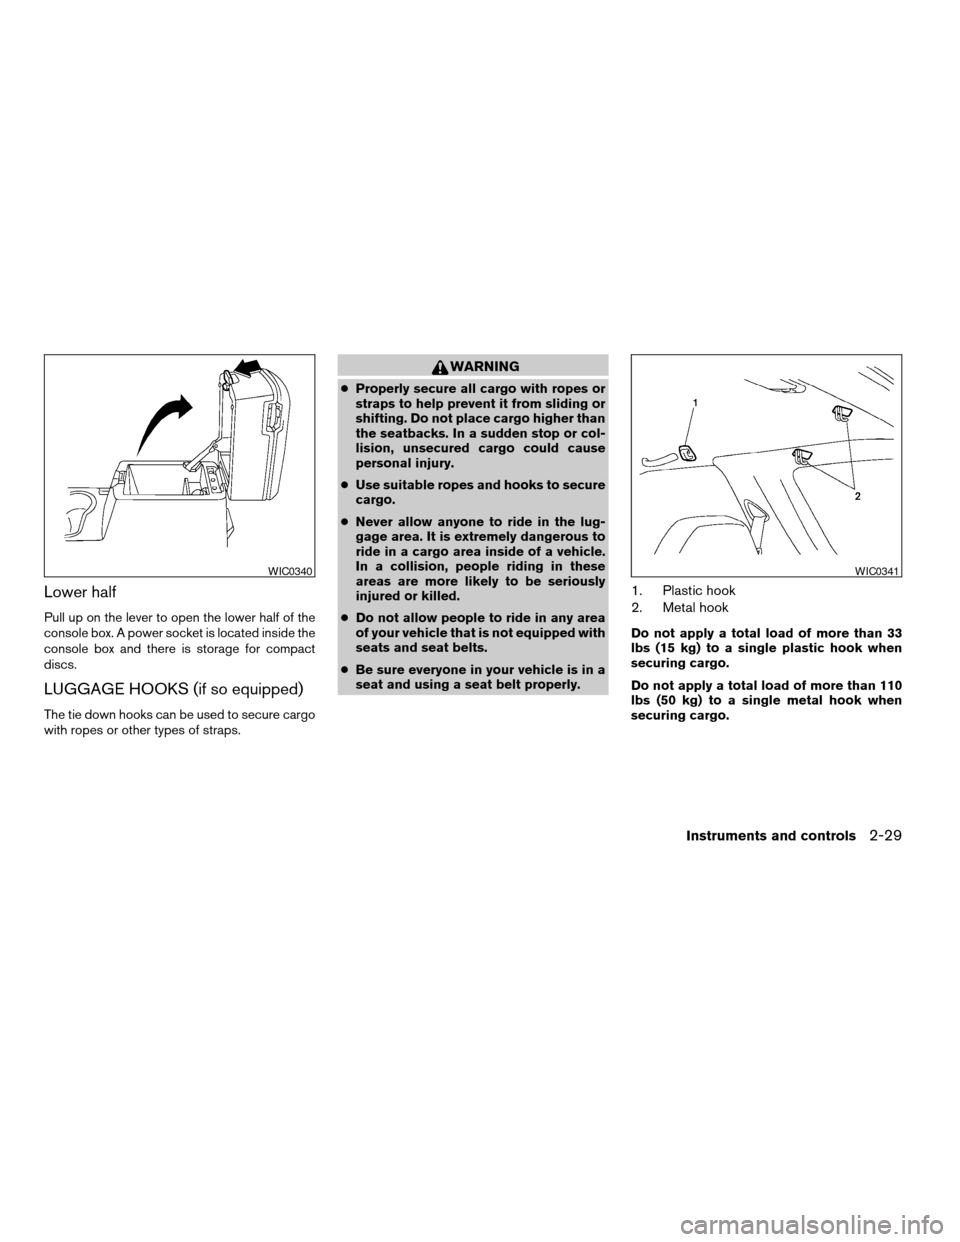
Lower half
Pull up on the lever to open the lower half of the
console box. A power socket is located inside the
console box and there is storage for compact
discs.
LUGGAGE HOOKS (if so equipped)
The tie down hooks can be used to secure cargo
with ropes or other types of straps.
WARNING
cProperly secure all cargo with ropes or
straps to help prevent it from sliding or
shifting. Do not place cargo higher than
the seatbacks. In a sudden stop or col-
lision, unsecured cargo could cause
personal injury.
cUse suitable ropes and hooks to secure
cargo.
cNever allow anyone to ride in the lug-
gage area. It is extremely dangerous to
ride in a cargo area inside of a vehicle.
In a collision, people riding in these
areas are more likely to be seriously
injured or killed.
cDo not allow people to ride in any area
of your vehicle that is not equipped with
seats and seat belts.
cBe sure everyone in your vehicle is in a
seat and using a seat belt properly.
1. Plastic hook
2. Metal hook
Do not apply a total load of more than 33
lbs (15 kg) to a single plastic hook when
securing cargo.
Do not apply a total load of more than 110
lbs (50 kg) to a single metal hook when
securing cargo.
WIC0340WIC0341
Instruments and controls2-29
ZREVIEW COPY:Ð2003 Xterra(xtr)
Owners Manual(owners)ÐUSA English(nna)
02/21/03Ðtbrooks
X
Page 85 of 272
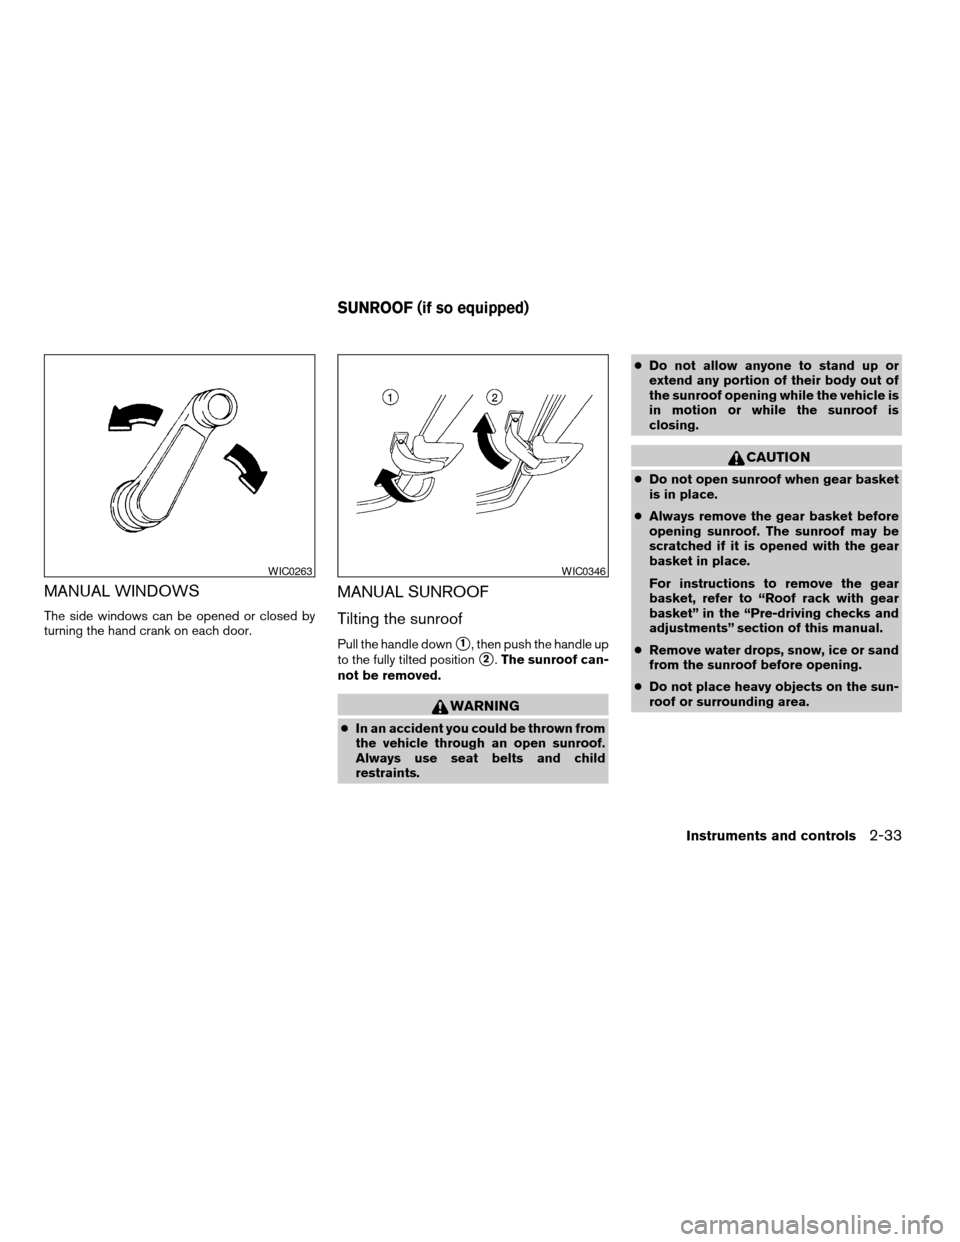
MANUAL WINDOWS
The side windows can be opened or closed by
turning the hand crank on each door.
MANUAL SUNROOF
Tilting the sunroof
Pull the handle downs1, then push the handle up
to the fully tilted position
s2.The sunroof can-
not be removed.
WARNING
cIn an accident you could be thrown from
the vehicle through an open sunroof.
Always use seat belts and child
restraints.cDo not allow anyone to stand up or
extend any portion of their body out of
the sunroof opening while the vehicle is
in motion or while the sunroof is
closing.
CAUTION
cDo not open sunroof when gear basket
is in place.
cAlways remove the gear basket before
opening sunroof. The sunroof may be
scratched if it is opened with the gear
basket in place.
For instructions to remove the gear
basket, refer to “Roof rack with gear
basket” in the “Pre-driving checks and
adjustments” section of this manual.
cRemove water drops, snow, ice or sand
from the sunroof before opening.
cDo not place heavy objects on the sun-
roof or surrounding area.
WIC0263WIC0346
SUNROOF (if so equipped)
Instruments and controls2-33
ZREVIEW COPY:Ð2003 Xterra(xtr)
Owners Manual(owners)ÐUSA English(nna)
02/21/03Ðtbrooks
X
Page 90 of 272
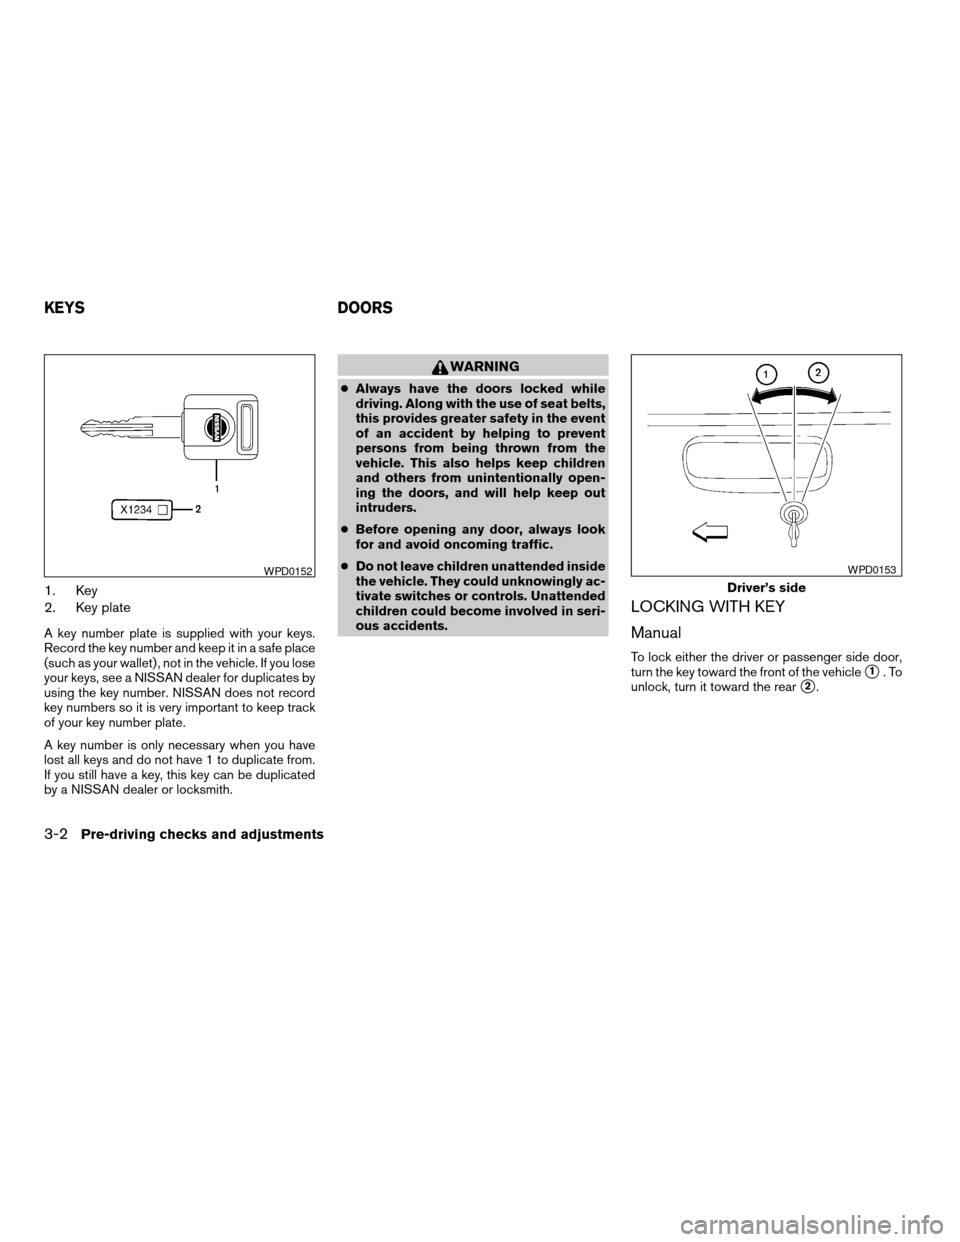
1. Key
2. Key plate
A key number plate is supplied with your keys.
Record the key number and keep it in a safe place
(such as your wallet) , not in the vehicle. If you lose
your keys, see a NISSAN dealer for duplicates by
using the key number. NISSAN does not record
key numbers so it is very important to keep track
of your key number plate.
A key number is only necessary when you have
lost all keys and do not have 1 to duplicate from.
If you still have a key, this key can be duplicated
by a NISSAN dealer or locksmith.
WARNING
cAlways have the doors locked while
driving. Along with the use of seat belts,
this provides greater safety in the event
of an accident by helping to prevent
persons from being thrown from the
vehicle. This also helps keep children
and others from unintentionally open-
ing the doors, and will help keep out
intruders.
cBefore opening any door, always look
for and avoid oncoming traffic.
cDo not leave children unattended inside
the vehicle. They could unknowingly ac-
tivate switches or controls. Unattended
children could become involved in seri-
ous accidents.
LOCKING WITH KEY
Manual
To lock either the driver or passenger side door,
turn the key toward the front of the vehicle
s1.To
unlock, turn it toward the rear
s2.
WPD0152
Driver’s side
WPD0153
KEYS DOORS
3-2Pre-driving checks and adjustments
ZREVIEW COPY:Ð2003 Xterra(xtr)
Owners Manual(owners)ÐUSA English(nna)
03/17/03Ðcathy
X