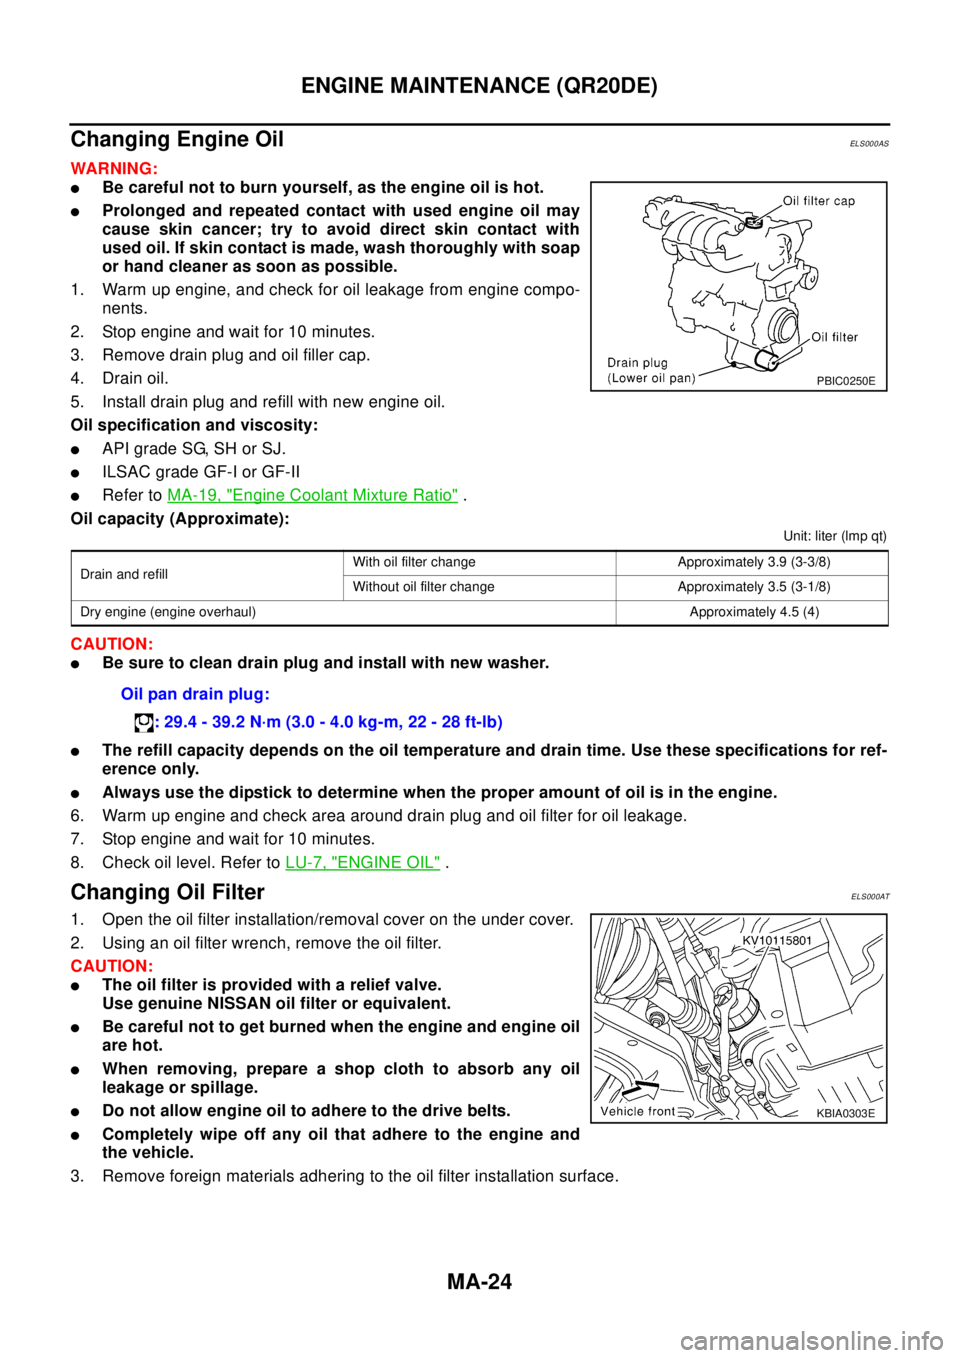
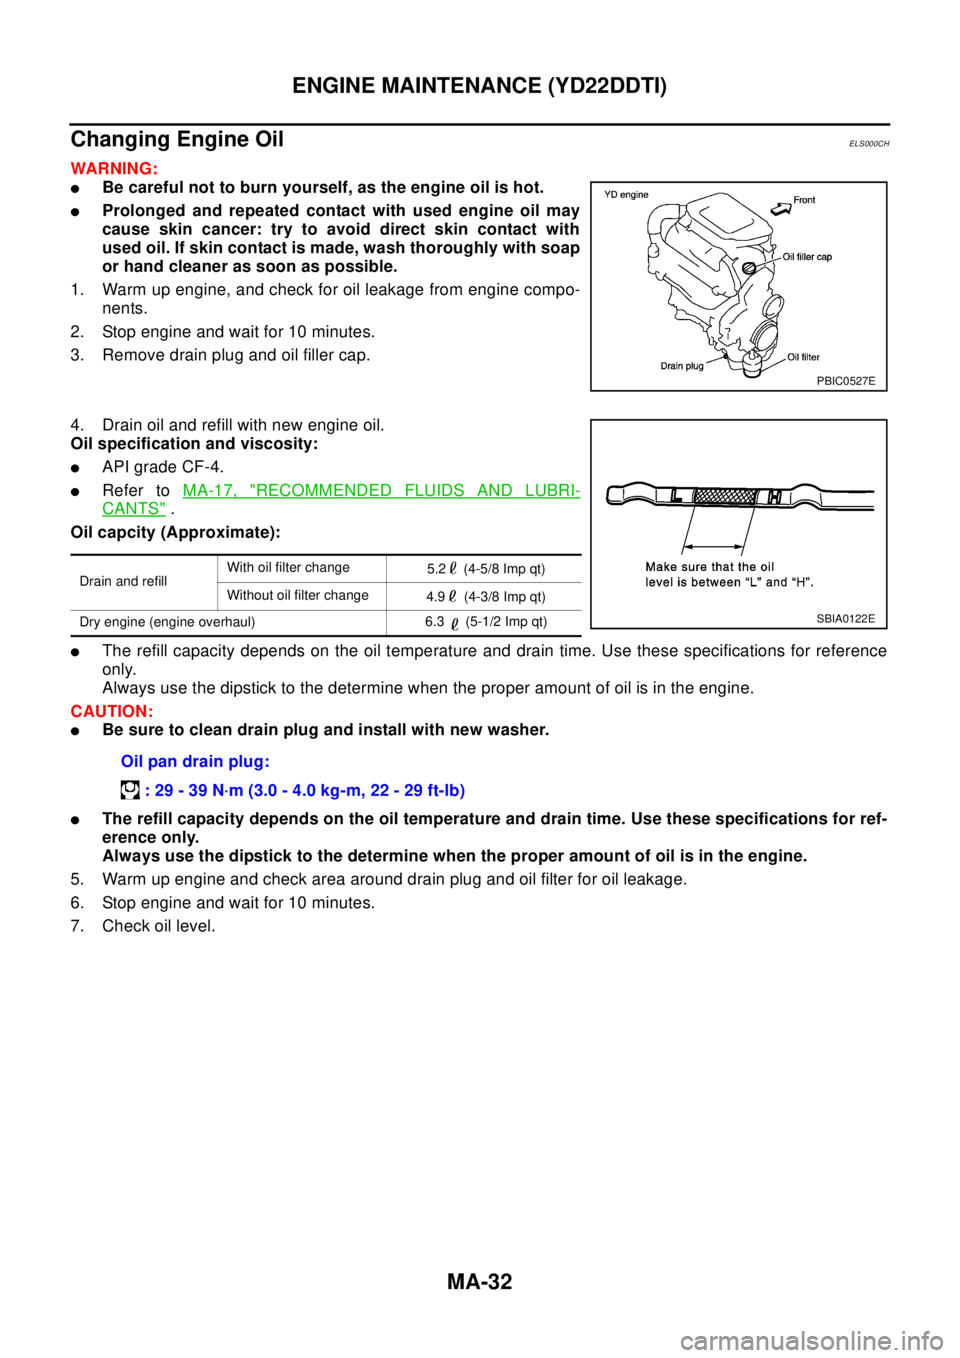
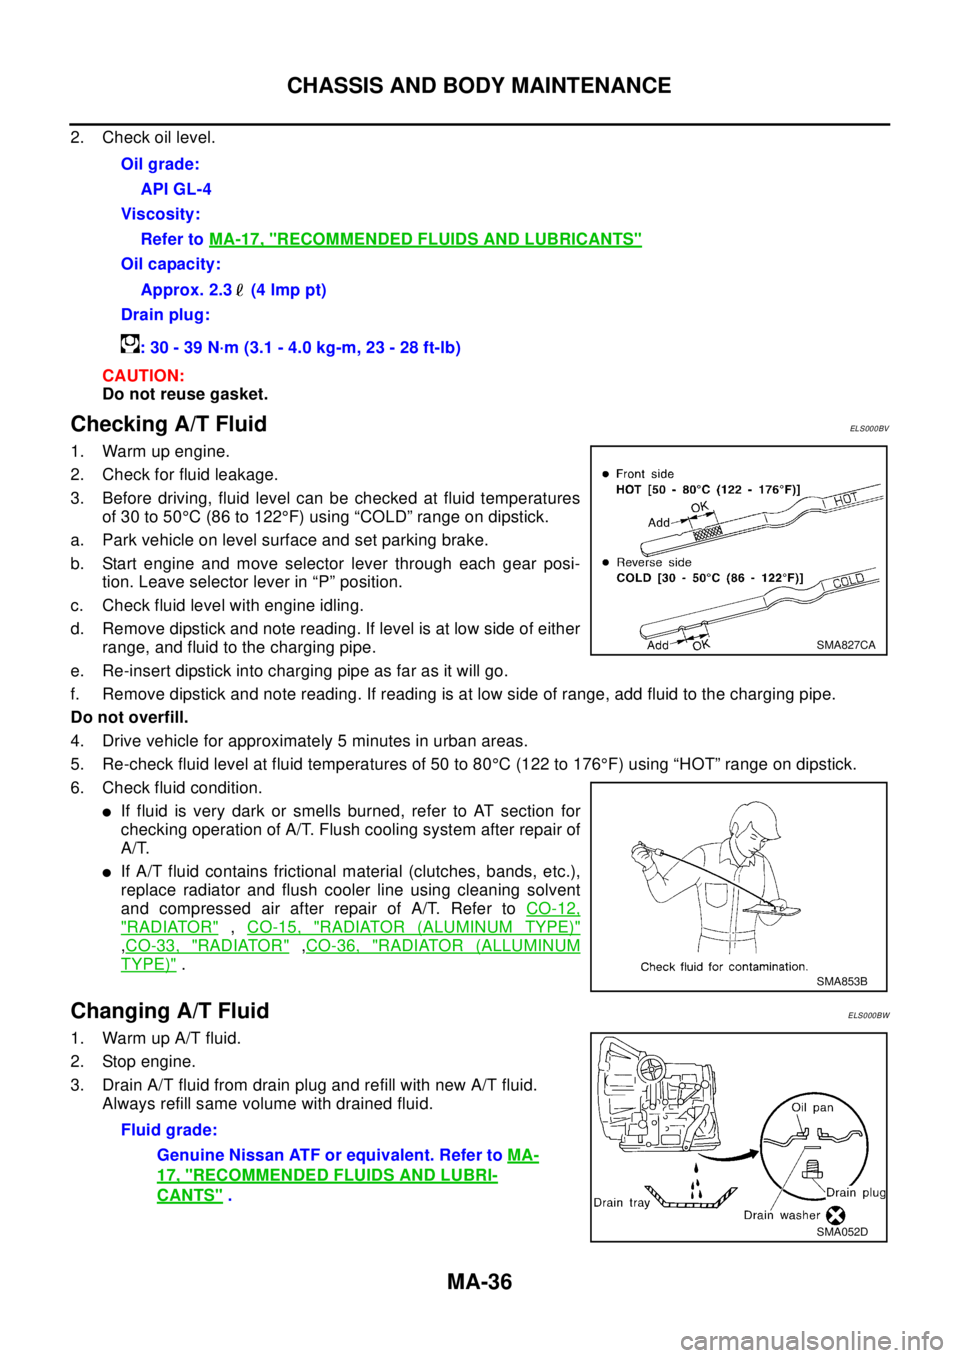
2003 NISSAN X-TRAIL oil dipstick
[x] Cancel search: oil dipstickPage 2093 of 3066
![NISSAN X-TRAIL 2003 Electronic Repair Manual EXHAUST MANIFOLD AND TURBOCHARGER
EM-123
[YD22DDTi]
C
D
E
F
G
H
I
J
K
L
MA
EM
TURBINE WHEEL
lCheck that there is no oil adhesion.
lCheck that there is no carbon accumulation.
lCheck that blades of the NISSAN X-TRAIL 2003 Electronic Repair Manual EXHAUST MANIFOLD AND TURBOCHARGER
EM-123
[YD22DDTi]
C
D
E
F
G
H
I
J
K
L
MA
EM
TURBINE WHEEL
lCheck that there is no oil adhesion.
lCheck that there is no carbon accumulation.
lCheck that blades of the](/manual-img/5/57402/w960_57402-2092.png)
EXHAUST MANIFOLD AND TURBOCHARGER
EM-123
[YD22DDTi]
C
D
E
F
G
H
I
J
K
L
MA
EM
TURBINE WHEEL
lCheck that there is no oil adhesion.
lCheck that there is no carbon accumulation.
lCheck that blades of the turbine wheel are not bent or broken.
lCheck that the turbine wheel does not interfere with the turbine
housing.
COMPRESSOR WHEEL
lCheck that there is no oil adhesion inside the air inlet.
lCheck that the compressor wheel does not interfere with the
compressor housing.
lCheck that the wheel is not bent or broken.
WASTEGATE VALVE ACTUATOR
lConnect the handy pump to the actuator, and check that the rod
strokes smoothly in compliance with the following pressure.
lPressure to be applied at actuator part to move rod end as fol-
lows:
TROUBLE DIAGNOSIS OF TURBOCHARGER
Preliminary check:
lCheck that the engine oil level is between MIN and MAX of the dipstick. (When the engine oil amount is
more than MAX, the oil flows into the inlet duct through the blow-by gas passage, and the turbocharger is
misjudged failure.)
lAsk the customer if he/she always runs the vehicle in idle engine speed to cool the oil down after driving.
lReplace the turbocharger assembly when any malfunction is found after unit inspections specified in the
table below.
lIf no malfunction is found after the unit inspections, judge that the turbocharger body has no failure. Check
the other parts again.
SEM272G
SEM273G
Standard (Pressure/rod stroke amount):
: 150.80 - 156.20 kPa (1,508 - 1,562 mbar, 1,131 - 1,172
mmHg, 44.0 - 46.2 inHg)/0.38 mm (0.0150 in)
: 176.50 - 185.90 kPa (1,765 - 1,859 mbar, 1,324 - 1,394
mmHg, 52.2 - 54.9 inHg)/4.0 mm (0.157 in)
SEM274G
Inspection item Inspection resultSymptom
(when each inspection item meets each inspection result)
Oil leakage Smoke NoiseInsufficient power/
acceleration failure
Page 2474 of 3066
![NISSAN X-TRAIL 2003 Electronic Repair Manual LU-8
[QR20DE]
ENGINE OIL
Changing Engine Oil
EBS009SV
WAR NIN G:
lBe careful not to burn yourself, as the engine oil is hot.
lProlonged and repeated contact with used engine oil may
cause skin cancer: NISSAN X-TRAIL 2003 Electronic Repair Manual LU-8
[QR20DE]
ENGINE OIL
Changing Engine Oil
EBS009SV
WAR NIN G:
lBe careful not to burn yourself, as the engine oil is hot.
lProlonged and repeated contact with used engine oil may
cause skin cancer:](/manual-img/5/57402/w960_57402-2473.png)
LU-8
[QR20DE]
ENGINE OIL
Changing Engine Oil
EBS009SV
WAR NIN G:
lBe careful not to burn yourself, as the engine oil is hot.
lProlonged and repeated contact with used engine oil may
cause skin cancer: try to avoid direct skin contact with
used oil. If skin contact is made, wash thoroughly with soap
or hand cleaner as soon as possible.
1. Warm up engine, and check for oil leakage from engine compo-
nents.
2. Stop engine and wait for 10 minutes.
3. Remove drain plug and oil filler cap.
4. Drain oil and refill with new engine oil.
Oil specification and viscosity:
lAPI grade SG, SH or SJ.
lILSAC grade GF-I or GF-II
lRefer toMA-17, "RECOMMENDED FLUIDS AND LUBRICANTS".
Oil capacity (Approximate):
CAUTION:
lBe sure to clean drain plug and install with new washer.
lThe refill capacity depends on the oil temperature and drain time. Use these specifications for ref-
erence only.
Always use the dipstick to the determine when the proper amount of oil is in the engine.
5. Warm up engine and check area around drain plug and oil filter for oil leakage.
6. Stop engine and wait for 10 minutes.
7. Check oil level.
Drain and refillWith oil filter change
3.9 (3-3/8 Imp qt)
Without oil filter change
3.5 (3-1/8 Imp qt)
Dry engine (engine overhaul)
4.5 (4 Imp qt)
Oil pan drain plug:
: 29.4 - 39.2 N·m (3.0 - 4.0 kg-m, 22 - 28 ft-lb)
PBIC0250E
Page 2485 of 3066
![NISSAN X-TRAIL 2003 Electronic Repair Manual ENGINE OIL
LU-19
[YD22DDTi]
C
D
E
F
G
H
I
J
K
L
MA
LUChanging Engine OilEBS00B04
WA RN ING:
lBe careful not to burn yourself, as the engine oil is hot.
lProlonged and repeated contact with used engine NISSAN X-TRAIL 2003 Electronic Repair Manual ENGINE OIL
LU-19
[YD22DDTi]
C
D
E
F
G
H
I
J
K
L
MA
LUChanging Engine OilEBS00B04
WA RN ING:
lBe careful not to burn yourself, as the engine oil is hot.
lProlonged and repeated contact with used engine](/manual-img/5/57402/w960_57402-2484.png)
ENGINE OIL
LU-19
[YD22DDTi]
C
D
E
F
G
H
I
J
K
L
MA
LUChanging Engine OilEBS00B04
WA RN ING:
lBe careful not to burn yourself, as the engine oil is hot.
lProlonged and repeated contact with used engine oil may
cause skin cancer: try to avoid direct skin contact with
used oil. If skin contact is made, wash thoroughly with soap
or hand cleaner as soon as possible.
1. Warm up engine, and check for oil leakage from engine compo-
nents.
2. Stop engine and wait for 10 minutes.
3. Remove drain plug and oil filler cap.
4. Drain oil and refill with new engine oil.
Oil specification and viscosity:
lAPI grade CF-4.
lRefer toMA-17, "RECOMMENDED FLUIDS AND LUBRI-
CANTS".
Oil capcity (Approximate):
lThe refill capacity depends on the oil temperature and drain time. Use these specifications for reference
only.
Always use the dipstick to the determine when the proper amount of oil is in the engine.
CAUTION:
lBe sure to clean drain plug and install with new washer.
lThe refill capacity depends on the oil temperature and drain time. Use these specifications for ref-
erence only.
Always use the dipstick to the determine when the proper amount of oil is in the engine.
5. Warm up engine and check area around drain plug and oil filter for oil leakage.
6. Stop engine and wait for 10 minutes.
7. Check oil level.Oil pressure switch:
: 12.3 - 17.2 N·m (1.3 - 1.7 kg-m, 9 - 12 ft-lb)
PBIC0527E
Drain and refillWith oil filter change
5.2 (4-5/8 Imp qt)
Without oil filter change
4.9 (4-3/8 Imp qt)
Dry engine (engine overhaul)6.3 (5-1/2 Imp qt)
Oil pan drain plug:
:29-39N·m(3.0-4.0kg-m,22-29ft-lb)
SBIA0122E
Page 2490 of 3066
![NISSAN X-TRAIL 2003 Electronic Repair Manual LU-24
[YD22DDTi]
OIL PUMP
lCalculate the clearance between inner rotor and oil pump hous-
ing as follows.
1. Measure the outer diameter of protruded portion of inner rotor
(Position 5)
2. Measure the NISSAN X-TRAIL 2003 Electronic Repair Manual LU-24
[YD22DDTi]
OIL PUMP
lCalculate the clearance between inner rotor and oil pump hous-
ing as follows.
1. Measure the outer diameter of protruded portion of inner rotor
(Position 5)
2. Measure the](/manual-img/5/57402/w960_57402-2489.png)
LU-24
[YD22DDTi]
OIL PUMP
lCalculate the clearance between inner rotor and oil pump hous-
ing as follows.
1. Measure the outer diameter of protruded portion of inner rotor
(Position 5)
2. Measure the inner diameter of oil pump housing with inside
micrometer (Position 6)
(Clearance) = (Inner diameter of oil pump housing) – (Outer
diameter of inner rotor)
Regulator Valve
1. Visually inspect components for wear and damage.
2. Check oil pressure regulator valve sliding surface and valve spring.
3. Coat regulator valve with engine oil. Check that it falls smoothly into the valve hole by its own weight.
If damaged, replace regulator valve set or oil pump housing.
4. Check regulator valve to oil pump housing clearance.
CAUTION:
Coat regulator valve with engine oil.
Check that it falls smoothly into the valve hole by its own
weight.
ASSEMBLY
lAssemble in the reverse order of disassembly.
lInstall the inner rotor and outer rotor with the punched marks on
the oil pump cover side.
lThe refill capacity depends on the oil temperature and drain
time. Use these specifications for reference only.
Always use the dipstick to the determine when the proper
amount of oil is in the engine.
PBIC0253E
Standard : 0.045 - 0.091mm (0.0018 - 0.0036 in)
SBIA0124E
Clearance 6 :
6 : 0.040 - 0.097 mm (0.0016 - 0.0038 in)
JLC358B
JLC286B
Page 2516 of 3066

MA-24
ENGINE MAINTENANCE (QR20DE)
Changing Engine Oil
ELS000AS
WAR NIN G:
lBe careful not to burn yourself, as the engine oil is hot.
lProlonged and repeated contact with used engine oil may
cause skin cancer; try to avoid direct skin contact with
used oil. If skin contact is made, wash thoroughly with soap
or hand cleaner as soon as possible.
1. Warm up engine, and check for oil leakage from engine compo-
nents.
2. Stop engine and wait for 10 minutes.
3. Remove drain plug and oil filler cap.
4. Drain oil.
5. Install drain plug and refill with new engine oil.
Oil specification and viscosity:
lAPI grade SG, SH or SJ.
lILSAC grade GF-I or GF-II
lRefer toMA-19, "Engine Coolant Mixture Ratio".
Oil capacity (Approximate):
Unit: liter (lmp qt)
CAUTION:
lBe sure to clean drain plug and install with new washer.
lThe refill capacity depends on the oil temperature and drain time. Use these specifications for ref-
erence only.
lAlways use the dipstick to determine when the proper amount of oil is in the engine.
6. Warm up engine and check area around drain plug and oil filter for oil leakage.
7. Stop engine and wait for 10 minutes.
8. Check oil level. Refer toLU-7, "
ENGINE OIL".
Changing Oil FilterELS000AT
1. Open the oil filter installation/removal cover on the under cover.
2. Using an oil filter wrench, remove the oil filter.
CAUTION:
lThe oil filter is provided with a relief valve.
Use genuine NISSAN oil filter or equivalent.
lBe careful not to get burned when the engine and engine oil
are hot.
lWhen removing, prepare a shop cloth to absorb any oil
leakage or spillage.
lDo not allow engine oil to adhere to the drive belts.
lCompletely wipe off any oil that adhere to the engine and
the vehicle.
3. Remove foreign materials adhering to the oil filter installation surface.
PBIC0250E
Drain and refillWith oil filter change Approximately 3.9 (3-3/8)
Without oil filter change Approximately 3.5 (3-1/8)
Dry engine (engine overhaul) Approximately 4.5 (4)
Oil pan drain plug:
: 29.4 - 39.2 N·m (3.0 - 4.0 kg-m, 22 - 28 ft-lb)
KBIA0303E
Page 2524 of 3066

MA-32
ENGINE MAINTENANCE (YD22DDTI)
Changing Engine Oil
ELS000CH
WAR NIN G:
lBe careful not to burn yourself, as the engine oil is hot.
lProlonged and repeated contact with used engine oil may
cause skin cancer: try to avoid direct skin contact with
used oil. If skin contact is made, wash thoroughly with soap
or hand cleaner as soon as possible.
1. Warm up engine, and check for oil leakage from engine compo-
nents.
2. Stop engine and wait for 10 minutes.
3. Remove drain plug and oil filler cap.
4. Drain oil and refill with new engine oil.
Oil specification and viscosity:
lAPI grade CF-4.
lRefer toMA-17, "RECOMMENDED FLUIDS AND LUBRI-
CANTS".
Oil capcity (Approximate):
lThe refill capacity depends on the oil temperature and drain time. Use these specifications for reference
only.
Always use the dipstick to the determine when the proper amount of oil is in the engine.
CAUTION:
lBe sure to clean drain plug and install with new washer.
lThe refill capacity depends on the oil temperature and drain time. Use these specifications for ref-
erence only.
Always use the dipstick to the determine when the proper amount of oil is in the engine.
5. Warm up engine and check area around drain plug and oil filter for oil leakage.
6. Stop engine and wait for 10 minutes.
7. Check oil level.
PBIC0527E
Drain and refillWith oil filter change
5.2 (4-5/8 Imp qt)
Without oil filter change
4.9 (4-3/8 Imp qt)
Dry engine (engine overhaul)6.3 (5-1/2 Imp qt)
Oil pan drain plug:
:29-39N·m(3.0-4.0kg-m,22-29ft-lb)
SBIA0122E
Page 2528 of 3066

MA-36
CHASSIS AND BODY MAINTENANCE
2. Check oil level.
CAUTION:
Do not reuse gasket.
Checking A/T FluidELS000BV
1. Warm up engine.
2. Check for fluid leakage.
3. Before driving, fluid level can be checked at fluid temperatures
of 30 to 50°C (86 to 122°F) using “COLD” range on dipstick.
a. Park vehicle on level surface and set parking brake.
b. Start engine and move selector lever through each gear posi-
tion. Leave selector lever in “P” position.
c. Check fluid level with engine idling.
d. Remove dipstick and note reading. If level is at low side of either
range, and fluid to the charging pipe.
e. Re-insert dipstick into charging pipe as far as it will go.
f. Remove dipstick and note reading. If reading is at low side of range, add fluid to the charging pipe.
Do not overfill.
4. Drive vehicle for approximately 5 minutes in urban areas.
5. Re-check fluid level at fluid temperatures of 50 to 80°C (122 to 176°F) using “HOT” range on dipstick.
6. Check fluid condition.
lIf fluid is very dark or smells burned, refer to AT section for
checking operation of A/T. Flush cooling system after repair of
A/T.
lIf A/T fluid contains frictional material (clutches, bands, etc.),
replace radiator and flush cooler line using cleaning solvent
and compressed air after repair of A/T. Refer toCO-12,
"RADIATOR",CO-15, "RADIATOR (ALUMINUM TYPE)"
,CO-33, "RADIATOR",CO-36, "RADIATOR (ALLUMINUM
TYPE)".
Changing A/T FluidELS000BW
1. Warm up A/T fluid.
2. Stop engine.
3. Drain A/T fluid from drain plug and refill with new A/T fluid.
Always refill same volume with drained fluid.Oil grade:
API GL-4
Viscosity:
Refer toMA-17, "
RECOMMENDED FLUIDS AND LUBRICANTS"
Oil capacity:
Approx. 2.3 (4 lmp pt)
Drain plug:
: 30 - 39 N·m (3.1 - 4.0 kg-m, 23 - 28 ft-lb)
SMA827CA
SMA853B
Fluid grade:
Genuine Nissan ATF or equivalent. Refer toMA-
17, "RECOMMENDED FLUIDS AND LUBRI-
CANTS".
SMA052D