Page 153 of 224

When performing any inspection or maintenance
work on your vehicle, always take care to prevent
serious accidental injury to yourself or damage to
the vehicle. The following are general precau-
tions which should be closely observed.
WARNING
cPark the vehicle on a level surface, ap-
ply the parking brake securely and
block the wheels to prevent the vehicle
from moving. For manual transmission
models, move the shift lever to N (Neu-
tral) . For automatic transmission mod-
els, move the selector lever to P (Park) .
cBe sure the ignition key is in the OFF or
LOCK position when performing any
parts replacement or repairs.
cNever leave the engine or automatic
transmission related component har-
nesses disconnected while the ignition
switch is in the ON position.
cNever connect or disconnect the battery
or any transistorized component while
the ignition switch is in the ON position.cYour vehicle is equipped with an auto-
matic engine cooling fan. It may come
on at any time without warning, even if
the ignition key is in the OFF position
and the engine is not running. To avoid
injury, always disconnect the negative
battery cable before working near the
fan.
cIf you must work with the engine run-
ning, keep your hands, clothing, hair
and tools away from moving fans, belts
and any other moving parts.
cIt is advisable to secure or remove any
loose clothing and remove any jewelry,
such as rings, watches, etc. before
working on your vehicle.
cAlways wear eye protection whenever
you work on your vehicle.
cIf you must run the engine in an en-
closed space such as a garage, be sure
there is proper ventilation for exhaust
gases to escape.
cNever get under the vehicle while it is
supported only by a jack. If it is neces-
sary to work under the vehicle, support
it with safety stands.cKeep smoking materials, flame and
sparks away from the fuel tank and
battery.
cOn gasoline engine models with the
multiport fuel injection (MFI) system,
the fuel filter or fuel lines should be
serviced by a NISSAN dealer because
the fuel lines are under high pressure
even when the engine is off.
CAUTION
cDo not work under the hood while the
engine is hot. Turn the engine off and
wait until it cools down.
cAvoid contact with used engine oil and
coolant. Improperly disposed engine
oil, engine coolant and/or other vehicle
fluids can damage the environment. Al-
ways conform to local regulations for
disposal of vehicle fluid.
This “Maintenance and do-it-yourself” section
gives instructions regarding only those items
which are relatively easy for an owner to perform.
A genuine NISSAN service manual is also avail-
able. See “Owner’s Manual/Service Manual or-
der information” in the “Technical and consumer
information” section of this manual.
MAINTENANCE PRECAUTIONS
Maintenance and do-it-yourself8-5
ZREVIEW COPY:Ð2003 Sentra(b15)
Owners Manual(owners)ÐUSA English(nna)
12/20/02Ðcathy
X
Page 155 of 224
QG18DE engine
1. Engine oil filler cap
2. Spark plug caps
3. Brake fluid reservoir
4. Clutch fluid reservoir (M/T model)
5. Air cleaner
6. Battery
7. Fuse/Fusible link holds
8. Radiator cap
9. Engine oil dipstick
10. Windshield washer fluid reservoir
11. Coolant reservoir
12. Power steering fluid reservoir
NOTE:
Engine cover removed for clarity.
WDI0024
ENGINE COMPARTMENT CHECK
LOCATIONS
Maintenance and do-it-yourself8-7
ZREVIEW COPY:Ð2003 Sentra(b15)
Owners Manual(owners)ÐUSA English(nna)
12/20/02Ðcathy
X
Page 156 of 224
QR25DE engine
1. Engine oil filler cap
2. Spark plug caps
3. Brake fluid reservoir
4. Clutch fluid reservoir (M/T model)
5. Air cleaner
6. Battery
7. Fuel/Fusible link holds
8. Radiator cap
9. Engine oil dipstick
10. Windshield washer fluid reservoir
11. Coolant reservoir
12. Power steering fluid reservoir
NOTE:
Engine cover removed for clarity.
LDI0108
8-8Maintenance and do-it-yourself
ZREVIEW COPY:Ð2003 Sentra(b15)
Owners Manual(owners)ÐUSA English(nna)
12/20/02Ðcathy
X
Page 168 of 224

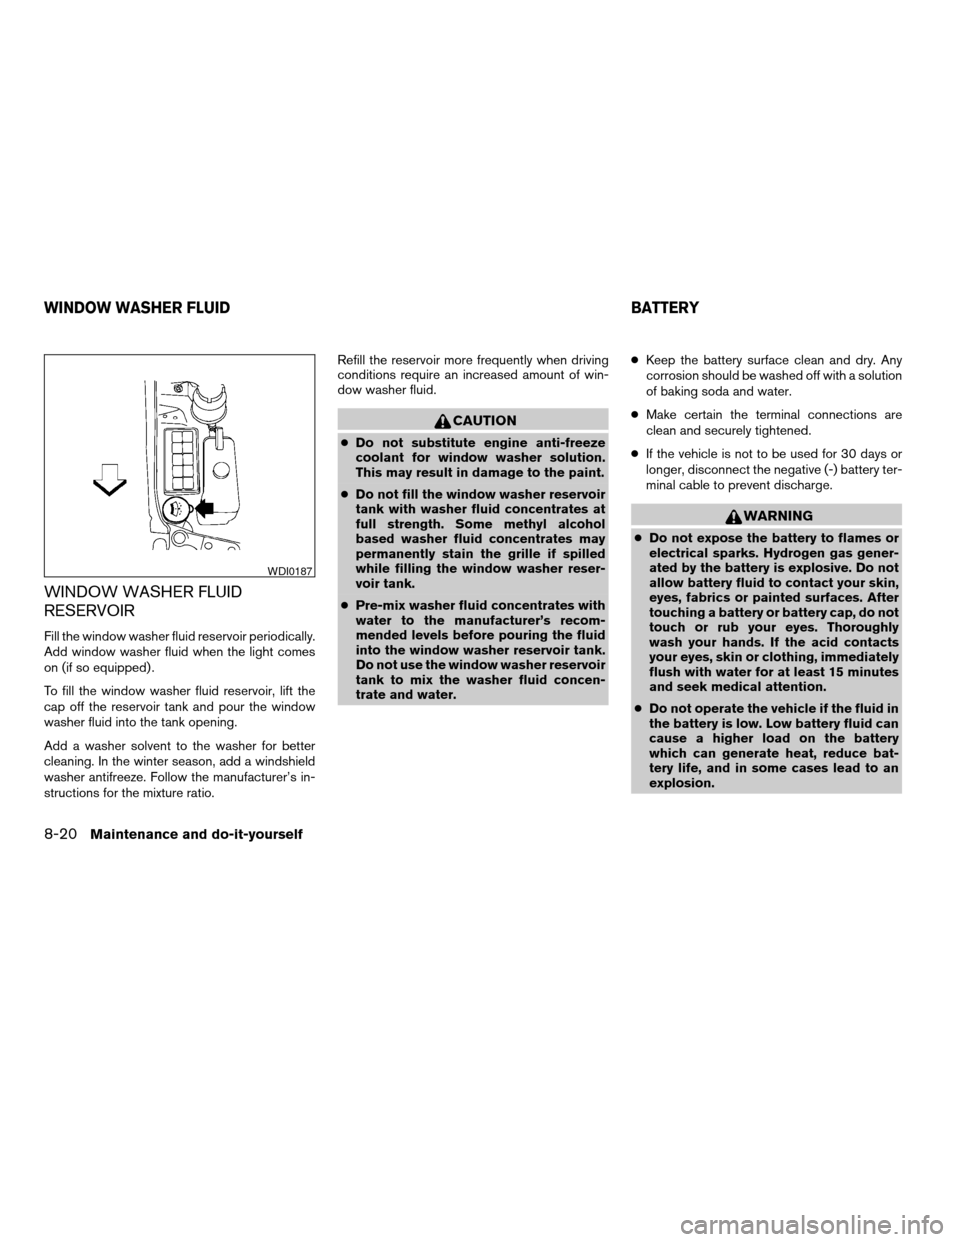
WINDOW WASHER FLUID
RESERVOIR
Fill the window washer fluid reservoir periodically.
Add window washer fluid when the light comes
on (if so equipped) .
To fill the window washer fluid reservoir, lift the
cap off the reservoir tank and pour the window
washer fluid into the tank opening.
Add a washer solvent to the washer for better
cleaning. In the winter season, add a windshield
washer antifreeze. Follow the manufacturer’s in-
structions for the mixture ratio.Refill the reservoir more frequently when driving
conditions require an increased amount of win-
dow washer fluid.
CAUTION
cDo not substitute engine anti-freeze
coolant for window washer solution.
This may result in damage to the paint.
cDo not fill the window washer reservoir
tank with washer fluid concentrates at
full strength. Some methyl alcohol
based washer fluid concentrates may
permanently stain the grille if spilled
while filling the window washer reser-
voir tank.
cPre-mix washer fluid concentrates with
water to the manufacturer’s recom-
mended levels before pouring the fluid
into the window washer reservoir tank.
Do not use the window washer reservoir
tank to mix the washer fluid concen-
trate and water.cKeep the battery surface clean and dry. Any
corrosion should be washed off with a solution
of baking soda and water.
cMake certain the terminal connections are
clean and securely tightened.
cIf the vehicle is not to be used for 30 days or
longer, disconnect the negative (-) battery ter-
minal cable to prevent discharge.
WARNING
cDo not expose the battery to flames or
electrical sparks. Hydrogen gas gener-
ated by the battery is explosive. Do not
allow battery fluid to contact your skin,
eyes, fabrics or painted surfaces. After
touching a battery or battery cap, do not
touch or rub your eyes. Thoroughly
wash your hands. If the acid contacts
your eyes, skin or clothing, immediately
flush with water for at least 15 minutes
and seek medical attention.
cDo not operate the vehicle if the fluid in
the battery is low. Low battery fluid can
cause a higher load on the battery
which can generate heat, reduce bat-
tery life, and in some cases lead to an
explosion.
WDI0187
WINDOW WASHER FLUID BATTERY
8-20Maintenance and do-it-yourself
ZREVIEW COPY:Ð2003 Sentra(b15)
Owners Manual(owners)ÐUSA English(nna)
12/20/02Ðcathy
X
Page 169 of 224
cWhen working on or near a battery, al-
ways wear suitable eye protection and
remove all jewelry.
cBattery posts, terminals and related ac-
cessories contain lead and lead com-
pounds. Wash hands after handling.
cKeep battery out of the reach of
children.
1. Remove the battery caps with a screwdriver
as shown.
If the battery is equipped with pry-off type
caps, use a cloth to protect the battery case.
Type A
WDI0224
Type B
WDI0188
Maintenance and do-it-yourself8-21
ZREVIEW COPY:Ð2003 Sentra(b15)
Owners Manual(owners)ÐUSA English(nna)
12/20/02Ðcathy
X
Page 170 of 224
2. Check the fluid level in each cell. If it is
necessary to add fluid , add only distilled
water to bring the level up to the bottom of
the filler opening.Do not overfill.Vehicles operated in high temperatures or under
severe conditions require frequent checks of the
battery fluid level.
JUMP STARTING
If jump starting is necessary, see “Jump starting”
in the “In case of emergency” section of this
manual. If the engine does not start by jump
starting, the battery may have to be replaced.
Contact a NISSAN dealer.
1. Power steering oil pump
2. Water pump
3. Idler pulley
4. Generator
5. A/C compressor
6. Crankshaft pulley
: Tension checking points
WARNING
Be sure the ignition key is in the OFF or
LOCK position. The engine could rotate
unexpectedly.
LDI0302
QG18DE engine
WDI0191
DRIVE BELTS
8-22Maintenance and do-it-yourself
ZREVIEW COPY:Ð2003 Sentra(b15)
Owners Manual(owners)ÐUSA English(nna)
12/20/02Ðcathy
X
Page 181 of 224

Replace the battery in the keyfob as follows:
s1Open the lid using a coin.
s2Remove the battery.
s3Install a new battery with the “+” facing
down.Recommended battery: Sanyo CR2025 or
equivalent.
s4Close the lid securely.
5. Press the LOCK button, then the UNLOCK
button two or three times to check the key-
fob operation.If the battery is removed for any reason
other than replacement, perform step 5.
cAn improperly disposed battery can hurt
the environment. Always confirm local
regulations for battery disposal.
cThe keyfob is water-resistant; however,
if it does get wet, immediately wipe com-
pletely dry.
cThe operational range of the keyfob ex-
tends to approximately 49 ft (15 m) from
the vehicle. This range may vary with
conditions.
FCC Notice:
Changes or modifications not expressly ap-
proved by the manufacturer for compliance
could void the user’s authority to operate
the equipment.
This device complies with Part 15 of the
FCC Rules and RSS-210 of Industry
Canada.
Operation is subject to the following two
conditions: (1) This device may not cause
harmful interference, and (2) this device
must accept any interference received, in-
cluding interference that may cause undes-
ired operation of the device.
WPD0116
KEYFOB BATTERY REPLACEMENT
Maintenance and do-it-yourself8-33
ZREVIEW COPY:Ð2003 Sentra(b15)
Owners Manual(owners)ÐUSA English(nna)
12/20/02Ðcathy
X
Page 183 of 224

Removing the headlight bulb
1. Open the engine hood.
2. Disconnect the negative (-) battery cable.
3. Disconnect the electrical connector from the
rear end of the bulb.
4. Rotate the bulb retaining ring counterclock-
wise and remove
sA.
5. Pull out the headlight bulb and socket as an
assembly. Do not shake or rotate the bulb
when removing it. Do not touch the glass
envelope
sB.
Replacing the headlight bulb
1. Insert the bulb and socket assembly into the
headlight.
DO NOT TOUCH THE BULB.
2. Install and tighten the bulb retaining ring.
3. Push the electrical connector into the bulb
plastic base until it snaps and stops.
4. Connect the negative (-) battery cable.
5. Close the hood.
CAUTION
Aiming is not necessary after replacing
the bulb. When aiming adjustment is nec-
essary, contact a NISSAN dealer.
Adjusting the headlight aim
If the headlights need aiming adjustment, please
see a NISSAN dealer.
FOG LIGHTS (if so equipped)
Replacing the fog light bulb
CAUTION
cHigh pressure halogen gas is sealed
inside the halogen bulb. The bulb may
break if the glass envelope is scratched
or the bulb is dropped.
cWhen handling the bulb, do not touch
the glass envelope.
Maintenance and do-it-yourself8-35
ZREVIEW COPY:Ð2003 Sentra(b15)
Owners Manual(owners)ÐUSA English(nna)
12/20/02Ðcathy
X