2003 NISSAN MAXIMA oil dipstick
[x] Cancel search: oil dipstickPage 55 of 247

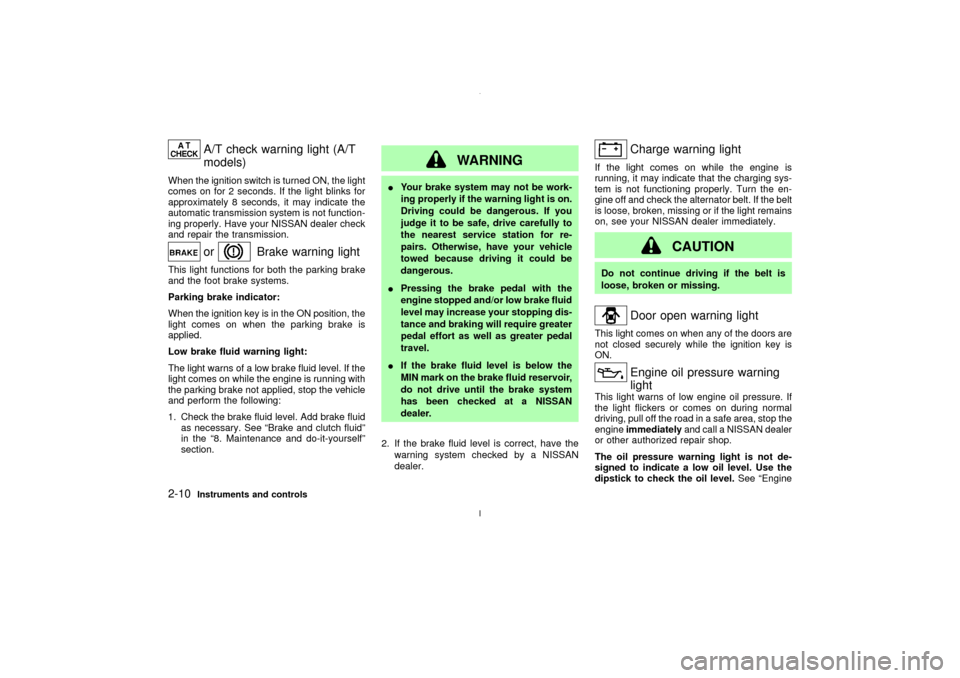
A/T check warning light (A/T
models)
When the ignition switch is turned ON, the light
comes on for 2 seconds. If the light blinks for
approximately 8 seconds, it may indicate the
automatic transmission system is not function-
ing properly. Have your NISSAN dealer check
and repair the transmission.
or
Brake warning light
This light functions for both the parking brake
and the foot brake systems.
Parking brake indicator:
When the ignition key is in the ON position, the
light comes on when the parking brake is
applied.
Low brake fluid warning light:
The light warns of a low brake fluid level. If the
light comes on while the engine is running with
the parking brake not applied, stop the vehicle
and perform the following:
1. Check the brake fluid level. Add brake fluid
as necessary. See ªBrake and clutch fluidº
in the ª8. Maintenance and do-it-yourselfº
section.
WARNING
IYour brake system may not be work-
ing properly if the warning light is on.
Driving could be dangerous. If you
judge it to be safe, drive carefully to
the nearest service station for re-
pairs. Otherwise, have your vehicle
towed because driving it could be
dangerous.
IPressing the brake pedal with the
engine stopped and/or low brake fluid
level may increase your stopping dis-
tance and braking will require greater
pedal effort as well as greater pedal
travel.
IIf the brake fluid level is below the
MIN mark on the brake fluid reservoir,
do not drive until the brake system
has been checked at a NISSAN
dealer.
2. If the brake fluid level is correct, have the
warning system checked by a NISSAN
dealer.
Charge warning light
If the light comes on while the engine is
running, it may indicate that the charging sys-
tem is not functioning properly. Turn the en-
gine off and check the alternator belt. If the belt
is loose, broken, missing or if the light remains
on, see your NISSAN dealer immediately.
CAUTION
Do not continue driving if the belt is
loose, broken or missing.
Door open warning light
This light comes on when any of the doors are
not closed securely while the ignition key is
ON.
Engine oil pressure warning
light
This light warns of low engine oil pressure. If
the light flickers or comes on during normal
driving, pull off the road in a safe area, stop the
engineimmediatelyand call a NISSAN dealer
or other authorized repair shop.
The oil pressure warning light is not de-
signed to indicate a low oil level. Use the
dipstick to check the oil level.See ªEngine
2-10
Instruments and controls
Z
02.7.12/A33-D/V5.0
X
Page 179 of 247

keep floor mats away from the pedal.
Parking brake*:Check that the lever has the
proper travel and make sure that the vehicle is
held securely on a fairly steep hill when only
the parking brake is applied.
Automatic transaxle P (Park) position
mechanism:On a fairly steep hill check that
the vehicle is held securely with the selector
lever in the P (Park) position without applying
any brakes.Under the hood and the vehicleThe maintenance items listed here should be
checked periodically (for example, each time
you check the engine oil or refuel).
Windshield washer fluid*:Check that there
is adequate fluid in the tank.
Engine coolant level*:Check the coolant
level when the engine is cold.
Radiator and hoses:Check the front of the
radiator and clean off any dirt, insects, leaves,
etc., that may have accumulated. Make sure
the hoses have no cracks, deformation, dete-
rioration or loose connections.
Brake and clutch fluid levels*:Make sure
that the brake and clutch fluid levels are be-
tween the MAX and MIN lines on the reservoir.Battery*:Check the fluid level in each cell. It
should be between the MAX and MIN lines.
Vehicles operated in high temperatures or
under severe conditions require frequent
checks of the battery fluid level.
Engine drive belts*:Make sure that no belt is
frayed, worn, cracked or oily.
Engine oil level*:Check the level on the
dipstick after parking the vehicle on a level
spot and turning off the engine.
Power steering fluid level* and lines:Check
the level in the reservoir tank with the engine
off. Check the lines for proper attachment,
leaks, cracks, etc.
Automatic transaxle fluid level*:Check the
level on the dipstick after putting the selector
lever in P (Park) position with the engine idling.
Exhaust system:Make sure there are no
loose supports, cracks or holes. If the sound of
the exhaust seems unusual or there is a smell
of exhaust fumes, immediately locate the
trouble and correct it. (See ªPrecautions when
starting and drivingº in the ª5. Starting and
drivingº section for exhaust gas (carbon mon-
oxide).)
Underbody:The underbody is frequently ex-
posed to corrosive substances such as those
used on icy roads or to control dust. It is veryimportant to remove these substances, other-
wise rust will form on the floor pan, frame, fuel
lines and around the exhaust system. At the
end of winter, the underbody should be thor-
oughly flushed with plain water, being careful
to clean those areas where mud and dirt may
accumulate. For additional information, see
ªCleaning exteriorº in the ª7. Appearance and
careº section.
Fluid leaks:Check under the vehicle for fuel,
oil, water or other fluid leaks after the vehicle
has been parked for a while. Water dripping
from the air conditioner after use is normal. If
you should notice any leaks or if gasoline
fumes are evident, check for the cause and
have it corrected immediately.8-4
Maintenance and do-it-yourself
Z
02.7.12/A33-D/V5.0
X
Page 185 of 247

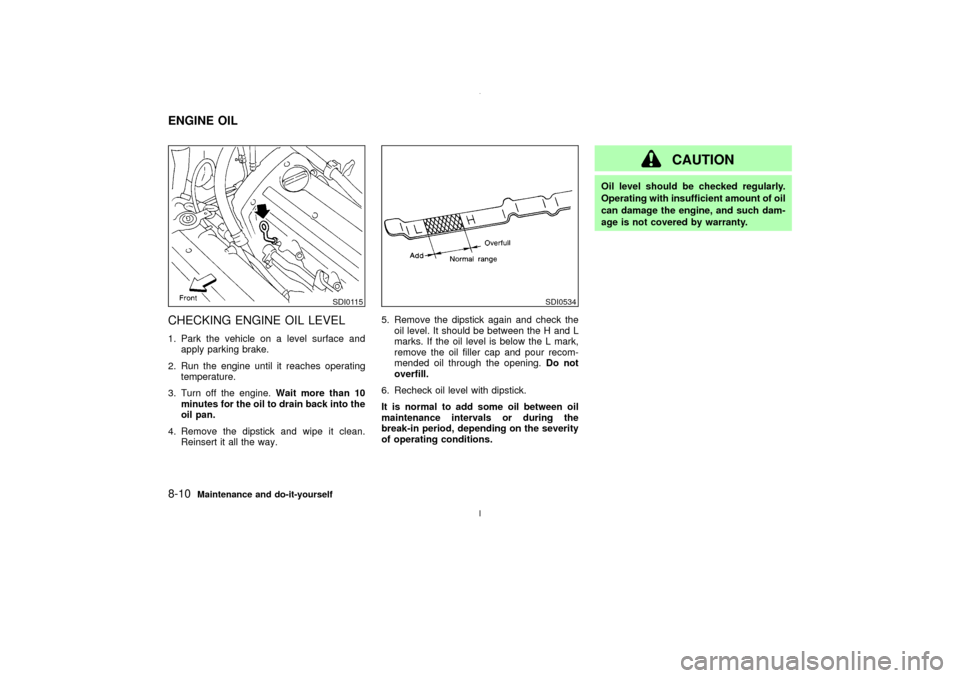
CHECKING ENGINE OIL LEVEL1. Park the vehicle on a level surface and
apply parking brake.
2. Run the engine until it reaches operating
temperature.
3. Turn off the engine.Wait more than 10
minutes for the oil to drain back into the
oil pan.
4. Remove the dipstick and wipe it clean.
Reinsert it all the way.5. Remove the dipstick again and check the
oil level. It should be between the H and L
marks. If the oil level is below the L mark,
remove the oil filler cap and pour recom-
mended oil through the opening.Do not
overfill.
6. Recheck oil level with dipstick.
It is normal to add some oil between oil
maintenance intervals or during the
break-in period, depending on the severity
of operating conditions.
CAUTION
Oil level should be checked regularly.
Operating with insufficient amount of oil
can damage the engine, and such dam-
age is not covered by warranty.
SDI0115
SDI0534
ENGINE OIL8-10
Maintenance and do-it-yourself
Z
02.7.12/A33-D/V5.0
X
Page 186 of 247

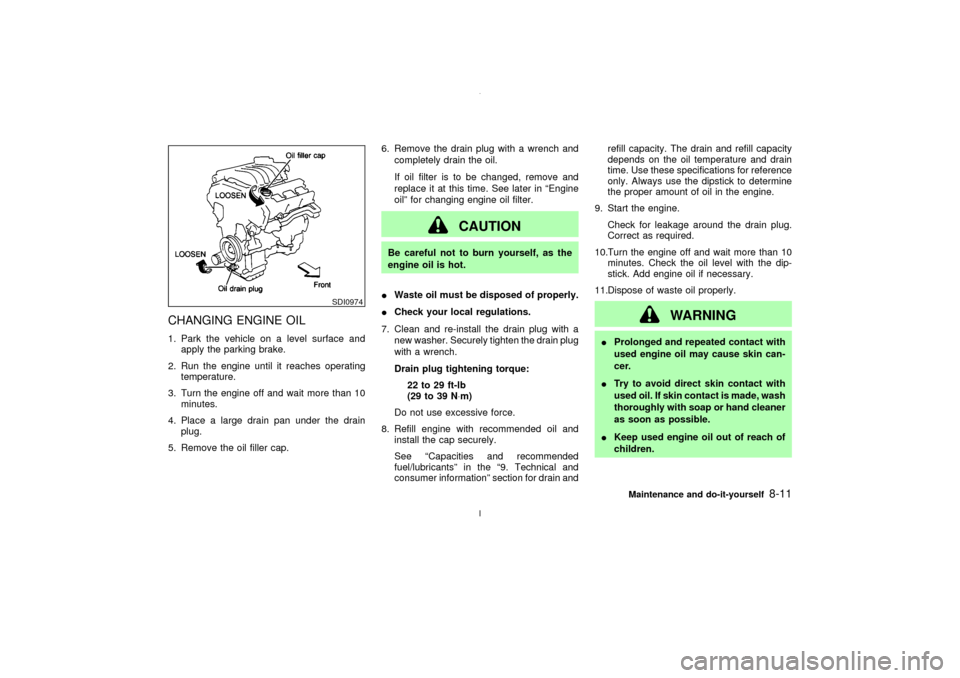
CHANGING ENGINE OIL1. Park the vehicle on a level surface and
apply the parking brake.
2. Run the engine until it reaches operating
temperature.
3. Turn the engine off and wait more than 10
minutes.
4. Place a large drain pan under the drain
plug.
5. Remove the oil filler cap.6. Remove the drain plug with a wrench and
completely drain the oil.
If oil filter is to be changed, remove and
replace it at this time. See later in ªEngine
oilº for changing engine oil filter.
CAUTION
Be careful not to burn yourself, as the
engine oil is hot.
IWaste oil must be disposed of properly.
ICheck your local regulations.
7. Clean and re-install the drain plug with a
new washer. Securely tighten the drain plug
with a wrench.
Drain plug tightening torque:
22 to 29 ft-lb
(29 to 39 N×m)
Do not use excessive force.
8. Refill engine with recommended oil and
install the cap securely.
See ªCapacities and recommended
fuel/lubricantsº in the ª9. Technical and
consumer informationº section for drain andrefill capacity. The drain and refill capacity
depends on the oil temperature and drain
time. Use these specifications for reference
only. Always use the dipstick to determine
the proper amount of oil in the engine.
9. Start the engine.
Check for leakage around the drain plug.
Correct as required.
10.Turn the engine off and wait more than 10
minutes. Check the oil level with the dip-
stick. Add engine oil if necessary.
11.Dispose of waste oil properly.
WARNING
IProlonged and repeated contact with
used engine oil may cause skin can-
cer.
ITry to avoid direct skin contact with
used oil. If skin contact is made, wash
thoroughly with soap or hand cleaner
as soon as possible.
IKeep used engine oil out of reach of
children.
SDI0974
Maintenance and do-it-yourself
8-11
Z
02.7.12/A33-D/V5.0
X