Page 80 of 272

GLOVE BOX
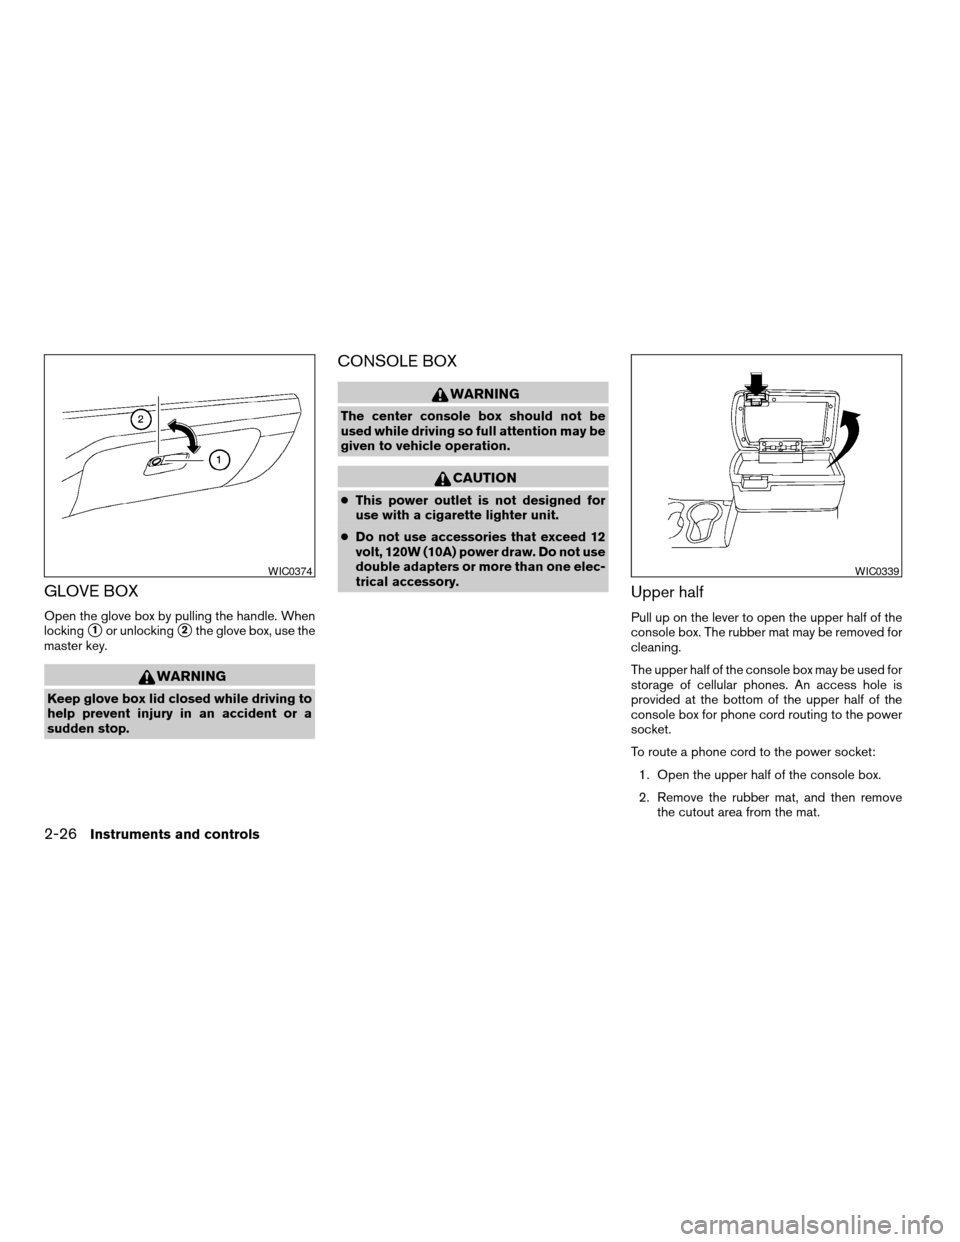
Open the glove box by pulling the handle. When
locking
s1or unlockings2the glove box, use the
master key.
WARNING
Keep glove box lid closed while driving to
help prevent injury in an accident or a
sudden stop.
CONSOLE BOX
WARNING
The center console box should not be
used while driving so full attention may be
given to vehicle operation.
CAUTION
cThis power outlet is not designed for
use with a cigarette lighter unit.
cDo not use accessories that exceed 12
volt, 120W (10A) power draw. Do not use
double adapters or more than one elec-
trical accessory.
Upper half
Pull up on the lever to open the upper half of the
console box. The rubber mat may be removed for
cleaning.
The upper half of the console box may be used for
storage of cellular phones. An access hole is
provided at the bottom of the upper half of the
console box for phone cord routing to the power
socket.
To route a phone cord to the power socket:
1. Open the upper half of the console box.
2. Remove the rubber mat, and then remove
the cutout area from the mat.
WIC0374WIC0339
2-26Instruments and controls
ZREVIEW COPY:Ð2003 Truck/Frontier(d22)
Owners Manual(owners)ÐUSA English(nna)
01/15/03Ðarosenma
X
Page 82 of 272

POWER WINDOWS (if so equipped)
WARNING
cMake sure that all passengers have
their hands, etc. inside the vehicle while
it is in motion and before closing the
windows. Use the window lock switch
to prevent unexpected use of the power
windows.
cDo not leave children unattended inside
the vehicle. They could unknowingly ac-
tivate switches or controls and become
trapped in a window. Unattended chil-
dren could become involved in serious
accidents.
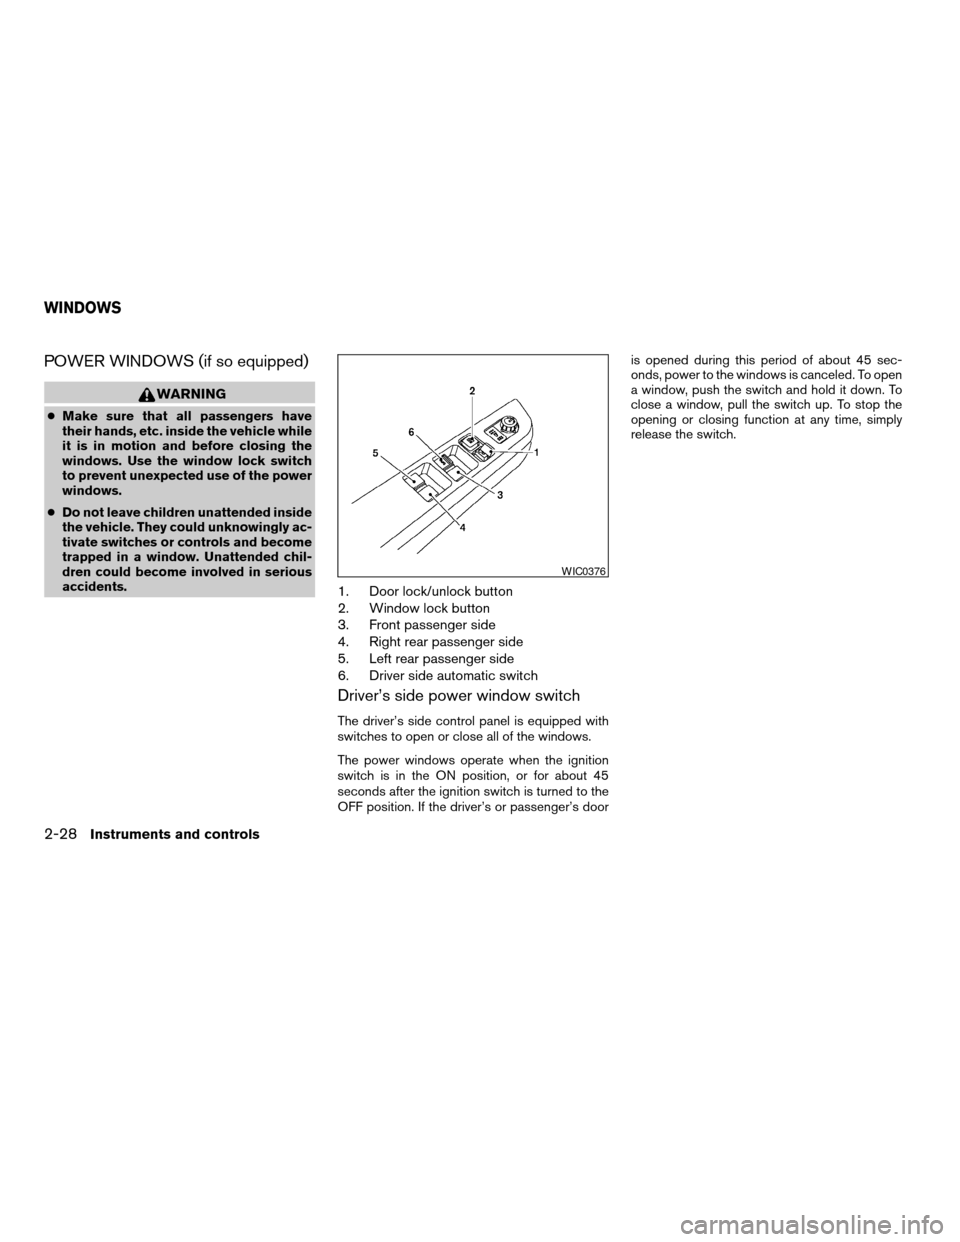
1. Door lock/unlock button
2. Window lock button
3. Front passenger side
4. Right rear passenger side
5. Left rear passenger side
6. Driver side automatic switch
Driver’s side power window switch
The driver’s side control panel is equipped with
switches to open or close all of the windows.
The power windows operate when the ignition
switch is in the ON position, or for about 45
seconds after the ignition switch is turned to the
OFF position. If the driver’s or passenger’s dooris opened during this period of about 45 sec-
onds, power to the windows is canceled. To open
a window, push the switch and hold it down. To
close a window, pull the switch up. To stop the
opening or closing function at any time, simply
release the switch.
WIC0376
WINDOWS
2-28Instruments and controls
ZREVIEW COPY:Ð2003 Truck/Frontier(d22)
Owners Manual(owners)ÐUSA English(nna)
01/15/03Ðarosenma
X
Page 88 of 272

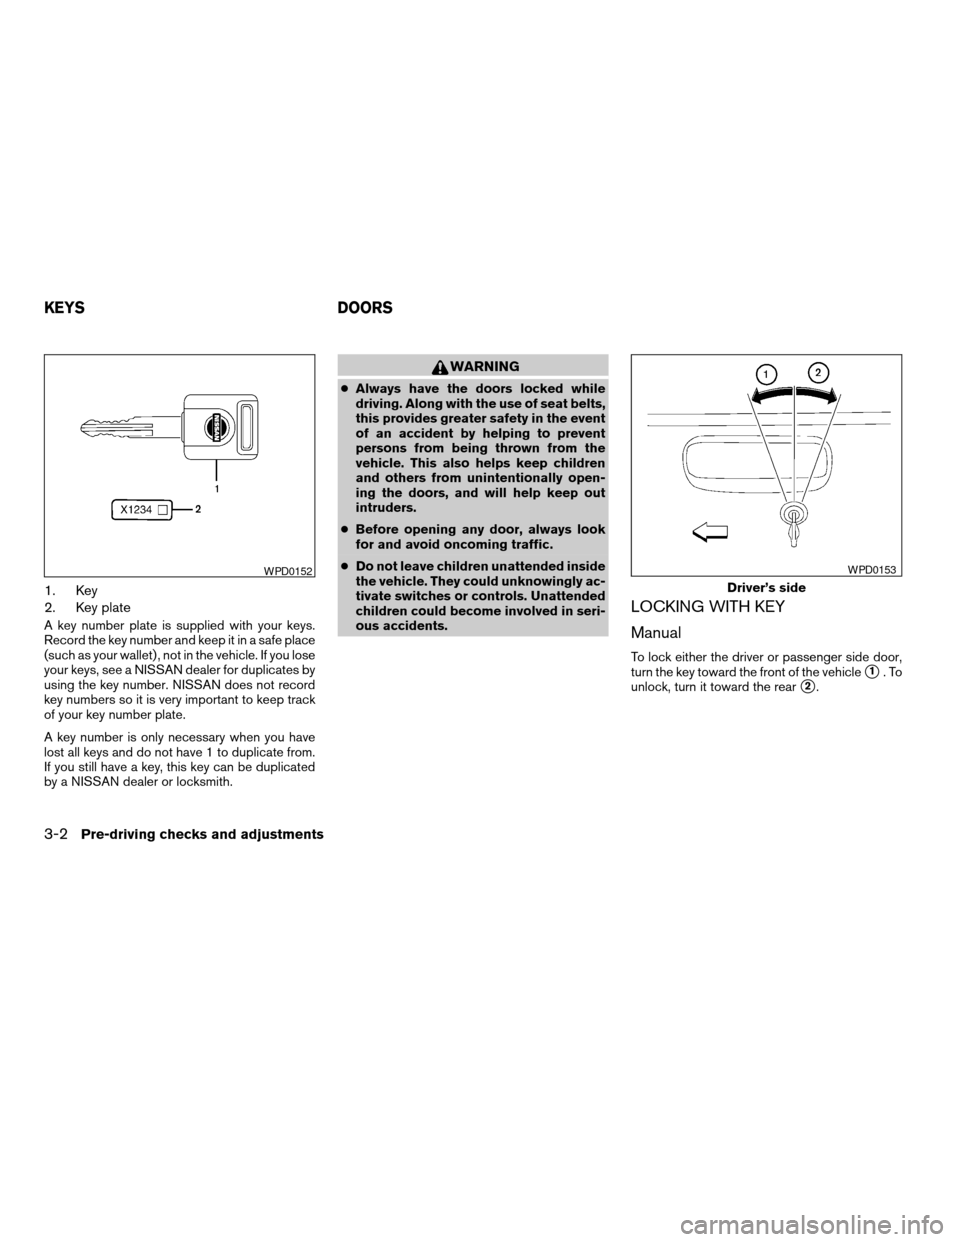
1. Key
2. Key plate
A key number plate is supplied with your keys.
Record the key number and keep it in a safe place
(such as your wallet) , not in the vehicle. If you lose
your keys, see a NISSAN dealer for duplicates by
using the key number. NISSAN does not record
key numbers so it is very important to keep track
of your key number plate.
A key number is only necessary when you have
lost all keys and do not have 1 to duplicate from.
If you still have a key, this key can be duplicated
by a NISSAN dealer or locksmith.
WARNING
cAlways have the doors locked while
driving. Along with the use of seat belts,
this provides greater safety in the event
of an accident by helping to prevent
persons from being thrown from the
vehicle. This also helps keep children
and others from unintentionally open-
ing the doors, and will help keep out
intruders.
cBefore opening any door, always look
for and avoid oncoming traffic.
cDo not leave children unattended inside
the vehicle. They could unknowingly ac-
tivate switches or controls. Unattended
children could become involved in seri-
ous accidents.
LOCKING WITH KEY
Manual
To lock either the driver or passenger side door,
turn the key toward the front of the vehicle
s1.To
unlock, turn it toward the rear
s2.
WPD0152
Driver’s side
WPD0153
KEYS DOORS
3-2Pre-driving checks and adjustments
ZREVIEW COPY:Ð2003 Truck/Frontier(d22)
Owners Manual(owners)ÐUSA English(nna)
01/15/03Ðarosenma
X
Page 89 of 272

Power (if so equipped)
If your vehicle is equipped with the theft
warning system,the power door lock system
allows you to lock or unlock all doors at the same
time.
Turning the key toward the front
s1of the vehicle
locks all doors.
Turning the key 1 time toward the rear
s2of the
vehicle unlocks that door. From that position,
returning the key to neutral
s3(where the key can
only be removed and inserted) and turning it
toward the rear again
s4within 5 seconds un-
locks all doors.
LOCKING WITH INSIDE LOCK
KNOB
To lock the door without the key, move the inside
lock knob to the lock position
s1, then close the
door.
To unlock the door without the key, move the
inside lock knob to the unlock position
s2.
LOCKING WITH POWER DOOR
LOCK SWITCH (if so equipped)
To lock all the doors without a key, push the door
lock switch (driver or front passenger side) , to the
lock position
s1, then close the door. When
locking the door this way, be certain not to leave
the key inside the vehicle.
To unlock all the doors without a key, push the
door lock switch (driver or front passenger side)
to the unlock position
s2.
When the power door lock switch (driver or pas-
senger side) is moved to the lock position with
the key in the ignition and any door open, all doors
will lock and then unlock automatically.
Driver’s side
WPD0154
Inside lock
WPD0155
Driver’s side
WPD0156
Pre-driving checks and adjustments3-3
ZREVIEW COPY:Ð2003 Truck/Frontier(d22)
Owners Manual(owners)ÐUSA English(nna)
01/17/03Ðtmchalpi
X
Page 94 of 272
WARNING
cMake sure the hood is completely
closed and latched before driving. Fail-
ure to do so could cause the hood to fly
open and result in an accident.
cIf you see steam or smoke coming from
the engine compartment, to avoid injury
do not open the hood.
1. Pull the hood lock release handle
sAlocated
below the driver side instrument panel; the
hood springs up slightly.
2. Lift the lever
sBat the front of the hood with
your fingertips and raise the hood.3. Remove the support rod from the clamp.
4. Insert the support rod
sCinto the slot in the
front edge of the hood.
5. When closing the hood, return the support
rod to its original position, lower the hood to
approximately 12 inches above the latch and
release it. This allows proper engagement of
the hood latch.
WPD0172
HOOD
3-8Pre-driving checks and adjustments
ZREVIEW COPY:Ð2003 Truck/Frontier(d22)
Owners Manual(owners)ÐUSA English(nna)
01/15/03Ðarosenma
X
Page 95 of 272

0
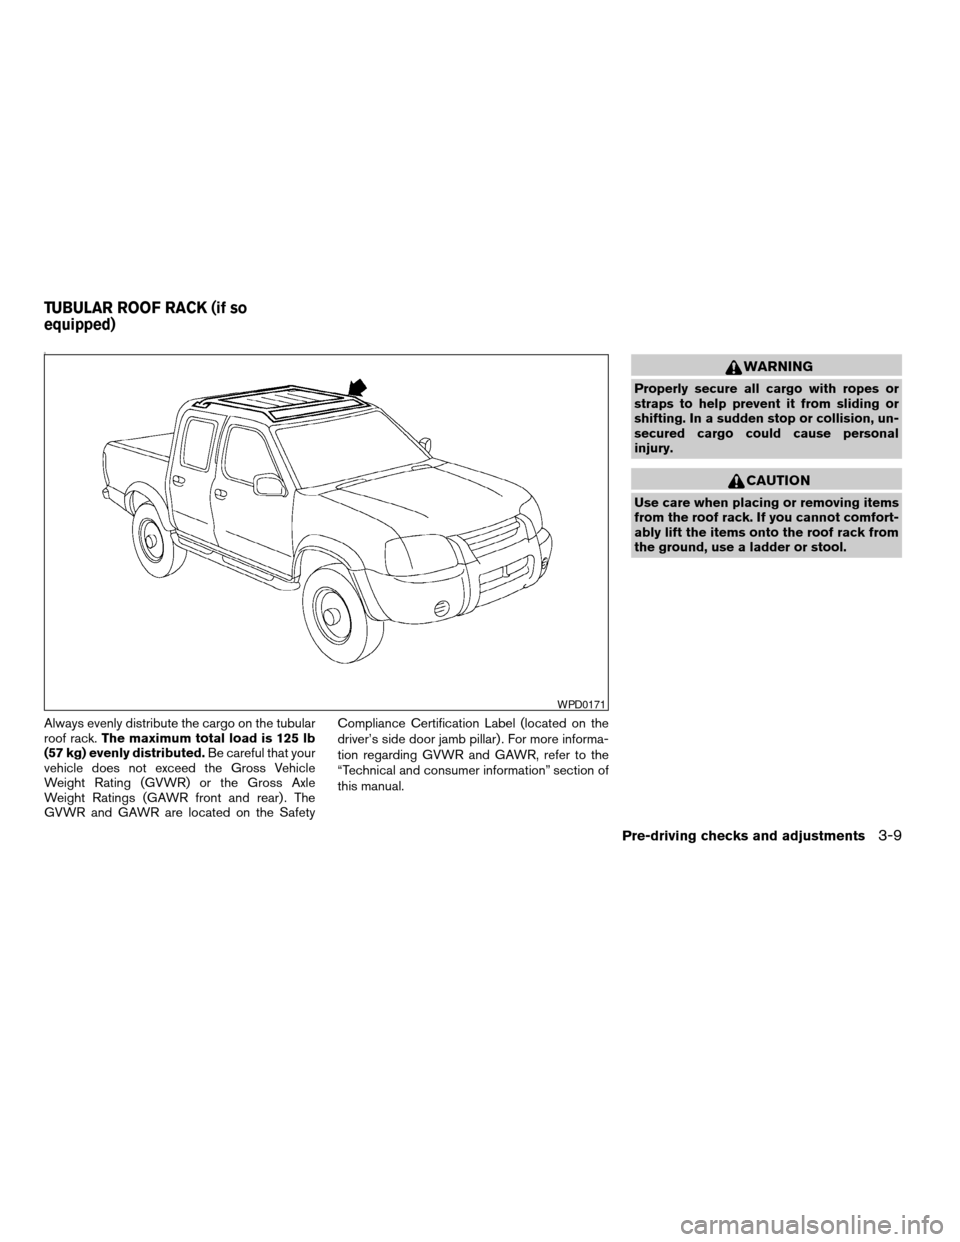
Always evenly distribute the cargo on the tubular
roof rack.The maximum total load is 125 lb
(57 kg) evenly distributed.Be careful that your
vehicle does not exceed the Gross Vehicle
Weight Rating (GVWR) or the Gross Axle
Weight Ratings (GAWR front and rear) . The
GVWR and GAWR are located on the SafetyCompliance Certification Label (located on the
driver’s side door jamb pillar) . For more informa-
tion regarding GVWR and GAWR, refer to the
“Technical and consumer information” section of
this manual.
WARNING
Properly secure all cargo with ropes or
straps to help prevent it from sliding or
shifting. In a sudden stop or collision, un-
secured cargo could cause personal
injury.
CAUTION
Use care when placing or removing items
from the roof rack. If you cannot comfort-
ably lift the items onto the roof rack from
the ground, use a ladder or stool.
WPD0171
TUBULAR ROOF RACK (if so
equipped)
Pre-driving checks and adjustments3-9
ZREVIEW COPY:Ð2003 Truck/Frontier(d22)
Owners Manual(owners)ÐUSA English(nna)
01/15/03Ðarosenma
X
Page 97 of 272
1. Tubular step rail
2. Front passenger step
3. Rear passenger step
The tubular step rail has a front and rear step for
assisting passengers getting into and out of the
vehicle.
FUEL FILLER CAP
The fuel filler cap is a ratcheting type. Turn the
cap counterclockwise to remove. To tighten, turn
the cap clockwise until ratcheting clicks are
heard.
WARNING
cGasoline is extremely flammable and
highly explosive under certain condi-
tions. You could be burned or seriously
injured if it is misused or mishandled.
Always stop the engine and do not
smoke or allow open flames or sparks
near the vehicle when refueling.WPD0173
WPD0165
TUBULAR STEP RAIL (if so equipped) FUEL FILLER LID
Pre-driving checks and adjustments3-11
ZREVIEW COPY:Ð2003 Truck/Frontier(d22)
Owners Manual(owners)ÐUSA English(nna)
01/15/03Ðarosenma
X
Page 99 of 272
TILT OPERATION (if so equipped)
Pull the lock lever down and adjust the steering
wheel up or down to the desired position.
Push the lock lever up firmly to lock the steering
wheel in place.
WARNING
Do not adjust the steering wheel while
driving. You could lose control of your
vehicle and cause an accident.
VANITY MIRROR (if so equipped)
A vanity mirror is located on the rear side of the
passenger sun visor.
INSIDE MIRROR
The night positions1reduces glare from the
headlights of vehicles behind you at night.
Use the day position
s2when driving in daylight
hours.
WARNING
Use the night position only when neces-
sary, because it reduces rear view clarity.
WPD0167WPD0168WPD0126
STEERING WHEEL SUN VISORS MIRRORS
Pre-driving checks and adjustments3-13
ZREVIEW COPY:Ð2003 Truck/Frontier(d22)
Owners Manual(owners)ÐUSA English(nna)
01/15/03Ðarosenma
X