Page 116 of 304

116 Controls in detailAudio systemBalance�
Press the
AUD
key repeatedly until
BALANCE
appears in the display.
�
Press the
Lkey to move the sound to
the left speaker or the
Rkey to move
the sound to the right speaker.
Centering all audio functions
�
Push and hold down the
AUD
key.
All audio functions (bass, treble and
balance) are set to center or flat posi-
tions, and the volume is adjusted to a
pre-set level.
Radio mode
Selecting radio mode�
Press
b
button.
Selecting the band
�
Press the key located below the de-
sired band.
The band selected is shown in the top
line of the display.Manual tuning
�
Press either the
d
or
c
button.
Step-by-step tuning in ascending or de-
scending order of frequency will take
place.
The first three tuning steps will take place
without muting. The radio will then be mut-
ed and high-speed tuning will take place
until the button is released.
The following tuning intervals will be
shown on the display:
Frequency ranges:
FM 87.9 - 107.9 MHz
AM 530 - 1710 kHz
WB approx. 162 MHz
FM 200 kHz
AM 10 kHz
WB Channels 1-7
Page 117 of 304

117 Controls in detail
Audio system
Seek tuning�
Press either the
f
or
e
button.
The radio will tune to the next receiv-
able station.
Scan tuning
�
Press the
SC
key.
Each station with a strong signal on the
band selected will be tuned in for
8 seconds. The first scan will tune only
the stations with a high signal strength.
The second scan will tune every receiv-
able station.
By pressing either the
d
, c
, f
or
e
buttons, or the
SC
key, the scan
mode can be cancelled.Station memory
Ten stations can be stored in the AM and
FM bands via the alpha-numeric keypad.
The “0” button corresponds to location 10.
Weatherband (WB) channels 1 to 7 can be
retrieved via the alpha-numeric keypad
and are preset at the factory.
Storing stations
�
Hold the number button down for ap-
proximately 2 seconds.
The currently displayed frequency is
stored on the selected station button.
The storage procedure is confirmed by
a short signal tone.
Retrieving a station from memory
�
Press the desired station button.Direct frequency input (AM and FM
only)
�
Select the band.
�
Press the
“
button and enter the
desired frequency using the
alpha-numeric keypad.
Frequencies outside of the frequency
ranges (frequencies specified on
page 116) will not be accepted. The
frequency input mode is cancelled if no
button is pressed within 4 seconds.
Page 118 of 304

118 Controls in detailAudio systemCassette mode
Playing cassettes�
Press the “TAPE” button.
�
Press the eject (EJ) key.
The display folds down and the cas-
sette slot becomes visible.
�
Push the cassette into the slot until it
engages.
The cassette will be pulled in automati-
cally.
The radio will switch to cassette mode.
Track 1 will be played and
SIDE 1
dis-
played. Track 1 is the side of the cassette
which is facing upwards. The cassette
deck will automatically detect the type of
tape and switch the equalization automati-
cally. A cassette symbol in the display indi-cates that a tape is in the mechanism. This
symbol appears in all modes but not in cas-
sette mode.
The cassette will not be ejected when the
radio is switched off or another mode is se-
lected.
If a cassette is in the mechanism, cassette
mode can be selected by using the “TAPE”
button. If no cassette has been inserted,
the display will show
NO TAPE
.
Cassette eject
�
Press the eject (
EJ) key.
The display will fold down and the
cassette will be ejected.
iDo not press directly on the radio dis-
play face.
Return the display panel to its normal
position by folding it back up and
pressing gently on the display frame to
lock in place.
When playing mono recorded tapes
(e.g. books) through a stereo system,
the sound from one track might bleed
to the other track, despite setting the
balance to the full left or full right
speakers.!If the display is in the down position for
more than 20 seconds, two successive
beeps will be heard. This will continue
at 5 second intervals until the display is
returned to its normal position.
��
Page 119 of 304

119 Controls in detail
Audio system
�
Remove the cassette.
�
Fold the display back up manually.
The radio will switch back to radio
mode automatically.
Track selection
�
Press the track selection (
TRK
) key.The current track will be displayed as
SIDE 1
or
SIDE 2
. The track will be
changed automatically at the end of
the tape.
Track search forwards/backwards
�
Press the
f
button.
SEEK FWD
will be shown on the display
and the track search will run the tape
forwards to the start of the next track.
�
Press the
e
button.
SEEK RWD
will be shown on the display
and the track search will run the tape
backwards to the start of the track cur-
rently playing.
�
Press the same button again to inter-
rupt track search.
iThe cassette will not be ejected when
the radio is switched off.!If the display is in the down position for
more than 20 seconds, two successive
beeps will be heard. This will continue
at 5 second intervals until the display is
returned to its normal position.
iThe beginning of a track can only be lo-
cated if there is a break of at least
4 seconds between tracks.
Page 120 of 304

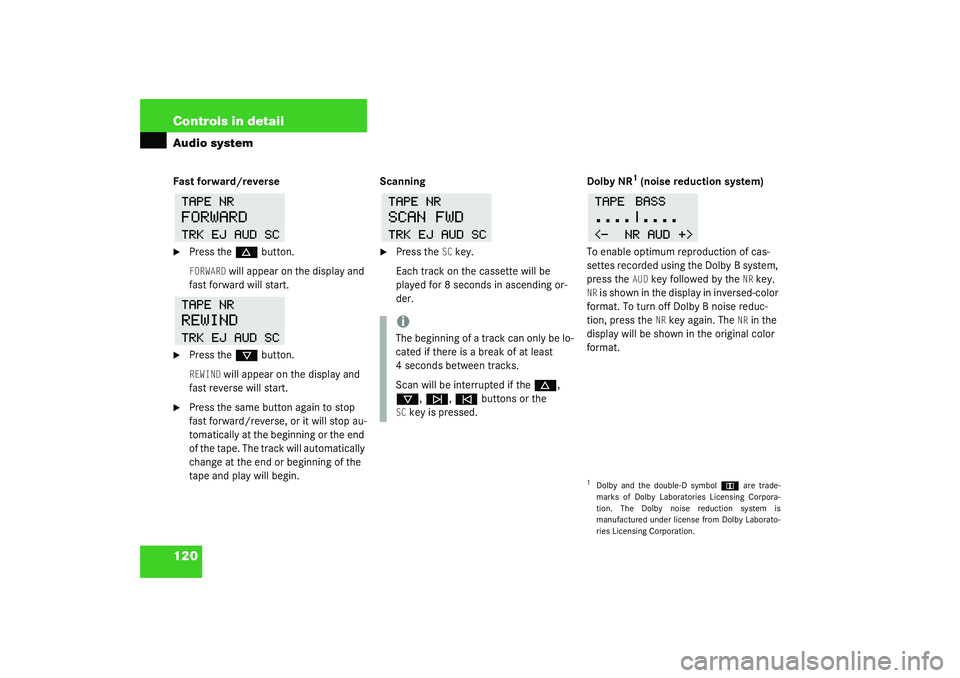
120 Controls in detailAudio systemFast forward/reverse�
Press the
d
button.
FORWARD
will appear on the display and
fast forward will start.
�
Press the
c
button.
REWIND
will appear on the display and
fast reverse will start.
�
Press the same button again to stop
fast forward/reverse, or it will stop au-
tomatically at the beginning or the end
of the tape. The track will automatically
change at the end or beginning of the
tape and play will begin.Scanning
�
Press the
SC key.
Each track on the cassette will be
played for 8 seconds in ascending or-
der.Dolby NR
1 (noise reduction system)
To enable optimum reproduction of cas-
settes recorded using the Dolby B system,
press the AUD
key followed by the
NR key.
NR is shown in the display in inversed-color
format. To turn off Dolby B noise reduc-
tion, press the
NR key again. The
NR in the
display will be shown in the original color
format.
iThe beginning of a track can only be lo-
cated if there is a break of at least
4 seconds between tracks.
Scan will be interrupted if the
d
,
c
, f
, e
buttons or the
SC
key is pressed.
1Dolby and the double-D symbol
Ù
are trade-
marks of Dolby Laboratories Licensing Corpora-
tion. The Dolby noise reduction system is
manufactured under license from Dolby Laborato-
ries Licensing Corporation.
Page 121 of 304

121 Controls in detail
Audio system
CD mode
General notes on CD mode
Should excessively high temperatures oc-
cur while the audio system is in CD mode, TEMP HIGH
will appear in the display and
muting will take place. The unit will then
switch back to radio mode until the tem-
perature has decreased to a safe operating
level.
Should excessively low temperatures oc-
cur while the audio system is in CD mode,
TEMP LOW
will be displayed, but the CD will
still be played. It will be sensitive to skip-
ping if you are driving over rough roads.
Handle CDs carefully to prevent interfer-
ence during playback.
Avoid fingerprints and dust on CDs. Do not
write on the CDs or apply any label to the
CDs.
Clean CDs from time to time with a com-
mercially available cleaning cloth. No sol-
vents, anti-static sprays, etc. should be
used. Replace the CD in its container after use.
Protect CDs from heat and direct sunlight.
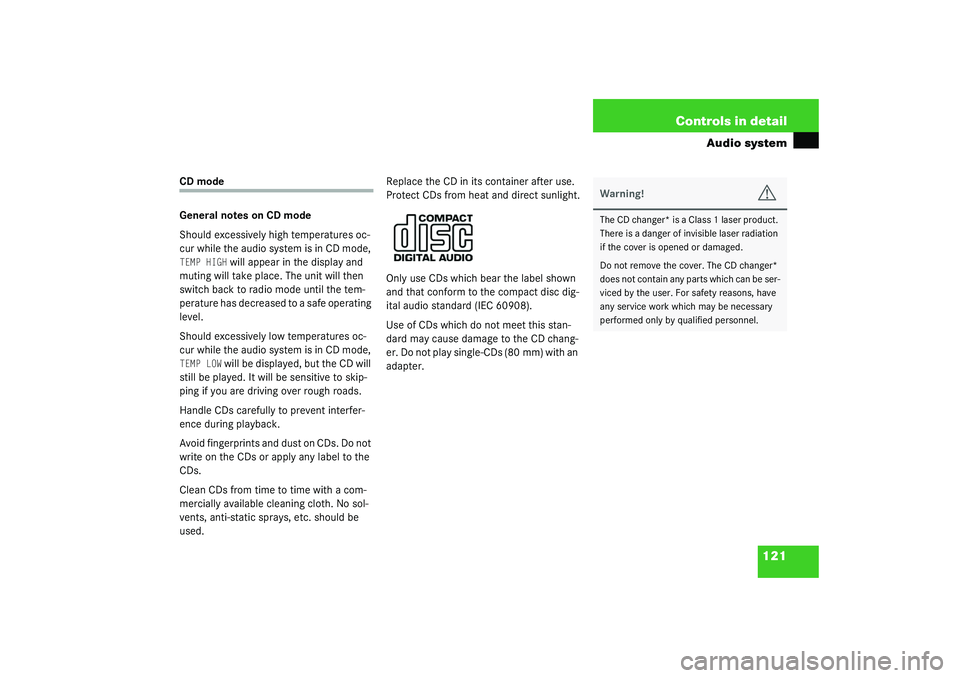
Only use CDs which bear the label shown
and that conform to the compact disc dig-
ital audio standard (IEC 60908).
Use of CDs which do not meet this stan-
dard may cause damage to the CD chang-
er. Do not play single-CDs (80 mm) with an
adapter.
Warning!
G
The CD changer* is a Class 1 laser product.
There is a danger of invisible laser radiation
if the cover is opened or damaged.
Do not remove the cover. The CD changer*
does not contain any parts which can be ser-
viced by the user. For safety reasons, have
any service work which may be necessary
performed only by qualified personnel.
Page 122 of 304

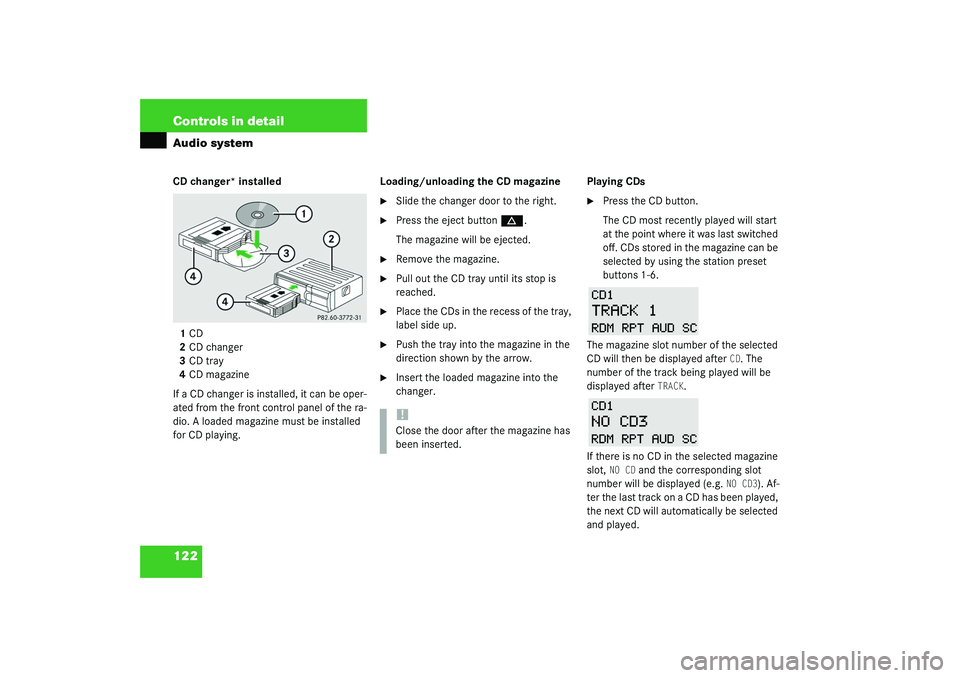
122 Controls in detailAudio systemCD changer* installed
1CD
2CD changer
3CD tray
4CD magazine
If a CD changer is installed, it can be oper-
ated from the front control panel of the ra-
dio. A loaded magazine must be installed
for CD playing.Loading/unloading the CD magazine
�
Slide the changer door to the right.
�
Press the eject button
d
.
The magazine will be ejected.
�
Remove the magazine.
�
Pull out the CD tray until its stop is
reached.
�
Place the CDs in the recess of the tray,
label side up.
�
Push the tray into the magazine in the
direction shown by the arrow.
�
Insert the loaded magazine into the
changer.Playing CDs
�
Press the CD button.
The CD most recently played will start
at the point where it was last switched
off. CDs stored in the magazine can be
selected by using the station preset
buttons 1-6.
The magazine slot number of the selected
CD will then be displayed after
CD. The
number of the track being played will be
displayed after
TRACK
.
If there is no CD in the selected magazine
slot,
NO CD
and the corresponding slot
number will be displayed (e.g.
NO CD3
). Af-
ter the last track on a CD has been played,
the next CD will automatically be selected
and played.
!Close the door after the magazine has
been inserted.
Page 123 of 304

123 Controls in detail
Audio system
Skipping tracks forwards / backwards�
Press the
f
button.
The next track on the CD will be played.
�
Press the
e
button.
If the track has been playing for more
than 10 seconds, it will revert to the
start of that track. If it has been playing
for less than 10 seconds, it will revert
to the preceding track.
To skip several tracks, the respective
button must be pressed until the de-
sired track is reached. If the beginning
or end of the CD is reached during the
search, the first or last track will be
played.Fast forward/reverse
�
Press the
d
button and hold it down
for audible fast forward.
�
Press the
c
button and hold it down
for audible reverse.
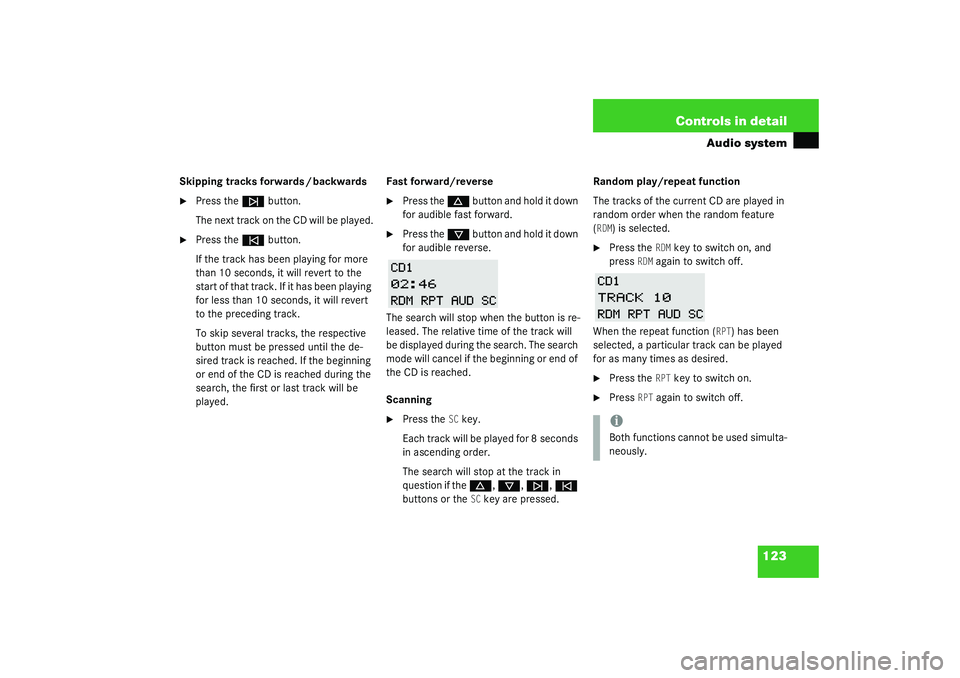
The search will stop when the button is re-
leased. The relative time of the track will
be displayed during the search. The search
mode will cancel if the beginning or end of
the CD is reached.
Scanning
�
Press the
SC key.
Each track will be played for 8 seconds
in ascending order.
The search will stop at the track in
question if the d
, c
, f
, e
buttons or the
SC key are pressed.Random play/repeat function
The tracks of the current CD are played in
random order when the random feature
(
RDM
) is selected.
�
Press the
RDM
key to switch on, and
press
RDM
again to switch off.
When the repeat function (
RPT
) has been
selected, a particular track can be played
for as many times as desired.
�
Press the
RPT
key to switch on.
�
Press
RPT
again to switch off.
iBoth functions cannot be used simulta-
neously.