Page 331 of 416
331 Practical hints
Replacing bulbs
Replacing bulbs
Safe vehicle operation depends on proper
exterior lighting and signaling. It is there-
fore essential that all bulbs and lamp as-
semblies are in good working order at all
times.
Correct headlamp adjustment is extremely
important. Have headlamps checked and
readjusted at regular intervals and when a
bulb has been replaced. See your autho-
rized Mercedes-Benz Center for headlamp
adjustment.
Bulbs Front lamps
Lamp
Type
1
Additional turn sig-
nal lamps
LED
2
Low beam
1
1Vehicles with Bi-Xenon headlamps*: Low beam
and high beam use the same D2S-35W lamp. Do
not replace the Bi-Xenon bulbs yourself. See your
authorized Mercedes-Benz Center.
H7-55 W
Bi -Xenon*
D2S-35 W
3
Turn signal lamp
2357 A
4
Fog lamp
H7-55 W
5
Parking and stand-
ing lamp
W5W
6
Side marker lamp
W5W
7
High beam
H7-55 W
Page 332 of 416

332 Practical hintsReplacing bulbsRear lamps Notes on bulb replacement
�
Use only 12 volt bulbs of the same type
and with the specified watt rating.
�
Switch lights off before changing a bulb
to prevent short circuits.
�
Always use a clean lint-free cloth when
handling bulbs.
�
Your hands should be dry and free of oil
and grease.
�
If the newly installed bulb does not light
up, visit an authorized Mercedes-Benz
Center.
�
Have the LEDs and bulbs for the follow-
ing lamps replaced by an authorized
Mercedes-Benz Center.�
Additional turn signal lamps in the
exterior rear view mirrors
�
High mounted brake lamp
�
Bi-Xenon lamps*
�
Front fog lamps
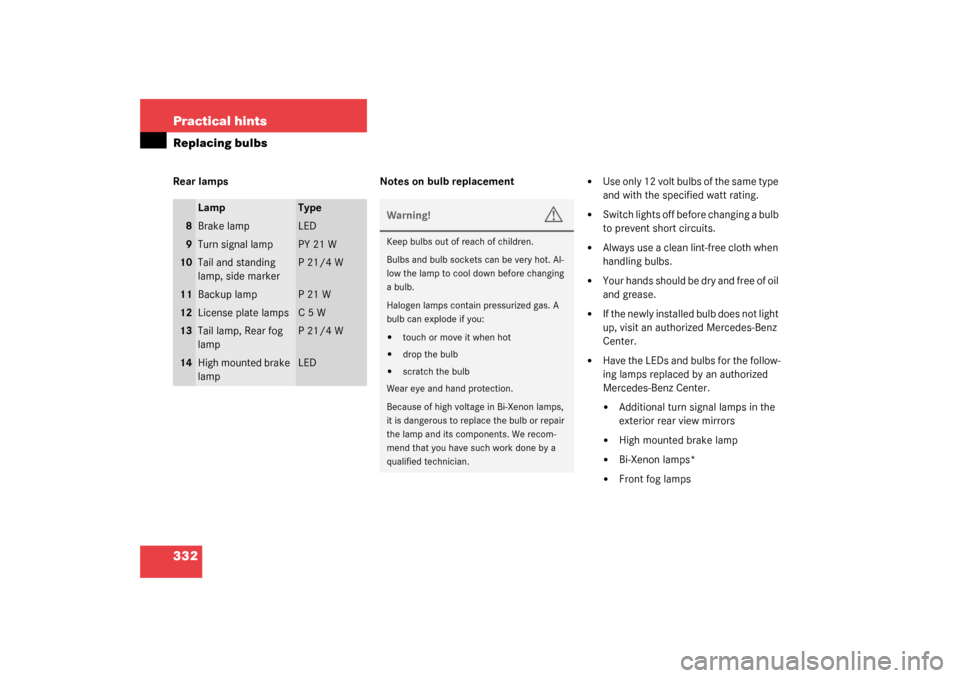
Lamp
Type
8
Brake lamp
LED
9
Turn signal lamp
PY 21 W
10
Tail and standing
lamp, side marker
P21/4W
11
Backup lamp
P21W
12
License plate lamps
C5W
13
Tail lamp, Rear fog
lamp
P21/4W
14
High mounted brake
lamp
LED
Warning!
G
Keep bulbs out of reach of children.
Bulbs and bulb sockets can be very hot. Al-
low the lamp to cool down before changing
a bulb.
Halogen lamps contain pressurized gas. A
bulb can explode if you:�
touch or move it when hot
�
drop the bulb
�
scratch the bulb
Wear eye and hand protection.
Because of high voltage in Bi-Xenon lamps,
it is dangerous to replace the bulb or repair
the lamp and its components. We recom-
mend that you have such work done by a
qualified technician.
Page 333 of 416
333 Practical hints
Replacing bulbs
Replacing bulbs for front lamps
1Headlamp cover for fog lamp
2Headlamp cover for high beam head-
lamp bulb, parking and standing lamp
3Headlamp cover for low beam
(Bi-Xenon* or halogen) headlamp bulb4Bulb socket for fog lamp
5Bulb socket for parking and standing
lamp
6Electrical connector for high beam
headlamp bulb
7Electrical connector for low beam
headlamp bulb
8Bulb socket for turn signal lampReplacing low beam bulbs
Bi-Xenon* headlamp
Halogen headlamp
�
Switch off the lights.
�
Open the hood (
�page 263).
�
Press the tab on cover3 and remove
cover.
�
Pull connector7 off of the lamp.
�
Release the retaining springs and take
out the bulb.Warning!
G
Do not remove the cover for the Bi-Xenon
headlamp. Because of high voltage in xenon
lamps, it is dangerous to replace the bulb or
repair the lamp and its components. We rec-
ommend that you have such work done by a
qualified technician.
��
Page 334 of 416

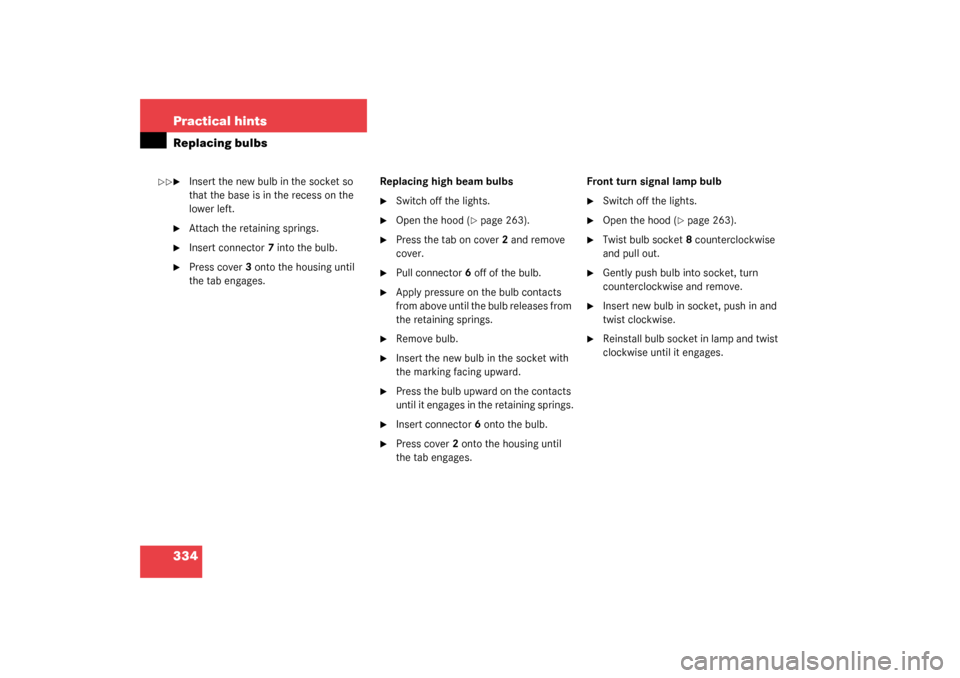
334 Practical hintsReplacing bulbs�
Insert the new bulb in the socket so
that the base is in the recess on the
lower left.
�
Attach the retaining springs.
�
Insert connector7 into the bulb.
�
Press cover3 onto the housing until
the tab engages.Replacing high beam bulbs
�
Switch off the lights.
�
Open the hood (
�page 263).
�
Press the tab on cover2 and remove
cover.
�
Pull connector 6 off of the bulb.
�
Apply pressure on the bulb contacts
from above until the bulb releases from
the retaining springs.
�
Remove bulb.
�
Insert the new bulb in the socket with
the marking facing upward.
�
Press the bulb upward on the contacts
until it engages in the retaining springs.
�
Insert connector6 onto the bulb.
�
Press cover2 onto the housing until
the tab engages.Front turn signal lamp bulb
�
Switch off the lights.
�
Open the hood (
�page 263).
�
Twist bulb socket8 counterclockwise
and pull out.
�
Gently push bulb into socket, turn
counterclockwise and remove.
�
Insert new bulb in socket, push in and
twist clockwise.
�
Reinstall bulb socket in lamp and twist
clockwise until it engages.
��
Page 335 of 416
335 Practical hints
Replacing bulbs
Parking and standing lamp bulb�
Switch off the lights.
�
Open the hood (
�page 263).
�
Press the tab on cover2 and remove
cover.
�
Pull out the bulb socket5 with the
bulb.
�
Pull the bulb out of the bulb socket.
�
Insert a new bulb in the socket.
�
Reinstall the bulb socket.
�
Press cover2 onto the housing until
the tab engages.Side marker lamp bulb
�
Switch off the lights.
�
Carefully slide lamp towards rear.
�
Remove front end first.
�
Twist bulb socket counterclockwise
and pull out.
�
Pull bulb out of the bulb socket.
�
Insert new bulb in socket.
�
Reinstall bulb socket, push in and twist
clockwise.
�
To reinstall lamp, set rear end in
bumper and let front end snap into
place.
Page 336 of 416
336 Practical hintsReplacing bulbsReplacing bulbs for rear lamps
Tail lamp assemblies
1Turn signal lamp (white socket)
2Tail, parking, standing, and side marker
lamp (red socket)
3Tail lamp, rear fog lamp (red socket)
4Backup lamp (black socket)
�
Switch off the lights.
�
Open trunk.
�
Turn the catch, and move the trim to
the side.
�
Turn bulb socket counterclockwise and
pull out.
�
Gently twist bulb counterclockwise and
pull out of bulb holder.
�
Insert new bulb into the holder and turn
it clockwise.
�
Reinstall bulb socket.
The bulb socket should audibly click.
�
Replace trim and secure with lock. License plate lamp
1Screws
�
Switch off the lights.
�
Loosen both screws1 and remove
lamp.
�
Replace the tubular lamp and reinstall
it.
�
Retighten the screws.
Page 389 of 416

389 Index
Gear selector lever position 163
Gear shifting malfunctions 165
Kickdown 165
One-touch gearshifting 161
Program mode selector switch 164
Selector lever position 160
Starting the engine 43
Steering wheel gearshift control
(Speedshift) and manual shift pro-
gram S 55 AMG 166
Transmission fluid 268
Winter program mode 166
Auxiliary cup holder 230
Inserting 230
Removing 231
Auxiliary fuse box 353
B
BabySmart
TM
Airbag deactivation system 69
Compatible child seats 69, 381
Self-test 70
BabySmart
TM airbag deactivation system
381
Backrest supports
Lumbar region 108
Shoulder region 108Backup lamps 332, 336
Bulbs 332
BAS 78, 381
Messages in display 300, 310
Batteries, KEYLESS-GO* card
Check lamp 92
Checking 92
Batteries, SmartKey
Changing 328, 329
Check lamp 88
Checking 88
Battery discharged
Jump starting 347
Battery, vehicle 270, 344
Charging 345
Disconnecting 345
Reconnecting 345
Reinstalling 345
Removing 345
Bi-Xenon headlamps* 381
Block heater* 279
Blocking
Rear window operation 74
Brake assist system (BAS) 381
Brake fluid 262, 373
Brake lamp bulbs 332Brake lamp, high mounted 332
Brake pads
Message in display 302
Brakes 252
Warning lamp 293
Break-in period 250
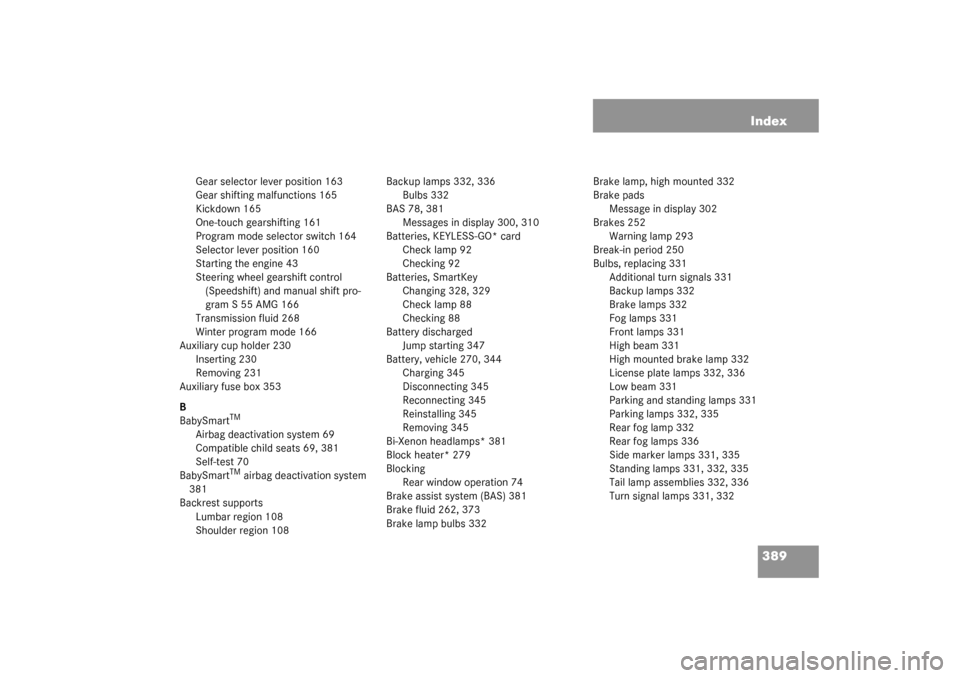
Bulbs, replacing 331
Additional turn signals 331
Backup lamps 332
Brake lamps 332
Fog lamps 331
Front lamps 331
High beam 331
High mounted brake lamp 332
License plate lamps 332, 336
Low beam 331
Parking and standing lamps 331
Parking lamps 332, 335
Rear fog lamp 332
Rear fog lamps 336
Side marker lamps 331, 335
Standing lamps 331, 332, 335
Tail lamp assemblies 332, 336
Turn signal lamps 331, 332
Page 394 of 416

394 IndexEmergency call system* 237
Emergency calls
Initiating an emergency call 240
With Tele Aid* 238
Emergency engine shut-down 355
Emergency operation (Limp Home Mode)
165
Emergency operations
Closing sliding/pop-up roof 330
Locking the vehicle 327
Opening sliding/pop-up roof 330
Remote door unlock 244
Unlocking the trunk lid 327
Unlocking the vehicle 326
Emergency tensioning device see ETD 65,
382
Emission control 259
Ending
A call (telephone) 140
Engine 362
Compartment 263
Message in display 294
Starting 43
Starting with KEYLESS-GO* 43
Starting with the Smartkey 43
Turning off with the Smartkey 52Engine cleaning 284
Engine compartment 263
Fuse box in 354
Hood 263
Engine malfunction indicator lamp 294
Engine number 382
Engine oil 264
Adding 266, 267
Additives 373
Checking level 264
Consumption 264
Display messages 308
Filler neck 267
Messages in display 265, 309
Viscosity 382
Engine oil level see Oil level 262
Engine shut down in an emergency 355
Entry position
Messages in display 321
ESP 78, 382
Four wheel electronic traction system
with ESP 81
Switching off 80
Switching on 80
Warning lamp 290ETD 382
Safety guidelines 60
ETD (Emergency tensioning device) 65
Exterior lamp switch 120
Exterior rear view mirrors
Adjusting 39
Folding electrically 170
Parking position for 158
F
Fahrenheit
Setting temperature units 149
Fastening the seat belts 40
Fine adjustment
Cruise control 198
Distronic* 205
First aid kit 322
Flat tire 339
Lowering the vehicle 342
Mounting the spare wheel 339
Preparing the vehicle 339
Flexible Service System (FSS) 280, 383
Fog lamp, rear 123, 332
Fog lamps
Replacing bulbs 331