Page 240 of 321
240 Practical hintsWhere will I find ...?5Bayonet lock�
Turn the bayonet lock 90° to the left.
�
Pull off bayonet lock5.
�
Remove the spare wheel cover and the
spare wheel.
�
Store bayonet lock5 and spare wheel
cover in cargo area.
�
Replace the spare wheel carrier and se-
cure it in place.
�
Fasten handle1 to the bumper.Removing spare wheel with collapsible
tire (ML 55 AMG)
The spare wheel is located on the left side
in the rear cargo compartment.
1Cargo area cover blind
2Clamp
3Cover
�
Remove the cargo area cover blind1
(�page 143).
�
Open the clamps2 and remove the
cover3.
!When storing the space-saver spare
wheel in its holder, secure it using the
bayonet lock.
��
Page 241 of 321
241 Practical hints
Where will I find ...?
4Wheel bolt
5Spare wheel�
Unscrew the three wheel bolts using
the wrench (
�page 237).
�
Take out the spare wheel.
�
Remove the electric air pump from its
holder (
�page 238).
iAfter using the spare wheel, have it de-
flate at an authorized Mercedes-Benz
Light Truck Center. Store the deflated
spare wheel in its holder and tighten
the three wheel bolts with a tightening
torque of 37 ft.lb. (50 Nm).
Page 244 of 321

244 Practical hintsUnlocking/locking in an emergency�
Pull off battery cover2 in direction of
arrow.
�
Remove the batteries.
�
Using a lint-free cloth, insert new bat-
teries under the contact spring with the
plus (+) side facing up.
�
Press battery cover onto housing until
locked in place.
�
Push each button to assure proper op-
eration of the remote control.
If remote control does not function cor-
rectly after replacing the batteries, the
system may have to be resynchronized.Synchronizing remote control
�
Turn key in steering lock to position2,
then to position0 and remove.
�
Within 10 seconds, push and hold
button
‹
while pushing
button
Œ
five times.
�
Release the button, and press
‹
,
Œ
or
Š
once.
The remote control is resynchronized.
�
Recheck all of the remote control func-
tions.
Fuel filler flap
1Cover
2Lock rod�
Open cover1 in cargo area behind the
left trim panel.
�
Turn lock rod2 clockwise (arrow) to
the end stop.
�
Open the fuel filler flap.
iIf it is not possible to resynchronize the
remote control, have the system
checked at your authorized
Mercedes-Benz Light Truck Center.
iML 55 AMG:
First remove the spare wheel from its
holder (
�page 240).
Page 255 of 321

255 Practical hints
Flat tire
Flat tire
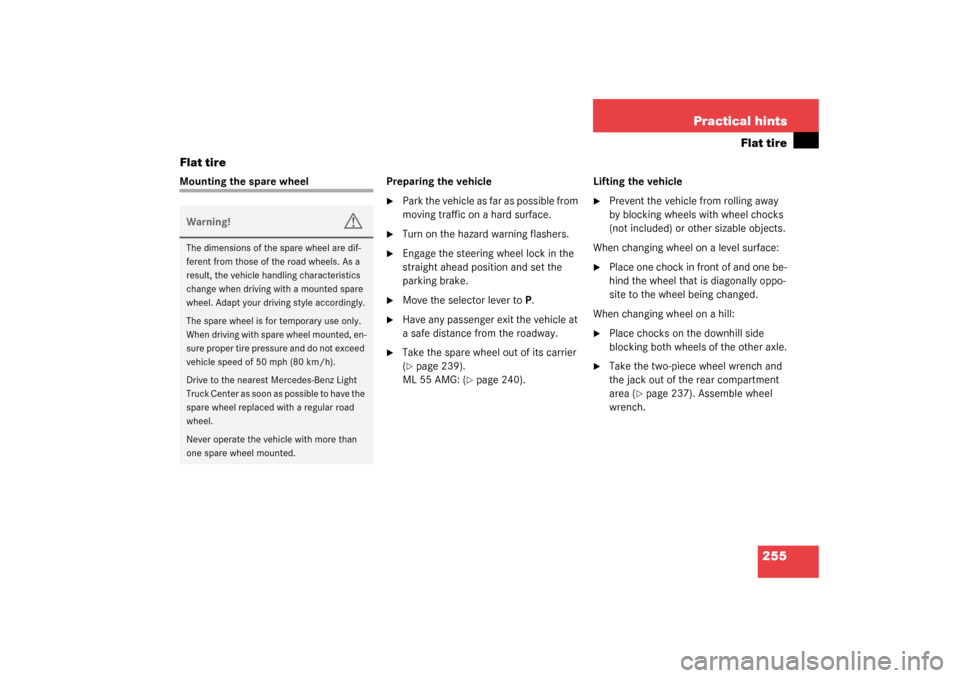
Mounting the spare wheel Preparing the vehicle
�
Park the vehicle as far as possible from
moving traffic on a hard surface.
�
Turn on the hazard warning flashers.
�
Engage the steering wheel lock in the
straight ahead position and set the
parking brake.
�
Move the selector lever toP.
�
Have any passenger exit the vehicle at
a safe distance from the roadway.
�
Take the spare wheel out of its carrier
(�page 239).
ML 55 AMG: (
�page 240).Lifting the vehicle
�
Prevent the vehicle from rolling away
by blocking wheels with wheel chocks
(not included) or other sizable objects.
When changing wheel on a level surface:
�
Place one chock in front of and one be-
hind the wheel that is diagonally oppo-
site to the wheel being changed.
When changing wheel on a hill:
�
Place chocks on the downhill side
blocking both wheels of the other axle.
�
Take the two-piece wheel wrench and
the jack out of the rear compartment
area (
�page 237). Assemble wheel
wrench.
Warning!
G
The dimensions of the spare wheel are dif-
ferent from those of the road wheels. As a
result, the vehicle handling characteristics
change when driving with a mounted spare
wheel. Adapt your driving style accordingly.
The spare wheel is for temporary use only.
When driving with spare wheel mounted, en-
sure proper tire pressure and do not exceed
vehicle speed of 50 mph (80 km/h).
Drive to the nearest Mercedes-Benz Light
Truck Center as soon as possible to have the
spare wheel replaced with a regular road
wheel.
Never operate the vehicle with more than
one spare wheel mounted.
Page 257 of 321

257 Practical hints
Flat tire
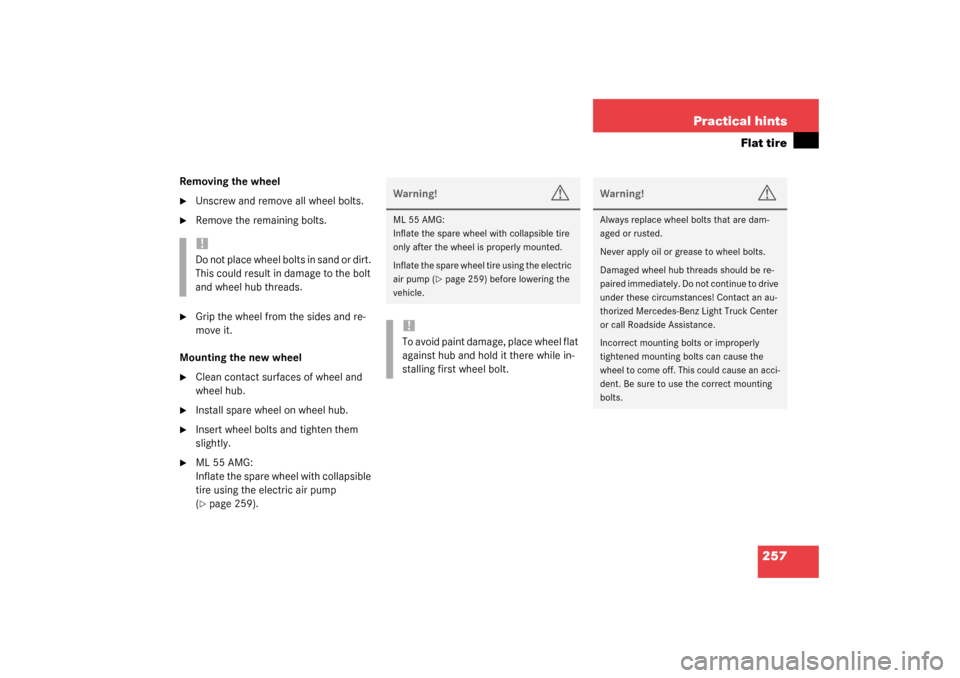
Removing the wheel�
Unscrew and remove all wheel bolts.
�
Remove the remaining bolts.
�
Grip the wheel from the sides and re-
move it.
Mounting the new wheel
�
Clean contact surfaces of wheel and
wheel hub.
�
Install spare wheel on wheel hub.
�
Insert wheel bolts and tighten them
slightly.
�
ML 55 AMG:
Inflate the spare wheel with collapsible
tire using the electric air pump
(�page 259).
!Do not place wheel bolts in sand or dirt.
This could result in damage to the bolt
and wheel hub threads.
Warning!
G
ML 55 AMG:
Inflate the spare wheel with collapsible tire
only after the wheel is properly mounted.
Inflate the spare wheel tire using the electric
air pump (
�page 259) before lowering the
vehicle.
!To avoid paint damage, place wheel flat
against hub and hold it there while in-
stalling first wheel bolt.
Warning!
G
Always replace wheel bolts that are dam-
aged or rusted.
Never apply oil or grease to wheel bolts.
Damaged wheel hub threads should be re-
paired immediately. Do not continue to drive
under these circumstances! Contact an au-
thorized Mercedes-Benz Light Truck Center
or call Roadside Assistance.
Incorrect mounting bolts or improperly
tightened mounting bolts can cause the
wheel to come off. This could cause an acci-
dent. Be sure to use the correct mounting
bolts.
Page 258 of 321

258 Practical hintsFlat tireLowering the vehicle�
Lower vehicle by turning crank coun-
terclockwise until vehicle is resting ful-
ly on its own weight.
�
Remove the jack.1-5 Wheel bolts
�
Tighten the five wheel bolts evenly, fol-
lowing the diagonal sequence illustrat-
ed (1 to 5), until all bolts are tight.
Observe a tightening torque of
110 ft lb (150 Nm).
�
Store jack and tool kit.
Warning!
G
Use only genuine equipment
Mercedes-Benz wheel bolts. They are identi-
fied by the Mercedes star. Other wheel bolts
may come loose.
Do not tighten the wheel bolts when the ve-
hicle is raised. Otherwise the vehicle could
tip over.
Warning!
G
Have the tightening torque checked after
changing a wheel. The wheels could come
loose if they are not tightened to a torque of
110 ft lb (150 Nm).iThe removed road wheel cannot be
stored in the spare wheel carrier or in-
side the storage compartment in the
rear cargo area (ML 55 AMG), but
should be transported in the rear cargo
compartment wrapped in a protective
cover supplied with the vehicle.
The protective cover is located in the
rear cargo compartment behind the
cover in the right side trim panel.
Page 259 of 321

259 Practical hints
Flat tire
Inflating the spare wheel with
collapsible tire�
Take the electric air pump out of the
rear cargo compartment (
�page 238).
1Union nut
2Electrical plug
3Air hose with pressure gauge
4Vent screw
�
Open flap on air pump.
�
Pull out electrical plug2 and air hose
with the pressure gauge3.
�
Close the vent screw4.
�
Remove the valve cap from the spare
wheel tire valve.
�
Screw the union nut1 with air hose3
on to the tire valve.
�
Insert electrical plug 2 into the electri-
cal outlet in the front passenger foot-
well or rear cargo compartment
(�page 158).
�
Start the engine.
�
Switch on the air pump.
�
Operate air pump until the pressure
gauge displays 61 psi (4.2 bar)
This takes about eight minutes for the
collapsible tire. The air hose 3 and the
union nut 1 can become hot during in-
flation. Please exercise appropriate
caution.
�
Switch off the air pump.
�
Turn off the engine.
�
If the tire pressure is above 61 psi
(4.2 bar), release excess tire pressure
using the vent screw4.
Warning!
G
Observe instructions on air pump label.
!Do not operate the electric air pump
longer than eight minutes without in-
terruption. Otherwise it may overheat.
You may operate the air pump again af-
ter it has cooled off.
Page 280 of 321
280 Technical dataRims and tiresRims and winter tires*Spare wheelModel
ML 55 AMG
Rims (light alloy)
8 ½ J x 17 H2 ET 52
Wheel offset
2.0 in (52 mm)
All season tires (radial-ply-tires)
275/55 R17 109 H
Model
ML 320, ML 350, ML 500, ML 55 AMG
Rim
4Jx18 H 2 ET0
Wheel offset
0 in (0 mm)
Space-saver tire
T155/90 D18 113M
1
1Must not be used with snow chains.