Page 255 of 321

255 Practical hints
Flat tire
Flat tire
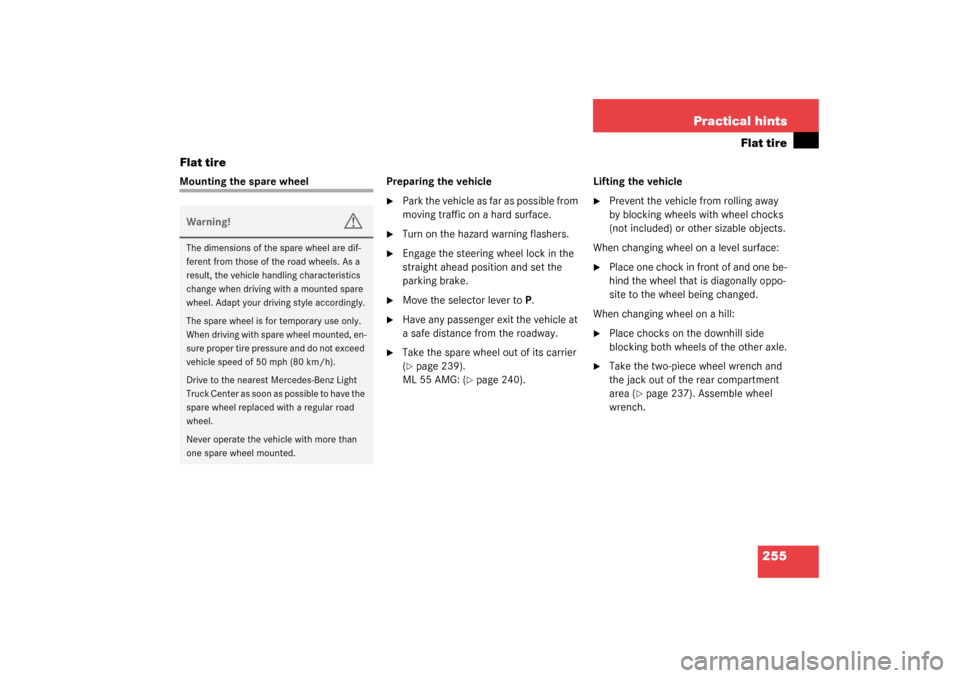
Mounting the spare wheel Preparing the vehicle
�
Park the vehicle as far as possible from
moving traffic on a hard surface.
�
Turn on the hazard warning flashers.
�
Engage the steering wheel lock in the
straight ahead position and set the
parking brake.
�
Move the selector lever toP.
�
Have any passenger exit the vehicle at
a safe distance from the roadway.
�
Take the spare wheel out of its carrier
(�page 239).
ML 55 AMG: (
�page 240).Lifting the vehicle
�
Prevent the vehicle from rolling away
by blocking wheels with wheel chocks
(not included) or other sizable objects.
When changing wheel on a level surface:
�
Place one chock in front of and one be-
hind the wheel that is diagonally oppo-
site to the wheel being changed.
When changing wheel on a hill:
�
Place chocks on the downhill side
blocking both wheels of the other axle.
�
Take the two-piece wheel wrench and
the jack out of the rear compartment
area (
�page 237). Assemble wheel
wrench.
Warning!
G
The dimensions of the spare wheel are dif-
ferent from those of the road wheels. As a
result, the vehicle handling characteristics
change when driving with a mounted spare
wheel. Adapt your driving style accordingly.
The spare wheel is for temporary use only.
When driving with spare wheel mounted, en-
sure proper tire pressure and do not exceed
vehicle speed of 50 mph (80 km/h).
Drive to the nearest Mercedes-Benz Light
Truck Center as soon as possible to have the
spare wheel replaced with a regular road
wheel.
Never operate the vehicle with more than
one spare wheel mounted.
Page 257 of 321

257 Practical hints
Flat tire
Removing the wheel�
Unscrew and remove all wheel bolts.
�
Remove the remaining bolts.
�
Grip the wheel from the sides and re-
move it.
Mounting the new wheel
�
Clean contact surfaces of wheel and
wheel hub.
�
Install spare wheel on wheel hub.
�
Insert wheel bolts and tighten them
slightly.
�
ML 55 AMG:
Inflate the spare wheel with collapsible
tire using the electric air pump
(�page 259).
!Do not place wheel bolts in sand or dirt.
This could result in damage to the bolt
and wheel hub threads.
Warning!
G
ML 55 AMG:
Inflate the spare wheel with collapsible tire
only after the wheel is properly mounted.
Inflate the spare wheel tire using the electric
air pump (
�page 259) before lowering the
vehicle.
!To avoid paint damage, place wheel flat
against hub and hold it there while in-
stalling first wheel bolt.
Warning!
G
Always replace wheel bolts that are dam-
aged or rusted.
Never apply oil or grease to wheel bolts.
Damaged wheel hub threads should be re-
paired immediately. Do not continue to drive
under these circumstances! Contact an au-
thorized Mercedes-Benz Light Truck Center
or call Roadside Assistance.
Incorrect mounting bolts or improperly
tightened mounting bolts can cause the
wheel to come off. This could cause an acci-
dent. Be sure to use the correct mounting
bolts.
Page 258 of 321

258 Practical hintsFlat tireLowering the vehicle�
Lower vehicle by turning crank coun-
terclockwise until vehicle is resting ful-
ly on its own weight.
�
Remove the jack.1-5 Wheel bolts
�
Tighten the five wheel bolts evenly, fol-
lowing the diagonal sequence illustrat-
ed (1 to 5), until all bolts are tight.
Observe a tightening torque of
110 ft lb (150 Nm).
�
Store jack and tool kit.
Warning!
G
Use only genuine equipment
Mercedes-Benz wheel bolts. They are identi-
fied by the Mercedes star. Other wheel bolts
may come loose.
Do not tighten the wheel bolts when the ve-
hicle is raised. Otherwise the vehicle could
tip over.
Warning!
G
Have the tightening torque checked after
changing a wheel. The wheels could come
loose if they are not tightened to a torque of
110 ft lb (150 Nm).iThe removed road wheel cannot be
stored in the spare wheel carrier or in-
side the storage compartment in the
rear cargo area (ML 55 AMG), but
should be transported in the rear cargo
compartment wrapped in a protective
cover supplied with the vehicle.
The protective cover is located in the
rear cargo compartment behind the
cover in the right side trim panel.
Page 259 of 321

259 Practical hints
Flat tire
Inflating the spare wheel with
collapsible tire�
Take the electric air pump out of the
rear cargo compartment (
�page 238).
1Union nut
2Electrical plug
3Air hose with pressure gauge
4Vent screw
�
Open flap on air pump.
�
Pull out electrical plug2 and air hose
with the pressure gauge3.
�
Close the vent screw4.
�
Remove the valve cap from the spare
wheel tire valve.
�
Screw the union nut1 with air hose3
on to the tire valve.
�
Insert electrical plug 2 into the electri-
cal outlet in the front passenger foot-
well or rear cargo compartment
(�page 158).
�
Start the engine.
�
Switch on the air pump.
�
Operate air pump until the pressure
gauge displays 61 psi (4.2 bar)
This takes about eight minutes for the
collapsible tire. The air hose 3 and the
union nut 1 can become hot during in-
flation. Please exercise appropriate
caution.
�
Switch off the air pump.
�
Turn off the engine.
�
If the tire pressure is above 61 psi
(4.2 bar), release excess tire pressure
using the vent screw4.
Warning!
G
Observe instructions on air pump label.
!Do not operate the electric air pump
longer than eight minutes without in-
terruption. Otherwise it may overheat.
You may operate the air pump again af-
ter it has cooled off.
Page 273 of 321
273 Technical data
Spare parts service
Warranty coverage
Identification labels
Layout of poly-V-belt drive
Engine
Rims and tires
Electrical system
Main Dimensions
Weights
Fuels, coolants, lubricants etc.
Consumer information
Page 280 of 321
280 Technical dataRims and tiresRims and winter tires*Spare wheelModel
ML 55 AMG
Rims (light alloy)
8 ½ J x 17 H2 ET 52
Wheel offset
2.0 in (52 mm)
All season tires (radial-ply-tires)
275/55 R17 109 H
Model
ML 320, ML 350, ML 500, ML 55 AMG
Rim
4Jx18 H 2 ET0
Wheel offset
0 in (0 mm)
Space-saver tire
T155/90 D18 113M
1
1Must not be used with snow chains.
Page 305 of 321

305 Index
Engine
Compartment 202
Starting 44
Technical data 278
Turning off 51
Engine cleaning 219
Engine compartment
Fuse box in 271
Hood 202
Engine malfunction indicator lamp 25, 232
Engine number 293
Engine oil 203, 286
Adding 204, 205
Additives 286
Checking level 203
Consumption 203
Filler neck 205
Viscosity 294
Engine oil level indicator 204
Engine oil level see Oil level 201
Enlarged cargo area 93
Error
Display messages 235
ESP 25, 75, 294
LOW RANGE mode 76
Malfunction indicator lamp 225, 226Switching off 76
Switching on 77
Warning lamp 224, 225, 226
ETD 294
Safety guidelines 57
ETD (Emergency Tensioning Device) 54
ETD (Emergency tensioning device) 62
Exterior mirrors
Folding 120
Exterior rear view mirrors 38
Adjusting 38
F
Fastening the seat belts 40
Fine adjustment
Cruise control 148
First aid kit 236
Flat tire 255
Inflating the spare tire 259
Lowering the vehicle 258
Mounting the spare wheel 255
Preparing the vehicle 255
Spare wheel 239
Flexible Service System (FSS) 215, 294
Flexible service system (FSS) 25
Fluid level
Automatic transmission 206Fog lamp, rear 248
Fog lamps 105
Replacing bulbs 247
Fog lamps, front
Replacing bulbs 248
Switching on 105
Folding
Exterior mirrors 120
4-ETS 25, 73
Indicator lamp 226
LOW RANGE mode 74
Malfunction indicator lamp 226
Warning lamp 224
Front airbags 59
Front fog lamps
Indicator lamp 229
Switching off 106
Front lamps
Replacing bulbs 247, 249
Switching on 102
Front towing eyes 269
FSS 25
FSS (Flexible Service System) 215, 294
Fuel 200
Additives 287
Fuel reserve warning lamp 233
Page 307 of 321

307 Index
Headlamps
Automatic control 103
Bi-Xenon 293
Cleaning 220
Cleaning system 121
Cleaning system* 208
Refilling washer fluid 208
Switching off 51
Switching on 46
Washer fluid 290
Washer system 290
Headliner
Cleaning 221
Heated seats 91
Height adjustment
Head restraints 36, 37
Seat belts 43
Steering wheel 37
High beam flasher 47, 102
High beam headlamps
Replacing bulbs 247, 250
Switching on 102
High mounted brake lamp 248
Replacing bulbs 252Hood 202
Closing 203
Opening 202
Hooks
Loading 140
Hydroplaning 183
I
Identification labels 276
Certification label 276
Vehicle identification number
(VIN) 276
Ignition 33
Immobilizer 78
Activating 51, 78
Deactivating 78
Indicator lamp
Adjustable steering column 229
Brake pad wear 234
Coolant 230
Front fog lamps 229
Low engine oil level 229
Indicators, additional
Speedometer display 235
Infant and child restraint systems 63
Installing 67
LATCH child seat mounts 68Inflating
Spare tire 259
Information
About service and warranty 10
Button for Tele Aid* 165
Inside rear view mirror
Antiglare 119
Installing
Head restraint 92
Infant and child restraint systems 67
Wiper blades 254
Instrument cluster 24, 110, 294
Cleaning 221
Coolant temperature gauge 111
Display in the speedometer 111
Illumination 110
Lamps in 233
Outside temperature indicator 112
Instruments and controls see Cockpit 22
Integrated remote control
Canadian programming 171
Erasing memory 171
Hand-held transmitter 169
Operating 171
Rolling code programming 170