Page 155 of 360
155 Controls in detail
Climate control
Rear window defroster
Turn the SmartKey in starter switch to
position2.
Activating�
Press button
F
in the control panel
of the climate control.
The indicator lamp in the button lights
up.
Deactivating
�
Press button
F
in the control panel
of the climate control.
The indicator lamp in the button goes
out.
!Heavy accumulation of snow and ice
should be removed before activating
the defroster.
The defroster is automatically turned
off after approximately 6-17 minutes of
operation depending on the outside
temperature and vehicle speed.
If several power consumers are turned
on simultaneously, or the battery is
only partially charged, it is possible that
the defroster will automatically turn it-
self off.
When this happens, the indicator lamp
inside the switch starts blinking.
As soon as the battery has sufficient
voltage, the defroster turns itself back
on.
iThe rear window defroster uses a large
amount of power. To keep the battery
drain to a minimum, turn off the de-
froster as soon as the rear window is
clear.
Page 156 of 360
156 Controls in detailClimate controlResidual engine heat utilization
With the engine switched off, it is possible
to continue to heat or ventilate the interior
for a short while, depending on the temper-
ature setting of the climate control. Air vol-
ume and distribution are controlled
automatically.
Activating�
Turn the SmartKey in starter switch to
position1 or0 or remove it altogether.
�
Press button
°
.
The indicator lamp in the button lights
up.
Set the left and right temperature to
your personal requirements.Deactivating
�
Press button
°
again to switch off.
The indicator lamp in the button goes
out.
The residual heat is automatically turned
off:
�
when the SmartKey in starter switch is
turned to position2
�
after about 30 minutes
�
if the battery voltage dropsDeactivating the climate control
system
Deactivating�
Set the air volume control switch to
position0.
Reactivating
�
Set the air volume control switch to any
speed.
Page 183 of 360
183 Controls in detail
Useful features
You can take and place telephone calls us-
ing the
í
and
ì
buttons on the
steering wheel. Use the control system for
performing other telephone functions
(
�page 132).
See separate instruction manual for infor-
mation on how to operate the telephone.
Tele Aid The Tele Aid system
(Telematic Alarm Identification on
Demand)
The Tele Aid system consists of three
types of response:
�
Automatic and manual emergency
�
Roadside Assistance and
�
Information
The Tele Aid system is operational provid-
ing that the vehicle’s battery is charged,
properly connected, not damaged and cel-
lular and GPS coverage is available.
The speaker volume of a Tele Aid call can
be adjusted when using the volume control
on the multifunction steering wheel. To
raise, press button
æ
and to lower,
press button
ç
.
�
To activate, press the SOS button, the
Roadside Assistance button
•
or
the Information button
¡
, depend-
ing on the type of response required.
Warning!
G
Some jurisdictions prohibit the driver from
using a cellular telephone while driving a ve-
hicle. Whether or not prohibited by law, for
safety reasons, the driver should not use the
cellular telephone while the vehicle is in mo-
tion.
Stop the vehicle in a safe location before an-
swering or placing a call.
!The initial activation of the Tele Aid sys-
tem may only be performed by com-
pleting the subscriber agreement and
placing an acquaintance call using the
SOS button. Failure to complete either
of these steps will result in a system
that is not activated. If the system is
not activated, the indicator lamp in the
SOS button stays on after turning key
in starter switch to position2 and the
message
TELE AID – NOT ACTIVATED
will be shown in the multifunction dis-
play for approx. 10 seconds.
If you have any questions regarding ac-
tivation, please call the Response Cen-
ter at 1-800-756-9018 (in the USA) or
1-888-923-8367 (in Canada).
Page 195 of 360
195 Operation
The first 1000 miles (1500 km)
Driving instructions
At the gas station
Engine compartment
Battery
Tires and wheels
Winter driving
Maintenance
Vehicle care
Page 223 of 360
223 Operation
Battery
Battery
The battery is located in front of the rear
seat bench and below the cup holder. Jump
starting terminals are located in the left
side of the engine compartment
(�page 298).
The battery should always be sufficiently
charged in order to achieve its rated ser-
vice life.
If you use your vehicle less than approxi-
mately 200 miles (300 km) per month,
mostly for short distance trips, or if it is not
used for long periods of time, you will need
to have the battery charge checked more
frequently and corrected if necessary.
When replacing batteries, always use bat-
teries approved by Mercedes-Benz.
If you do not intend to operate your vehicle
for an extended period of time, consult an
authorized Mercedes-Benz Light Truck
Center about steps you need to observe.Batteries contain materials that can harm
the environment if disposed of improperly.
Recycling of batteries is the preferred
method of disposal. Many states require
sellers of batteries to accept old batteries
for recycling.
More information on battery can be found
in the “Practical hints” section
(
�page 295).
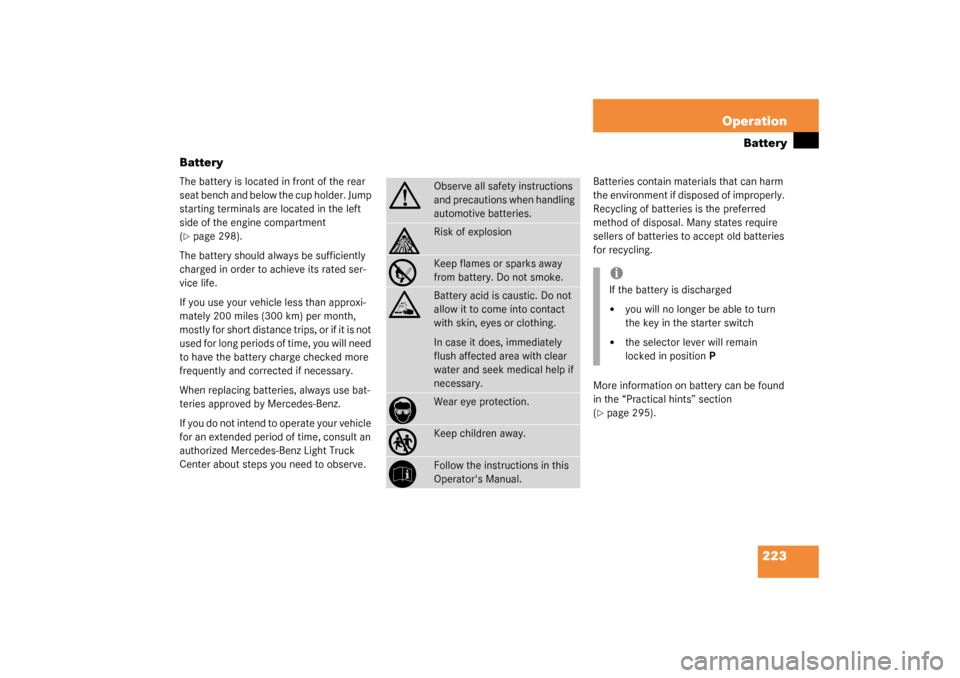
G
Observe all safety instructions
and precautions when handling
automotive batteries.
A
Risk of explosion
D
Keep flames or sparks away
from battery. Do not smoke.
B
Battery acid is caustic. Do not
allow it to come into contact
with skin, eyes or clothing.
In case it does, immediately
flush affected area with clear
water and seek medical help if
necessary.
E
Wear eye protection.
C
Keep children away.
F
Follow the instructions in this
Operator's Manual.
iIf the battery is discharged�
you will no longer be able to turn
the key in the starter switch
�
the selector lever will remain
locked in positionP
Page 228 of 360
228 OperationWinter driving
Winter drivingBefore the onset of winter, have your vehi-
cle winterized at an authorized
Mercedes-Benz Light Truck Center. This
service includes:�
Check of anticorrosion and antifreeze
concentration.
�
Addition of cleaning concentrate to the
water of the windshield and headlamp
cleaning system. Add MB Concentrate
“S” to a premixed windshield washer
solvent/antifreeze which is formulated
for below freezing temperatures
(�page 321).
�
Battery test. Battery capacity drops
with decreasing ambient temperature.
A well charged battery helps to ensure
that the engine can be started even at
low ambient temperatures.
�
Tire change. We recommend M+S rat-
ed radial-ply tires on all four wheels for
the winter season.
Winter tires
Always use winter tires at temperatures
below 39°F (4°C) and whenever wintry
road conditions prevail. Use of winter tires
is the only way to achieve the maximum ef-
fectiveness of the ABS, ESP, EBB and
4-ETS in winter operation.
For safe handling, ensure that all winter
tires mounted are of the same make and
have the same tread design.
Always observe the speed rating of the
winter tires installed on your vehicle. If the
maximum speed for which your tires are
rated is below the speed rating of your ve-
hicle, you must place a notice to this effect
where it will be seen by the driver. Such no-tices are available from your tire dealer or
from any authorized Mercedes-Benz Light
Truck Center.
Block heater (Canada only)
The engine is equipped with a block heat-
er.
The electrical cable may be installed at
your authorized Mercedes-Benz Center.
Warning!
G
Winter tires with a tread depth under 0.16 in
(4 mm) must be replaced. They are no long-
er suitable for winter operation.
Warning!
G
If you use your spare tire when winter tires
are fitted on the other wheels, be aware that
the difference in tire characteristics may
very well impair turning stability and that
overall driving stability may be reduced.
Adapt your driving style accordingly.
Have the spare tire replaced with a winter
tire at the nearest authorized
Mercedes-Benz Light Truck Center.
Page 231 of 360
231 Operation
Maintenance
Calling up the service indicator�
Switch ignition on.
The standard display of the control sys-
tem appears (
�page 111).
�
Press button
k
or
j
on the mul-
tifunction steering wheel until the FSS
indicator appears in the multifunction
display.
Resetting the service indicator
In the event that the service on your vehi-
cle is not carried out by an authorized
Mercedes-Benz Light Truck Center, you
can reset the service indicator yourself.�
Switch ignition on.
The standard display of the control sys-
tem appears (
�page 111).
�
Press button
k
or
j
on the mul-
tifunction steering wheel until the FSS
indicator appears in the multifunction
display.
�
Press the reset knob (
�page 230) for
about four seconds.
This message appears in the tachome-
ter:
DO YOU WANT TO RESET SERVICE INTER-
VAL? CONFIRM BY PRESSING R
�
To confirm, hold down the reset knob
(�page 230) until you hear a signal.
The service indicator now displays the
reset interval.
iIf the vehicle battery is disconnected,
the days of disconnection will not be in-
cluded in the count shown by the ser-
vice indicator. To arrive at the true
service deadline, you will need to sub-
tract these days from the days shown
in the service indicator.
Do not confuse the service indicator
with the engine oil level indicator
:
.
iIf the service indicator was inadvertent-
ly reset, have a Mercedes-Benz Light
Truck Center correct it.
Only reset if the proper service has
been performed. Resetting the system
without performing proper service as
called for by the FSS will cause the FSS
to incorrectly determine the next ser-
vice interval which will result in engine
damage not covered by the Mer-
cedes-Benz Limited Warranty.
Page 237 of 360
237 Practical hints
What to do if …
Where will I find ...?
Unlocking/locking in an emergency
Opening/closing in an emergency
Brush guard*
Replacing bulbs
Replacing wiper blades
Flat tire
Battery
Jump starting
Towing the vehicle
Fuses