Page 87 of 399

87 Controls in detail
Locking and unlocking
Factory setting
Global unlocking�
Press buttonŒ.
All turn signal lamps blink once. The
locking knobs in the doors move up.
The vehicle will lock again automatically
within approximately 40 seconds of un-
locking if neither door nor trunk is opened,
the SmartKey is not inserted in the starter
switch, or the central locking switch is not
activated.
Global locking
�
Press button‹.
All turn signal lamps blink three times.
The locking knobs in the doors move
down.Selective setting
If you frequently travel alone, you may wish
to reprogram the key so that
pressingŒ only unlocks the driver’s
door and the fuel filler flap.
�
Press and hold buttonsŒ and‹
simultaneously for about five seconds
until battery check lamp5 blinks twice.
The key will then function as follows:
Unlocking driver’s door and fuel filler
flap�
Press buttonΠonce.
Global unlocking
�
Press buttonΠtwice.
Global locking
�
Press button‹.Restoring to factory setting
�
Press and hold buttonsŒ and‹
simultaneously for about six seconds
until battery check lamp5 blinks twice.Warning!
G
When leaving the vehicle always remove the
key from the starter switch, take the Smart-
Key with KEYLESS-GO (if so equipped) with
you and lock the vehicle. Do not leave chil-
dren unattended in the vehicle, or with ac-
cess to an unlocked vehicle. It is possible for
children to open a looked door from the in-
side, which could result in an accident or se-
rious injury.
Page 89 of 399

89 Controls in detail
Locking and unlocking
Loss of SmartKey or mechanical key
If you lose a SmartKey or mechanical key,
you should do the following:�
Have the SmartKey deactivated by an
authorized Mercedes-Benz Center.
�
Report the loss of the SmartKey or the
mechanical key immediately to your
car insurance company.
�
If necessary, have the mechanical lock
replaced.
Your authorized Mercedes-Benz Center
will be glad to supply you with a replace-
ment.
SmartKey with KEYLESS-GO*
The KEYLESS-GO function is integrated
into the SmartKey. On these vehicles, the
validity of the SmartKey with KEYLESS-GO
is checked every time you grasp a door
handle.
If the SmartKey with KEYLESS-GO* is valid,
your vehicle unlocks�
the doors
�
the trunk lid
�
the fuel filler flap
iIf the vehicle was previously centrally
locked, the trunk lid will lock automati-
cally when closed (
�page 96). The
turn signals will flash three times to
confirm locking.
If the vehicle was previously separately
locked (
�page 98), the trunk lid will re-
main locked.
Page 100 of 399
100 Controls in detailLocking and unlockingLocking and unlocking from the inside
You can lock or unlock the doors and the
trunk from inside using the central locking
switch. This can be useful, for example, if
you want to lock the vehicle before starting
to drive.
The fuel filler flap cannot be locked or un-
locked with the central locking switch.The switch is located in the center console.
Central locking switch1Locking
2Indicator lamp
3UnlockingLocking
�
Press upper half1 of the central lock-
ing switch.
If both front doors are closed, the vehi-
cle locks.
Unlocking
�
Press lower half2 of the central lock-
ing switch.
The vehicle unlocks.
Warning!
G
When leaving the vehicle, always remove the
key from the starter switch, take it with you
and lock the vehicle. Do not leave children
unattended in the vehicle, or with access to
an unlocked vehicle. Unsupervised use of
vehicle equipment may cause serious per-
sonal injury.
Page 120 of 399

120 Controls in detailInstrument clusterTachometer
The red marking on the tachometer de-
notes excessive engine speed.
To help protect the engine, the fuel supply
is interrupted if the engine is operated
within the red marking.
Outside temperature indicator
The temperature sensor is located in the
front bumper area. Due to its location, the
sensor can be affected by road or engine
heat during idling or slow driving. This
means that the accuracy of the displayed
temperature can only be verified by com-
parison to a thermometer placed next to
the sensor, not by comparison to external
displays (e.g. bank signs etc.).When moving the vehicle into colder ambi-
ent temperatures (e.g. when leaving your
garage), you will notice a delay before the
lower temperature is displayed.
A delay also occurs when ambient temper-
atures rise. This prevents inaccurate tem-
perature indications caused by heat
radiated from the engine during idling or
slow driving.
!Avoid driving at excessive engine
speeds, as it may result in serious en-
gine damage that is not covered by the
Mercedes-Benz Limited Warranty.
Warning!
G
The outside temperature indicator is not de-
signed to serve as an ice-warning device and
is therefore unsuitable for that purpose.
Indicated temperatures just above the freez-
ing point do not guarantee that the road sur-
face is free of ice. The road may still be icy,
especially in wooded areas or on bridges.
Page 125 of 399
125 Controls in detail
Control system
Menus, submenus and functions
Menu 1
Menu 2
Menu 3
Menu 4
Menu 5
Menu 6
Menu 7
Menu 8
Commands/submenusStandard dis-
play
AUDIO
NAVI*
Distronic*
Malfunction
memory
Settings
Trip computer
Telephone
Digital speed-
ometer
Select radio
station
Activate
route guid-
ance
Call up set-
tings
Call up malfunc-
tion messages
Reset to factory
settings
Fuel consumption
statistics after
start
Load phone
book
Call up FSS
PLUS
Operate CD
player*
Instrument clus-
ter submenu
Fuel consumption
statistics since
the last reset
Search for
name in
phone book
Check tire pres-
sure*
Operate cas-
sette player
Time/Date sub-
menu
Call up range
Check engine oil
level
Lighting sub-
menuVehicle sub-
menuConvenience
submenuDynamic driving
seat* submenu
Page 145 of 399

145 Controls in detail
Control system
�
Move the selection marker with
theæ orç button to
the
Convenience
submenu.
�
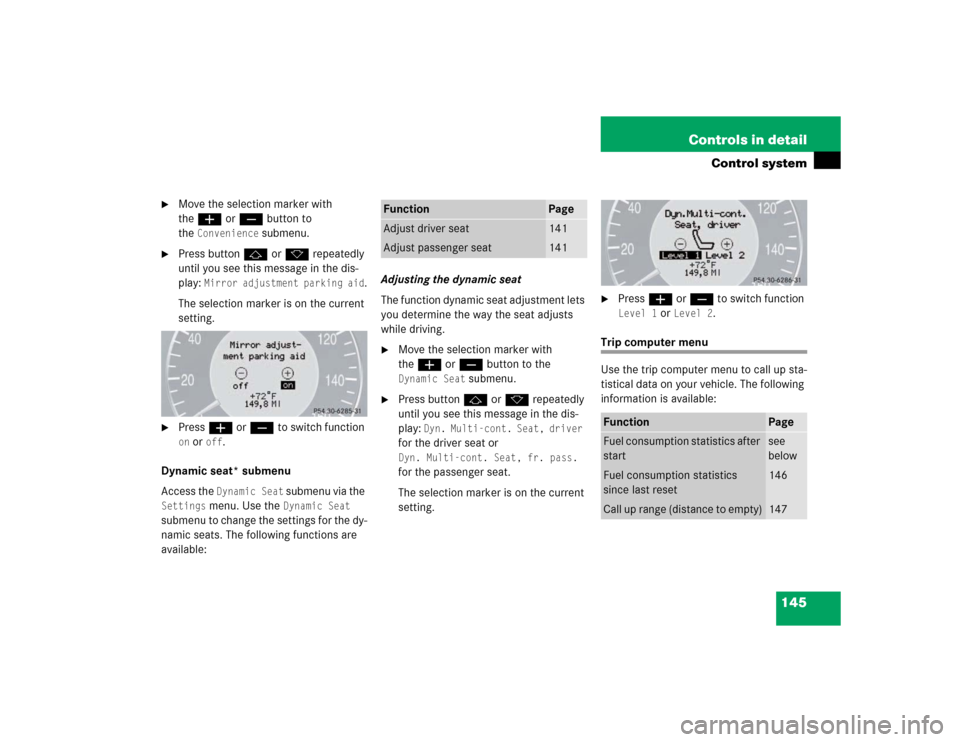
Press buttonj ork repeatedly
until you see this message in the dis-
play:
Mirror adjustment parking aid
.
The selection marker is on the current
setting.
�
Pressæ orç to switch function on or
off
.
Dynamic seat* submenu
Access the Dynamic Seat
submenu via the
Settings
menu. Use the
Dynamic Seat
submenu to change the settings for the dy-
namic seats. The following functions are
available:Adjusting the dynamic seat
The function dynamic seat adjustment lets
you determine the way the seat adjusts
while driving.
�
Move the selection marker with
theæ orç button to the Dynamic Seat
submenu.
�
Press buttonj ork repeatedly
until you see this message in the dis-
play:
Dyn. Multi-cont. Seat, driver
for the driver seat or Dyn. Multi-cont. Seat, fr. pass. for the passenger seat.
The selection marker is on the current
setting.
�
Pressæ orç to switch function Level 1
or
Level 2
.
Trip computer menu
Use the trip computer menu to call up sta-
tistical data on your vehicle. The following
information is available:
Function
Page
Adjust driver seat
141
Adjust passenger seat
141
Function
Page
Fuel consumption statistics after
start
see
below
Fuel consumption statistics
since last reset
146
Call up range (distance to empty)
147
Page 146 of 399

146 Controls in detailControl systemFuel consumption statistics after start�
Press buttonÿ orè repeatedly
until you see the first function of the
Trip computer menu.
�
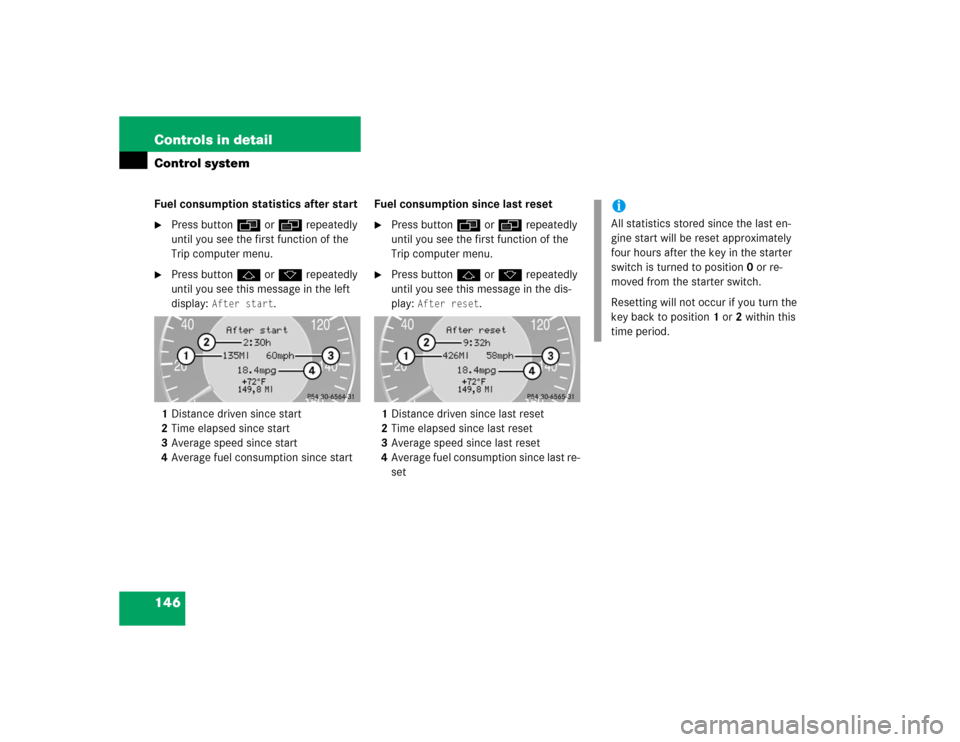
Press buttonj ork repeatedly
until you see this message in the left
display:
After start
.
1Distance driven since start
2Time elapsed since start
3Average speed since start
4Average fuel consumption since startFuel consumption since last reset
�
Press buttonÿ orè repeatedly
until you see the first function of the
Trip computer menu.
�
Press buttonj ork repeatedly
until you see this message in the dis-
play:
After reset
.
1Distance driven since last reset
2Time elapsed since last reset
3Average speed since last reset
4Average fuel consumption since last re-
set
iAll statistics stored since the last en-
gine start will be reset approximately
four hours after the key in the starter
switch is turned to position0 or re-
moved from the starter switch.
Resetting will not occur if you turn the
key back to position1 or2 within this
time period.
Page 147 of 399

147 Controls in detail
Control system
Resetting fuel consumption statistics�
Press buttonÿ orè repeatedly
until you see the first function of the
Trip computer menu.
�
Press buttonj ork repeatedly
until you see the reading that you want
to reset in the display.
�
Press and hold the reset knob in the in-
strument cluster (
�page 22) until the
value is reset to
0.Call up range (distance to empty)
�
Press buttonÿ orè repeatedly
until you see the first function of the
Trip computer menu.
�
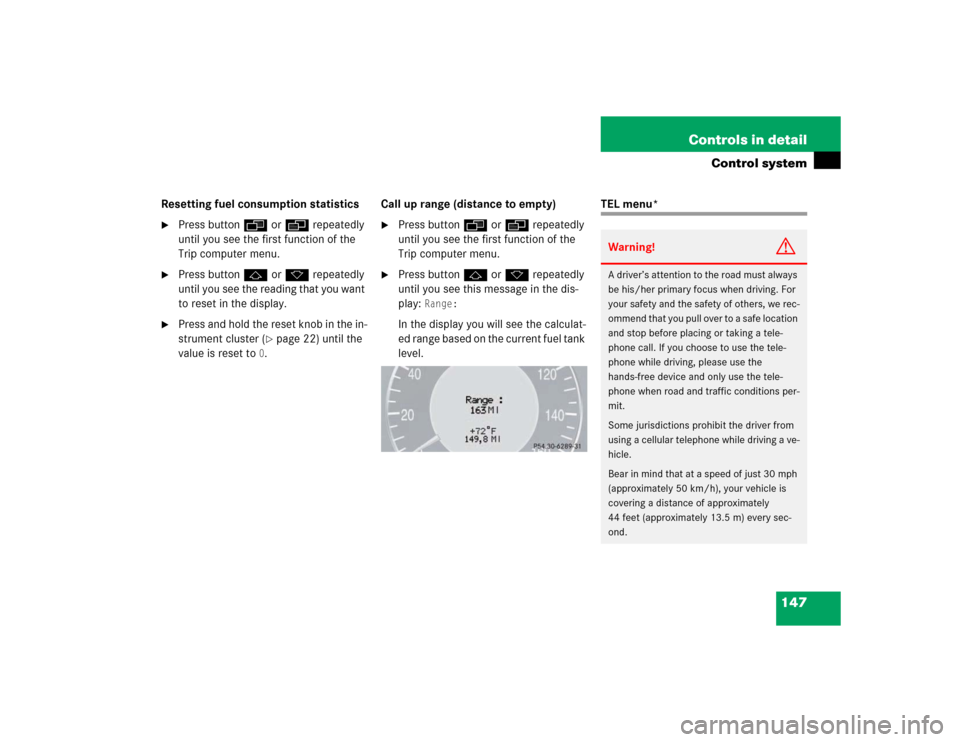
Press buttonj ork repeatedly
until you see this message in the dis-
play:
Range:
In the display you will see the calculat-
ed range based on the current fuel tank
level.
TEL menu*Warning!
G
A driver’s attention to the road must always
be his/her primary focus when driving. For
your safety and the safety of others, we rec-
ommend that you pull over to a safe location
and stop before placing or taking a tele-
phone call. If you choose to use the tele-
phone while driving, please use the
hands-free device and only use the tele-
phone when road and traffic conditions per-
mit.
Some jurisdictions prohibit the driver from
using a cellular telephone while driving a ve-
hicle.
Bear in mind that at a speed of just 30 mph
(approximately 50 km/h), your vehicle is
covering a distance of approximately
44 feet (approximately 13.5 m) every sec-
ond.