Page 109 of 376
109 Controls in detail
Instrument cluster
Trip odometer�
Make sure you are viewing the trip
odometer and main odometer
(�page 111) in the multifunction
display.
�
Press and hold the reset knob on the in-
strument cluster (
�page 22) until the
trip odometer is reset.
Tachometer
The red marking on the tachometer de-
notes excessive engine speed.
To help protect the engine, the fuel supply
is interrupted if the engine is operated
within the red marking.C32AMG
On the C 32 AMG, there is no red marking
denoting excessive engine speed.
To help protect the engine, the fuel supply
is interrupted if the engine is operated at
an excessive speed.
!Avoid driving at excessive engine
speeds, as it may result in serious en-
gine damage that is not covered by the
Mercedes-Benz Limited Warranty.
Page 115 of 376
115 Controls in detail
Control system
Menus, submenus and functions
Menu 1
Menu 2
Menu 3
Menu 4
Menu 5
Menu 6
Menu 7
Standard dis-
play
AUDIO
NAVI*
Malfunction
memory
Settings
Trip computer
Telephone*
Commands/submenusCoolant temper-
ature display
Select radio
station
Activate route
guidance
Call up malfunc-
tion messages
Reset to factory
settings
Fuel consump-
tion statistics
after start
Load phone book
Digital speedom-
eter
Operate CD
player*
Instrument clus-
ter submenu
Fuel consump-
tion statistics
since the last
reset
Search for name
in phone book
Call up FSS
Operate casette
player
Lighting sub-
menu
Call up range
Check engine oil
level
Vehicle submenuConvenience
submenu
Page 119 of 376

119 Controls in detail
Control system
�
Press button
è
or
ÿ
repeatedly
until you see the malfunction message
memory in the display.
No malfunction messages
If no malfunctions have occured, the
message in the display is:
NO MALFUNCTIONMalfunctions have occurred
If malfunctions have occurred, you will see
the number of malfunctions in the display:
1Number of malfunctions
�
Press button
k
or
j
.
The stored messages will now be dis-
played in order. See the “Practical
hints” section for malfunction and
warning messages (
�page 261).
Should any malfunctions occur while
driving, the number of malfunctions will
reappear in the display when the key in the
starter switch is turned to position0 or
removed from the starter switch.
Settings menu
In the
SETTINGS
menu there are two
functions:
�
The function
RESET TO FACTORY
SETTINGS
, with which you can reset all
the settings to the original factory
settings.
�
A collection of submenus with which
you can make individual settings for
your vehicle.
�
Press button
è
or
ÿ
repeatedly
until the
SETTINGS
menu is seen in the
display.
iThe message memory will be cleared
when you turn the key in the starter
switch to position1 or2. You will then
only see high-priority messages in the
multifunction display (
�page 261).
Page 120 of 376
 for a")
120 Controls in detailControl systemResetting all settings
You can reset all the functions of all sub-
menus to the factory settings.�
Press the reset knob in the instrument
cluster (
�page 22) for approximately
three seconds.
In the display you will see the request
to press the reset knob again to
confirm.
�
Press the reset knob again.
The functions of all the submenus will
reset to factory settings.Submenus in the Settings menu
�
Press button
k
or
j
.
In the display you see the collection of
the submenus.
�
Press button
ç
.
The selection marker moves to the next
submenu.
The submenus are arranged by hierarchy.
Scroll down with theç
button, scroll up
with the
æ
button.
Move within the submenus with the
k
or
j
button to the individual functions.
The settings themselves are made with
buttonæ
or
ç
.Resetting the functions of a submenu
For each submenu you can reset all the
functions to the factory settings.
�
Move to a function in the submenu.
�
Press the reset knob (
�page 22) in the
instrument cluster for approximately
three seconds.
In the display you will see the request
to press the reset knob again to
confirm.
�
Press the reset knob again.
All functions of the submenu will reset
to factory settings.
iThe settings you have changed will not
be reset unless you confirm the action
by pressing the reset knob a second
time.
Page 125 of 376

125 Controls in detail
Control system
Lighting submenu
Access the
LIGHTING
submenu via the
SETTINGS
menu. Use the
LIGHTING
submenu to change the lamp and lighting
settings on your vehicle. The following
functions are available:Setting daytime running lamp mode
(USA only)
�
Move the selection marker with
the
æ
or
ç
button to the
LIGHTING
submenu.
�
Press button
j
or
k
repeatedly
until you see this message in the
display:
LAMP CIRCUIT HEADLAMP MODE
.
The selection marker is on the current
setting.
�
Press
æ
or
ç
to select manual
or daytime running lamp (constant)
mode. This function is not available in
countries where daytime running
lamps are mandatory.With daytime running lamp mode
selected and the exterior lamp switch
at position0, the following lamps will
come on automatically when the
engine is turned on:
�
Parking lamps and low beam
headlamps
�
License plate lamps (in low ambient
light conditions)
Function
Page
Set daytime running lamp mode
(USA only)
see
below
Set locator lighting
126
Exterior lamps delayed shut-off
126
Interior lighting delayed shut-off
127
iIf you turn the exterior lamp switch to
another position, the corresponding
lamp(s) will switch on.
For safety reasons, resetting the LIGHTING
submenu to factory settings
(
�page 120) will not reset the daytime
running lamp mode.
In the display you will then see the
message:
LIGHTING – CANNOT BE
COMPLETELY RESET TO FACTORY
SETTINGS WHILE DRIVING
!.
Page 132 of 376

132 Controls in detailControl systemTrip computer menu
Use the trip computer menu to call up
statistical data on your vehicle. The
following information is available:Fuel consumption statistics after start
�
Press button
ÿ
or
è
repeatedly
until you see the first function of the
Trip computer menu.
�
Press button
j
or
k
repeatedly
until you see this message in the
display:
AFTER START
.
1Distance driven since start
2Time elapsed since start
3Average fuel consumption since start
4Average speed since startFuel consumption since last reset
�
Press button
ÿ
or
è
repeatedly
until you see the first function of the
Trip computer menu.
�
Press button
j
or
k
repeatedly
until you see this message in the
display:
AFTER RESET
.
1Distance driven since last reset
2Time elapsed since last reset
3Average fuel consumption since last
reset
4Average speed since last reset
Function
Page
Fuel consumption statistics after
start
see
below
Fuel consumption statistics
since last reset
see
below
Call up range (distance to empty)
133
Page 133 of 376
133 Controls in detail
Control system
Resetting fuel consumption statistics�
Press button
ÿ
or
è
repeatedly
until you see the first function of the
Trip computer menu.
�
Press button
j
or
k
repeatedly
until you see the reading that you want
to reset in the display.
�
Press and hold the reset knob in the
instrument cluster (
�page 22) until
the value is reset to0.Call up range (distance to empty)
�
Press button
ÿ
or
è
repeatedly
until you see the first function of the
Trip computer menu.
�
Press button
j
or
k
repeatedly
until you see this message in the
display:
RANGE
.
In the display you will see the
calculated range based on the current
fuel tank level.
iAll statistics stored since the last
engine start will be reset approximately
four hours after the key in the starter
switch is turned to position0 or
removed from the starter switch.
Resetting will not occur if you turn the
key back to position1 or2 within this
time period.
Page 169 of 376
169 Controls in detail
Audio system
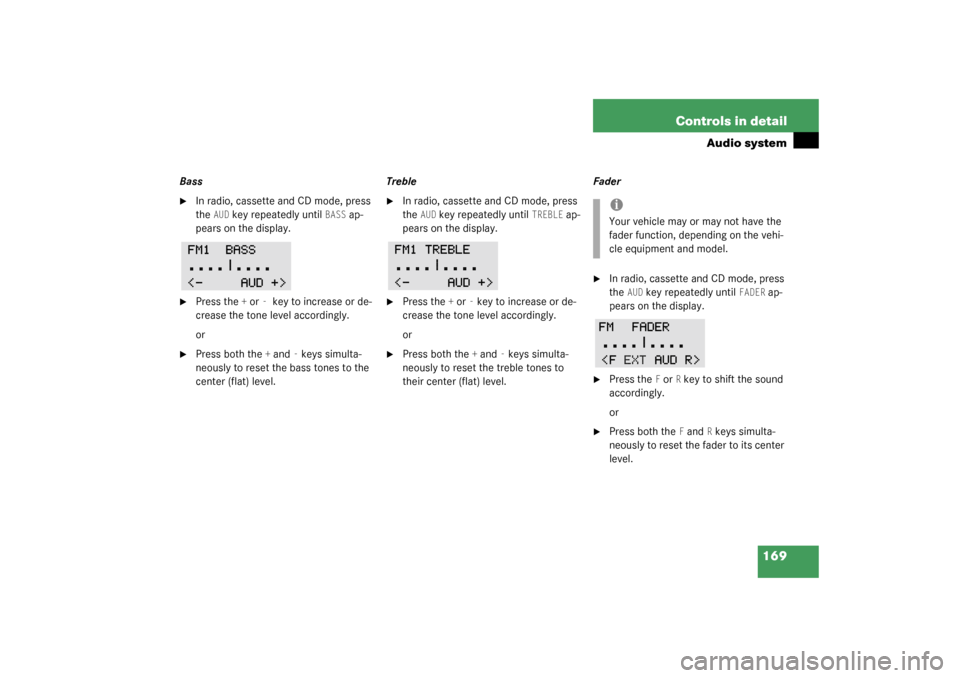
Bass�
In radio, cassette and CD mode, press
the
AUD
key repeatedly until
BASS
ap-
pears on the display.
�
Press the
+ or
- key to increase or de-
crease the tone level accordingly.
or
�
Press both the
+ and
- keys simulta-
neously to reset the bass tones to the
center (flat) level.Treble
�
In radio, cassette and CD mode, press
the
AUD
key repeatedly until
TREBLE
ap-
pears on the display.
�
Press the
+ or
- key to increase or de-
crease the tone level accordingly.
or
�
Press both the
+ and
- keys simulta-
neously to reset the treble tones to
their center (flat) level.Fader
�
In radio, cassette and CD mode, press
the
AUD
key repeatedly until
FADER
ap-
pears on the display.
�
Press the
F or
R key to shift the sound
accordingly.
or
�
Press both the
F and
R keys simulta-
neously to reset the fader to its center
level.
iYour vehicle may or may not have the
fader function, depending on the vehi-
cle equipment and model.